
Oil Leak or Oil Consumption? Measure the Loss Before Choosing a Repair

Oil can leave through an external leak, pass into combustion or intake, mix with another system, or only appear low because the check was inconsistent. Begin on level ground with the owner’s-manual wait time and dipstick procedure, then track miles and exact quantity added.
What to do first
- If the oil-pressure warning appears, the engine becomes noisy, or the dipstick shows no oil, stop safely and follow the owner’s manual; topping up is not proof it is safe to continue.
- Use the same level surface, temperature/wait condition, dipstick method, oil specification, and fill target every time.
- No puddle does not mean no leak: undertrays, airflow, hot surfaces, and accumulated grime can hide or redistribute oil.
In this guide
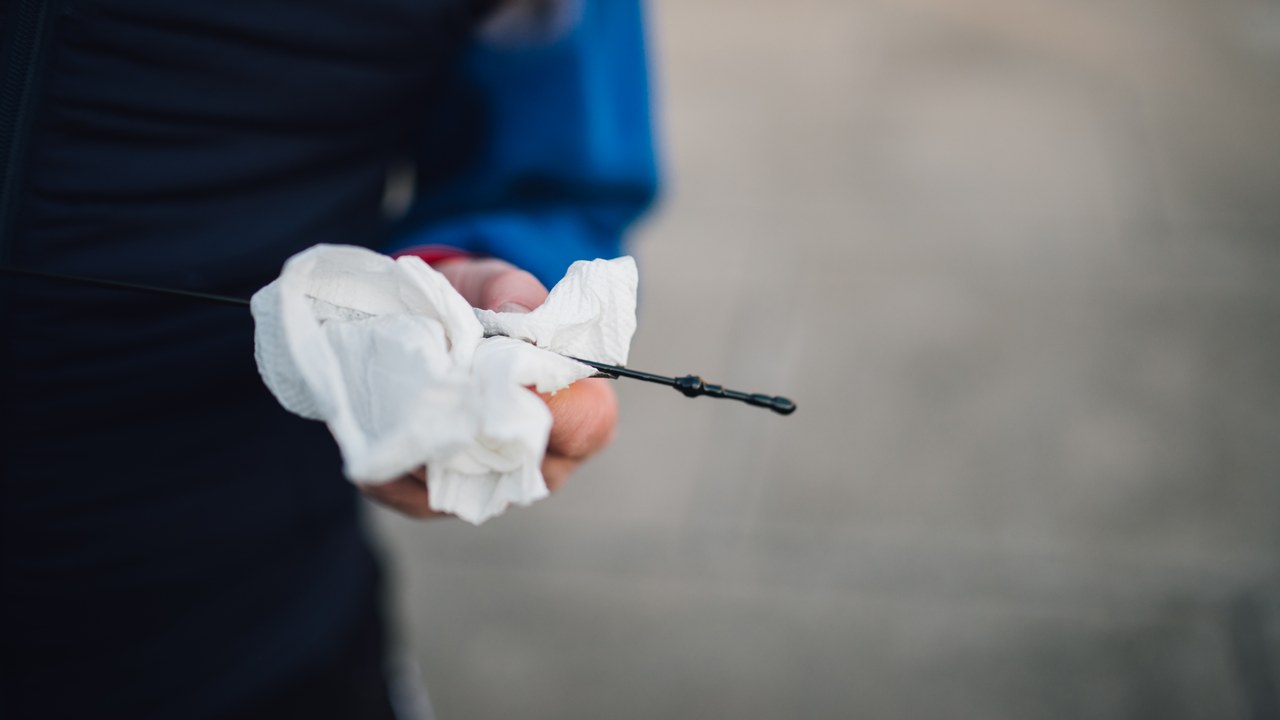
1. Standardize the oil-level check
- Confirm the required oil specification and the exact dipstick or electronic-level procedure in the owner’s manual.
- Park on the same level surface and use the specified engine temperature and wait time.
- Remove, wipe, fully reinsert, and reread the dipstick without smearing the result. Photograph the clear side if useful.
- Add only the measured amount needed with the specified oil; do not overfill.
- Record date, odometer, displayed level, and quantity added to establish the baseline.
Oil level and oil pressure are different
A normal dipstick level does not overrule an oil-pressure warning. Stop the engine and follow the vehicle instructions if the pressure warning appears or mechanical noise develops.
2. Find an external path—including hidden leaks
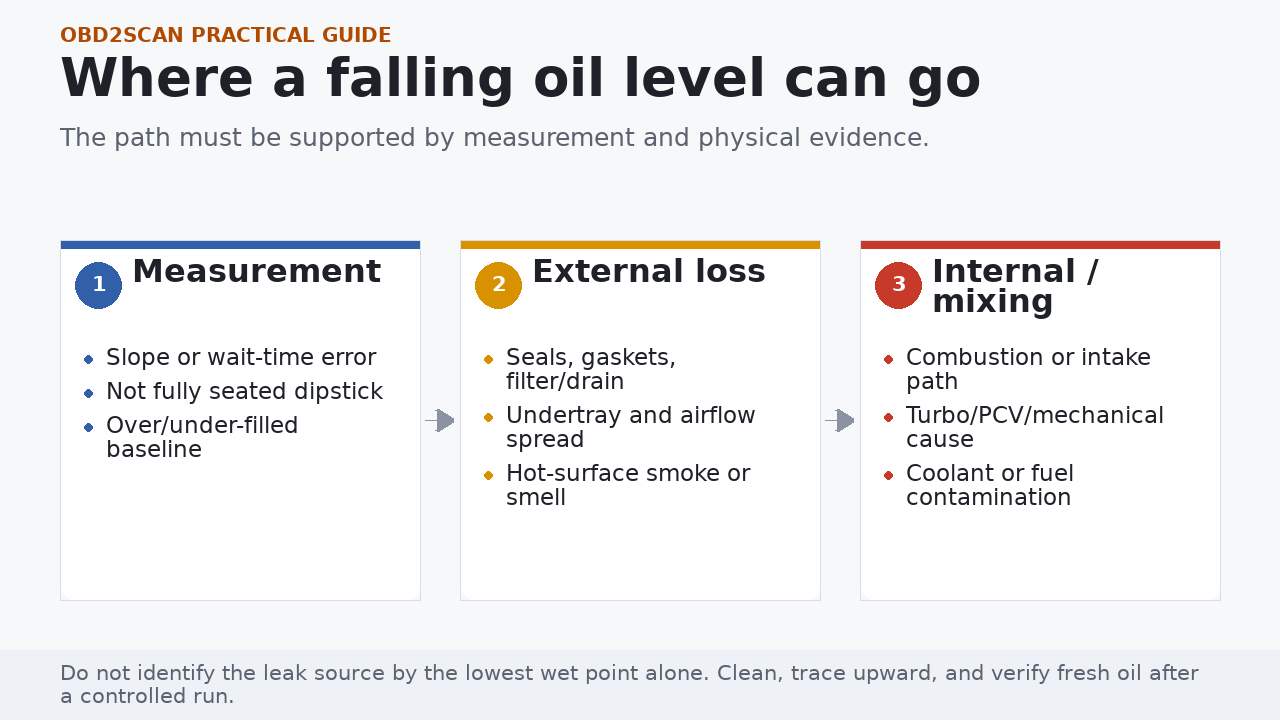
Inspect from the highest accessible point downward with the engine off and cool. Check around the filler cap, filter housing, valve cover, timing cover, oil cooler lines, turbo oil connections where fitted, oil pan, drain plug, and the transmission bellhousing area. Confirm the fluid is engine oil; power-steering, transmission, brake, coolant, and road contamination can overlap.
A saturated undertray should be removed only with safe support and the correct procedure. Clean the suspected area, run the engine or drive only as needed and safe, then look for the first fresh trace. Use fluorescent dye only when approved for the oil and follow its concentration and inspection instructions.
3. Measure consumption before naming an internal cause
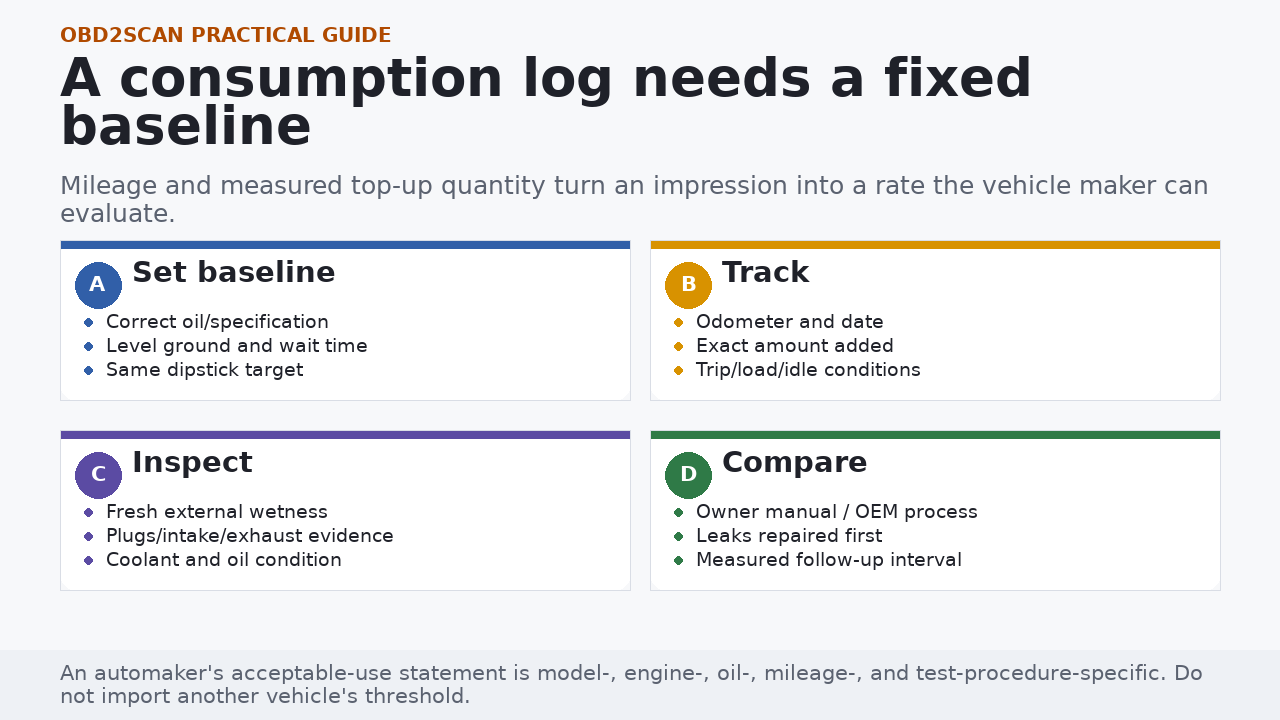
Toyota’s owner guidance notes that some oil use can occur and that rate changes with viscosity, oil quality, engine condition, high speed, heavy load, acceleration/deceleration, idling, and traffic. That is why an exact model’s procedure matters and why a one-size consumption limit is misleading.
- Record top-up quantity from the same baseline, not merely the dipstick distance.
- Document leaks repaired during the interval; otherwise external loss contaminates the consumption calculation.
- Compare cylinders and operating evidence before blaming rings, valve seals, turbocharger, or PCV components.
- Exhaust color is supporting evidence only; catalysts, temperature, lighting, and condensation can hide or mimic visible smoke.
4. Choose the next test from the evidence
| Evidence | Next useful direction |
|---|---|
| Fresh oil appears after cleaning | Trace the highest fresh source; confirm crankcase ventilation and repair procedure. |
| Measured use with dry exterior | Inspect plugs/intake, PCV/turbo where fitted, compression/leak-down, and OEM consumption test. |
| Oil level rises or smells strongly of fuel | Avoid extended operation and diagnose dilution, operating temperature, and fueling. |
| Oil and coolant show cross-contamination | Stop routine driving and test the relevant heat exchanger, gasket, head, or block path. |
Bring the log, not a guess
Provide starting and ending mileage, measured oil added, check conditions, oil specification, leak photographs, and relevant repair history. That evidence makes warranty or repair decisions faster and fairer.
Official references
Use these sources for the principles in this guide, then use the owner’s manual and current service information for your exact vehicle.
- Toyota Owners: 2020 Corolla Engine Compartment (toyota.com)
- Toyota Owners: General Maintenance (toyota.com)
The useful outcome
The decision now rests on a standardized loss rate and a supported path: fresh external leakage, measured internal consumption, contamination, or an inconclusive result that needs further testing. That is materially better than replacing seals or opening an engine because the level dropped once.




Comments 0
Questions, fixes, and real-world diagnostic notes from readers.
Be the first to share a diagnostic result or ask a follow-up question.