
Motorcycle Brake Lever Feels Soft After Wheel Service? Check Pad Travel Before Bleeding Again

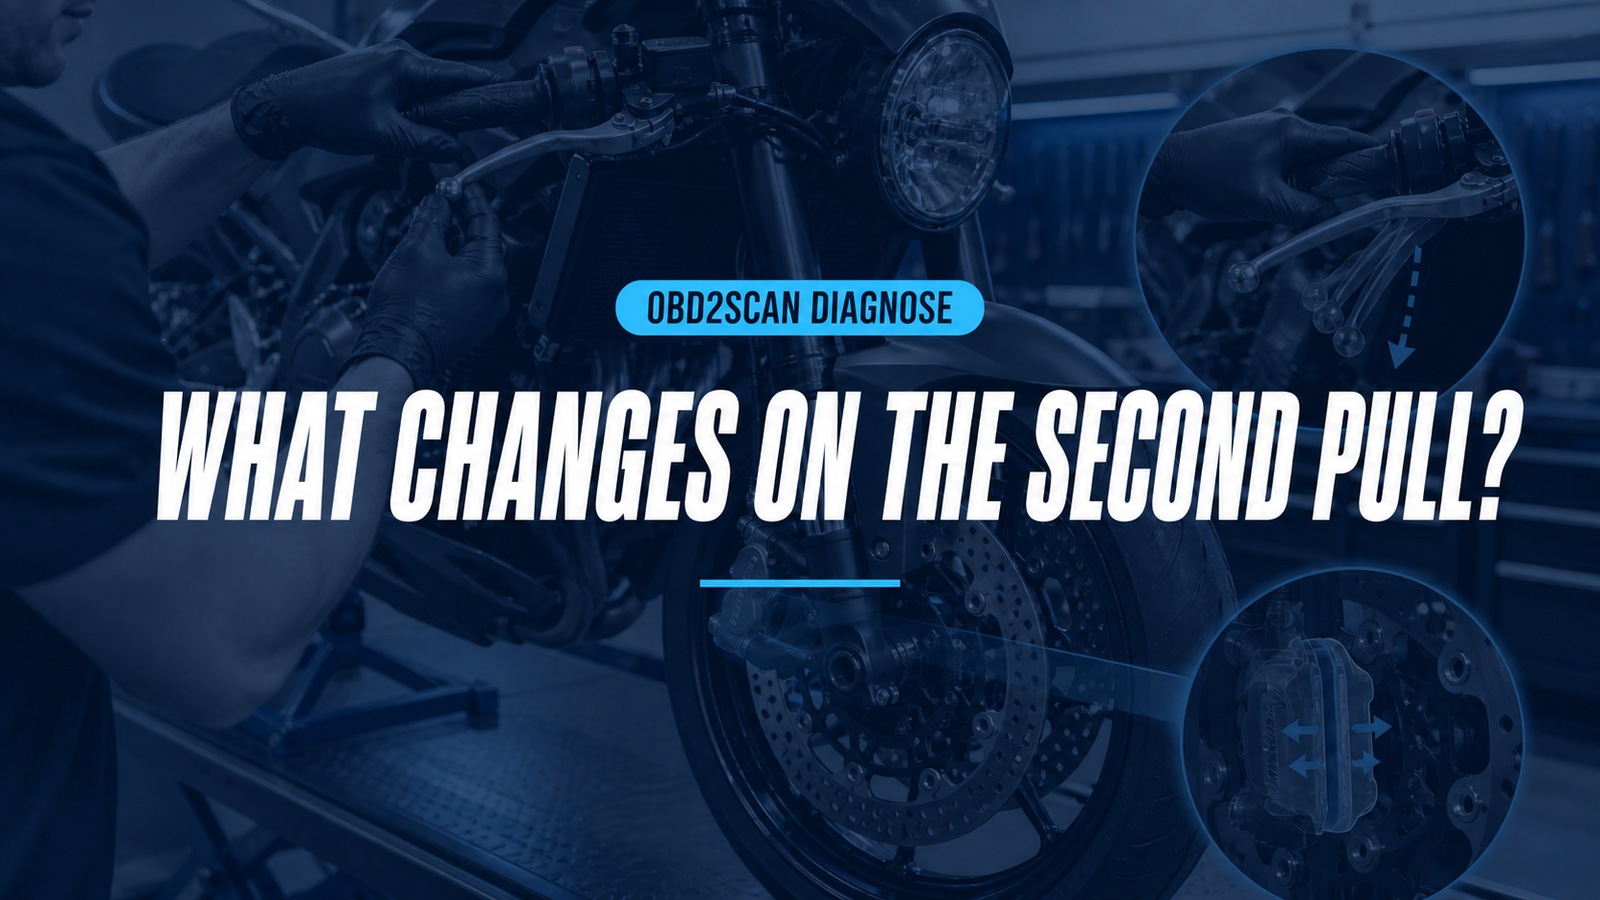
What Changes On The Second Pull?
A motorcycle brake lever that becomes soft immediately after wheel, tire, rotor or caliper work should be treated as a post-service safety fault. Do not ride it to “pump the pads back.” The difference between the first lever pull and the second, especially after the wheel rotates, can reveal whether the stroke is taking up pad travel or compressing something in the hydraulic system.
If evidence eventually points to trapped air or old fluid, controlled motorcycle-specific exchange equipment can help. The FXTUL BF608 motorcycle brake-fluid changer is one pulsating service route for compatible systems. It cannot correct rotor runout, missing spacers, wheel-bearing play, caliper alignment, pad knockback, leaks or an unsupported ABS bleed sequence.
Put the bike on a secure stand according to the service manual and preserve the original feel before anyone opens a bleeder. This diagnosis is organized around one comparison: first pull, second pull, rotate, repeat.
Quick answer: Park the motorcycle, compare first and second lever pulls, rotate the wheel and repeat. If rotation recreates the long first pull, audit rotor, wheel, spacers, bearings, caliper and pads before bleeding.
In this guide
Park the motorcycle and preserve the first pull
Confirm the motorcycle cannot roll, tip or start unexpectedly. Inspect reservoir level without opening it, visible leaks, hose routing, caliper mounting, axle hardware and anything obviously loose. If the lever reaches the grip, pressure will not hold, fluid is leaking, or a rotor/caliper is misplaced, stop and correct the safety fault before further testing.
With the wheel stationary, pull the lever using consistent hand position and gradual force. Mark or photograph lever travel at first pad contact and at firm pressure. Hold it briefly. Note whether it feels elastic, creeps, pulses or becomes solid. Release fully, wait the same interval, and repeat.
Do not confuse adjustable-lever reach with hydraulic travel. Record the reach setting and compare with the pre-service position. Handguards, bent levers or controls rotated on the bar can change perception without changing the brake.
Compare the first pull with the second
A long first pull followed by a distinctly higher, firmer second pull suggests that the first stroke moved pads or pistons into position. Air can also improve temporarily with pumping, so this is a branch—not proof of pad knockback. A consistently spongy feel on every pull moves more weight toward air, hose expansion, fluid or seal behavior.
| First pull | Second pull | Direction |
|---|---|---|
| Long | immediately high and firm | mechanical pad/piston travel gains weight |
| Long and elastic | somewhat better but still elastic | air/hose/hydraulic branch remains strong |
| Firm then slowly sinks | internal or external hydraulic leak path | |
| Both firm, brake still weak | friction contamination, pad/rotor bedding or mechanical force |
Listen at the caliper and watch the pads from a safe position. Excess piston retraction, a flexing rotor, loose caliper or moving bracket can consume volume. Keep fingers away from the rotating wheel and never operate the brake with pads or spacers absent unless the procedure uses a proper block.
Rotate the wheel and repeat
Release the lever, rotate the wheel through several revolutions, stop it, and perform the same first/second-pull comparison. If the first pull becomes long again only after rotation, something in the rotating assembly may be pushing the pads apart. This is a classic reason to investigate rotor lateral runout, carrier movement, bearing play, axle/spacer assembly and caliper alignment.
Observe the rotor edge against a fixed safe reference without touching it. Properly measure runout by the service manual, at the specified radius and mounting condition. Check whether both rotors on a dual-disc front end behave similarly. Floating buttons permit designed movement; they should not be declared loose from feel alone.
If rotating the wheel does not recreate the long first pull, check whether time, temperature, handlebar position or steering angle does. A hose that traps air near a high point or a master-cylinder return issue may respond to position rather than wheel motion.
Audit everything touched during service
Reconstruct the job. Were pads spread with a tool? Was the caliper left hanging by the hose? Were the wheel spacers kept on their correct sides? Was the ABS tone ring bent or reversed? Were axle and pinch bolts tightened in the specified sequence? Was the brake applied before axle alignment was complete?
Compare the work order with the motorcycle in front of you. An aftermarket rotor, wheel, spacer, caliper bracket or lever may change stack height or travel even when every OEM-looking part is tight. Verify application and dimensions rather than treating “it bolted on” as fitment proof.
Confirm wheel direction, spacer location, bearing seating, axle shoulder, fork-leg alignment, caliper brackets, pad pins, springs and anti-rattle hardware. Inspect rotor-to-caliper centering. A missing spacer or mis-seated wheel is not only a brake-feel issue; it can damage bearings, fork alignment and ABS components.
Check wheel-bearing play by the approved method. Examine the rotor mounting surface for dirt, paint, corrosion or burrs. Verify caliper bolts and any single-use fasteners. Do not compensate for a misaligned assembly by pushing more fluid into the system.
Inspect the hydraulic branch
If mechanical travel is not proven, inspect reservoir, master cylinder, banjos, hoses, ABS unit connections, calipers, bleeders and piston seals for leakage. Flex hoses under steady pressure and look for abnormal expansion without gripping a pressurized hose. Check fluid specification, age and contamination; do not mix silicone and glycol-based fluids or use an opened container of unknown history.
Air often follows component replacement, an opened line, an empty reservoir, caliper inversion or a bleed nipple that was not the true high point. Some ABS systems trap air in modulator passages and require a scan-tool routine or a defined sequence. Linked brakes may have multiple circuits. Use model-specific service information.
A lever that slowly approaches the bar under constant pressure can indicate bypass or leakage and should not be road-tested. Rebuilding or replacing master cylinders and calipers requires correct bore condition, seals, assembly fluid and inspection—not just new rubber parts.
Bleed only when the evidence points there
Protect paint and plastics, use fresh specified fluid, keep the reservoir from running dry, and prevent air entry around bleeder threads from being mistaken for system air. Manual, vacuum, pressure and pulsating methods each have advantages, but the motorcycle design controls safe pressure, direction and ABS procedure.
Observe what leaves each circuit. Continuous tiny bubbles may be drawn around threads; large intermittent bubbles that stop can represent trapped air. Dark fluid justifies exchange by condition and service guidance, but clear fluid does not prove an air-free system. Stop if seals leak, the reservoir foams or equipment connections are uncertain.
After bleeding, clean all residue and apply the lever firmly while inspecting every connection. A successful fluid service should change a hydraulic symptom immediately and repeatably. If wheel rotation still restores the long first pull, return to the mechanical branch rather than bleeding a third time.
Verify at walking speed before road use
First verify stationary lever height, pressure hold, free wheel rotation, correct fastener torque and no leaks. Rotate and repeat the pull comparison until the result remains stable. Confirm ABS sensor clearance and warning-lamp self-check.
Then, in a controlled private area, perform a walking-speed brake check with a safe escape path. Increase speed and load only according to the service procedure. The repair passes when first-pull travel remains consistent after wheel rotation, the brake releases, the motorcycle tracks normally, and no fluid, heat, noise or ABS fault returns. The second pull is no longer the rescue—it should feel like the first.










Comments 0
Questions, fixes, and real-world diagnostic notes from readers.
Be the first to share a diagnostic result or ask a follow-up question.