
Serpentine Belt Chirp vs. Squeal: Diagnose the Drive System

A chirp often repeats with belt speed; a squeal is usually a longer sliding sound that changes with load. Neither identifies the belt as the failed part. Gates emphasizes the belt, tensioner, pulleys, and driven accessories as one system, so inspect tracking, tension, contamination, and bearing behavior together.
What to do first
- If the belt is frayed, walking off a pulley, smoking, missing ribs, or associated with overheating or a charging warning, shut the engine down and inspect before driving.
- Record cold/warm state, idle/RPM, A/C or electrical load, steering input where applicable, wet/dry weather, and whether the sound is rhythmic.
- Do not put hands, tools, clothing, water, or dressing near a moving belt. Running-engine spray tests belong only to trained technicians following a controlled procedure.
In this guide
1. Decide whether the engine should keep running
The accessory belt may drive the alternator, coolant pump, power steering pump, A/C compressor, or other critical equipment, depending on the vehicle. If temperature rises, steering effort changes, the charging warning appears, or the belt is leaving the pulley, stop before the failure affects vehicle control or cooling.
Keep the belt path clear
Electric fans can start with the engine off, and a running belt can pull in clothing or tools instantly. Disable systems as the service procedure directs before close inspection.
2. Record rhythm and load
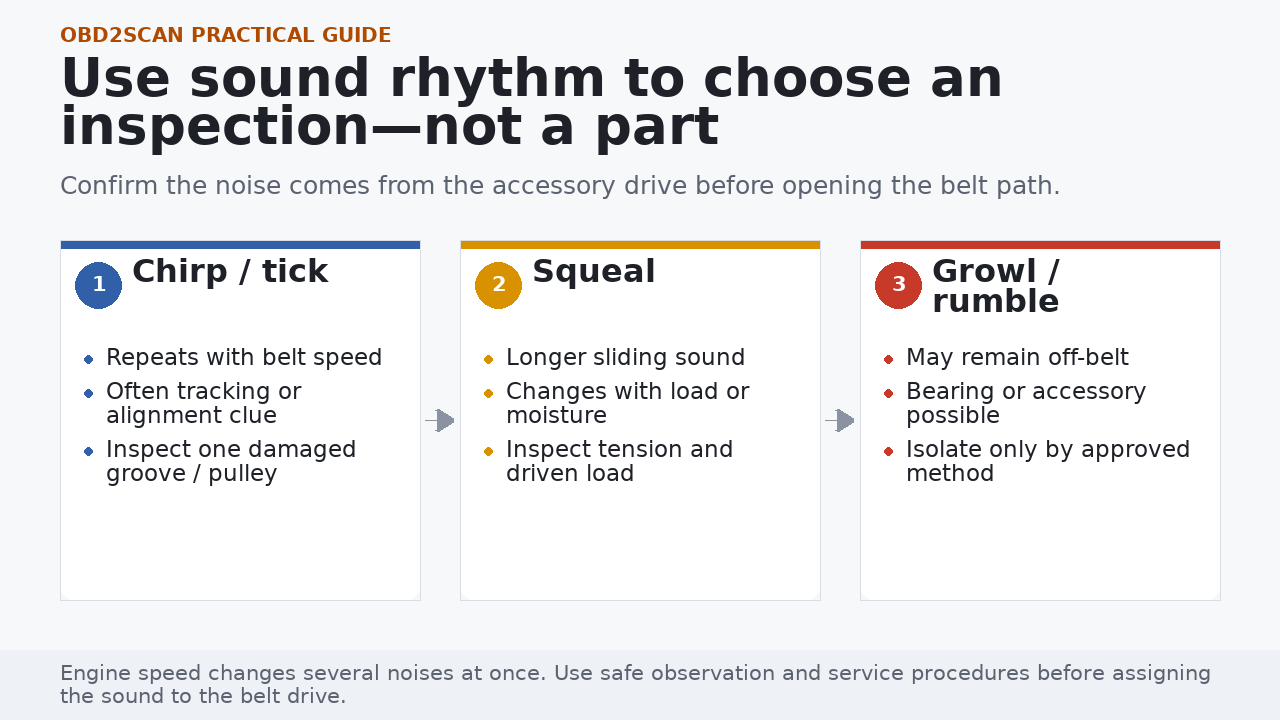
- Use a short recording from a safe position and note engine RPM; a repeating chirp may speed up with RPM.
- Apply ordinary electrical or A/C loads one at a time only if the system is safe to run.
- Record whether the noise is present at cold start, after warm-up, after rain, or after a fluid leak or component replacement.
- Confirm the sound is not an exhaust leak, timing drive, fan contact, or internal engine noise before assuming the accessory belt.
3. Inspect the entire drive system
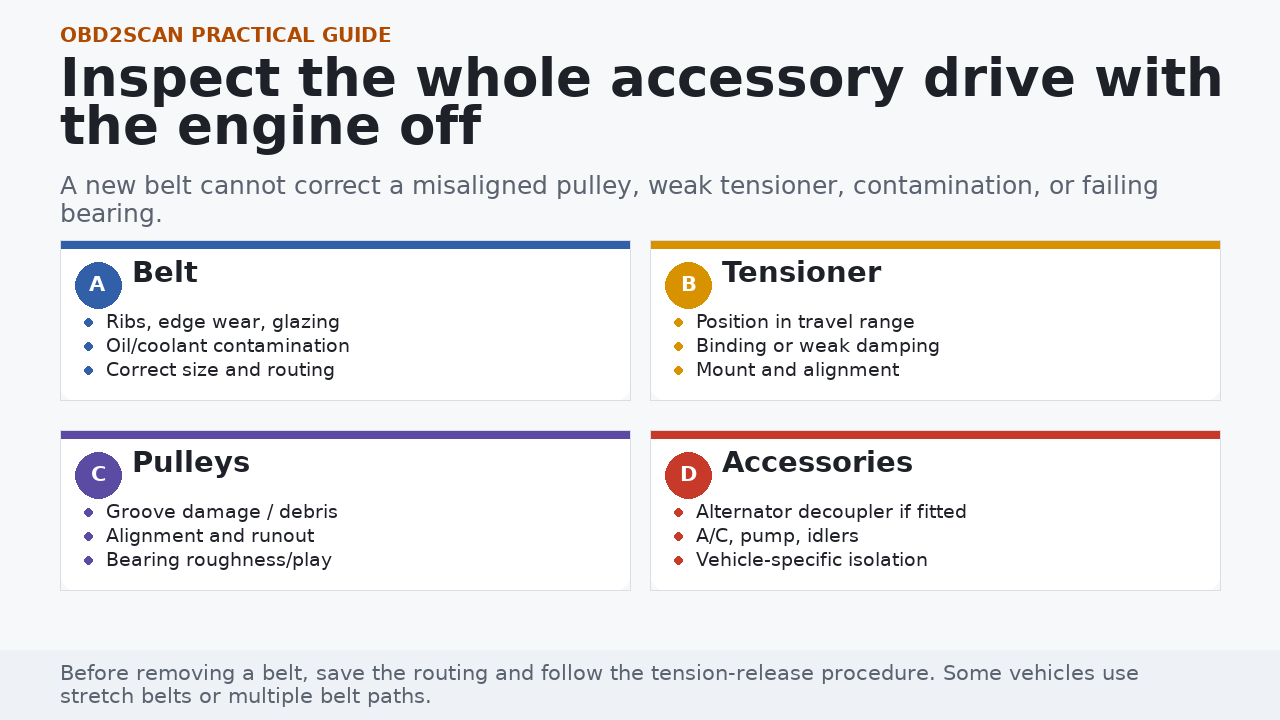
- With the engine off and secured, compare the actual routing with the under-hood label or service diagram.
- Inspect every accessible belt rib and edge. A narrow damaged stripe can point to one pulley groove or alignment problem.
- Look for oil, coolant, rust, rubber debris, polished surfaces, and contact marks. Repair the leak; do not hide contamination with dressing.
- Observe pulley alignment and tensioner position without placing a straightedge where the service procedure forbids it.
- If belt removal is authorized, release tension with the specified tool and inspect pulley rotation, play, decoupler operation, and accessory drag using the exact procedure.
Do not ‘quiet’ the evidence
Belt dressing and improvised lubricants change friction, collect debris, and can mask the condition needed for diagnosis. Correct the source of slip, tracking, contamination, or bearing noise. Where the vehicle maker publishes a belt-frequency or tension specification, the FXTUL sonic belt tension tester can add a repeatable measurement after the pulleys, tensioner, and belt condition have been inspected.
4. Repair the cause and recheck tracking
Use the correct belt length/profile and inspect related wear components rather than automatically reusing them. Gates notes that improper tension can create noise, bearing heat, and reduced accessory output. After installation, verify routing, full rib engagement, tensioner position, fasteners, and safe tracking from a protected viewing position.
Repeat the same load
Verify the exact cold/warm and accessory-load condition that produced the noise. If the sound remains, stop adding belts and reopen the alignment, tensioner, pulley, decoupler, and accessory diagnosis.
Official references
Use these sources for the principles in this guide, then use the owner’s manual and current service information for your exact vehicle.
- Gates: Tech Tip Bulletins (gates.com)
- Gates: Serpentine Belt Drive Diagnostics (gates.com)
The useful outcome
You now have a sound condition and a whole-system inspection record. The repair should address the measured tracking, tension, contamination, pulley, decoupler, or accessory fault—not simply replace the part that makes the noise audible.






Comments 0
Questions, fixes, and real-world diagnostic notes from readers.
Be the first to share a diagnostic result or ask a follow-up question.