
Car Pulls Left or Right Under Braking? Compare Tire, Friction, and Hydraulic Evidence

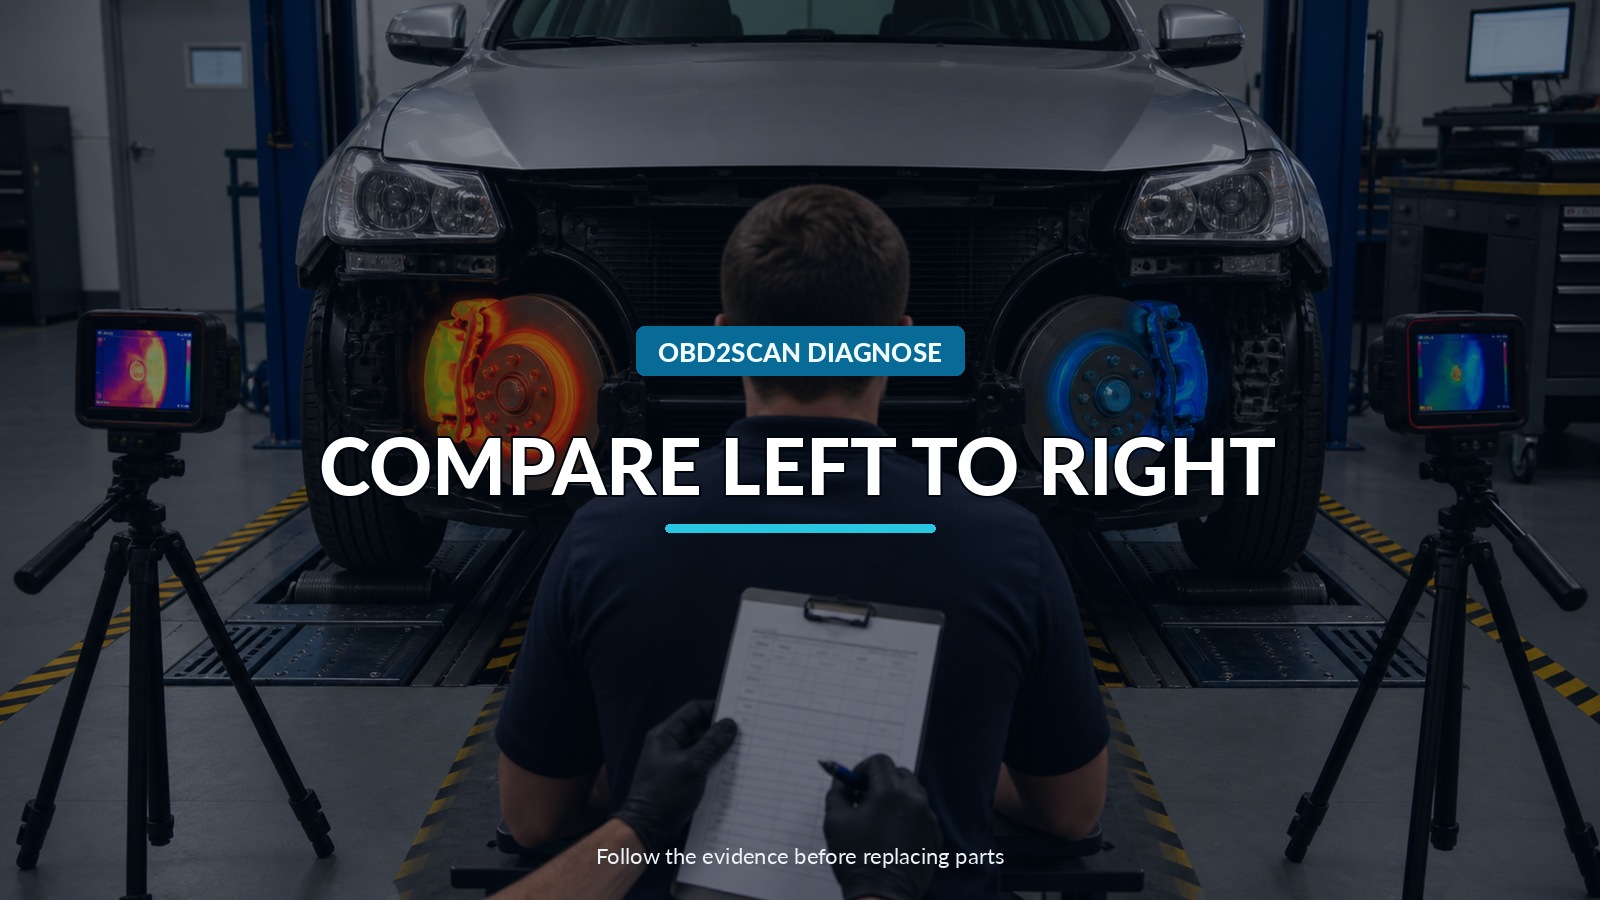
Compare Left To Right
A braking pull is a balance problem, not automatically a bad caliper on the side the car moves toward. Tire force, alignment, road crown, contaminated or unequal friction, a binding guide or piston, a restricted hose, wheel-bearing play, suspension movement, and unequal hydraulic delivery can all steer the vehicle while the pedal is applied. Diagnose the two sides as a matched pair.
If visual and mechanical checks leave hydraulic imbalance unresolved, the missing capability is simultaneous left-right pressure comparison under the same controlled pedal input. The AUTOOL PT660 dual-channel brake-pressure gauge is one route for compatible service points. It cannot tell you whether equal pressure produces equal friction, and its adapters and limits must match the exact brake system.
Brake work is safety-critical. A severe pull, fluid leak, sinking pedal, damaged hose, overheated wheel, warning lamp, or reduced braking effect is a stop-driving condition. Dynamic confirmation and post-repair validation belong on appropriate test equipment or a controlled closed course, not in traffic.
Quick answer: Compare both sides under the same condition: tires and chassis first, then friction temperature and wear, caliper and hose behavior, and finally left-right hydraulic pressure when mechanical evidence remains inconclusive.
In this guide
- Define the pull without taking road-test risks
- Make the tires and chassis comparable
- Read heat and friction evidence side by side
- Inspect caliper motion and hose condition
- Run a controlled left-right pressure comparison
- Interpret four paired outcomes
- Repair the proven branch
- Verify braking balance professionally
Define the pull without taking road-test risks
Record whether the car pulls only under braking or also cruises off-center. Note speed, pedal effort, light versus hard application, first stop versus repeated stops, wet weather, road crown, steering-wheel movement, ABS activity, vibration, noise, and recent tire or brake work. A pull that changes after several stops suggests a different branch from one present on the first cold application.
Ask which direction the vehicle body yaws and which way the steering wheel moves. Do not assume the stronger brake is always on the side of travel; suspension geometry, rear-brake imbalance, tire conicity, and road surface can change the felt direction.
Scan ABS, stability, steering, chassis, and powertrain modules before disturbing parts. Save wheel-speed data, pressure-sensor data if equipped, steering angle, yaw information, brake-switch state, and codes. Scan data describes what the controllers saw; it does not replace a mechanical inspection.
Make the tires and chassis comparable
Confirm identical compatible tire sizes, correct rotation direction, reasonable tread-depth balance, inflation set by the vehicle procedure, and no separated belt, sidewall damage, contamination, or extreme uneven wear. Check wheel and hub runout where symptoms support it. Tire forces can appear mainly during braking because load transfers forward.
Inspect wheel bearings, ball joints, control-arm bushings, steering joints, struts, springs, and alignment-related damage. A compliant bushing can let toe change when braking even if static alignment looks acceptable. Compare ride height and look for collision or curb damage.
If safe and permitted, a controlled tire-position experiment can distinguish a tire-related pull, but directional tires, staggered fitments, TPMS, and manufacturer restrictions may prevent a simple swap. Record what was changed and retest only in the same controlled condition.
Read heat and friction evidence side by side
Before disassembly, compare wheel and rotor temperature after a standardized gentle brake event using an appropriate non-contact or contact method. Temperature is context: a hotter corner may be dragging or doing more work; a cooler corner may be contributing less. Wind, rotor design, measurement distance, and a recent turn can distort comparisons.
Remove and inspect both sides of the axle. Compare inner and outer pad thickness, taper, glazing, cracking, backing-plate fit, hardware, lubrication points, rotor surface, thickness, runout, and contamination. HELLA identifies stuck guides or pistons, contaminated friction material, and unequal wear as causes of one-sided braking.
Oil, grease, brake fluid, or cleaning residue on one friction surface can create a pull even with perfectly matched line pressure. Replace contaminated friction components as specified and correct the source. Do not sand a safety-critical part merely to make the two sides look alike unless the manufacturer procedure permits it.
Inspect caliper motion and hose condition
Check guide pins and boots, pad movement in the bracket, piston retraction, parking-brake mechanism, and mounting hardware. Compare both sides rather than declaring the first stiff component guilty. Corrosion under pad abutments or a twisted boot can produce uneven application or release.
Inspect flexible hoses for cracks, blisters, chafing, twist, kinks, incorrect routing, and heat damage. HELLA describes brake hoses and lines as pressure-transfer components whose damage is safety-relevant. An internally restricted hose may look acceptable outside, so observe application and release behavior through the specified test—not by stabbing, clamping, or opening a line casually.
Confirm fluid level and condition, visible line corrosion, leaks, and recent bleeding history. Air in one branch can change response, but a continuing bubble problem needs its own source diagnosis. Avoid mixing a braking-pull investigation with an unverified “flush everything” repair.
Run a controlled left-right pressure comparison
Use the manufacturer’s brake-pressure test locations, adapters, sealing method, and procedure. Some systems require special fittings at bleeders; others use dedicated adapters or powered-brake service functions. Confirm whether the test changes ABS or brake-control behavior. Secure hoses away from wheels, suspension, exhaust, and moving parts.
Zero and leak-check both channels. Apply the pedal through a controlled fixture or specified procedure so the input is repeatable. Record left and right pressure at several approved input points rather than chasing one exact number. If testing a different axle, reset the setup and keep the conditions documented.
Never drive on public roads with gauges or temporary brake connections installed. Stop if a fitting leaks, a hose moves, the pedal changes unexpectedly, or system pressure approaches any equipment or vehicle limit.
Interpret four paired outcomes
Equal hydraulic pressure with unequal temperature, wear, or brake force sends the case toward friction, caliper mechanics, rotor, tire, bearing, or suspension. The pressure supply reached both sides similarly; it did not promise identical torque at the road.
Unequal pressure that repeats under the same input confirms a hydraulic or control asymmetry. Work upstream and downstream according to circuit design: hose restriction, line damage, trapped air, master-cylinder circuit, proportioning function, ABS hydraulic unit, powered-brake control, or an incorrect service connection. The gauge shows the boundary; it does not name the component.
Equal pressure and equal friction evidence with a continuing pull moves attention to tires, alignment change under load, steering, suspension compliance, rear-axle contribution, road surface, or electronic intervention. Unequal pressure plus unequal mechanical evidence may mean two faults or a mechanical fault created by hydraulic behavior. Do not force every clue into one explanation.
Repair the proven branch
Use an OEM-specific route when brake-by-wire, integrated boost, unusual bleed sequences, or special adapters are involved. OTC, S&G Tool Aid, and manufacturer service tools represent other pressure-test paths; a roller brake tester adds measured wheel-brake force without a road test. A thermal camera adds comparison but not hydraulic proof.
Choose tools by the question. If pads are visibly contaminated and the source is confirmed, pressure gauges add little. If both sides look mechanically correct but brake force differs, paired pressure can locate the next boundary. If hydraulic pressure is equal but wheel force is not, a brake dynamometer or deeper mechanical inspection is more relevant than a more expensive gauge.
After repair, use new required seals and fluid, restore hose routing and clips, torque fasteners correctly, bleed or calibrate by procedure, and scan relevant modules. A component replacement without proof of free motion, dry connections, and correct electronic state is incomplete.
Verify braking balance professionally
Repeat the same paired pressure or measured brake-force test, then inspect for leaks and compare release behavior. Confirm temperatures and friction contact after a controlled bedding or verification procedure if required. Ensure the pedal is stable, warnings are absent, and wheel-speed or stability data remains plausible.
The final record should say which balance was wrong and which became correct: hydraulic pressure, mechanical release, friction condition, tire force, or chassis response. “Replaced left caliper and it feels better” is weaker than a matched before-and-after A/B test.










Comments 0
Questions, fixes, and real-world diagnostic notes from readers.
Be the first to share a diagnostic result or ask a follow-up question.