
Ducati Runs Hot in Traffic but the Cooling Fan Stays Silent? Replay the Heat Event with Live Data

Replay The Heat Event
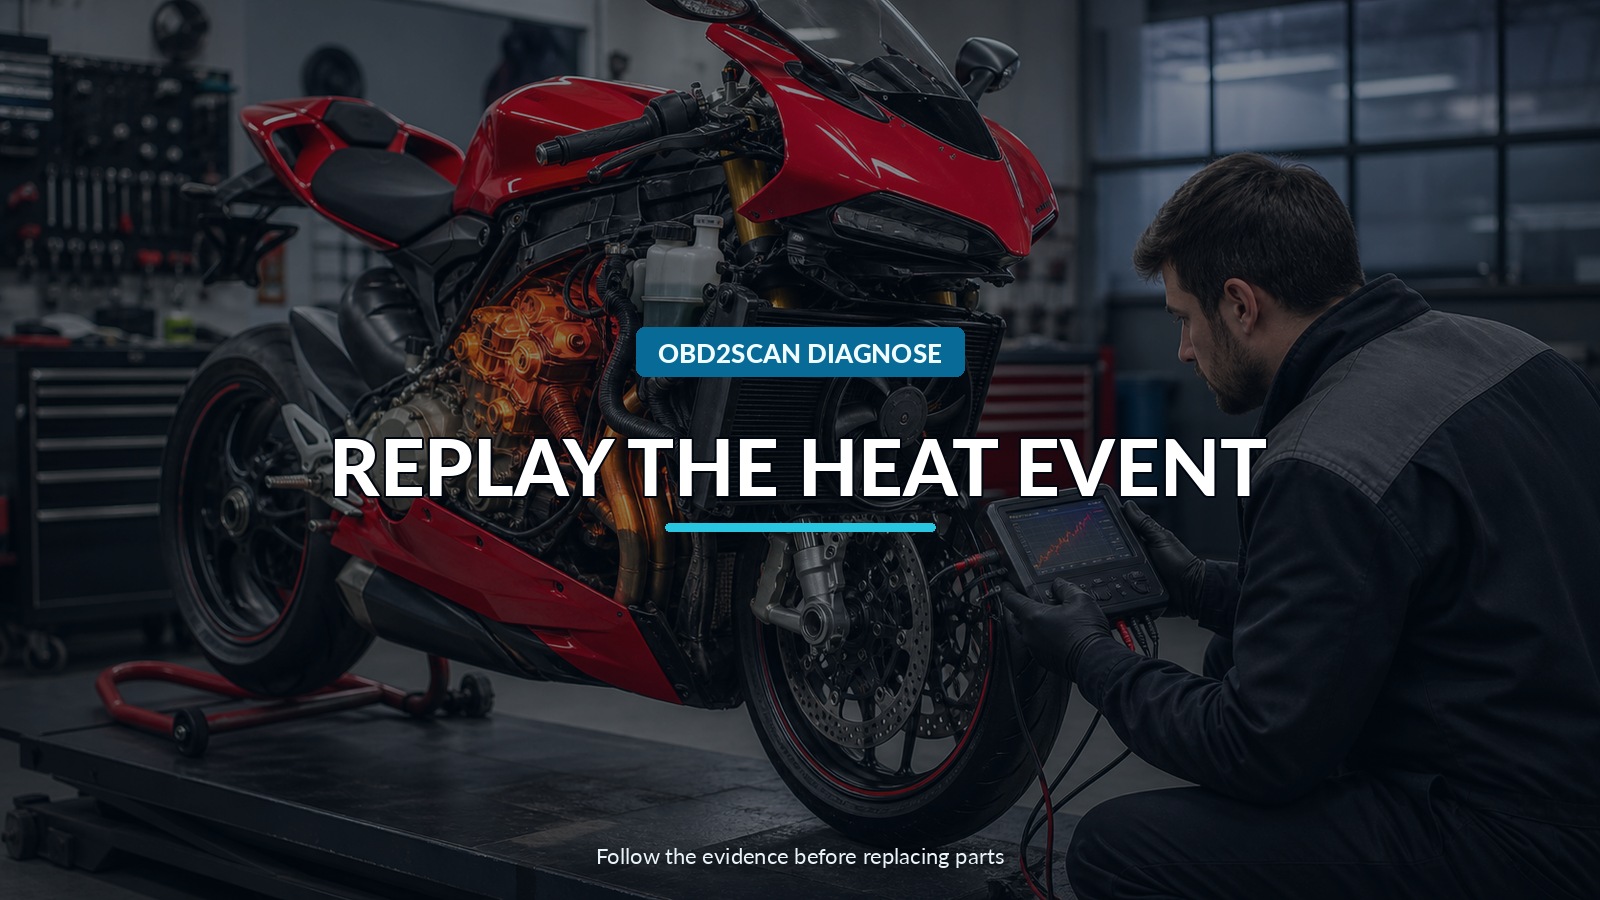
The Ducati feels normal on an open road, then the temperature climbs in slow traffic and the cooling fan remains silent. Road speed has been doing the radiator’s airflow work; when that airflow disappears, the fan becomes part of a timed heat event. Diagnosing it means replaying the event without guessing a universal fan-on temperature.
A Ducati-capable scan tool can observe the sequence from temperature input to fan command and supported active control. The FXTUL M4-DUC Ducati diagnostic tool lists live data, fault and freeze data, and various controls including electric-fan functions on supported applications.
Start from cold, preserve the exact model, year, ambient conditions, warnings, and temperature progression, and keep clear of the fan because it may start without warning. Compare the dashboard with controller data and follow the command into the electrical output and mechanical airflow. Tool availability varies by motorcycle and system, so current coverage and service information control the test.
Quick answer: Replay the traffic heat event from cold using model-specific limits. Compare displayed and live coolant temperature, watch automatic fan command, use a supported active test, then prove fuse, output stage, wiring, ground, motor current, airflow, and coolant circulation.
In this guide
Preserve the original heat event
Record where the temperature rise occurs: stationary idle, crawling traffic, after a high-speed run, or immediately after shutdown. Note ambient temperature, coolant level when cold, displayed temperature, warning messages, steam or odor, and whether the fan was heard at any point. Stop the engine if the manufacturer’s warning or an unsafe condition occurs.
Ask what changed recently. Cooling-system service, battery work, fairing removal, radiator cleaning, accessory wiring, engine tuning, a fall, or long storage can disturb connectors, grounds, coolant level, and airflow. Check whether the symptom existed before that work.
Do not keep idling an overheating motorcycle merely to reach a number. Set a stop condition in advance and have a safe way to cool the motorcycle. Hot coolant, pressurized caps, exhaust, and a suddenly starting fan can injure.
Begin with a cold-soak plausibility check
After the motorcycle has rested long enough to equalize, compare engine-coolant temperature in scan data with intake-air or ambient temperature where appropriate. They need not be identical, but an implausible cold reading can reveal a sensor, wiring, reference, or data problem before the engine is heated.
Inspect the coolant-temperature sensor connector and related harness using the wiring diagram. Look for corrosion, stretched wiring, heat damage, and recent disturbance. Do not substitute resistance values from another Ducati model; sensor curves and test points must come from current information.
Compare the dashboard and scan value during warm-up. The display may be filtered or use segments, so exact matching is not required. You are looking for a smooth plausible trend and any dropout, jump, or disagreement that explains why the controller would not request the fan.
Watch the command, not just the temperature
Log temperature, fan command or state, engine speed, battery voltage, and any relevant flags as the motorcycle warms under controlled conditions. Use the model-specific fan strategy and limits. Some systems use one fan, two fans, stages, pulse-width control, relays, or different behavior with A/C-equivalent loads absent; there is no universal Ducati threshold.
If the controller commands the fan but nothing moves, the case shifts to output, wiring, motor, and mechanics. If temperature passes the expected control point without a command, investigate sensor plausibility, fault strategy, module configuration, inhibited conditions, or service-data assumptions.
Save faults and freeze data before clearing them. An open or shorted fan circuit, temperature-sensor fault, low voltage, or communication event can turn a live observation into a much shorter diagnostic path.
Use an active test as a fork in the road
Where supported by the installed model and current procedure, an electric-fan active test can request operation without waiting for the full heat event. Keep hands, clothing, tools, and leads clear. Make sure the motorcycle is stable and the surrounding area is ventilated.
If the fan runs strongly on command, the motor and at least part of its output path can work. Return to temperature input, automatic command logic, and the conditions of the original event. If the tool reports the command but the fan remains silent, inspect voltage, ground, relay or controller output, and motor mechanics.
An unsupported or rejected active test is not proof of a failed fan. It may reflect model coverage, ECU state, safety prerequisites, or control architecture. Use the wiring diagram and normal command observation instead of repeatedly forcing a menu item.
Follow power from fuse to airflow
Identify the exact fan circuit. Check the fuse for continuity and terminal condition, but investigate why it failed if open. Inspect relay contacts or electronic control stages as fitted. Measure voltage at the motor during a valid command and test the ground path under load.
Battery voltage at an unplugged connector can disappear when current is demanded. Use voltage-drop tests and an appropriate current measurement under the approved procedure. Excessive current may indicate a dragging motor or obstructed blade; very low current with correct voltage may indicate an open motor; no voltage keeps attention upstream.
With power isolated, inspect the blade and shroud for debris, contact, damage, and free movement as allowed. Verify the radiator and oil-cooler surfaces are not packed with insects or dirt and that fairings and ducts are installed correctly. A spinning fan still needs to move air through the heat exchanger in the intended direction.
Do not let a working fan hide a cooling fault
If the fan operates during active test or at its correct command point but temperature still climbs, widen the case. Confirm cold coolant level and correct bleed, cap and pressure integrity, hose condition, thermostat behavior, radiator temperature distribution, pump operation, and unobstructed airflow.
Air trapped after service can interrupt circulation or sensor contact. A thermostat that does not open, damaged impeller, blocked radiator, combustion leak, lean-running problem, or incorrect calibration can overwhelm a functional fan. Use model-specific procedures and do not open the hot system.
Infrared temperature comparisons can help map radiator and hose behavior, but emissivity, surface access, and airflow affect readings. Use them as patterns, not exact coolant temperature. Thermography does not replace flow, pressure, or chemical testing.
Separate dashboard alarm from actual temperature
The rider sees a displayed number or warning, while the controller makes decisions from sensor data and programmed logic. Compare scan data, display behavior, and an independent temperature method only at safe accessible surfaces and with understood limitations. A biased sensor can mislead both the controller and display; a communication or cluster issue may alter only what the rider sees.
Check for aftermarket tuning, modules, or wiring changes that can affect fan strategy or reported temperature. Document software and calibration identity where possible. Do not overwrite a calibration just to see whether the fan starts.
If the sensor value is plausible and the fan command occurs at the documented condition, the control side has largely done its job. If actual cooling remains inadequate, physical heat rejection deserves the attention.
Repair the proven boundary
Repair corroded connectors, damaged wiring, weak grounds, failed relays or control stages, obstructed blades, or a proven motor fault using suitable components and routing. Protect the harness from exhaust heat, sharp fairing edges, steering movement, and water entry. Replace a repeatedly blown fuse only after finding the overcurrent or short.
After coolant work, use the specified fluid and bleed procedure. After electrical work, restore covers and ducts that influence airflow. Clear faults only after recording them, then perform any required output test or initialization.
Avoid installing a manual fan switch as a substitute for an unresolved automatic-control fault. A temporary diagnostic command can provide evidence, but the motorcycle still needs reliable automatic protection.
Replay the heat event from cold
Verification repeats the original sequence with the same model-specific stop limits. From cold, log temperature plausibility, warm-up curve, automatic fan command, actual fan start, voltage behavior, and the temperature response after airflow begins. Confirm the fan stops according to strategy and restarts on a second cycle if the procedure permits.
Finish with a safe road and traffic-condition check only after the workshop test passes. The repair is complete when the sensor, controller, circuit, fan, and cooling system all participate in the same heat event—and the motorcycle no longer relies on open-road airflow to conceal the failure.








Comments 0
Questions, fixes, and real-world diagnostic notes from readers.
Be the first to share a diagnostic result or ask a follow-up question.