
Lowered 2000 Lexus LS400 Cranked but Would Not Start: The Tire Cut the Main Harness

Lowered And No Start? Check The Tire-To-Harness Path
The lowered LS400 cranked, would not start and had lost many unrelated functions at the same time. Rather than inventing a row of failed modules, the repair began with the physical consequence of its ride height. At full tire sweep, the left front wheel had become a slow wiring tool, wearing through the liner and then the main engine-room harness.
One useful machine class at this stage is a bounded measurement tool, chosen only after the circuit or system question is defined. The AUTOOL 92-Piece Circuit Test Lead Kit is one route for that supporting task. The 92-piece lead kit can help a compatible meter reach identified terminals without cutting insulation. It cannot supply Lexus pinouts, identify every conductor by color, repair the loom or prove safe tire clearance.
This article follows one documented vehicle. Its cause is a useful diagnostic pattern, not a failure-rate claim and not permission to replace the same part on a similar symptom. The goal is to show which evidence changed the decision and how the repair was verified.
Quick answer: The dead modules shared a damaged harness, not multiple failed controllers. Reduced clearance let the tire abrade the engine-room loom; repair and rerouting restored the car.
In this guide
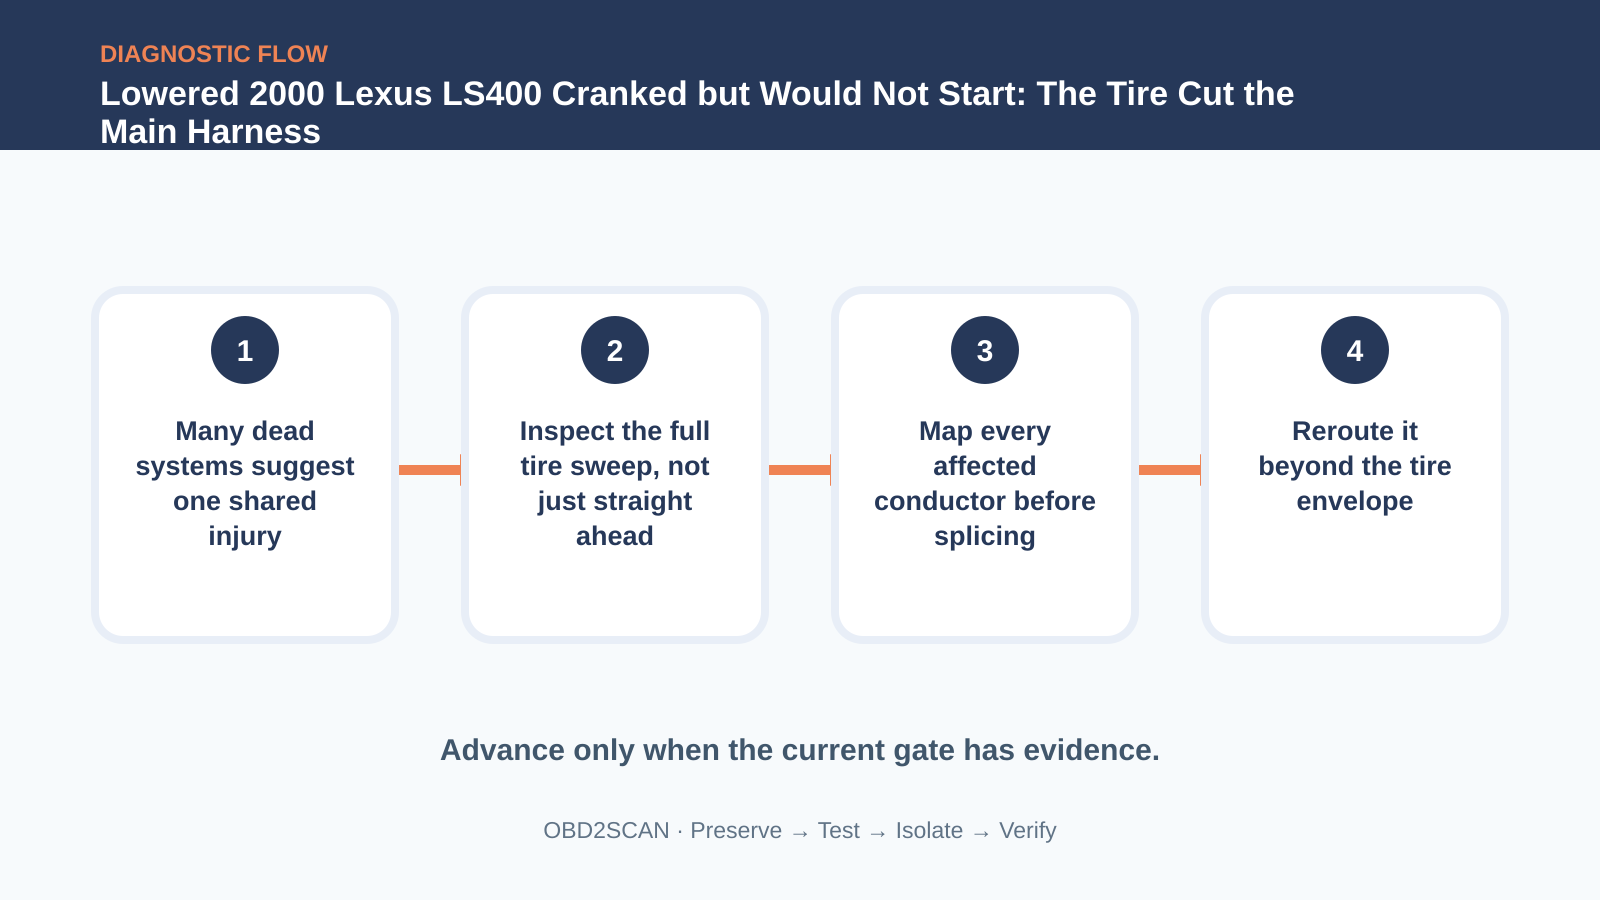
- Many dead systems suggest one shared injury
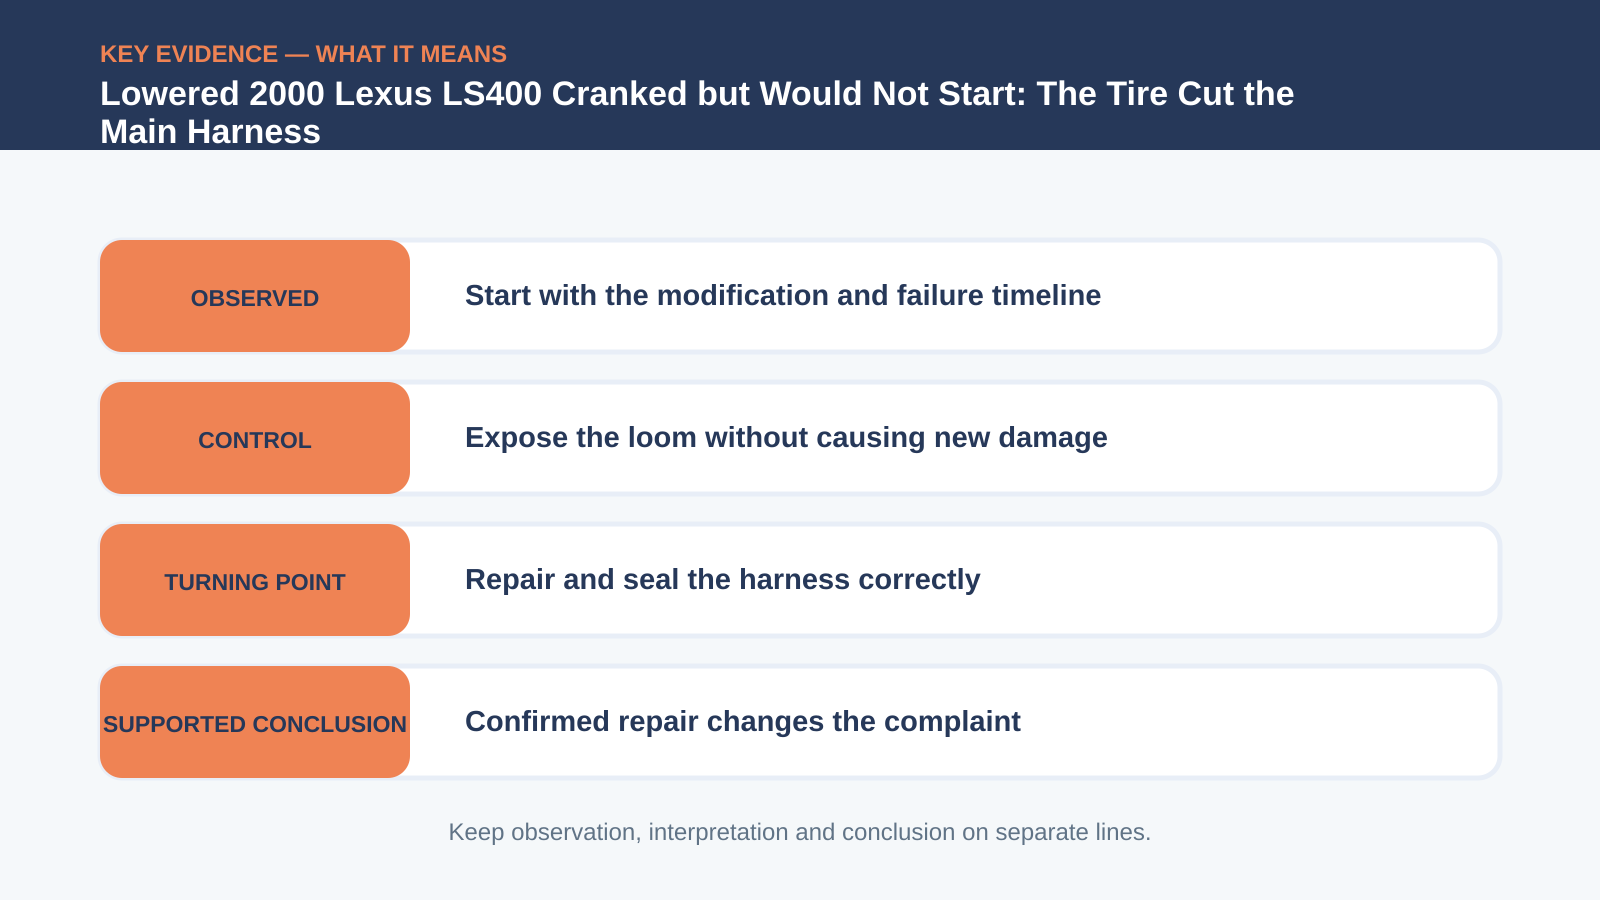
- Start with the modification and failure timeline
- Inspect the full tire sweep, not just straight ahead
- Expose the loom without causing new damage
- Map every affected conductor before splicing
- Repair and seal the harness correctly
- Reroute it beyond the tire envelope
- Verify communication, starting and full-lock clearance
Many dead systems suggest one shared injury
When starting, cluster and accessories fail together, preserve the shared timing. Do not assume a dead MIL means the PCM is defective; it may simply have lost power, ground or network paths. Keep the vehicle in the failed state long enough to capture evidence, but never extend a test beyond the point where a stall, brake event, refrigerant release or moving component creates risk.
Start with the modification and failure timeline
Record suspension modifications, wheel/tire size and when functions disappeared. Ask whether the failure followed a turn, bump or rubbing noise without turning the owner interview into criticism. Write down the conditions before disconnecting anything. That record is what lets a later change mean something instead of becoming another uncontrolled attempt.
Inspect the full tire sweep, not just straight ahead
Raise the car correctly and sweep steering through its full range while observing suspension travel. A tire can clear at straight-ahead static height yet contact the liner in a turn or compression event. Use service information for the exact engine, build and option set. A correct test on the wrong pin or configuration can produce a precise but useless answer.
Expose the loom without causing new damage
Remove the damaged liner and unwrap only enough loom to expose the injury. Photograph conductor positions and connector destinations before separating wires; hidden strands can be cut without the insulation looking fully open. This is the turning point in the documented case. It gains weight because earlier branches were tested and because the symptom changed with one controlled condition.
| Observation | What it supports | What it does not prove |
|---|---|---|
| All modules offline | Shared path deserves priority | Every module failed |
| Tire reached liner | Clearance is inadequate | Harness is already cut |
| Loom visibly abraded | Conductors require mapping | Color alone identifies them |
| Repair/reroute restores car | Damage was causal | Ride height is now safe |
Map every affected conductor before splicing
Use Lexus diagrams and pin checks to map every conductor. Match gauge, shielding and twisted-pair construction; color alone is unsafe where dirt, fading or repeated colors can confuse a repair. Separate observation from inference: record what moved, opened, failed or remained stable, then state only the component or path that result actually narrows.
Repair and seal the harness correctly
Stagger splices, use approved terminals and seals, preserve twist rate and shielding, then support the loom. A bundle of same-length joints creates a stiff bulge exactly where the tire already reached. The repair must remove the demonstrated mechanism and restore mechanical support, sealing, torque or terminal fit—not merely make the symptom disappear once.
Reroute it beyond the tire envelope
Reroute behind durable retainers outside the measured tire envelope and replace the liner. If ride height or wheel fitment cannot provide clearance, the chassis setup must be corrected rather than hiding the harness. Reassemble to the original protection standard. Clear codes only after preserving the pre-repair record and confirming the relevant controller is online.
Verify communication, starting and full-lock clearance
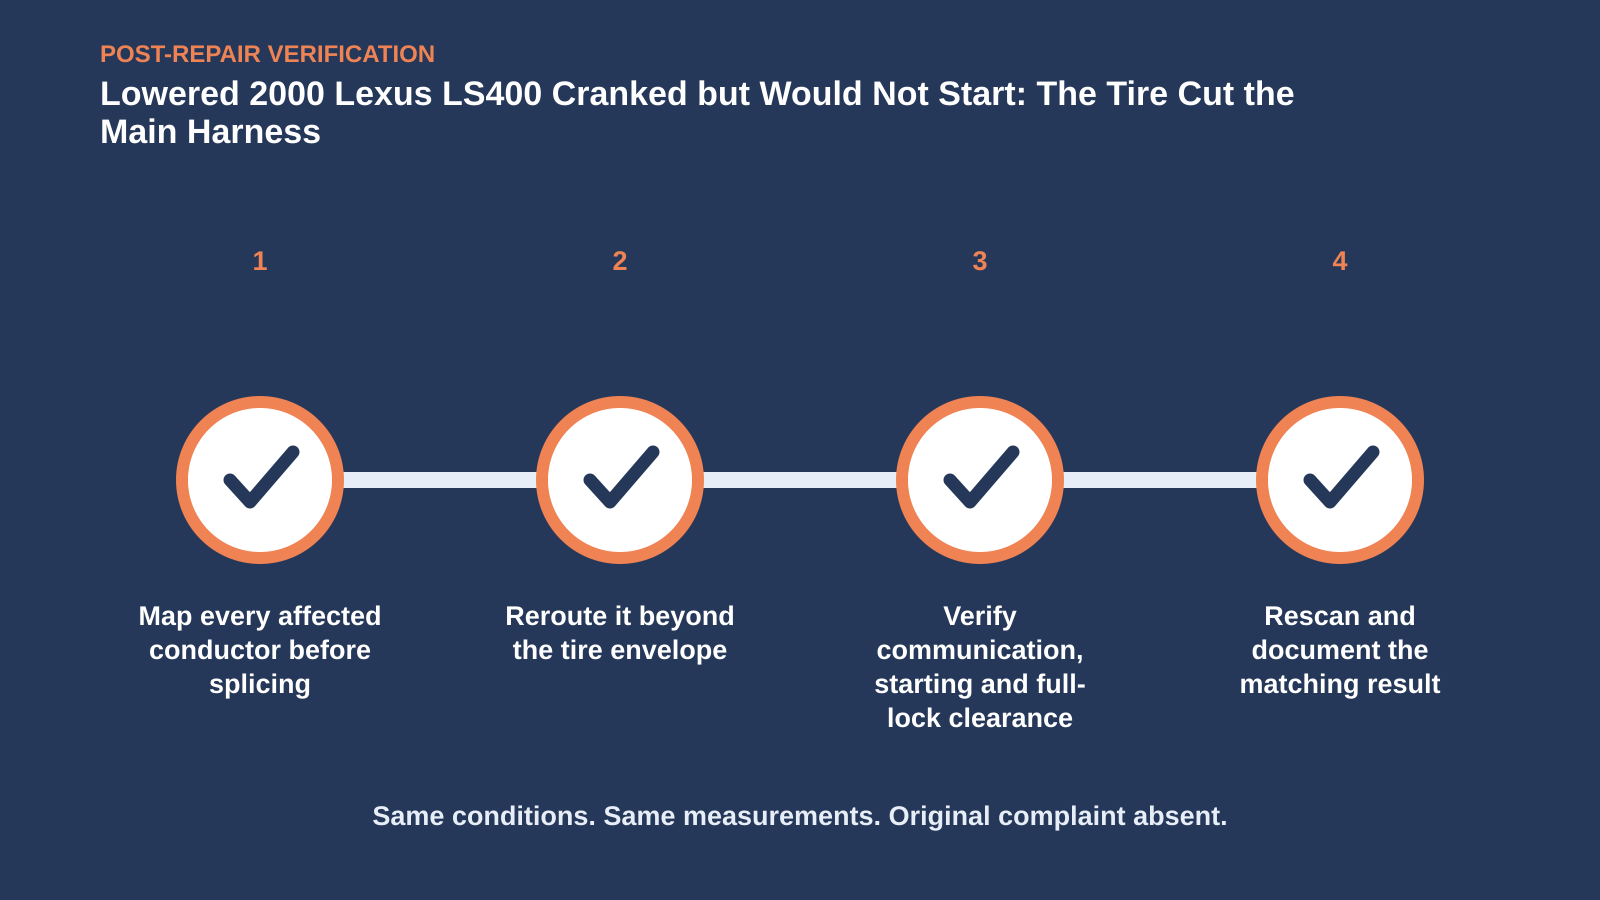
At full lock and loaded clearance, recheck the repaired path. Then complete a full module scan, start the engine and operate every previously dead system; all returned in the documented LS400. Use the customer’s original complaint as the final test specification. Matching conditions and a post-repair scan are stronger closure than a quiet bay or a cleared warning lamp.
For the owner or service adviser, the useful explanation has three parts: what was observed, why the decisive test narrowed the fault, and which original condition was repeated after repair. It should not promise that every similar vehicle needs the same component. This was one evidence chain on one vehicle, and the appropriate next step on another car may change with build data, prior work, safety condition and test results. That honest boundary makes the case easier to trust and more useful at the next diagnostic visit.
The dead modules shared a damaged harness, not multiple failed controllers. Reduced clearance let the tire abrade the engine-room loom; repair and rerouting restored the car. The reusable lesson is narrower and more valuable: Connect a chassis modification to a hidden electrical path without moralizing; clearance and shared symptoms do the explaining.









Comments 0
Questions, fixes, and real-world diagnostic notes from readers.
Be the first to share a diagnostic result or ask a follow-up question.