
Turbo Underboost with No Visible Split? Test the Charge-Air Path Before Replacing the Turbo

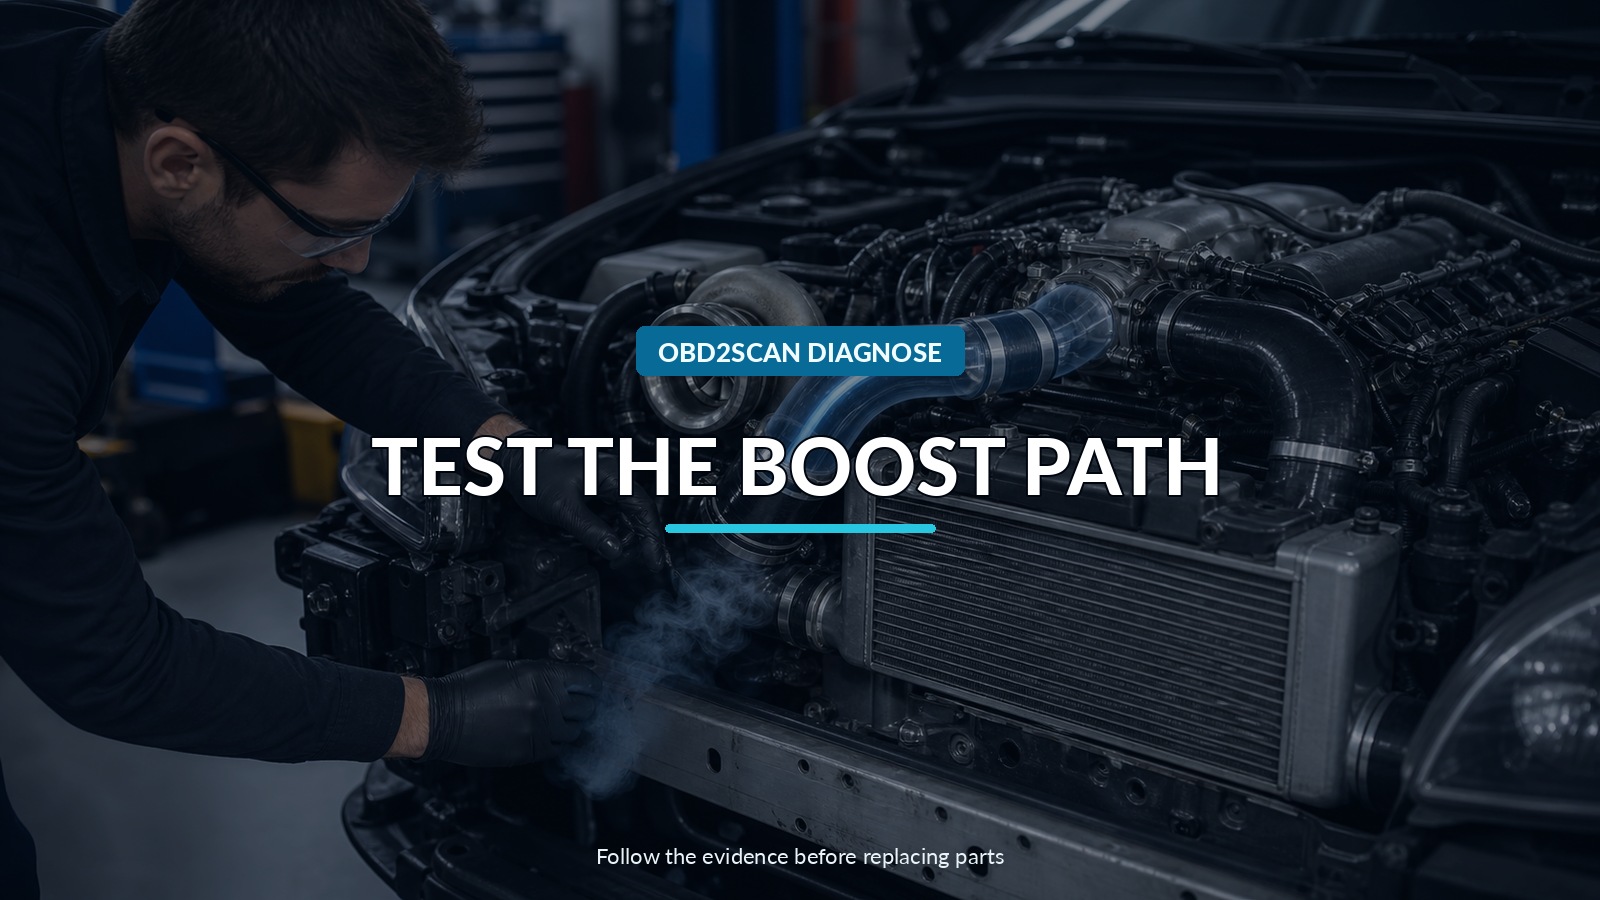
Test The Boost Path
An underboost code says the measured pressure did not match the control system’s expectation under a particular condition. It does not say the turbocharger is defective. Air-filter restriction, charge-air leakage, intercooler damage, wastegate or vane control, sensor error, exhaust restriction, fuel limitation, and engine condition can all spend the available boost before it reaches the intake manifold.
If a visual inspection finds no split, the next capability is a controlled containment test of the charge-air path. An air-first, smoke-second machine such as the MRCARTOOL T130 smoke leak detector can first show whether the sealed path loses pressure and then help localize that loss. Its two modes support that sequence, while the wider smoke-machine range provides alternative configurations for the same kind of containment work.
Test only on a cool, stationary engine with the manufacturer’s safe connection and pressure. Shop air at an arbitrary regulator setting can damage sensors, seals, diaphragms, intercoolers, or crankcase paths. Never spin a turbocharger with compressed air and no controlled lubrication.
Quick answer: Save the commanded underboost event, normalize absolute and gauge pressure, inspect intake and exhaust paths, then use a regulated engine-off containment test on the approved charge-air boundary before judging turbo efficiency or actuator control.
In this guide
Treat underboost as a missing pressure budget
Think of boost as the result of a complete flow system. Ambient air must pass the filter and compressor inlet. The turbine needs suitable exhaust energy. The compressor must operate efficiently. Charge air must stay inside pipes and intercooler. The wastegate, bypass, diverter, or variable vanes must be commanded and move correctly. The pressure sensor must report accurately, and the engine must consume the air.
Write the complaint in operating terms: engine speed, load, gear, altitude, ambient temperature, requested torque, transient versus sustained pull, smoke, noise, oil use, regeneration state, and whether power returns after key-off. A code from a hill climb cannot be reproduced by revving in neutral.
Garrett’s diagnostic guidance explicitly advises checking filters, hoses, pipes, fuel injection, exhaust restriction, connections, and intercooler leakage before replacing the turbo. That sequence prevents a new turbo from inheriting the old cause.
Save the commanded event
Read all relevant powertrain and aftertreatment codes and save freeze-frame. Log desired boost or manifold pressure, actual pressure, barometric pressure, mass airflow, engine speed, load, accelerator request, wastegate or vane command and position, charge-air temperature, exhaust pressure if available, fuel-rail behavior, and DPF status.
Normalize gauge and absolute pressure. Some data displays manifold absolute pressure, which includes atmospheric pressure; others display boost above atmosphere. Compare key-on engine-off manifold pressure with barometric pressure for a plausibility check. Altitude changes the available baseline.
Look at timing. Actual boost that rises late, peaks low, oscillates, or suddenly drops can indicate different branches. A flat sensor signal may be electrical. Correct pressure at one sensor but low airflow can suggest a restriction or interpretation problem. Do not tune the actuator before proving the air and exhaust paths.
Inspect air-in and exhaust-out paths
Start before the compressor: air filter, intake duct collapse, loose liners, debris, crankcase-vent connections, compressor-inlet seals, and mass-airflow contamination. A soft hose can collapse only under load. An inlet restriction reduces compressor supply without leaving a charge-side smoke trail.
Inspect charge pipes, O-rings, clips, resonators, intercooler end tanks, welds, throttle-body connection, manifold, sensor seals, and diverter or bypass valve. Oil mist can mark a leak site, but some oil film is normal in many systems. A joint that looks seated can leak as the engine torques or pressure rises.
Then inspect exhaust manifolds, gaskets, turbine inlet, actuator linkage, catalyst, DPF, and exhaust-backpressure evidence. A pre-turbine exhaust leak reduces the energy driving the turbine. A blocked aftertreatment can alter power and turbo behavior. Smoke in the intake cannot answer either question.
Prove charge-air containment
Identify which section the manufacturer permits you to seal and where the test source connects. Protect or isolate sensors, crankcase paths, and valves as specified. The engine must be off. Use a regulator or machine whose output is appropriate for the system, and never let a general smoke-machine maximum become the vehicle test pressure.
Begin with air mode. Observe pressure and flow long enough for flexible hoses to expand and the system to stabilize. A pressure loss or continuing flow shows that the defined boundary is not tight, but the temporary plugs, adapters, and test hose are part of that boundary too.
Use a compatible leak-detection solution at accessible joints where permitted. Listen cautiously; do not put hands near an unsafe pressurized component. If the system holds at its specified test condition, stop hunting imaginary smoke and return to command, sensor, exhaust, fuel, and turbo-efficiency branches.
Use smoke only to locate a proven loss
Once air mode proves containment loss, add smoke at the same safe pressure and watch clamps, lower intercooler corners, hidden resonators, manifold seams, bypass valves, and connections behind shields. A mirror or inspection camera can reveal smoke that rises inside a crowded bay.
MRCARTOOL’s T130 manual separates air and smoke modes, which fits this sequence: decide whether a leak exists before filling the bay with smoke. Other professional routes include Redline Smoke Pro, Bosch/OTC LeakTamer, AutoLine Pro, THINKCAR, AUTOOL, and FXTUL families. Compare controllable pressure, flow feedback, adapters, air-source requirements, service support, and the vehicle task—not smoke volume alone.
Smoke escaping from a crankcase breather or an intentionally open valve can be normal for the setup. Trace the system diagram before labeling every outlet a fault. Do not introduce smoke into a hot exhaust, oxygen-rich area, fuel system, or any system the equipment manufacturer excludes.
Separate actuator, sensor, and turbo efficiency
If containment is good, test wastegate, vacuum actuator, electronic actuator, boost-control solenoid, variable-geometry mechanism, bypass valve, and their supply circuits by exact procedure. Compare command with measured movement. A commanded position is not proof the linkage moved; movement is not proof the vanes or wastegate seal correctly.
Validate pressure and airflow sensors against known conditions and independent measurements where possible. Check supply, ground, signal, connector tension, contamination, and hose routing for remote sensors. A biased sensor can make a healthy system appear underboosted or cause the controller to reduce boost.
Assess the turbocharger after system causes: compressor and turbine wheel condition, housing contact, shaft movement by manufacturer limits, oil supply and drain, crankcase pressure, and signs of overspeed or foreign-object damage. Do not use generic finger-feel rules to condemn a bearing system designed with oil-film clearance.
Fuel limitation, EGR behavior, low compression, cam timing, exhaust restriction, and DPF protection strategies can reduce exhaust energy or commanded torque. If desired boost itself is low, learn why the controller is limiting the request.
Choose a controlled smoke route
For occasional intake containment work, a self-contained smoke machine with known output and compatible adapters may be enough. Professional EVAP microleak work can require calibrated flow, inert gas, ultraviolet dye, and certification that a general intake machine does not provide. A shop already equipped with regulated air may prefer a different platform from a mobile technician.
T130 fits an air-then-smoke workflow, but it does not replace a scan tool, pressure transducer, vacuum gauge, actuator tester, or exhaust backpressure measurement. The right machine locates a proven loss without becoming the explanation for every underboost code.
Replay the original load
After repair, restore clamps, seals, pipes, heat shields, wiring, and actuator clips. Check for oil, coolant, exhaust, and air leakage. Clear codes only after saving them, then repeat the original controlled load while logging the same channels.
Compare desired and actual pressure response, airflow, actuator command/position, exhaust and fuel limitations, noise, smoke, and temperature. Confirm no overshoot or new leak. A rev in the bay is not validation for a highway-load complaint.
The closing evidence should account for the missing pressure budget: where it was lost, how that boundary was proven, and why the same load now produces the expected result without condemning the turbo by association.









Comments 0
Questions, fixes, and real-world diagnostic notes from readers.
Be the first to share a diagnostic result or ask a follow-up question.