Brake Bleeder Keeps Showing Bubbles? Find Their Source Before Chasing the Pedal

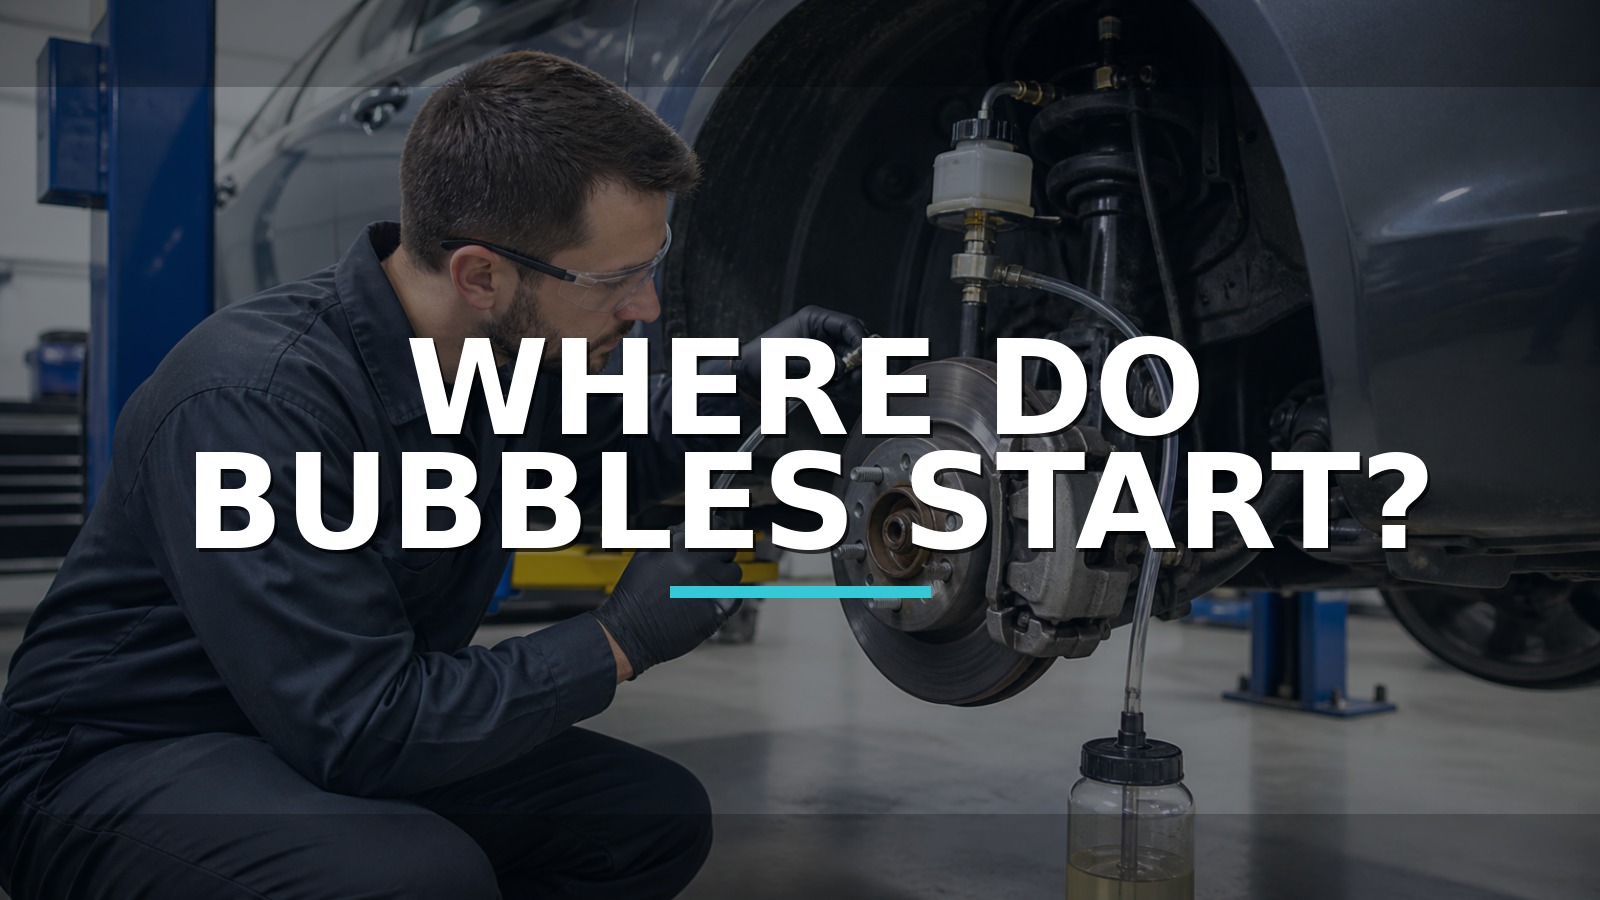
Where Do Bubbles Start?
Every bubble needs a source. Some bubbles came from the vehicle’s hydraulic circuit; others enter around loose bleeder threads, a poor reservoir adapter, an empty supply hose, or the vacuum side of the equipment. Chasing all of them with more fluid can leave the real source untouched—and a soft pedal is never something to explain away.
For vehicles whose service procedure permits pressure bleeding, a regulated reservoir-fed exchanger can maintain fluid supply and push air toward open bleeders. The MRCARTOOL F118 pressure brake-fluid exchanger is one option for maintaining that controlled supply during the bleed. Use only the vehicle manufacturer’s pressure, fluid, sequence, and ABS instructions; excessive pressure can damage a master cylinder.
Brakes are safety-critical. Stop if the reservoir empties, fluid leaks externally, a hose balloons, a line is damaged, pressure cannot be controlled, or the pedal lacks safe reserve. Do not road-test until static checks pass.
Quick answer: Stop driving if the pedal is unsafe or fluid is leaking. First determine whether bubbles enter at the bleeder connection or travel from the hydraulic system, then verify reservoir control, adapter seal, sequence and ABS procedure before judging the master cylinder or trapped air.
In this guide
- Decide whether the vehicle is safe to test
- Separate hose-side bubbles from hydraulic air
- Check reservoir adapter and supply integrity
- Bleed in the manufacturer’s sequence and pressure
- Account for ABS and component replacement
- Investigate a pedal that stays soft without visible air
- Compare pressure, vacuum, and manual routes
- Verify pedal and braking performance safely
Decide whether the vehicle is safe to test
Record why the system was opened: routine fluid exchange, caliper or hose replacement, master-cylinder service, ABS hydraulic-unit work, an empty reservoir, or a pedal complaint that existed beforehand. Inspect every disturbed joint, flexible hose, hard line, caliper, wheel cylinder, master cylinder, reservoir, cap, and bleeder. Confirm the exact brake-fluid specification from the vehicle, not color or a generic label.
If fluid escaped below the master-cylinder ports, air may have entered upstream. If the ABS hydraulic unit or master cylinder was replaced, special bench bleeding, scan-tool commands, or a prescribed sequence may be mandatory. If no component was opened and the pedal was already soft, do not assume an ordinary exchange will repair mechanical adjustment, hose expansion, seal bypass, bearing play, caliper flex, or pad knock-back.
Secure the vehicle on appropriate support. Keep fluid off paint and contaminated surfaces. Never reuse collected fluid.
Separate hose-side bubbles from hydraulic air
Observe where bubbles appear. A clear discharge hose that shows bubbles only near the bleeder nipple may be drawing air around the screw threads, especially during vacuum bleeding. Bubbles entering from the caliper before the nipple can indicate hydraulic air. A stream that appears when the collection hose is moved may belong to the hose connection itself.
Submerge the discharge hose end in clean compatible fluid when the procedure calls for it, keep the hose rising without unnecessary loops, and make sure it fits tightly. Open the bleeder only enough for flow. Inspect the screw seat and passage for corrosion or blockage. Thread sealant is not a universal solution and must never contaminate the hydraulic seat or fluid.
With pressure bleeding, bubbles on the supply side can come from an unprimed machine hose, low fluid, leaking pickup, loose fitting, or a reservoir adapter that admits air. Prime the equipment before connecting and keep its fluid-level safeguards active.
Check reservoir adapter and supply integrity
Select an adapter that matches the reservoir neck and sealing surface. Clean the area first so dirt cannot enter. Inspect the cap seal, chain or restraints, and reservoir for cracks. Apply a low initial pressure and watch for leakage or distortion before beginning.
A sealed adapter is not permission to use the equipment’s maximum. Consult the vehicle procedure, especially for older reservoirs, remote clutch chambers, plastic tanks, and master cylinders sensitive to pressure. The F118’s adjustable range lets the technician set a specified low working pressure; judgment lies in choosing that number correctly.
Verify the machine contains fresh, correct fluid and that previous fluid chemistry will not contaminate it. If the equipment is not dedicated or its cleanliness is uncertain, stop. Mixing incompatible fluids can damage seals throughout the system.
Bleed in the manufacturer’s sequence and pressure
Follow the exact wheel order, valve sequence, pressure, ignition state, and pedal instructions. The old rule “farthest wheel first” does not cover every split circuit, cross-plumbed system, electronic brake unit, or manufacturer procedure. Some systems require one wheel at a time; others permit paired exchange. A simultaneous two-wheel feature is useful only where the hydraulic layout and instructions allow it.
At each wheel, inspect before opening, fit the hose, open the bleeder by the specified amount, and monitor fluid until it is clean and bubble-free by the procedure. Close the bleeder before removing the hose and torque it correctly. Keep a volume record so an unexpectedly large transfer triggers a recheck rather than draining the supply.
If bubbles continue indefinitely, stop and isolate the source. Repeating liters of fluid through the same setup is not diagnosis.
Account for ABS and component replacement
Air trapped in an ABS modulator may not leave during ordinary wheel bleeding because isolation and dump valves are not in the needed state. Use the manufacturer’s scan-tool service bleed when required, then repeat the hydraulic sequence. A scan command that cycles valves does not refill the reservoir or fix a leak; monitor fluid and follow every prompted step.
A replaced master cylinder may require bench or on-vehicle priming according to its design. A caliper mounted on the wrong side can place the bleeder below the piston’s high point, making complete bleeding impossible. A flexible hose can be twisted. Drum-brake shoe adjustment can create long travel even when the fluid is air-free.
Keep hydraulic air and pedal geometry as separate branches. The pedal can remain soft or long because caliper slides, rear adjustment, pad seating, bearing movement, hose expansion, master-cylinder bypass, or mechanical flex is wrong.
Investigate a pedal that stays soft without visible air
With the engine off and the vehicle procedure in mind, note initial travel, firmness, whether the pedal sinks under steady force, and whether pumping changes it. Then consider booster effect with the engine running. Do not use a generic pedal test on systems whose electric booster or brake-by-wire procedure says otherwise.
A pedal that firms with repeated pumps can support excess clearance, pad knock-back, rear adjustment, or remaining air. A pedal that slowly sinks may support internal bypass or external leakage, but flex and electronic strategies must be considered. Clamp-off tests can damage hoses and are appropriate only with specified smooth tools and a suitable procedure.
Inspect for micro-leaks under maintained pressure, caliper orientation, pad and rotor installation, wheel-bearing play, and hose expansion. If the system loses fluid or pedal reserve, do not drive it.
Compare pressure, vacuum, and manual routes
Pressure bleeding supplies fluid from the reservoir side and works well for many complete exchanges. Motive Products offers a manual pressure route; ATE provides established professional equipment; F118 adds powered pressure regulation and monitoring. Vacuum bleeding is convenient at the wheel but can draw cosmetic bubbles around threads. Manual two-person bleeding needs communication and must avoid overtravel where harmful. Phoenix reverse bleeding changes flow direction and has its own compatibility requirements.
AUTOOL and FXTUL also offer value-oriented exchange equipment. No audited model-level market-share dataset establishes a winner. Choose by reservoir-adapter coverage, pressure control, fluid isolation, ABS workflow, hose and seal serviceability, clean-fluid handling, and current support—not merely tank capacity. A low-volume owner may be safer paying a qualified shop with the correct scan bleed and adapters.
Verify pedal and braking performance safely
Depressurize and disconnect the equipment by its instructions. Set reservoir level correctly, install the cap, clean spills, torque bleeders, reinstall protective caps, inspect every joint, and confirm no tools or hoses remain. Perform a firm static pedal test and hold while inspecting for leakage.
Use scan-tool completion steps and code checks where required. Confirm booster operation, warning lamps, and fluid level. Begin any dynamic test at very low speed in a controlled area, checking normal stop, pedal height, pull, noise, and ABS warning state before increasing risk. Follow the service procedure for bedding or calibration.
The closing record should identify bubble provenance: equipment-side air was eliminated by priming and resealing, hydraulic air was removed by the prescribed ABS sequence, or no air remained and the soft pedal was traced to a mechanical/hydraulic fault. “Kept bleeding until it felt better” is not a safe brake diagnosis.