
Spark Plug Passes a Bench Test but the Cylinder Still Misfires—What Did It Prove?

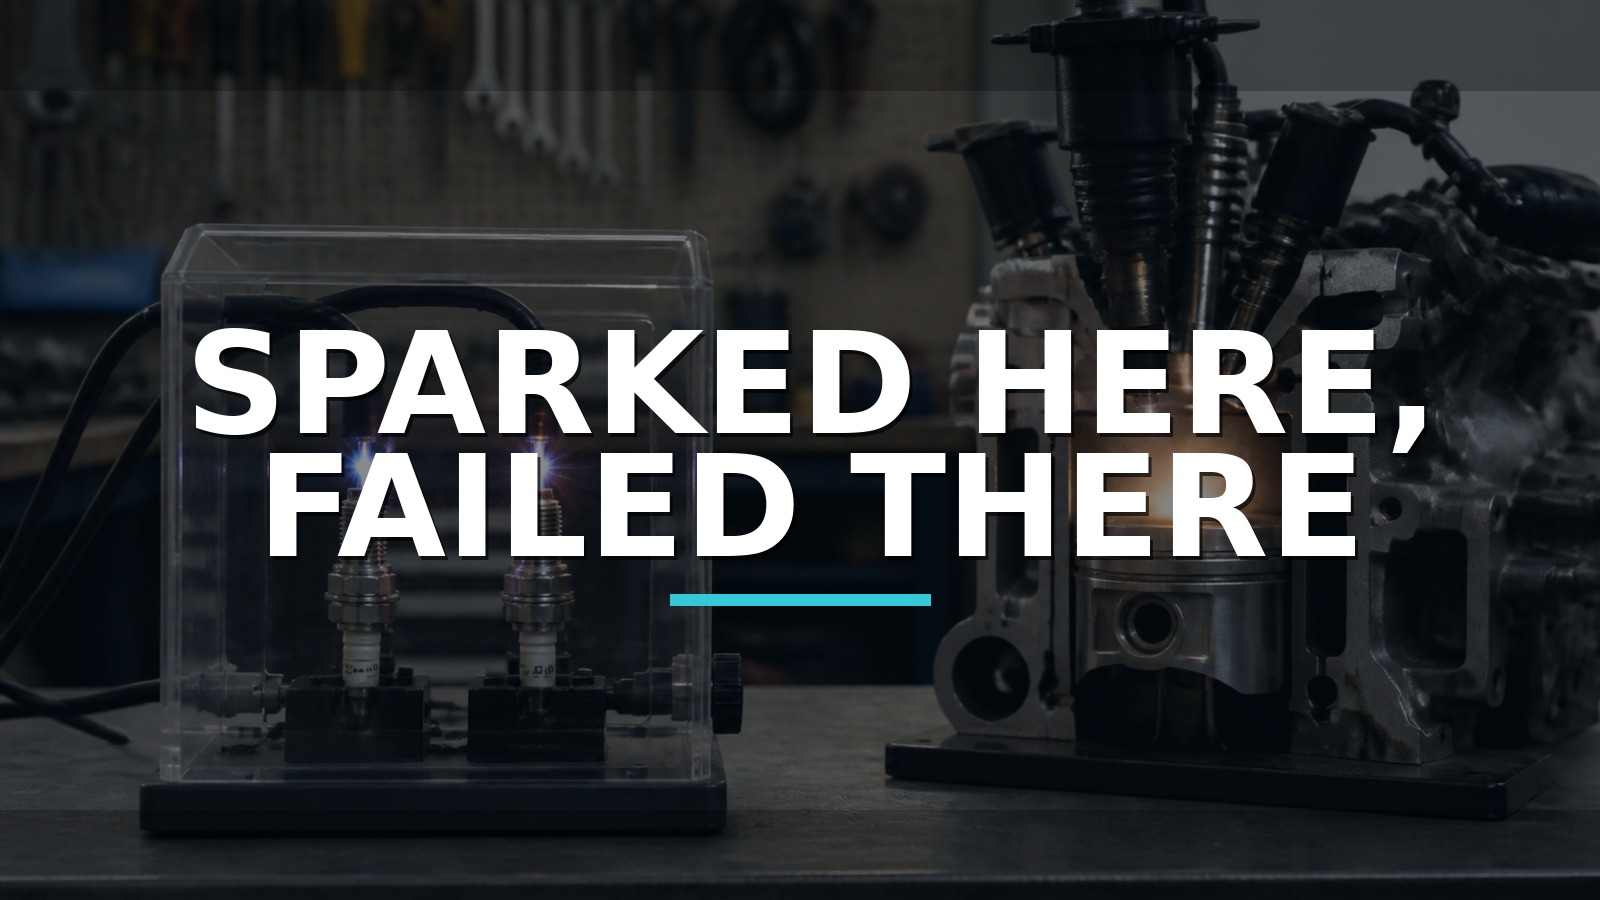
Sparked Here, Failed There
A spark in open air proves that a plug can spark in that fixture at that moment. It does not recreate cylinder pressure, mixture density, combustion heat, coil energy, installed ground path, boot insulation, or the vibration that existed when the engine misfired. “The plug passed” is therefore useful evidence—but only after the claim is written narrowly.
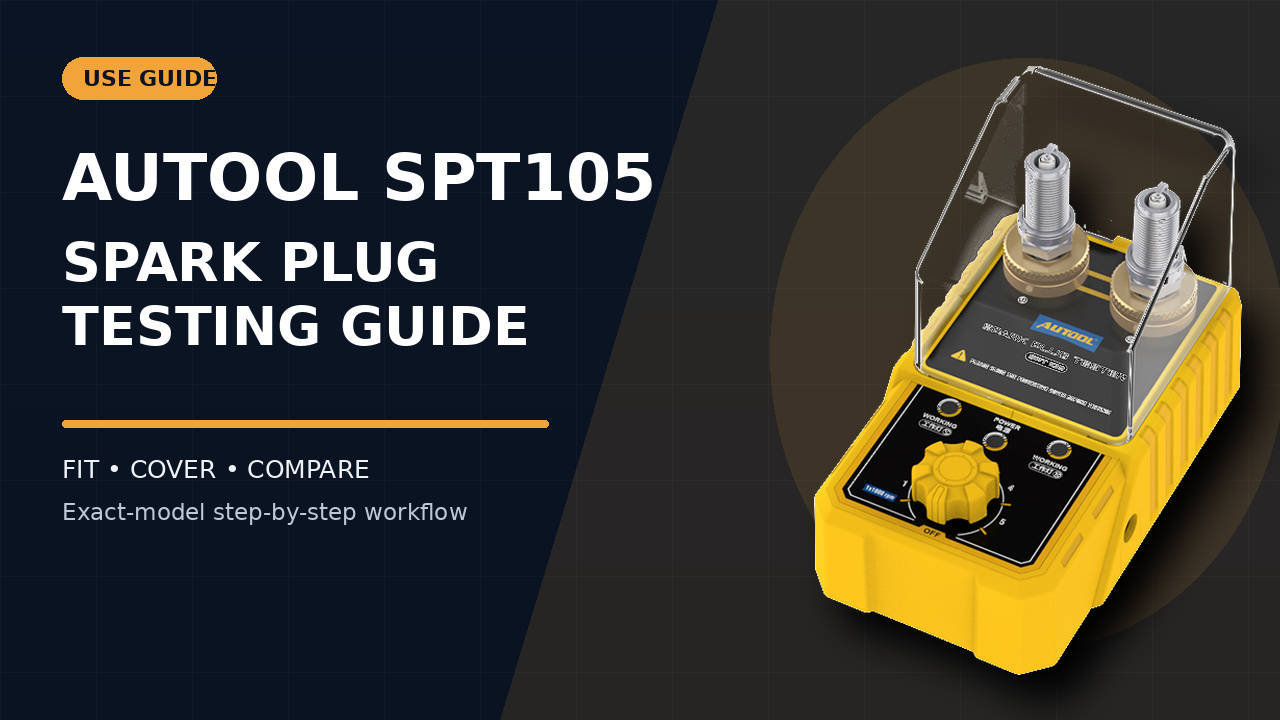
When the question is whether two removed plugs behave consistently under the same open-air bench setting, use a purpose-built comparator instead of holding a loose plug near ground. The AUTOOL SPT105 dual-hole spark plug tester is one two-position route with adjustable simulated speed for repeatable A/B observation. It can reveal an obvious difference between plugs in that fixture; it cannot reproduce cylinder pressure or diagnose the installed coil, boot, ground path, fuel delivery, or compression.
This lab note keeps every conclusion inside the boundary of the experiment. High-voltage ignition can injure and uncontrolled spark can ignite vapor. Use the product and vehicle procedures; never crank with loose plugs, exposed fuel, or defeated safeguards.
Quick answer: A visible open-air spark proves only that the plug fired in that fixture. Preserve the installed misfire pattern, compare plugs under one controlled setting, swap wells to check repeatability, and then test the installed ignition, fuel and mechanical branches under the original load.
In this guide
Write the claim the bench can support
Before testing, complete this sentence: “Under the same fixture setting, plug A produced ___ while comparison plug B produced ___.” Useful observations include no spark, intermittent spark, a visibly different discharge location, or failure that begins after a repeatable warm-up. “Good under compression” and “the coil is good” are outside the experiment because neither cylinder pressure nor the vehicle coil is present.
Control what you can: use the tester’s correct power source, clean and dry wells, identical insertion depth, the same adjustment, and similar plug temperature. Compare like-for-like plugs where possible. A new plug of a different design, gap, resistor, heat range, or projected tip can behave differently without condemning the used plug.
| Observation | Defensible statement | Unsupported leap |
|---|---|---|
| No visible spark in one well | Plug/connection failed this bench comparison | It caused the installed misfire |
| Both plugs spark consistently | Both fired in this fixture | Both will fire under cylinder pressure |
| Spark tracks outside insulator | Visible leakage/contamination deserves inspection | Coil and boot are healthy |
| Difference appears hot | Temperature affects this bench result | Exact engine failure is proven |
Preserve the misfire pattern
Save DTC status, freeze frame, misfire counters, fuel trims, engine speed/load, coolant temperature, and the conditions that trigger the complaint before moving plugs. A cold-start misfire that fades, a hot-load breakup, a wet-weather fault, and one cylinder counting at idle are different experiments. Note fuel level, recent repairs, plug service interval, oil/coolant use, and whether the warning lamp flashes.
A flashing malfunction indicator or severe misfire can overheat the catalyst; stop unnecessary running. If fuel odor, backfire, damaged ignition wiring, or mechanical noise is present, resolve the safety concern first. Mark each removed plug by cylinder and photograph it under the same lighting. Mixing positions turns a valuable comparison set into anonymous parts.
Compare plugs under one setting
Inspect the tester and plug for oil, fuel, carbon, water, chipped porcelain, damaged threads, and excessive gap before energizing. Fit the two plugs securely without forcing threads. Begin at the manual’s low setting, observe both wells, and change one control at a time. Repeat enough to distinguish a persistent difference from a connection that was not seated.
The two-hole layout is strongest when one plug is the suspect and the other is a known, correctly specified comparison. Swapping the plugs between tester wells controls for a weak well or contact: if the behavior follows the plug, the plug-related hypothesis strengthens; if it stays with the well, inspect the fixture or connection. This is a simple laboratory control that many quick demonstrations omit.

Read the plug without overreading it
Describe deposits before assigning causes. Record dry or wet, color, location, thickness, electrode wear, insulator cracks, glazing, impact marks, and whether the shell or terminal is loose. Compare all cylinders under equal light. Denso and other plug makers publish visual guides, but each appearance normally has several possible causes and must be paired with operating evidence.
A fuel-wet plug may reflect no spark, excess fueling, repeated cranking, or low compression that prevented combustion. An unusually clean plug can suggest washing but does not identify coolant or fuel. Oil deposits can enter through rings, guides, ventilation, or assembly history. Rounded electrodes and excessive gap increase required firing voltage, yet the ignition system’s available voltage still matters. The image begins a hypothesis; it never ends the case.
Return to the installed ignition path
Reinstall or substitute only correctly specified plugs and torque them by the vehicle/plug procedure. Inspect the coil boot, spring, terminal, tracking marks, oil or water in the well, harness, connector tension, and ground paths. A plug can fire in the SPT105 while the installed boot leaks to the cylinder head under load. A coil can pass an idle observation and fail as cylinder pressure and voltage demand rise.
Use scan data, a suitable adjustable gap tester, primary current measurement, or secondary ignition equipment according to system design. Do not pierce insulation or attach a generic secondary probe without knowing the ignition type and tool rating. Coil-on-plug, waste-spark, capacitive, and ion-sensing systems need different interpretations. A basic spark viewer answers “is there a visible discharge?”; a scope can answer timing, dwell, current, burn behavior, and intermittency when applied correctly.
Separate fuel and mechanical causes
Misfire is a combustion result, not an ignition code word. If installed ignition evidence is sound, test fuel delivery and mechanical sealing in an order appropriate to the symptom. Injector command does not prove flow; a click does not prove quantity or spray. Fuel trims and oxygen response describe system effects and can be distorted by the misfire itself.
Relative compression can screen cylinder contribution, followed by an absolute compression or leakage method when indicated. In-cylinder pressure and waveform correlation are specialist routes for valve timing, sealing, and dynamic faults. Check coolant intrusion, oil fouling, vacuum leaks, and valve-train behavior without using one generic compression limit. The exact engine procedure and comparison among cylinders control.
| Layer | Useful test question | Bench plug test contribution |
|---|---|---|
| Plug | Does it spark consistently in this fixture? | Direct, bounded comparison |
| Installed ignition | Can coil, boot, ground, and plug fire under operating demand? | None beyond plug clue |
| Fuel | Is correct fuel quantity delivered and controlled? | None |
| Mechanical | Does the cylinder fill, seal, and time correctly? | None |
| Control | Is the module commanding events correctly? | None |
Use swaps as controlled experiments
A cylinder-to-cylinder swap can be powerful if only one item moves, positions are documented, and the original condition is repeated. Move the suspect plug to a known cylinder, clear counters only after saving them, and see whether the active misfire follows. If it does, inspect specification, damage, gap, and installation before declaring causation. If it stays, the plug hypothesis weakens.
Do not move a visibly damaged, fuel-soaked, oil-fouled, or incorrect plug into a healthy cylinder simply to satisfy the experiment. Do not swap coded injectors, coils with different revisions, or components whose removal creates sealing or calibration work without following the service procedure. A swap is not automatically low risk; its value comes from changing one safe variable and restoring everything afterward.
Compare spark-test routes
The relevant market has no auditable public model-level share table, so compare methods. Lisle and OTC offer inline or adjustable ignition testers for installed paths. Hantek and PicoScope routes add waveform work. Dedicated plug cleaners/testers can add chamber-like or cleaning functions but vary in pressure, control, and evidence quality. A simple visual tester is an entry route; an ignition scope plus trained interpretation is the specialist route.
| Route | Best use | Boundary |
|---|---|---|
| Two-hole bench comparator | Fast same-setting plug A/B screen | Open-air fixture, not installed demand |
| Inline/adjustable spark tester | Check installed coil output path when approved | Still not full combustion proof |
| Scope/current/secondary probe | Dynamic ignition evidence and intermittency | Requires correct probes and interpretation |
| Substitute known-good plug | Controlled practical confirmation | Must match specification and condition |
| Outsource/no-buy | Rare advanced ignition or mechanical cases | Less immediate control |
If the missing evidence is a repeatable A/B comparison between two removed plugs, a two-position bench tester can answer it more cleanly than improvised open-air sparking. The SPT105 places both plugs under the same selected setting so a visible inconsistency can be repeated and documented. Keep the conclusion narrow: the comparison describes behavior in the fixture, not performance under cylinder pressure.
Use an inline or adjustable tester when the installed coil-output path is the first question, and move to a professional automotive scope when dwell, current, insulation breakdown, timing, or an intermittent under-load event must be captured. A pressure-capable specialist bench serves another level of plug work only when its method and safety controls fit the task. Choose the route that recreates the missing condition rather than the one that produces the easiest spark to see.
Design the smallest useful experiment
Use a three-column worksheet: hypothesis, one safe change, predicted result. For example, “Plug is intermittent; move only the correctly specified suspect plug; active misfire should follow.” Or, “Boot leaks when wet; observe installed ignition with approved equipment under a controlled moisture condition; dropout should coincide.” A prediction written before the result makes it harder to reinterpret every outcome as confirmation.
If the result is mixed, return the system to baseline before another change. Moving plug, coil, and injector together may quickly make the misfire disappear but sacrifices localization. It can also transfer contamination or a dangerous fault. Good diagnosis is not the maximum number of swaps; it is the minimum safe change that separates two plausible causes.
Bench repeatability is an ownership test
Periodically compare the tester’s two wells with the same known plug, then swap wells. Keep the contacts clean as instructed and store the unit away from conductive debris and fuel service. If one well consistently behaves differently, remove the fixture from decision-making until it is inspected. A comparative tool depends on the comparison positions being credible.
Also record which plug families physically fit and which do not. A bench that accepts a thread does not certify the plug application, heat range, reach, seat, resistor, or gap. The vehicle and plug catalogs remain the source for installation specification.
Verify under the original load
After the proven repair, reinstall correctly specified components with the required torque, routing, seals, and connector locks. Remove all temporary disabling or test leads. Start under the original cold/hot/moisture condition, monitor cylinder-specific counters, and safely reproduce the load or speed that caused the fault. Confirm that catalyst-risk warnings and related codes do not return.
The closing note should preserve both findings: what the bench established and what confirmed the vehicle repair. For example, “The suspect plug remained intermittent in both SPT105 wells; the behavior followed that plug during a controlled cylinder swap; a correctly specified plug restored stable counts under the original hot-load condition.” If both plugs sparked on the bench and a cracked boot failed under load, write that instead. A useful lab note respects the result even when it disproves the tool’s first suspect.
Lab questions that keep the result honest
Does a bright blue spark mean more energy? Visual color and brightness depend on gap, atmosphere, lighting, camera, and fixture. The SPT105 is not a calibrated energy meter. Use it for consistent same-setting comparison, not quantitative secondary-ignition claims.
Can I widen the plug gap to simulate compression? Only if the tester/manual permits a defined method, and never alter a serviceable plug intended for reinstallation outside specification. A wider open-air gap changes voltage demand but still does not reproduce cylinder pressure, mixture, heat, or the installed boot.
What if the misfire moves after a plug swap and then disappears? Repeat the original condition and inspect both locations. Reseating a coil/connector or changing deposits can alter an intermittent fault. A durable follow result across controlled repetitions is stronger than one cleared counter.
A bounded ten-minute bench plan
- Save the installed misfire pattern and label every removed plug.
- Inspect specification, gap, damage, deposits, and wetness before energizing anything.
- Put the suspect and a valid comparison plug in the two wells at one conservative setting.
- Repeat after swapping wells; write whether the difference follows the plug.
- Stop the bench conclusion at “fires/does not fire consistently here.”
- Return to boot, coil, wiring, installed load, fuel, and mechanical branches as the evidence requires.
Do not clean the suspect before the first comparison; cleaning changes the evidence. Do not let a visually satisfying spark erase freeze frame or cylinder counters. And do not prolong a catalyst-damaging misfire to create a dramatic demonstration. The best quick test produces one narrow fact and hands the case back to the engine in nearly the same condition in which it arrived.










Comments 0
Questions, fixes, and real-world diagnostic notes from readers.
Be the first to share a diagnostic result or ask a follow-up question.