
How to Use the AUTOOL Inflatable Intake Adapter for Smoke Testing

An inflatable intake adapter gives a smoke machine one controlled entry point when a round cone cannot seal a large or irregular intake opening. The bladder goes into the disconnected duct while deflated, expands only enough to seal against a sound inner wall, and provides a path for smoke into the isolated system. The seal must be stable before smoke begins; otherwise smoke at the adapter can look like a vehicle leak.
Quick answer: Inspect the deflated bladder and hoses, choose a clean rigid section of intake duct, insert the bladder beyond the lip, inflate it gradually only until it cannot move, then connect the smoke hose and use the pressure permitted for the exact vehicle system. Watch the adapter throughout the test. Stop for movement, severe bulging or smoke at the duct mouth. Turn the smoke machine off, release system pressure and fully deflate the bladder before removal.
In this guide
What the inflatable intake adapter does
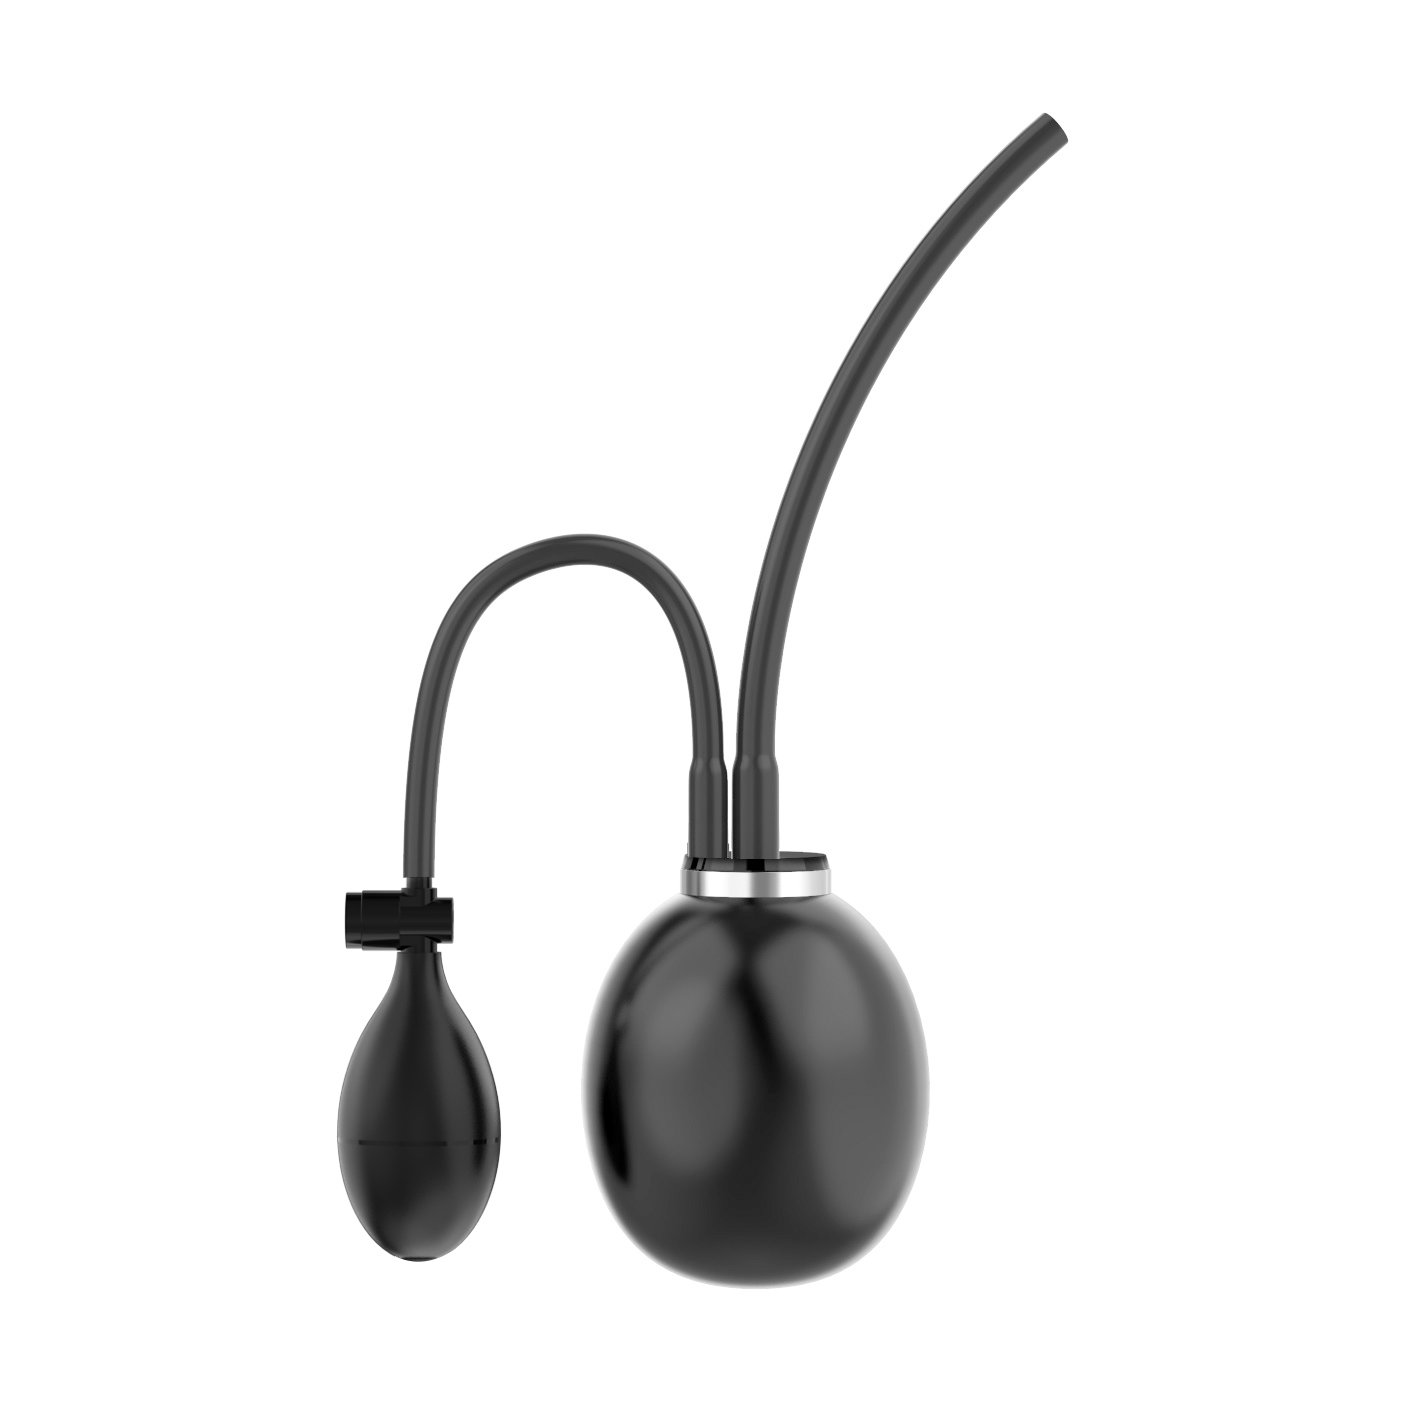
The current AUTOOL universal smoke-machine quick intake adapter is a separately sold SDT-series accessory. The product image shows the inflatable black bladder, hand bulb and hose assembly. The current component page does not promise a complete smoke-machine kit or universal fit with every machine revision, so confirm the exact SDT model, requested part and quantity before ordering.
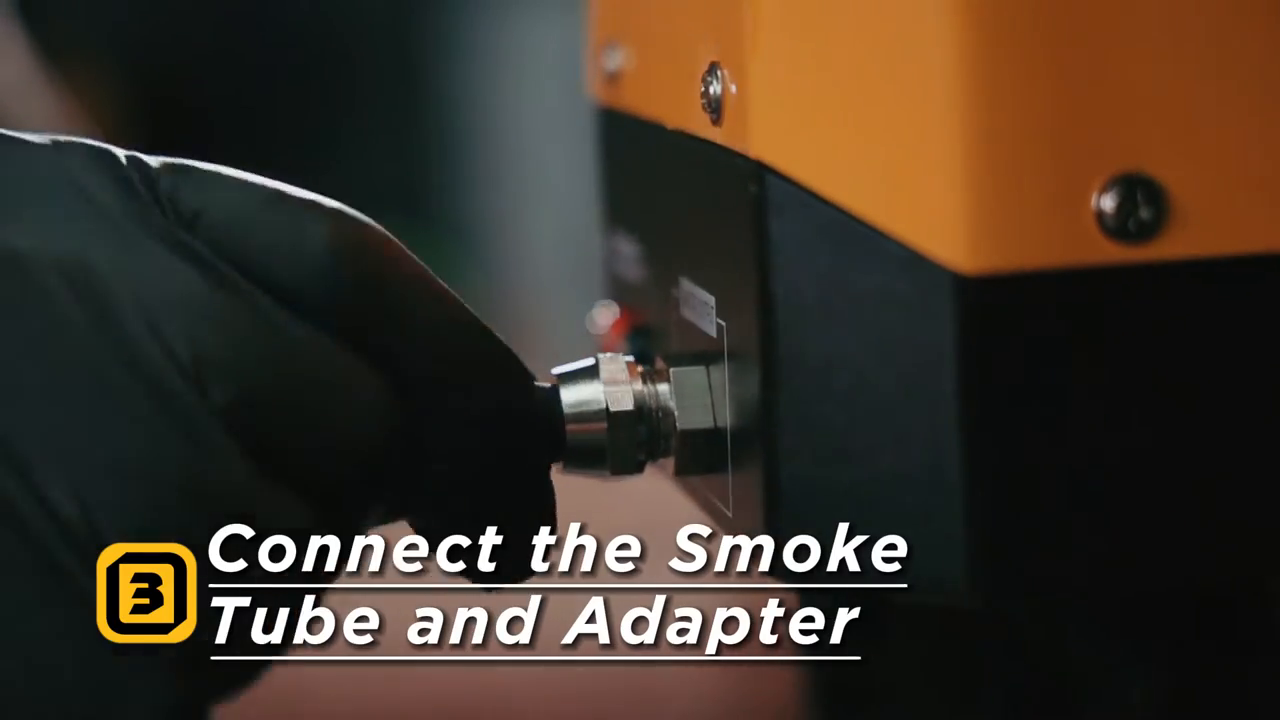
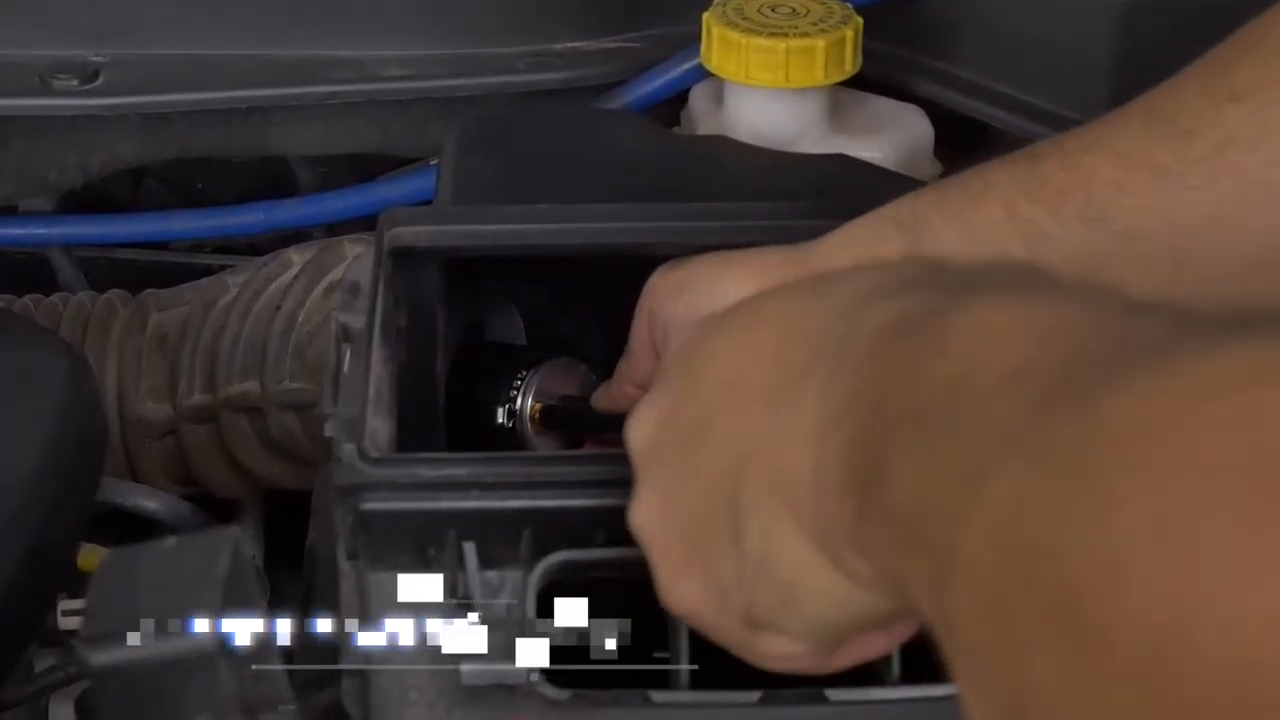
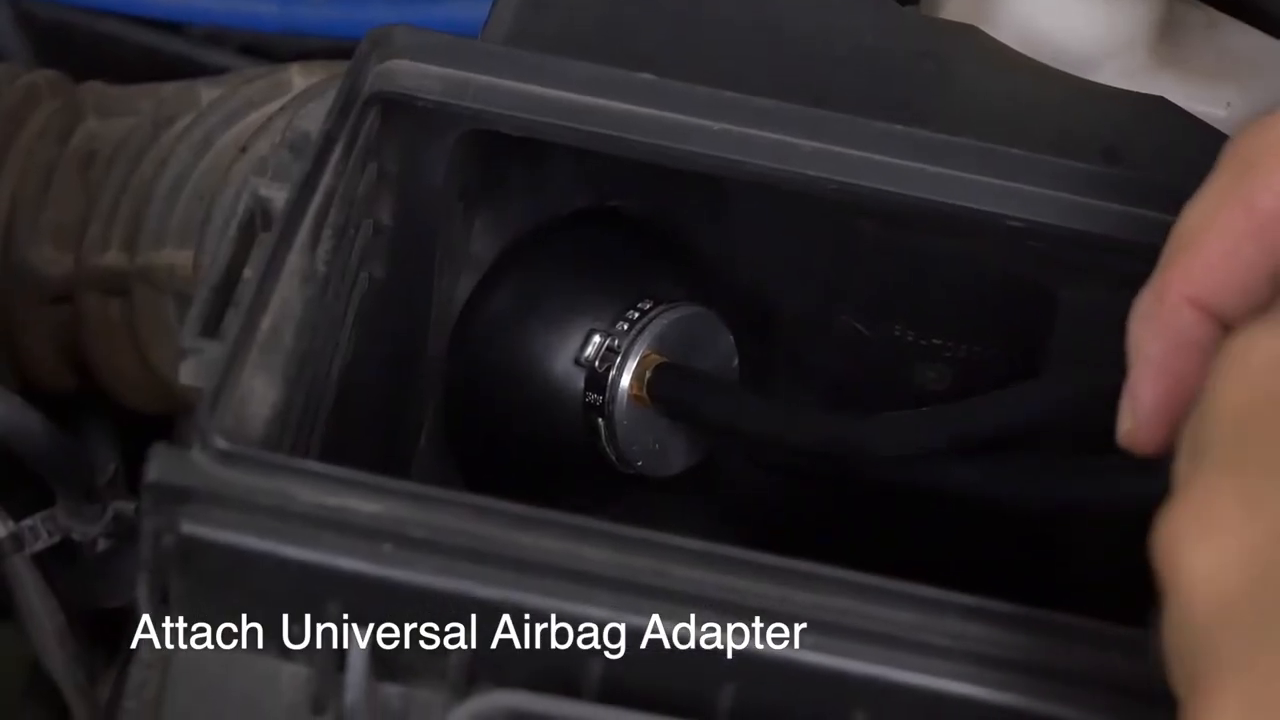
AUTOOL’s official SDT103 tutorial shows this airbag-style adapter being inserted into an intake opening, seated in the duct and connected to the smoke hose. Other current official SDT101, SDT205 and SDT206 tutorials establish the surrounding smoke-test sequence: prepare the correct machine, power it as specified, seal the test opening, start smoke and observe the system for leaks. These are family-level views; the exact smoke fluid, pressure and connection sequence still come from the delivered machine and vehicle procedure.
Before setup, locate the exact machine in the AUTOOL manual download center. Use the delivered nameplate and current manual when a video or storefront summary shows a different machine, fluid recommendation, connector or control layout.
Inspect the adapter before every test
- Deflate the bladder completely and inspect the entire rubber surface under good light. Reject cuts, abrasion, cracking, sticky areas, permanent folds, swelling or a loose neck.
- Check the hand bulb, inflation tube, smoke path, clamps and fittings for damage or blockage. Do not assume two similar-looking hose ends have the same job.
- Confirm the adapter and smoke-machine connection are the approved combination for the exact SDT model. The current component page asks buyers to send the model and part photos when uncertain.
- Verify that the target system can be isolated and smoke-tested at the machine pressure intended for it. EVAP, intake, exhaust and other circuits can have different limits and isolation points.
- Prepare adequate lighting and a stable place for the machine. Keep hoses away from fans, belts, hot exhaust parts and sharp sheet metal.
Choose a safe intake sealing point
Use a section of duct that is accessible, structurally sound and smooth enough for the bladder to seal. The adapter needs room to enter while deflated and expand evenly inside the duct. Do not inflate it against a sharp lip, exposed clamp screw, sensor element, airflow-meter screen, throttle plate, damaged plastic or a branch opening that can trap one side of the bladder.
If the duct is brittle, oil-softened, cracked or distorted, repair or replace it before applying a bladder seal. The adapter can hide a split while installed and then release suddenly. Photograph the chosen opening and nearby components before disassembly so the intake can be restored exactly.
How to use the inflatable adapter step by step
Step 1: Prepare the vehicle and smoke machine
Park safely, stop the engine and follow the vehicle procedure for cooling, battery support and access. Isolate the system section you intend to test. Fill and power the smoke machine only as its current instructions specify; do not improvise with an unapproved smoke fluid or power source. Keep the smoke function off while fitting the adapter.
Check: The target system, machine configuration and permitted test pressure are identified before any smoke flows.
Step 2: Open the intake at the chosen test point
Remove the duct or coupling without damaging clamps, sensors or seals. Cover nearby open ports that are outside the intended test boundary. Wipe the inner sealing surface clean and dry enough to inspect. Confirm the bladder will sit on a smooth wall beyond the entrance lip and will not block or press on a delicate component.
Check: The opening is clean, sound and clear of sharp edges, sensors, plates and branches at the bladder location.
Step 3: Insert the adapter fully deflated
Release any residual air from the bladder. Guide it into the duct by the reinforced neck or body—not by pulling on a hose. Keep the assembly centered and place the widest bladder area beyond the lip. The official SDT103 sequence shows the deflated adapter entering the open intake before it is seated.
Check: The bladder is entirely inside the intended sealing zone and neither hose is twisted or pinched.
Step 4: Inflate only until the seal is stable
Operate the hand bulb gradually while watching how the bladder expands. Stop as soon as it contacts the duct evenly and resists gentle movement. More inflation is not a better seal: excessive force can damage the bladder, deform plastic ducting or eject the adapter. Never inflate the bladder freely outside a supported opening.
Check: The adapter stays centered under a light stability check with no severe bulge, duct distortion or trapped hose.
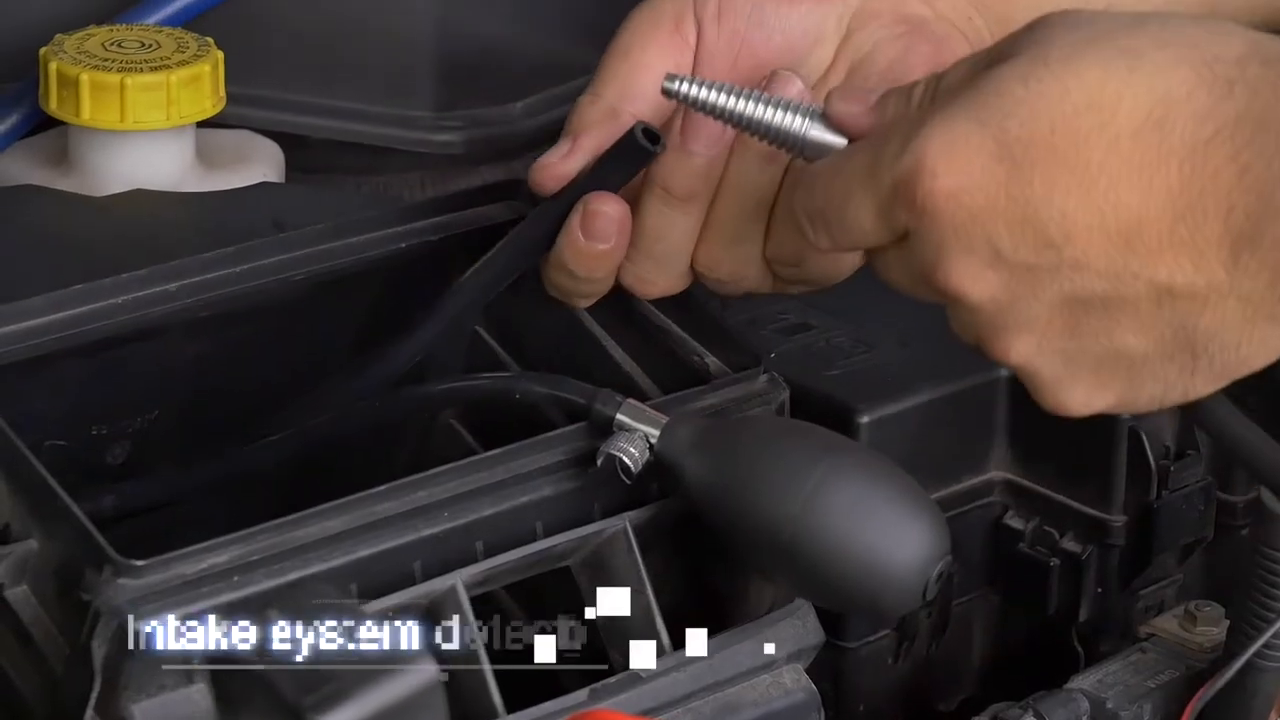
Step 5: Connect the smoke path without disturbing the bladder
With the machine’s smoke output still off, connect the approved smoke hose to the adapter fitting. Support the hose so its weight does not pull the bladder sideways. The SDT103 official sequence shows the seated airbag adapter first and the smoke connection next; the SDT206 guide separately shows connecting the smoke tube and adapter to the machine.
Check: Both connections are secure, the hose has strain relief and the bladder position has not changed.
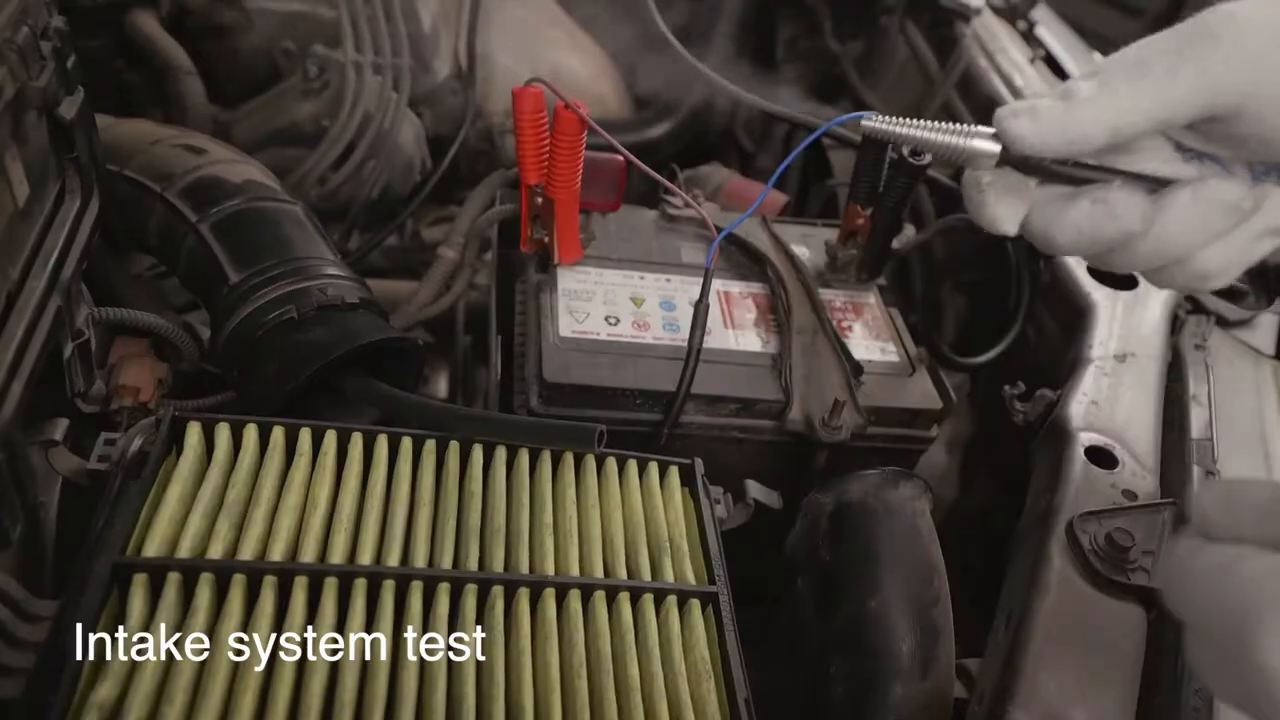
Step 6: Begin with the machine’s controlled test sequence
Power or start smoke only by the exact SDT procedure and use the pressure intended for the target vehicle system. Watch the machine gauge or flow indication and the adapter at the same time. Do not increase pressure merely because smoke has not appeared; a blocked path, closed valve or wrong isolation point must be corrected first.
Check: Pressure and flow remain within the exact procedure and the adapter remains stationary and sealed.
Step 7: Trace smoke without misreading the entry seal
Inspect the intended circuit from the adapter outward using good light. Move hoses or components only when the procedure allows it. Mark confirmed leak locations rather than relying on drifting smoke. Smoke from the duct mouth, adapter neck or hose joint is an entry-seal problem until corrected—not proof that the vehicle component beside it is leaking.
Check: Each reported leak has a visible source away from the test entry, or the entry seal has been corrected and retested.
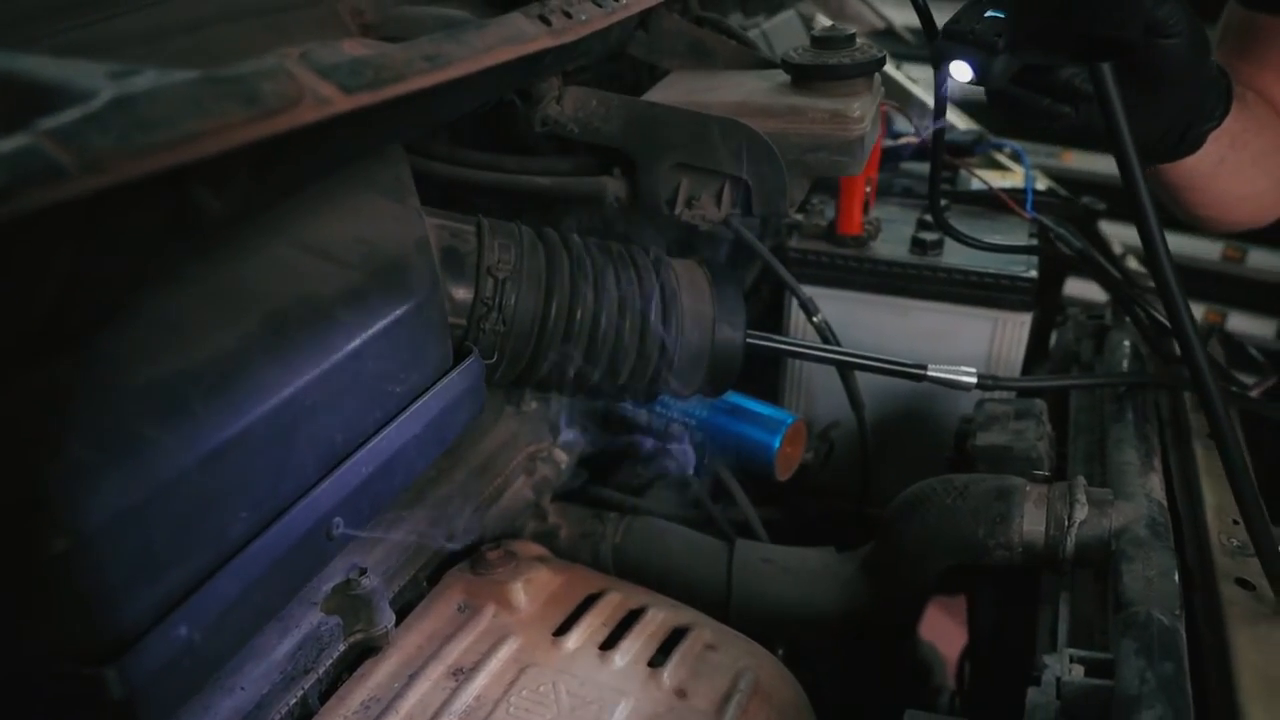
Step 8: Shut down, vent, deflate and remove
Turn smoke off, let the machine and tested circuit release pressure by the approved method, then disconnect the smoke hose if specified. Open the bladder’s release path and wait until it is fully soft. Remove it by supporting the body and neck; never yank a still-inflated bladder or pull it by a hose. Inspect the duct and restore every clamp, connector and sensor.
Check: The adapter leaves without force, the intake is restored and no hose, plug, cover or tool remains out of place.
Stop: Stop immediately if the bladder moves, balloons out of the duct, presses on a sensor or throttle component, the duct deforms, smoke escapes at the adapter, the gauge behaves unexpectedly or the required system pressure is uncertain. Turn smoke off and release pressure before touching the seal.
How to interpret smoke around the adapter
| What you see | Likely first check | Next action |
|---|---|---|
| Smoke at the duct mouth | Bladder position, surface contamination or insufficient/eccentric inflation. | Stop, vent, deflate, inspect and reseat; do not simply add pressure. |
| Smoke at the hose or neck | Loose fitting, cracked hose, damaged bladder neck or wrong connection. | Isolate the machine and repair the test equipment before diagnosing the vehicle. |
| No smoke and rising restriction | Closed path, blocked hose, wrong test boundary or incorrect machine setup. | Stop and verify the circuit and procedure; never force flow with excess pressure. |
| Smoke from a component away from the adapter | Potential vehicle-system leak within the chosen test boundary. | Trace to the exact origin, mark it and confirm after repair with the same controlled setup. |
Clean and store the adapter
- Let the adapter cool, fully deflate it and wipe away approved smoke residue with a compatible soft material.
- Do not store it wet with solvent, stretched over a fitting or sharply folded beneath a machine or cable.
- Cap or protect open hose ends so debris cannot block the smoke path or damage the inflation valve.
- Coil hoses loosely and keep the bulb and bladder away from heat, sunlight, ozone sources and sharp tools.
- Record the SDT model, adapter identity, inspection result and any leak at the test-equipment side before the next job.
Frequently asked questions
Is the inflatable intake adapter a complete smoke tester?
No. The current page is for a separately sold SDT-series component. The smoke machine, its other hoses and accessories are not automatically included.
Does universal mean it fits every intake?
No. It describes the adaptable sealing concept, not guaranteed fit in every duct or compatibility with every smoke machine. The opening still needs a safe diameter, shape and inner surface, and the machine connection must be confirmed.
How much should I inflate it?
Only enough to make a stable even seal in the supported duct. The current source does not publish a universal inflation pressure, so do not invent one or continue pumping after the adapter is secure.
Can I inflate it before inserting it?
No. Insert it fully deflated and expand it only inside a suitable supported opening. An inflated bladder can be damaged during insertion or expand unpredictably outside the duct.
Can I leave it installed while changing test pressure?
Keep watching the adapter whenever the machine state changes. If the required pressure, target system or machine mode changes, confirm that the adapter and duct remain suitable before continuing.
Why is smoke appearing beside the adapter?
Treat that as a test-entry leak first. Stop, release pressure, inspect the bladder and sealing surface, then reseat and repeat. A leaking entry point can mask the vehicle leak and distort the result.
Final smoke-test checklist
- Exact AUTOOL SDT machine, adapter and target system are identified
- Bladder, bulb, hoses, neck and fittings pass visual inspection
- Sealing point is clean, sound and clear of sharp or delicate components
- Adapter is inserted deflated and inflated only until stable
- Smoke hose is supported and cannot pull the seal sideways
- Machine fluid, power, pressure and test sequence follow current instructions
- Smoke at the entry seal is corrected before vehicle leaks are reported
- System is vented and bladder fully deflated before removal
A good smoke test begins with a trustworthy entry seal. Fit the inflatable adapter gently, control pressure at the smoke machine and verify the seal before interpreting any smoke elsewhere. That keeps the adapter from becoming the leak you are trying to diagnose.










Comments 0
Questions, fixes, and real-world diagnostic notes from readers.
Be the first to share a diagnostic result or ask a follow-up question.