
How to Flush Brake Fluid One Wheel at a Time with MRCARTOOL F109

The safest way to use the MRCARTOOL F109 brake fluid bleeder is to treat every wheel or hydraulic service point as a closed job: prepare one catch path, open one bleeder, observe the specified endpoint, close and inspect it, then record completion before moving on. The machine maintains new-fluid pressure at the reservoir; it does not choose the fluid, pressure, wheel order, ABS routine or final brake acceptance for the vehicle.
Quick answer: Confirm the exact brake fluid, reservoir adapter, vehicle pressure and service-point order. Fill and prime the F109 away from the car until its delivery line is bubble-free, install the adapter at zero pressure, establish the approved pressure and keep the new-fluid reserve visible. At the first prescribed wheel, attach a clear hose and catch bottle, open only that bleeder, run to the vehicle-defined volume and bubble-free condition, close to specification, check for leakage and log the result. Repeat the same closed loop at each remaining point, then depressurize to zero and pass pedal, leak, warning and controlled-stop checks.
In this guide
One wheel means one complete controlled cycle
Pressure at the reservoir supplies new fluid while an opened wheel bleeder releases old fluid into a contained bottle. Only one service point should be open in this workflow. Closing that bleeder before moving the hose preserves the hydraulic boundary and prevents the technician from losing track of which circuit is complete.
Wheel order is not always farthest-to-nearest. Split circuits, brake-by-wire systems, ABS hydraulic units, clutch branches and repair history can change the sequence and require scan-tool or pedal operations. Copy the exact order from the vehicle procedure and mark each point complete only after it is closed, dry and recorded.
| Decision | Controlling source | Stop condition |
|---|---|---|
| Brake fluid | Vehicle cap/label and service information | Unknown, mixed or contaminated fluid |
| Reservoir pressure | Vehicle procedure within F109 limits | Vehicle/adapter cannot accept the F109 operating threshold |
| Wheel order | Exact hydraulic/ABS service sequence | Order is guessed from distance alone |
| Per-wheel endpoint | Specified volume, bubble state and electronic routine | Only color looks different |
| Vehicle release | Pedal, leak, warning and controlled-stop checks | Soft/sinking pedal, fluid loss or warning remains |
For the full control map, supply-bottle arrangement, electrical checks, troubleshooting and machine storage, use the complete MRCARTOOL F109 setup guide. The procedure below concentrates on completing each wheel without losing the reservoir supply or hydraulic sequence.
Before you start
- Obtain the exact fluid specification, maximum pressure, reservoir adapter, service-point order and any ABS/pedal routine.
- Confirm the F109 nameplate voltage, grounded supply, power cable, hoses, gauge, pressure knob and safety device are sound and dry.
- Prepare enough unopened correct fluid for priming and the full exchange, with a visible reserve.
- Protect paint, wiring and floor surfaces; wear brake-fluid-compatible gloves and splash goggles.
- Support the vehicle safely and determine whether wheels must be removed; prepare final wheel-fastener torque if applicable.
- Use a snug transparent bleed hose, stable labelled catch bottle and correct bleeder wrench at every point.
- Inspect for active hydraulic leaks, an unexplained low reservoir, damaged lines or an abnormal pedal before treating the job as routine maintenance.
Brake hydraulics are safety-critical. If the system has run dry, a master cylinder or ABS unit was opened, or the required electronic routine is unavailable, pressure delivery alone is not a complete bleed.
Flush brake fluid one wheel at a time with F109
Step 1: Write the wheel and electronic sequence
List every wheel and any clutch or hydraulic-unit point in the exact order specified for the vehicle. Add required ignition state, scan-tool ABS activation, pedal operation, second pass and bleed-screw torque beside the relevant point.
Do not start from a generic farthest-wheel rule. Marking the order before hoses are connected prevents a split circuit or electronic step from being silently skipped.
Step 2: Load only the exact new fluid
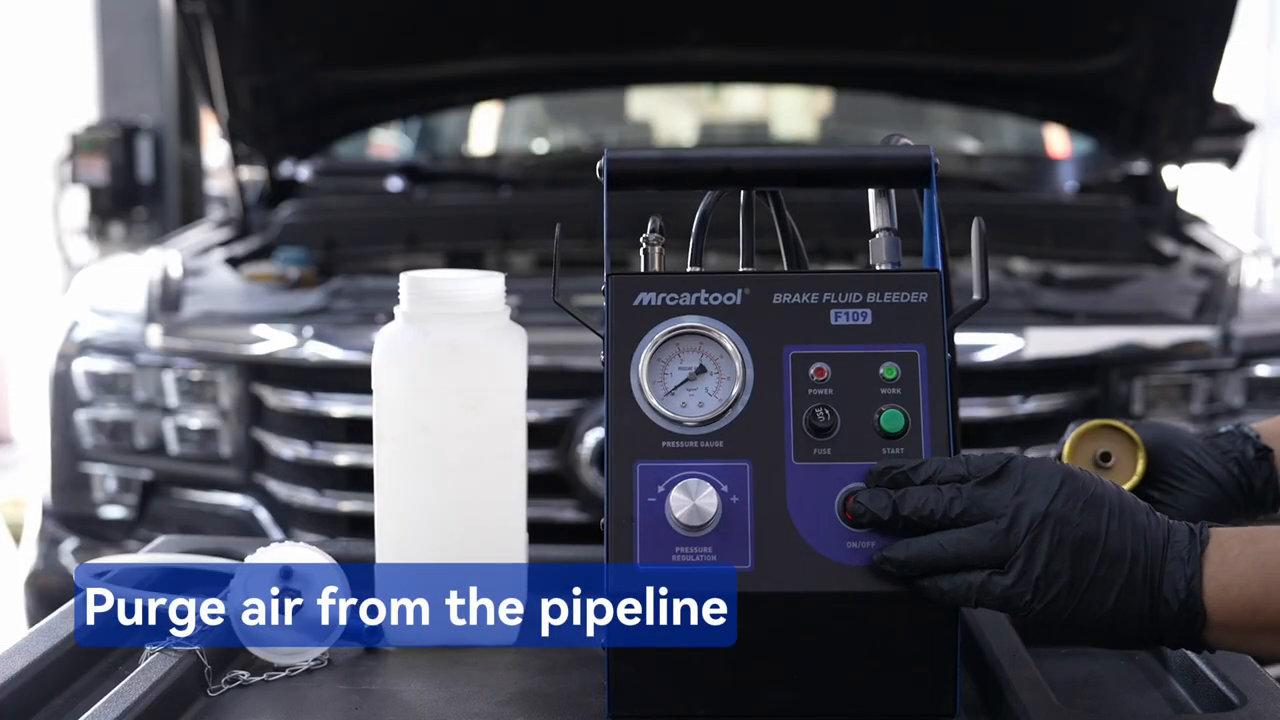
Place the F109 upright on a flat surface and turn the pressure knob fully toward minimum. Clean the new-fluid bottle and cap area, then add enough unopened vehicle-specified fluid for priming and the complete sequence.
Insert the suction hose and pressure-balance hose to the bottom as shown for the F109. Keep both immersed and visible. Low-fluid shutdown is a last defense; do not plan to run the bottle to that point.
Step 3: Prime the filling line away from the vehicle
Attach the correct reservoir adapter to the filling-hose quick connector but do not install it on the car. Direct its outlet into a compatible labelled waste container, connect the grounded power supply and switch the machine on.
Hold Start and observe the outlet. The basic procedure gives about 30 seconds as a reference, but the required endpoint is a continuous stream with no visible bubbles. Switch off, wait for the gauge to remain at 0 bar, then disconnect. Treat the priming discharge as waste.
Step 4: Install and seal the reservoir adapter at zero
Clean the master-cylinder reservoir area so dirt cannot enter. Confirm fluid identity again, remove the cap and diaphragm as specified, and install the exact adapter squarely without distorting the reservoir.
With the F109 gauge still at zero, connect the filling hose and support its 3.5 m route so there is no twist or concentrated pull. A loose or improvised adapter is a spill and air-entry risk; correct it before pressure.
Step 5: Establish only the vehicle-approved pressure
Power the F109 and hold Start while turning the regulator clockwise gradually. The detailed machine procedure requires pressure to reach at least 1.0 bar before Start is released for self-running operation. If the vehicle or adapter permits less than that, do not force the F109 into automatic operation.
Set the exact approved pressure while checking the gauge, adapter, reservoir and hose joints for movement or seepage. The 2.5 bar rating is a machine ceiling, not a target, and the manual’s general fallback does not replace available vehicle information.
Step 6: Prepare only the first prescribed wheel
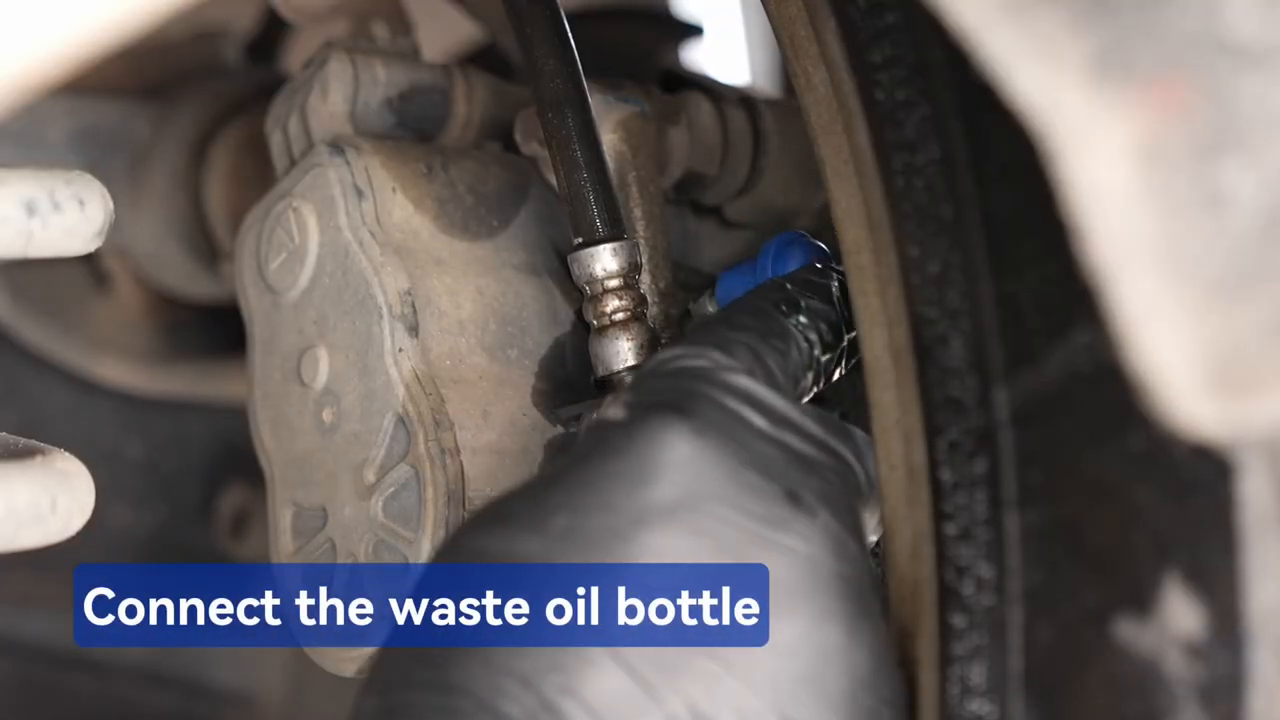
At the first listed service point, clean around the bleeder before loosening anything. Place the correct wrench, push a snug transparent hose fully onto the nipple and route it into an upright catch bottle where discharged fluid remains visible.
Keep the bottle away from a hot rotor, exhaust, moving suspension and paint. Confirm all other bleeders are closed and the F109 pressure and new-fluid level are stable.
Step 7: Open one bleeder and observe the complete path
Open the selected bleeder only by the amount in the procedure. Watch four things together: fluid in the transparent hose, bubbles at the nipple, F109 pressure and the new-fluid reserve. Stop if the adapter moves, pressure becomes unstable or fluid approaches the supply-hose inlet.
Continue through the vehicle-defined volume, time, bubble-free condition or electronic activation. Clearer color can support the observation but is not a stand-alone endpoint, especially when old and new fluids have similar appearance.
Step 8: Close, torque and inspect that wheel
Close the bleeder while reservoir pressure is still controlled, using the specified method and torque. Do not overtighten a small bleeder screw. Remove the catch hose only after the valve is closed, then wipe and inspect the nipple, threads and caliper area for seepage.
Install the bleeder cap if required. Record point, volume, bubble behavior, fluid appearance, pressure and any electronic step. The wheel is not complete until the bleeder is closed, dry and documented.
Step 9: Check supply and pressure before moving on
Before carrying the catch hose to the next point, check the F109 gauge, adapter seal and new-fluid bottle. Add correct new fluid only under the machine procedure and without allowing the suction hose to draw air.
Confirm the next service point from the written vehicle order. This pause prevents a long hose from being moved while a bleeder remains open and catches a low reserve before it becomes a hydraulic problem.
Step 10: Repeat the closed loop at every point
At each remaining wheel or clutch point, repeat clean—connect—open—observe—close—torque—inspect—record. Keep only one bleeder open. Never combine catch bottles in a way that hides which circuit produced bubbles or contamination.
Perform scan-tool ABS activation, pedal operation or a second sequence exactly where the vehicle procedure places it. If persistent bubbles, no flow or an abnormal pressure change appears, stop and diagnose the circuit instead of cycling more fluid blindly.
Step 11: Depressurize before removing the reservoir adapter
After the last prescribed point is closed, verify every bleeder is closed and dry. Switch off the F109 and wait while the gauge falls slowly to 0 bar. Do not loosen the adapter, quick connector or bottle cap to release pressure.
At stable zero, disconnect the filling hose and remove the adapter carefully. Set the reservoir to the exact final level, reinstall the clean diaphragm/cap and remove all temporary protection without spreading fluid.
Step 12: Pass static and controlled-stop checks
With the vehicle stationary, perform the specified pedal application and hold checks, first in the required power state and then in any supported state the procedure requires. Inspect reservoir, lines, calipers and all bleeders for leakage and confirm brake warnings clear normally.
Refit wheels and torque fasteners when removed. A qualified operator may then perform the prescribed low-speed test in a controlled area. A soft, sinking or inconsistent pedal, fluid loss, warning light, pulling or unequal braking is a no-drive result.
Per-wheel completion gate
Use the same acceptance gate before advancing from every service point.
| Check | Pass | If it fails |
|---|---|---|
| Catch path | Hose snug; bottle stable and contained | Close bleeder and correct the setup |
| Flow | Required volume/condition completed | Check blockage, sequence and electronic routine |
| Bubbles | Endpoint matches vehicle procedure | Check nipple seal, air entry and circuit condition |
| Closure | Bleeder torqued, capped and dry | Do not move to next point |
| Supply | Pressure stable; new-fluid reserve visible | Stop with bleeder closed and correct supply |
| Record | Point, result and any ABS step logged | Complete the record before continuing |
Never let the new-fluid supply run dry, never open multiple bleeders in this workflow, and never remove the reservoir adapter until the F109 gauge is stable at 0 bar. A soft or sinking pedal after service is a no-drive condition.
Common mistakes
- Assuming the farthest wheel must always be first.
- Skipping the bubble-free machine prime.
- Using the 2.5 bar machine ceiling as a working target.
- Opening a bleeder before the catch hose and bottle are secure.
- Using color alone as the per-wheel endpoint.
- Moving to the next wheel before closing, torquing and inspecting the current bleeder.
- Relying on low-fluid shutdown instead of watching the reserve.
- Assuming pressure bleeding replaces a required ABS activation or pedal routine.
- Reusing collected or priming fluid.
- Releasing the vehicle without pedal, leak, warning and controlled-stop checks.
Frequently asked questions
Which wheel should I flush first with F109?
Use the exact vehicle bleed sequence. Circuit layout and ABS procedures vary, so a generic farthest-wheel rule is not reliable.
What F109 pressure should I use?
Use the vehicle-approved value within the machine’s limits. The detailed F109 procedure needs at least 1.0 bar to sustain automatic operation; do not force it on a vehicle or adapter with a lower limit.
When is one wheel finished?
When the required volume/condition and any electronic step are complete, the bleeder is closed to specification, the area is dry and the result is recorded.
Can I reuse fluid from the catch bottle?
No. Collected and priming fluid may contain moisture, debris or incompatible residue and must not return to the new-fluid supply.
Why is the brake pedal still soft after all four wheels?
Keep the vehicle stationary. Check for leaks, wrong sequence, air entry, a dry/opened component and any required master-cylinder or scan-tool ABS procedure before repeating blindly.
F109 one-wheel-at-a-time record
- Exact fluid, pressure, adapter, wheel order and electronic routine confirmed.
- F109 supply hoses immersed; filling line primed bubble-free into waste.
- Reservoir adapter installed and connected only at stable zero pressure.
- Vehicle-approved pressure established without exceeding machine limits.
- Only one prescribed bleeder opened at a time.
- Each point completed, closed, torqued, dry and recorded before moving.
- New-fluid reserve and F109 pressure monitored throughout.
- All electronic/pedal/second-pass steps completed in order.
- Gauge stable at 0 bar before reservoir adapter removal.
- Final level, cap, pedal, leaks, warnings and controlled stop all passed.
The F109 makes single-person pressure delivery possible; the one-wheel discipline makes the result traceable. Keep the reservoir supplied, open one prescribed point, finish and document it before moving, then treat final pedal and leak checks as release gates.









Comments 0
Questions, fixes, and real-world diagnostic notes from readers.
Be the first to share a diagnostic result or ask a follow-up question.