
P0456 Keeps Returning After a Gas Cap? Prove the EVAP System Can Seal

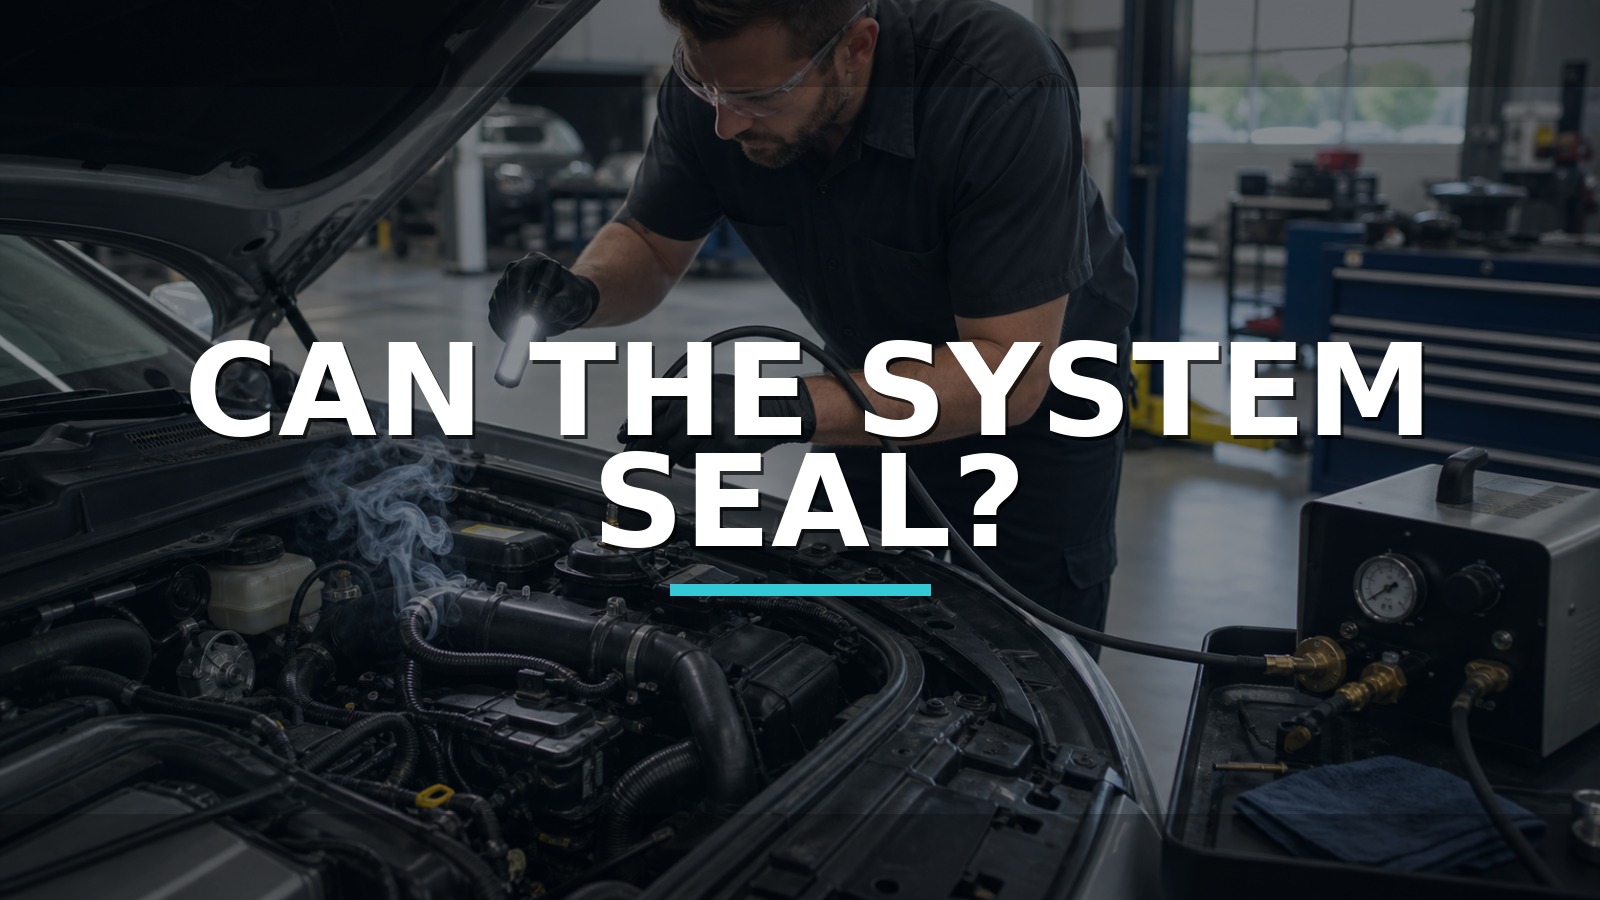
Can The System Seal?
P0456 means the vehicle’s evaporative-emissions monitor detected a leak result in the very-small range defined by its own strategy. It does not mean “replace the gas cap,” and it does not prove that one hose is physically split. Before the monitor can judge sealing, the fuel level, temperature, purge path, vent path, pressure or vacuum sensor, and test window all have to cooperate.
When inspection and scan evidence leave a physical leak as a live hypothesis, a regulated automotive smoke machine can make the invisible path visible. The MRCARTOOL T105 automotive smoke machine is one route for introducing visible smoke with controlled flow and pressure. Its maximum capability is not an EVAP test setting, so use only the vehicle manufacturer’s specified connection and very low test pressure.
Work in a ventilated area away from flames, sparks, hot surfaces, and fuel spills. Stop if liquid fuel, damaged tank components, or an uncertain test port makes the procedure unsafe.
Quick answer: A replacement cap does not prove the rest of the EVAP system can seal. Save monitor context, inspect the cap and filler interface, follow the exact vent-closing method, introduce only approved low pressure or smoke, and confirm the repaired system under the original enable conditions.
In this guide
- Read P0456 as a monitor result, not a gas-cap order
- Save the enable conditions before clearing anything
- Inspect the simple leak paths first
- Confirm purge and vent behavior
- Introduce smoke at vehicle-safe pressure
- Track a leak that appears only with tank level or motion
- Compare EVAP test routes
- Close the case with a completed monitor
Read P0456 as a monitor result, not a gas-cap order
Save the exact DTC, status, module, freeze-frame data, and related EVAP codes. A purge-flow, vent-circuit, fuel-tank-pressure sensor, or gross-leak code changes the starting hypothesis. Check whether P0456 is current, pending, history, or merely not yet retested after a previous repair.
Understand the monitor’s basic question: under certain conditions, can the system create and hold the expected pressure or vacuum response? A failed result may come from an opening to atmosphere, a valve that does not seal, a pressure sensor that reports incorrectly, insufficient purge flow, a restricted path, or test conditions that never stabilize. The code reports a system experiment, not a component verdict.
The gas cap remains a sensible visual checkpoint. Confirm the correct cap, seal condition, filler-neck surface, tether interference, and proper installation. But replacing a cap without evidence can temporarily reset expectations while the real fault remains at a vent valve, canister, tank seam, purge valve, service port, hose, or sensor.
Save the enable conditions before clearing anything
Record fuel level, ambient and coolant temperature, soak time, battery voltage, recent refueling, and whether the vehicle completed other readiness monitors. EVAP tests are often restricted to a window of tank level and temperature change because fuel vapor expansion can imitate a leak. Exact enable criteria vary; generic drive-cycle promises are unreliable.
Use scan data sparingly. Relevant parameters may include fuel-tank pressure, purge command, vent command, and monitor status. Watch how the pressure signal behaves with key changes and controlled commands. A fixed, implausible, or noisy pressure value may send the diagnosis toward sensor, reference, return, signal, or tank-port problems before smoke is introduced.
Do not clear codes until the evidence is saved. Clearing can erase status and reset readiness, forcing another complete monitor opportunity before you know whether anything changed.
Inspect the simple leak paths first
With the system safe and cool, trace hoses from purge side to canister, vent, tank, and filler area using the exact diagram. Look for disconnected quick-connects, cracked molded elbows, abrasion, rodent damage, pinched lines, loose service-port caps, impact damage, and charcoal contamination. Inspect the canister for liquid-fuel saturation or broken fittings; do not blow shop air through it.
Recent work is a strong clue. A fuel-pump repair can disturb tank seals. Rear collision work can affect vent routing. Engine service can leave the purge hose partly connected. Dust around a vent valve may show where contamination entered. None of these observations alone proves the P0456 path, but they can choose the safest test point.
Confirm purge and vent behavior
The EVAP system cannot seal if the vent valve remains open when it should close, and it cannot create the expected vacuum if purge flow is absent when commanded. Use bidirectional commands only when the scan tool, exact model, and procedure support them. Listen or feel for operation where safe, then verify the result electrically or pneumatically; a click does not prove sealing.
For a purge valve, check for unintended flow when it should be closed and controlled flow when commanded. A leaking purge valve can create drivability symptoms or distort the monitor without an external smoke plume. For the vent valve, inspect its filter and air path, command response, seal, wiring, and ground. If the valve is normally open, the test procedure must close it without damaging the circuit.
Compare the fuel-tank pressure response with an independent, low-pressure change only as the service procedure directs. A sensor can respond yet be biased. A hose to a remote sensor can leak or plug. Keep mechanical flow and electrical reporting as separate columns until they agree.
Introduce smoke at vehicle-safe pressure
Connect at the specified service port or approved line. If the service port contains a valve core that must be removed or adapted, follow the exact procedure and restore it afterward. Seal or command the vent by the approved method. Start with the lowest useful flow and stay below the vehicle limit.
Use the flow indication as a trend, not a calibrated leak-size verdict unless the equipment and procedure specifically support that claim. Allow the system time to fill. Inspect with a bright light and mirror around cap seal, filler neck, purge and vent valves, canister seams, hose connections, tank top, sender seal, and accessible lines. Some leaks appear only when a hose is flexed, a valve warms, or tank level loads a seam.
No visible smoke does not prove the system is sealed. Smoke may condense, travel into inaccessible cavities, escape too slowly to see, or follow an internal path through a valve. Pressure or vacuum decay, flow trend, valve isolation, and sensor response can add evidence. Do not raise pressure until something appears.
Track a leak that appears only with tank level or motion
If P0456 follows refueling, compare cap/filler and tank-top seals. If it appears after rough-road driving, inspect harness and hose movement near the canister or tank. If it occurs in a narrow temperature range, consider valve sealing, tank expansion, and sensor drift. Reproduce safely; never heat a fuel tank or improvise pressure.
Divide the system at approved junctions. If flow falls when the engine-side branch is isolated, focus on purge plumbing and valve sealing. If it remains on the tank side, divide canister, vent, filler, and tank branches as access allows. Change one boundary at a time and write the result so the smoke test becomes a map rather than a fog search.
Compare EVAP test routes
Smoke Pro, Bosch/OTC LeakTamer, and Smoke Wizard occupy established professional routes with different leak standards, accessories, and shop support. AUTOOL and FXTUL provide value-oriented smoke-machine families. T105 fits a workshop that needs a built-in air source plus visible pressure and flow controls in one portable unit. No public audited model-level share dataset supports a sales ranking among them.
Choose by the complete EVAP method: controllable low pressure, appropriate fluid, adapters, flow indication, service information, replacement parts, and safe support. A machine that makes more smoke is not automatically more diagnostic. If the unresolved question is valve command or pressure-sensor accuracy, a bidirectional scan tool and meter may be more valuable than another smoke test. If tank access is unsafe, professional testing is the better route.
Close the case with a completed monitor
Repair only the path supported by the evidence. Restore every service-port core and cap, hose retainer, vent filter, connector lock, shield, and tank attachment. Clear codes only after documenting the final sealed or functional test.
Then operate the vehicle through the manufacturer’s monitor conditions. Confirm that the EVAP monitor completes, no pending or current code returns, fuel-tank pressure behaves plausibly, and no fuel odor or leak is present. A quick code clear followed by a dark lamp is not verification; the monitor may simply be incomplete.
The strongest closing record says which boundary failed and how it was proved—for example, the vent valve received the correct command but leaked smoke when closed; replacement restored sealing at the specified test pressure; and the monitor later completed without P0456. That outcome helps the user and avoids turning the gas cap into a recurring guess.









