
2020 Mercedes GLE 350 Coolant Loss: Side-Pipe Replacement Case

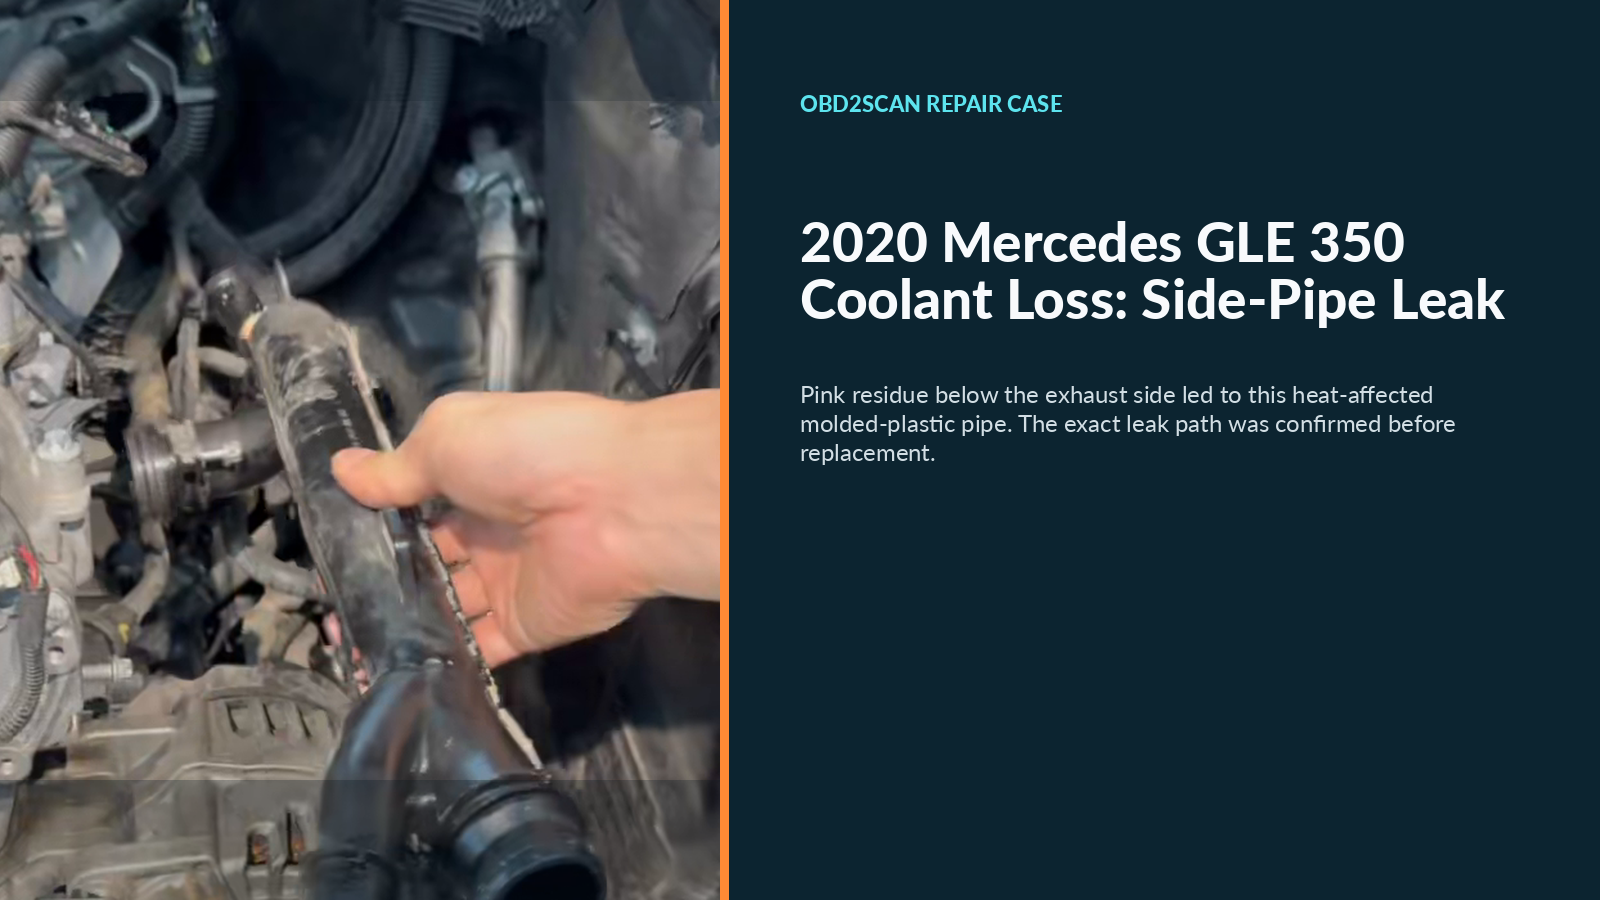
A 2020 Mercedes GLE 350 (M264) came in with abnormal coolant loss and visible pink residue below the exhaust side of the engine block. Inspection traced the leak to the original molded-plastic side coolant pipe in the high-heat area near the turbocharger. The failed pipe was replaced with the applicable stainless-steel version, the system was vacuum-filled, and the case record reports a stable 15-minute sealing check with no renewed leakage.
Case at a glance
| Item | Case detail |
|---|---|
| Vehicle | 2020 Mercedes-Benz GLE 350, M264 engine |
| Mileage | not reported |
| Driver complaint | Abnormal coolant loss |
| Physical evidence | Pink crystalline residue below the exhaust side of the engine block |
| Confirmed fault | Leak at the original molded-plastic side coolant pipe |
| Repair | Pipe replaced with the stainless-steel version selected for this VIN |
| System restoration | Vacuum-assisted coolant refill |
| Result reported in the case | System held the workshop’s selected test condition for 15 minutes with no pressure change or renewed leakage |
How the leak was narrowed to the side pipe
The inspection began with the visible residue below the exhaust side of the block. Because coolant can run downward from a higher hose, housing or connection, the workshop traced the deposits upward before removing anything. The highest relevant wet point was found at the molded side-pipe connection in the turbocharger’s high-heat area.
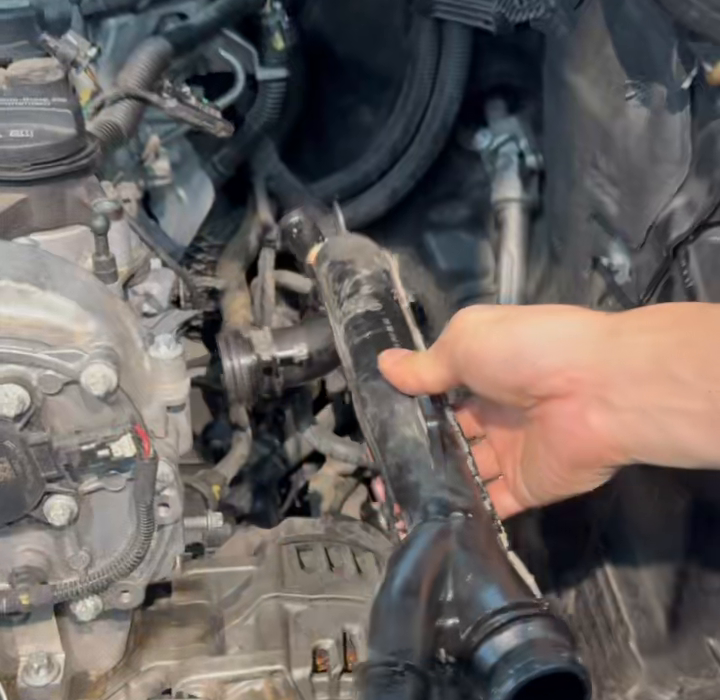
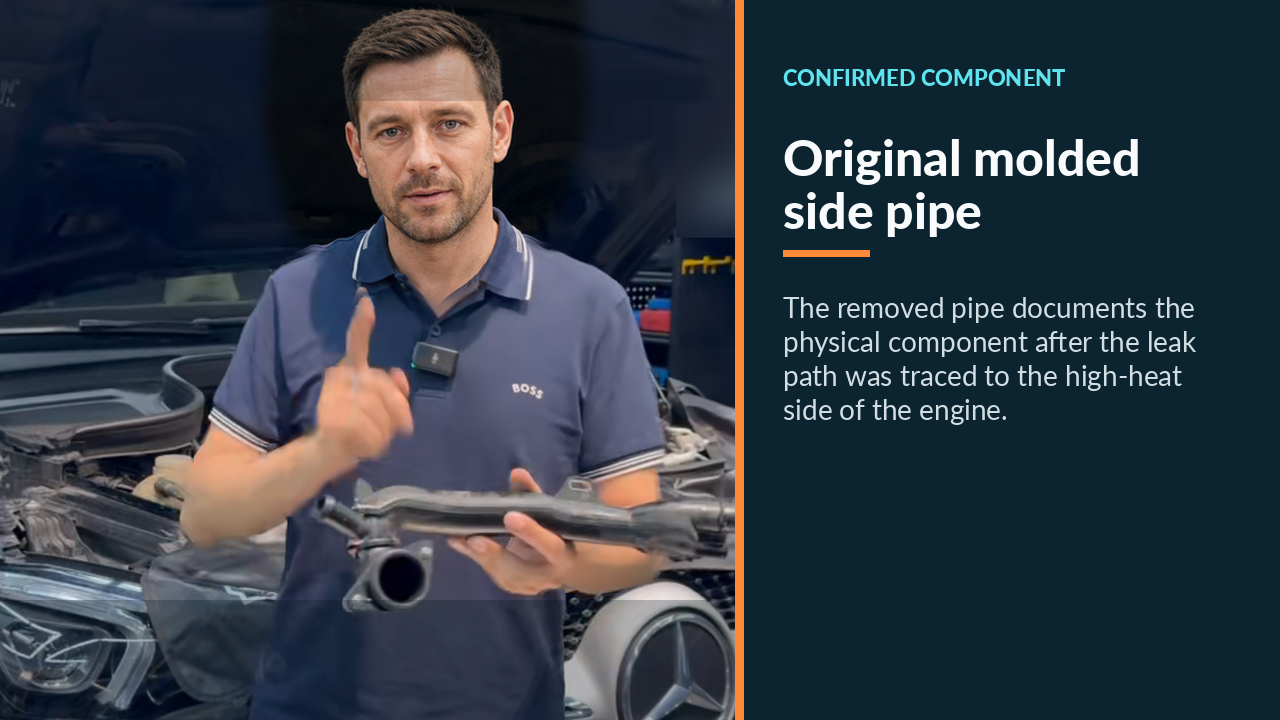
The engine badge alone is not enough to order this part. GLE 350 production dates and engine arrangements can differ, so the pipe location, part number and installed connections still need confirmation from the VIN and current parts catalog.
Why a metal replacement was used in this repair
The replacement shown in the case uses stainless steel instead of the original molded plastic. For this vehicle, the workshop selected it as the applicable revised part for a connection exposed to repeated heat cycles.
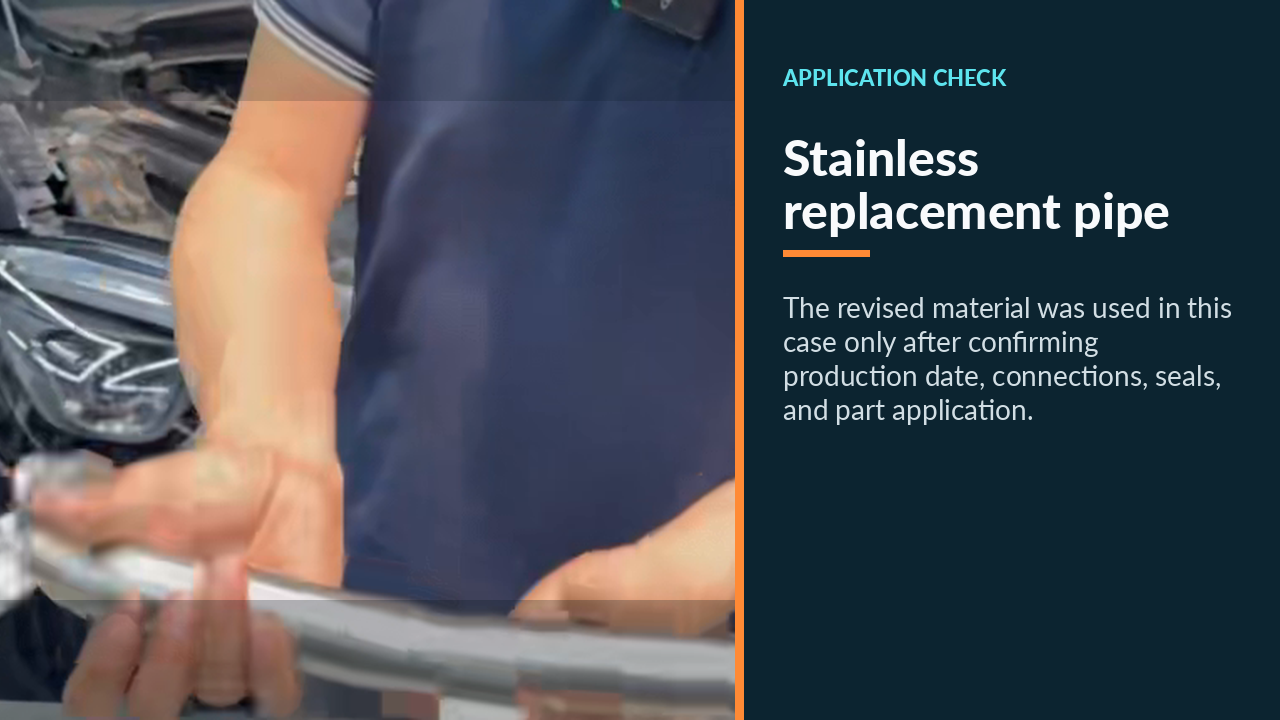
That choice removes the same plastic body from the repaired location, but it does not make the cooling system permanent or leak-proof. The new repair still depends on the correct part revision, undamaged mating surface, correct seals, support alignment and adjacent hose condition. A metal pipe should be described as the part used here, not as a blanket upgrade for every GLE 350.
Repair sequence used for the case
The engine-side connection is tightly packaged, so the vehicle procedure controls access and protection of nearby components.
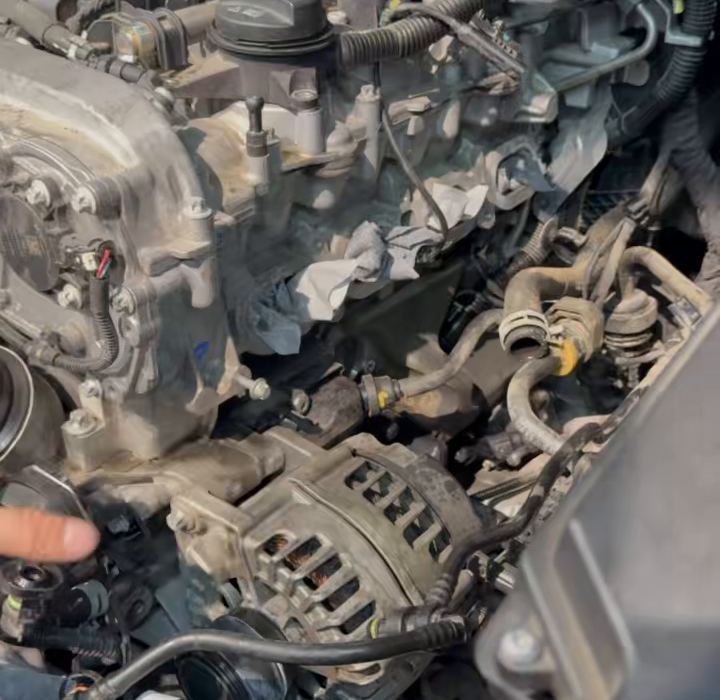
The case sequence was:
- Let the cooling system cool fully and record the residue path.
- Confirm the highest wet point at the side-pipe connection.
- Identify the exact pipe revision, seals and support hardware by VIN.
- Capture coolant and remove the failed pipe using the applicable access procedure.
- Clean and inspect the aluminum mating surface without removing material unnecessarily.
- Install the applicable stainless-steel pipe, new seal and support hardware.
- Restore coolant, complete the required bleed process and test the repaired system.
The case record provides a torque and test pressure, but those numbers are not reused here because they may depend on the exact pipe, fastener, adapter and vehicle procedure. Current Mercedes service information controls the installation and test values.
Vacuum filling and sealing check
After the mechanical repair, the cooling system was vacuum-filled. When the reservoir opening, adapter, 12 V supply and compressed-air source are compatible, an AUTOOL SC301 cooling-system tester and vacuum filler can support a vacuum-hold screen and draw in the specified coolant. It cannot locate the side-pipe leak, perform the positive-pressure verification described in the case record or confirm that a metal supersession fits the VIN.
The case record reports that the repaired system held the workshop’s selected positive-pressure test condition for 15 minutes without a pressure change. The repair area was then inspected for fresh coolant. This is the actual completion evidence reported for the case; it is not a universal instruction to copy the record’s test pressure.
What this case can teach on another GLE
The reusable part of the case is the chain from symptom to result:
- abnormal coolant loss prompted a cold physical inspection;
- pink residue was traced upward to the side-pipe connection;
- the removed plastic pipe confirmed the repair boundary;
- an applicable stainless-steel replacement was selected by vehicle application;
- filling, bleeding and a timed sealing check completed the job.
If a similar GLE has residue in the same general area, confirm the highest fresh wet point before buying the pipe. Another connection above it can leave an almost identical trail, and no material upgrade can correct a misidentified source.








Comments 0
Questions, fixes, and real-world diagnostic notes from readers.
Be the first to share a diagnostic result or ask a follow-up question.