
2004 Hyundai Sonata Front Brakes Dragged After New Parts: The Pedal Could Not Return

New Brake Parts, Still Dragging?
By the time this Sonata arrived, the usual brake parts were new and the front brakes could still smoke. The productive question was no longer “which new part is bad?” but “what keeps both circuits pressurized?”
When this diagnostic path reaches a measurement question, the useful machine type is one that answers only that question. For that supporting role, the AUTOOL PT660 Brake Pressure Gauge is one practical option. A brake-pressure gauge can compare retained hydraulic pressure at specified service points. It cannot make an overheated car safe, measure pedal free play, or replace the factory bleeding and adjustment procedure.
<strong>Quick answer:</strong> The new hydraulic parts were not the missing answer. An over-adjusted brake switch prevented full pedal return, retained pressure and heated both front brakes. This article follows one documented vehicle. It explains the evidence chain, not a universal failure rate or a direction to replace the same part on every similar car. Stop whenever the test would involve overheated brakes, high current, moving parts, refrigerant handling or an uncontrolled road condition.
Quick answer: The new hydraulic parts were not the missing answer. An over-adjusted brake switch prevented full pedal return, retained pressure and heated both front brakes.
In this guide
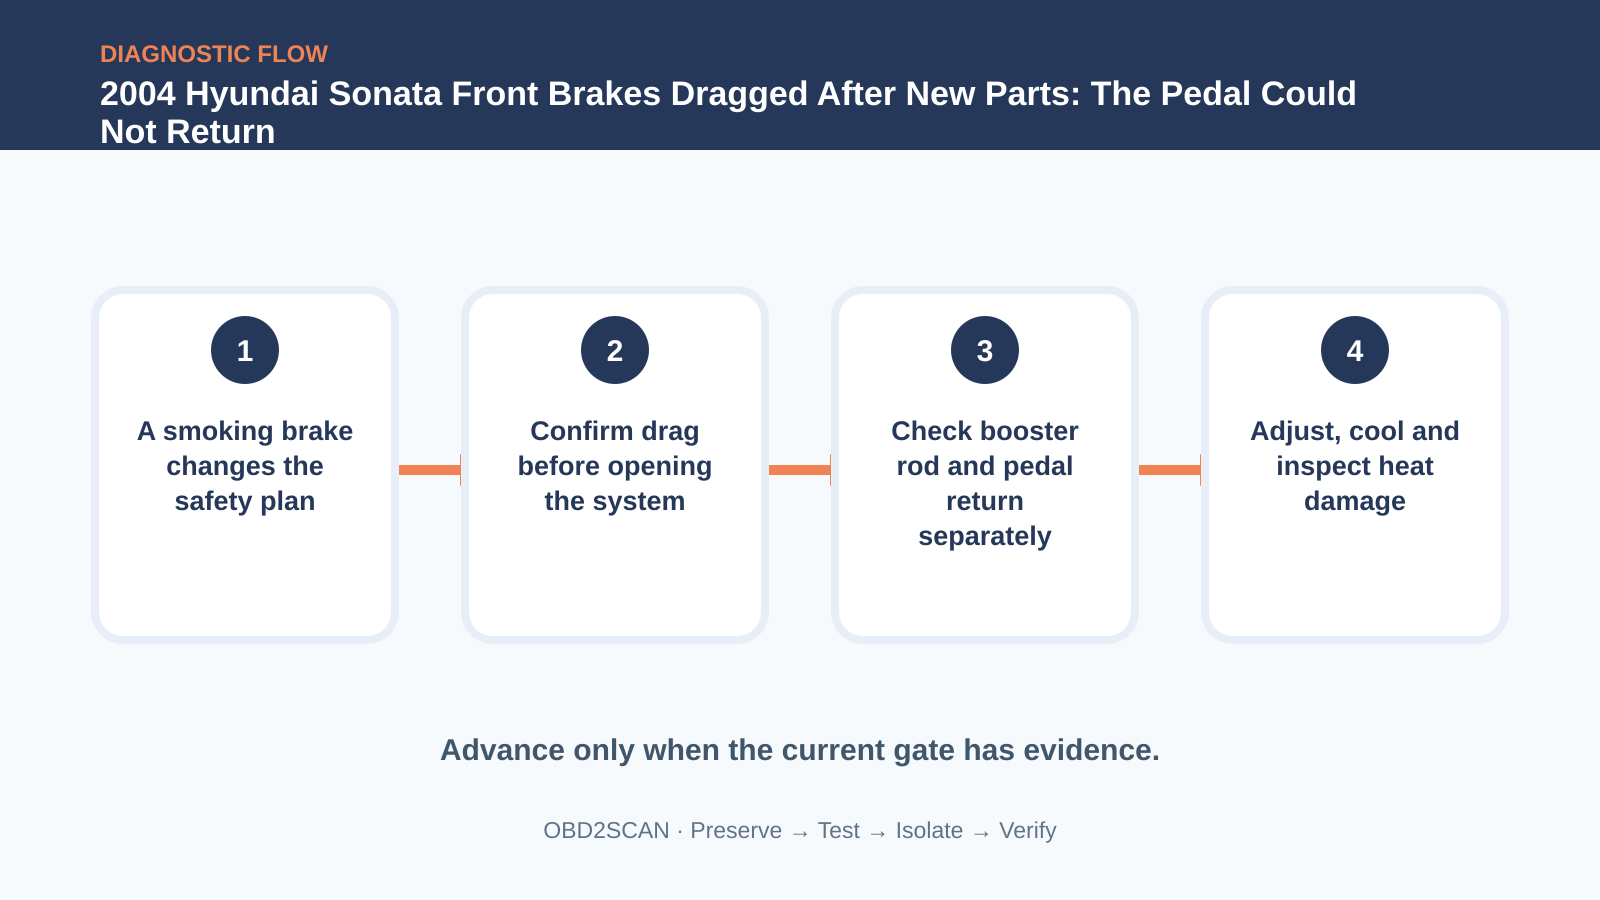
- A smoking brake changes the safety plan
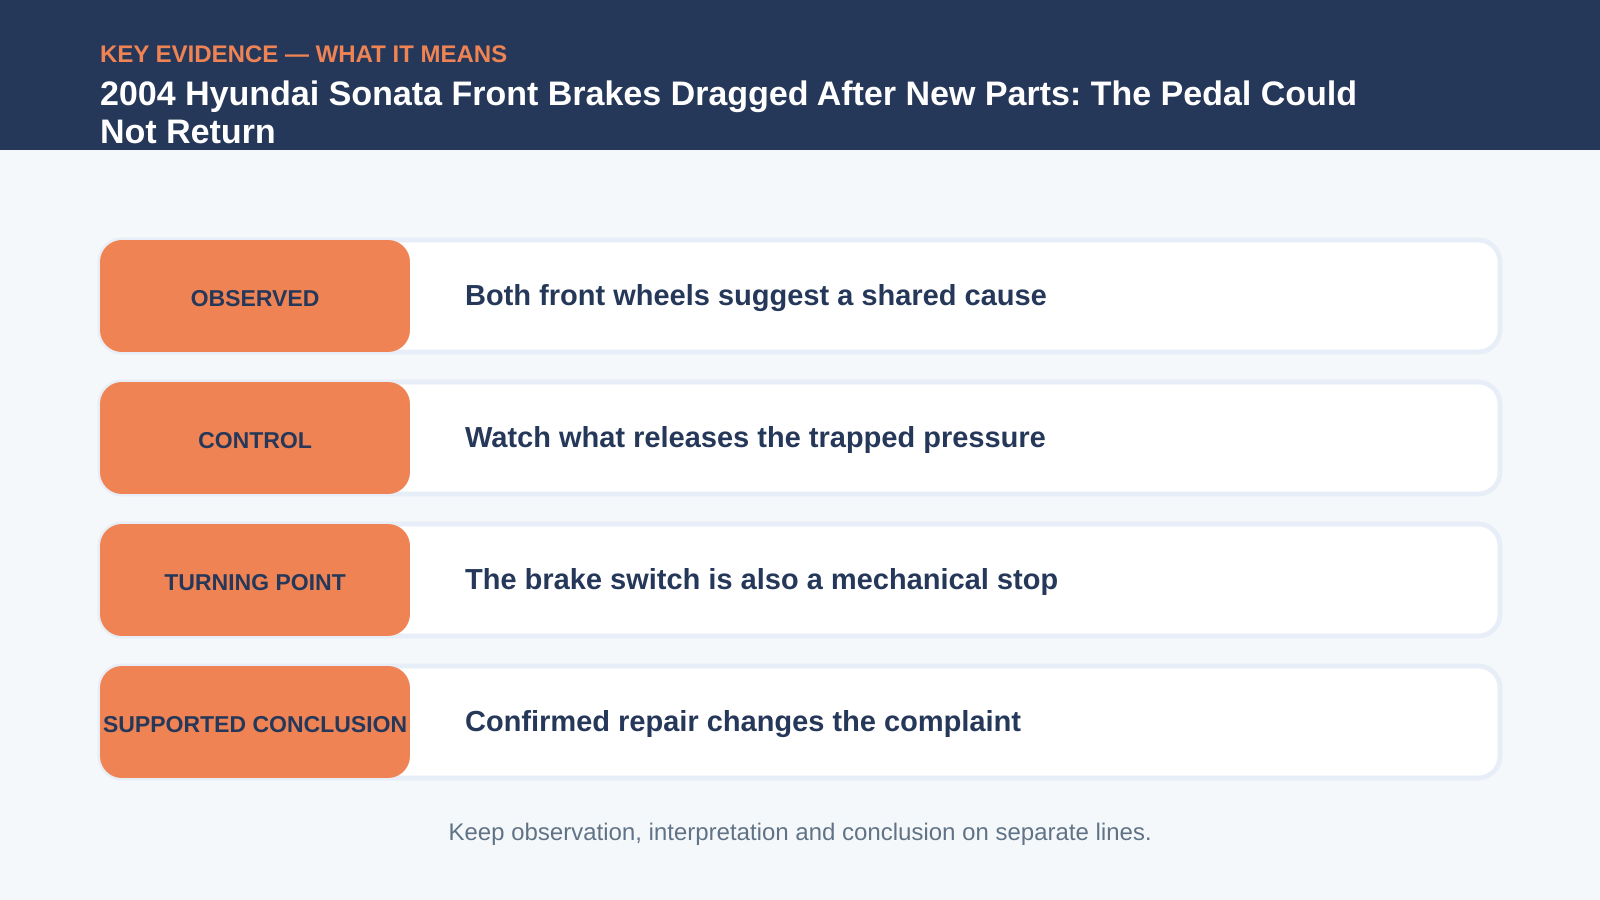
- Both front wheels suggest a shared cause
- Confirm drag before opening the system
- Watch what releases the trapped pressure
- Check booster rod and pedal return separately
- The brake switch is also a mechanical stop
- Adjust, cool and inspect heat damage
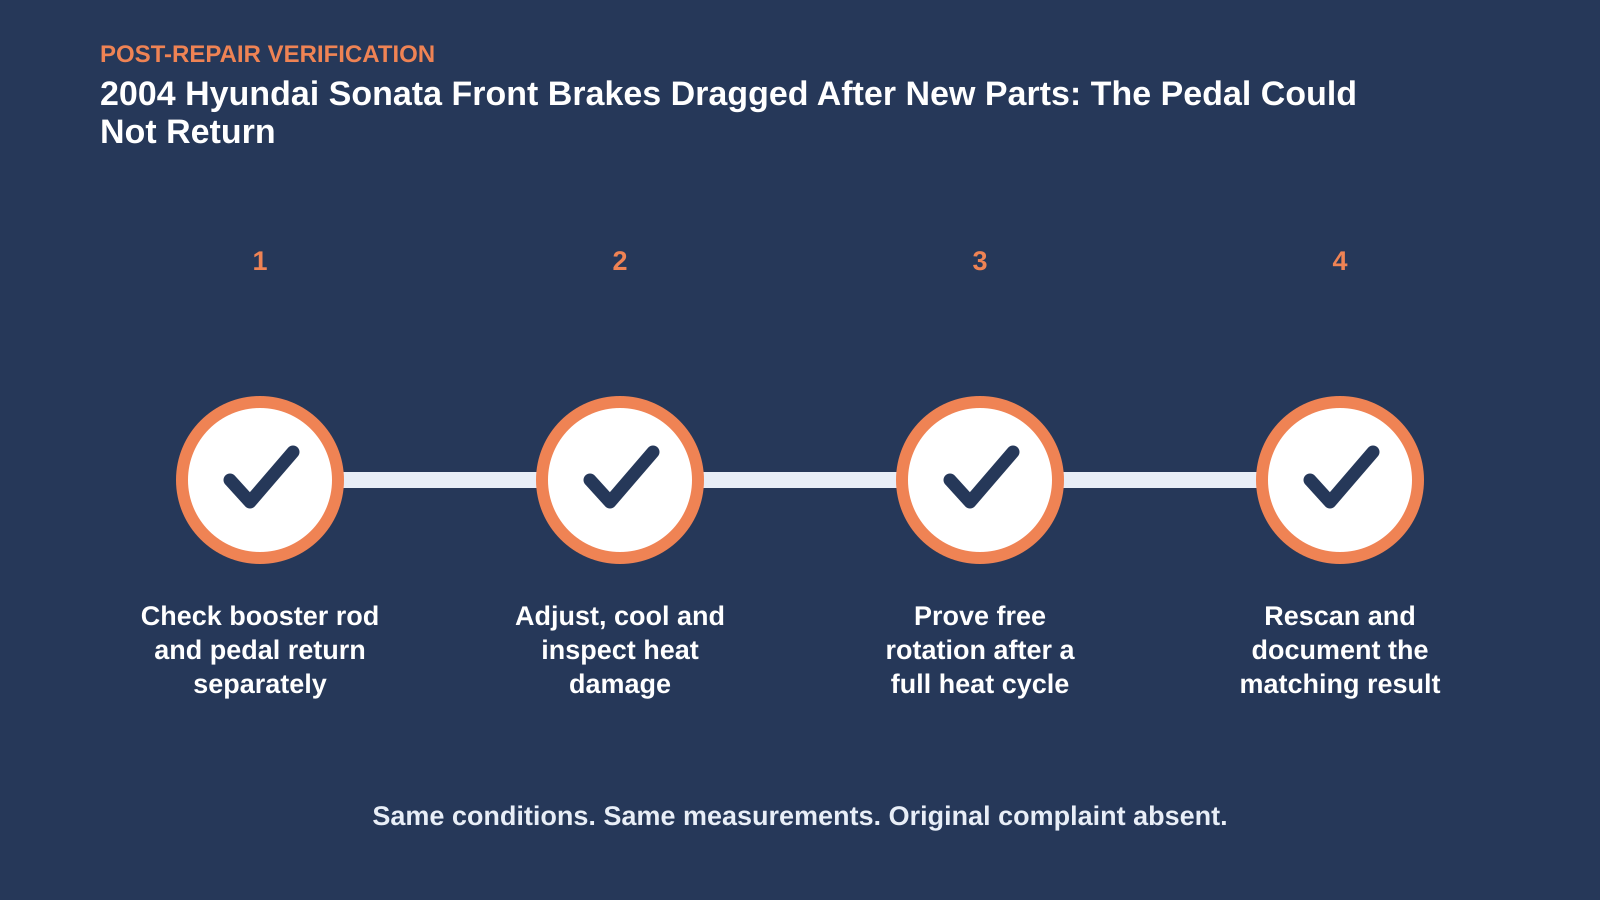
- Prove free rotation after a full heat cycle
A smoking brake changes the safety plan
Smoke and locked front brakes mean the road test ends immediately. Chock the vehicle, use rated lifting equipment and allow hot components to cool; do not touch a rotor or open a bleeder near skin. Heat can damage pads, seals, hoses and bearings even after the pressure cause is corrected. Preserve the original condition before changing it. The first observation is the control sample against which every later test must be compared.
Both front wheels suggest a shared cause
Because both front wheels dragged together, begin with the hydraulic and mechanical paths they share: pedal return, booster input, master-cylinder compensation and contaminated fluid. Two simultaneous caliper failures are possible, but extensive new front hardware that changed nothing makes a shared upstream restriction more useful. Use service information for the exact engine, build date and options. A correct method on the wrong terminal can create a precise but useless result.
Confirm drag before opening the system
Confirm drag with wheel rotation and temperature comparison only after the car is secure. A pressure gauge or carefully managed bleeder test can show whether hydraulic pressure remains, but releasing it is not the repair. Observe whether the wheels free when the master-cylinder input is allowed to return. Treat prior work as evidence, not blame. A repair that made no change can narrow the case when its installation and test conditions are verified.
Watch what releases the trapped pressure
The sequence of what releases the brakes matters. If loosening a line upstream changes both wheels, work backward without replacing parts. If nothing releases until a mechanical linkage moves, inspect pedal geometry. Each step should divide the system rather than merely vent pressure and erase evidence. At this stage, separate what was observed from what is inferred. The observation should remain true even if the current theory is later rejected.
| Observation | What it supports | What it does not prove |
|---|---|---|
| Both front wheels drag | Shared path deserves priority | Master cylinder is failed |
| Pressure releases upstream | Hydraulic retention exists | Caliper condition is good |
| Booster rod is correct | One mechanical input passes | Pedal returns fully |
| Switch adjustment frees brakes | Pedal stop caused retention | Heat caused no damage |
Check booster rod and pedal return separately
The booster pushrod was checked and found correctly adjusted. That did not prove the pedal reached its rest position. Measure pedal free play and observe the stop-lamp switch contact separately, since an external switch can physically hold the pedal just far enough forward to block compensation. This is the decision point in the documented case. Its value comes from changing one bounded condition while leaving the rest of the system intact.
The brake switch is also a mechanical stop
Here, the brake-lamp switch was adjusted too far. Its job is electrical, but its position also affected the pedal stop. Following Hyundai’s clearance procedure restored full return, allowing the master cylinder to uncover its return path rather than retaining pressure as heat built. A confirmed component still needs a repair that restores sealing, support, torque, routing or terminal fit—the physical conditions that keep the fault from returning.
Adjust, cool and inspect heat damage
After adjustment, inspect everything that overheated. Blue rotors, glazed pads, cooked boots or fluid, and damaged wheel bearings can remain unsafe even when the wheels turn freely. Replace only what inspection and specification justify, then bleed by the correct procedure if the system was opened. Reassemble protective covers and retainers before declaring success. A diagnostic shortcut must not become the next failure mechanism.
Prove free rotation after a full heat cycle
Repeat free-rotation checks cold, apply and release the brakes many times, and complete a cautious heat cycle in a controlled area. Compare both front temperatures and confirm the brake lamps work at the proper pedal point. The original locked-wheel condition—not a soft pedal in the bay—is the closing test. Use the customer’s original complaint as the final specification. A cleared code, quiet bay or one good key cycle is not equivalent to reproducing and passing that condition.
If you are bringing a similar symptom to a shop, arrive with the useful conditions rather than a requested part: whether the vehicle was cold or hot, the exact speed or switch position, which warning lamps appeared, what changed after a restart, and a chronological list of earlier repairs. A short video can preserve an intermittent sound or lamp pattern, but record it only while parked or with a passenger handling the camera. Ask the technician to retain the pre-repair scan and measurements, explain the test that separated the failed path from the alternatives, and show how the original complaint was repeated afterward.
For the owner or service adviser, a useful repair explanation has three parts: what was observed, why the decisive test narrowed the fault, and which original condition passed after the repair. It should also say what the test did not prove. That boundary prevents a memorable case from becoming an automatic parts recommendation.
The new hydraulic parts were not the missing answer. An over-adjusted brake switch prevented full pedal return, retained pressure and heated both front brakes. The reusable lesson is narrower and more valuable: Start at the hot wheels, then trace the pressure path backward until the simple mechanical interference becomes visible.




Comments 0
Questions, fixes, and real-world diagnostic notes from readers.
Be the first to share a diagnostic result or ask a follow-up question.