
2007 Ford Expedition Windows Would Not Move: A Dim Test Light Exposed the Feed

Voltage Present, But Windows Dead?
A meter can say twelve volts while a window motor receives almost no usable power. On this Expedition, a dim test light told the truth that an unloaded number concealed.
When this diagnostic path reaches a measurement question, the useful machine type is one that answers only that question. For that supporting role, the MRCARTOOL B550 Circuit Analyzer is one practical option. A circuit analyzer can compare voltage and loaded drop on an identified 9–30-volt power circuit. Power injection requires the correct fused path and must never be used on communication lines; the tool cannot replace a wiring diagram.
<strong>Quick answer:</strong> The circuit had voltage without current capacity. A nearly severed sill wire created the dim load-test result and master-switch buzzing; repairing it restored every window. This article follows one documented vehicle. It explains the evidence chain, not a universal failure rate or a direction to replace the same part on every similar car. Stop whenever the test would involve overheated brakes, high current, moving parts, refrigerant handling or an uncontrolled road condition.
Quick answer: The circuit had voltage without current capacity. A nearly severed sill wire created the dim load-test result and master-switch buzzing; repairing it restored every window.

In this guide
- All four windows define a shared path
- A buzzing switch is evidence, not a diagnosis
- The new master switch is a negative result
- Load the main feed safely
- Known power proves the downstream side
- Open the driver sill where the harness flexes
- Repair current capacity, not just continuity
- Run every window repeatedly under load
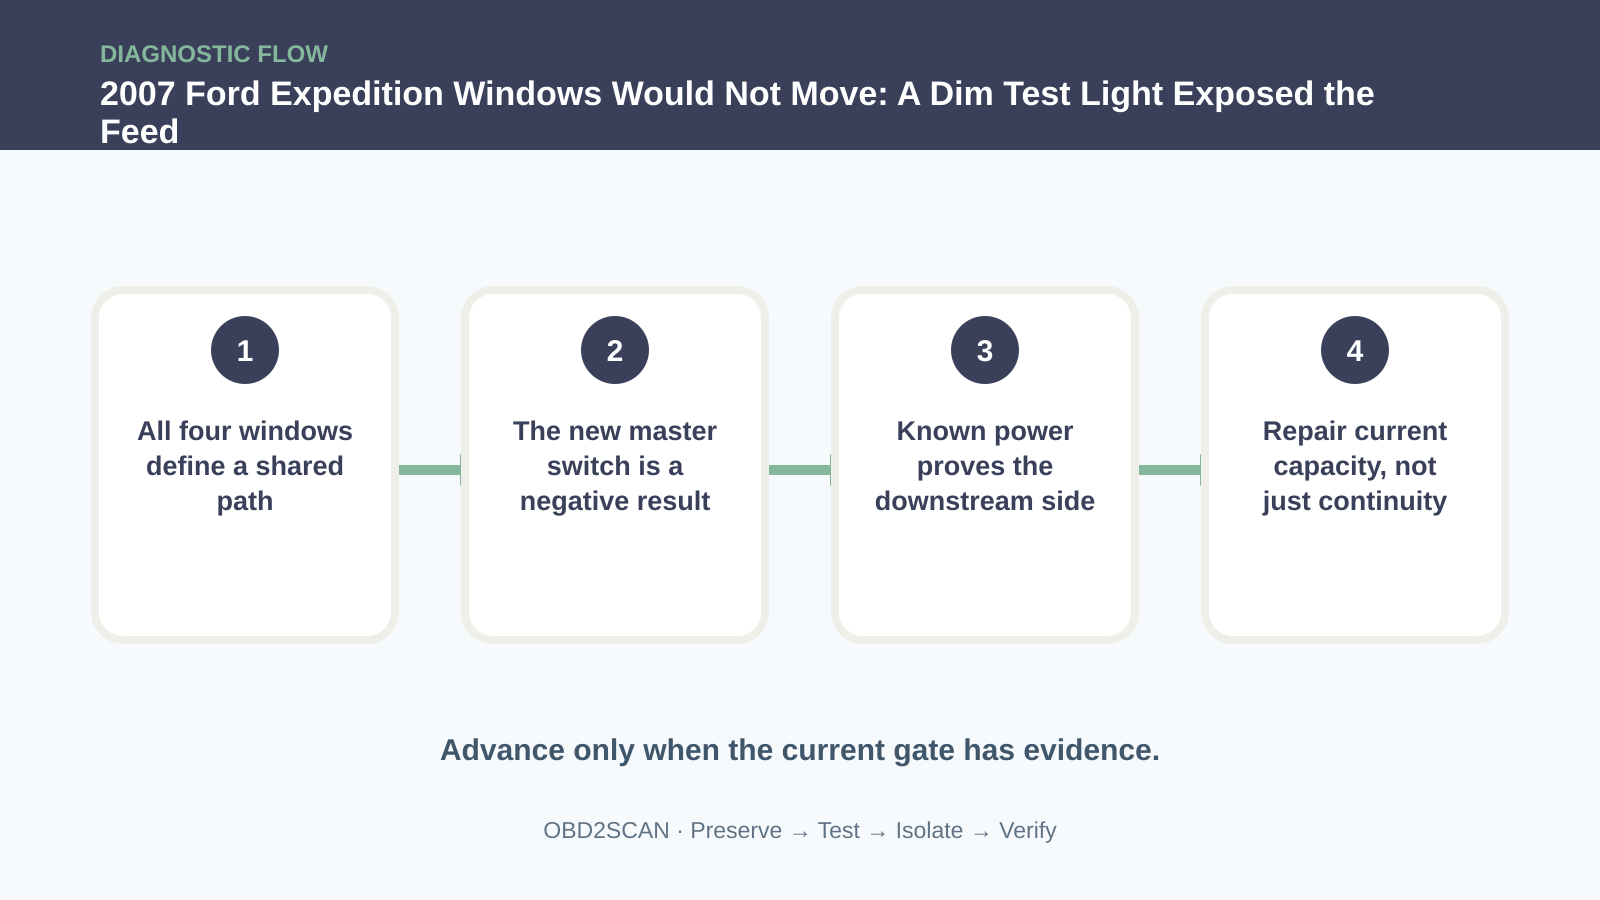
All four windows define a shared path
When every window fails, begin at what they share rather than opening four doors. Note the master-switch buzz and confirm whether locks, mirrors or retained accessory power behave normally. A common feed or ground can disable all motors while leaving enough voltage to make a relay or switch chatter. Preserve the original condition before changing it. The first observation is the control sample against which every later test must be compared.
A buzzing switch is evidence, not a diagnosis
Replacing the master switch with an OEM unit did not change the Expedition. That is useful negative evidence if the connector and part were correct. Reinstall the known configuration and move upstream; repeating the same component cannot reveal whether its supply collapses under load. Use service information for the exact engine, build date and options. A correct method on the wrong terminal can create a precise but useless result.
The new master switch is a negative result
The main power wire showed voltage but lit a test lamp only dimly. An unloaded meter needs almost no current, so a few surviving strands or corrosion can display near battery voltage. A controlled load asks the circuit to deliver current and exposes resistance that continuity alone may hide. Treat prior work as evidence, not blame. A repair that made no change can narrow the case when its installation and test conditions are verified.
Load the main feed safely
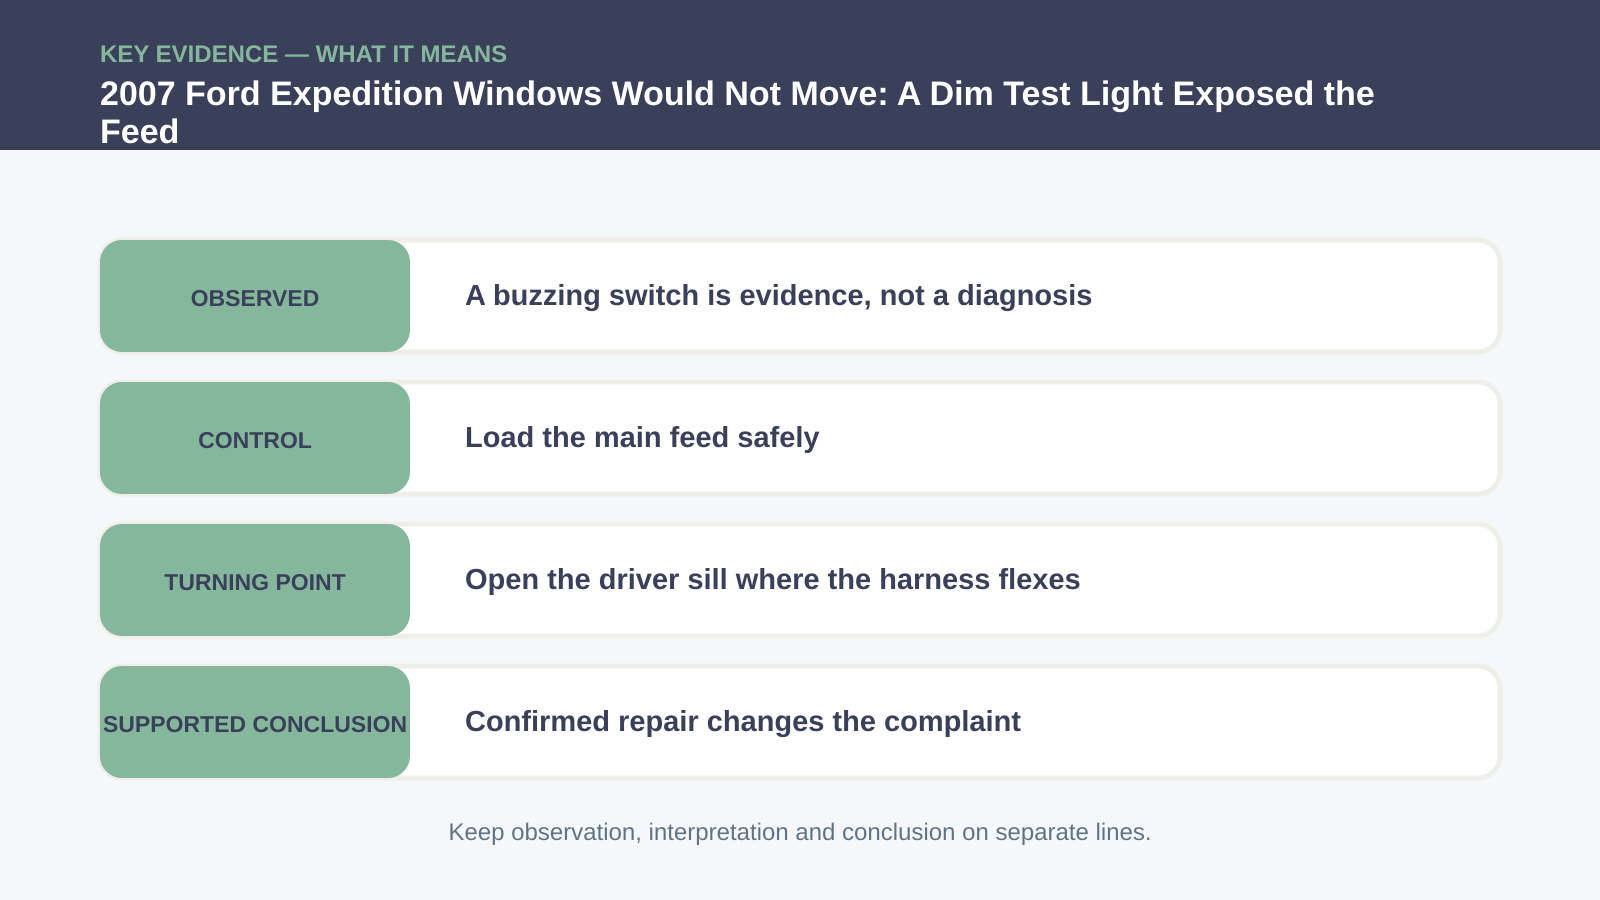
After identifying the correct fused feed, the technician applied safe known power and the windows operated. That A/B test supported the downstream motors, switches and grounds. Never jump an unknown terminal: verify pinout, fuse the lead and stay away from network or module-controlled signal circuits. At this stage, separate what was observed from what is inferred. The observation should remain true even if the current theory is later rejected.
| Observation | What it supports | What it does not prove |
|---|---|---|
| All windows fail | Shared circuit is likely | Every motor is good |
| Feed lights lamp dimly | Voltage collapses under load | Wire location is known |
| Known fused power runs windows | Downstream path operates | Bypassing is a repair |
| Sill splice passes repeated load | Broken feed was causal | Water path needs no attention |
Known power proves the downstream side
The failing voltage drop placed the search between the source and the master switch. Inspect bends, door-jamb transitions and sill channels for water or physical stress. In this case, opening the driver’s sill exposed a wire with only a few copper strands still connected. This is the decision point in the documented case. Its value comes from changing one bounded condition while leaving the rest of the system intact.
Open the driver sill where the harness flexes
Cut back until clean flexible copper remains, match conductor gauge and insulation, stagger and seal the approved splice, then restore strain relief. A twist-and-tape joint may pass one button press but cannot carry repeated motor current or survive moisture under carpet. A confirmed component still needs a repair that restores sealing, support, torque, routing or terminal fit—the physical conditions that keep the fault from returning.
Repair current capacity, not just continuity
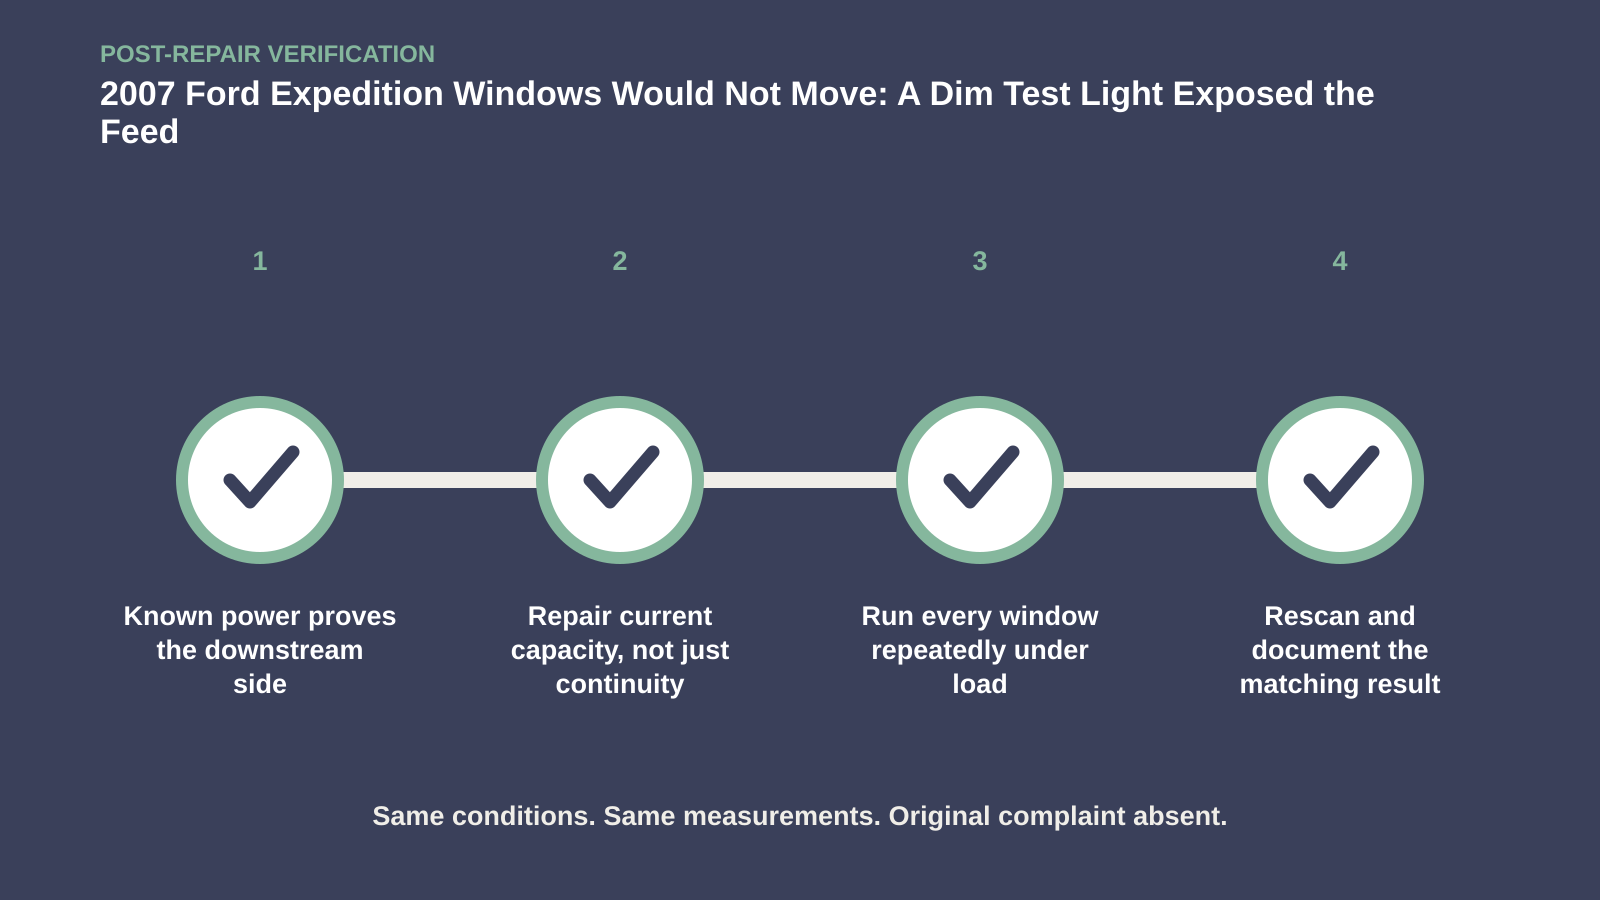
Before trim returns, load the circuit repeatedly while watching voltage at both sides of the repair. Secure the loom away from seat fasteners and sharp sill edges. Address any water path and reinstall the protective channel so occupants cannot crush the harness. Reassemble protective covers and retainers before declaring success. A diagnostic shortcut must not become the next failure mechanism.
Run every window repeatedly under load
Operate each window to both stops from its local and master switches, repeating enough cycles to warm the circuit. Confirm no buzz and compare loaded voltage with the source. A bright load test and stable operation—not simply a repaired-looking wire—close the case. Use the customer’s original complaint as the final specification. A cleared code, quiet bay or one good key cycle is not equivalent to reproducing and passing that condition.
If you are bringing a similar symptom to a shop, arrive with the useful conditions rather than a requested part: whether the vehicle was cold or hot, the exact speed or switch position, which warning lamps appeared, what changed after a restart, and a chronological list of earlier repairs. A short video can preserve an intermittent sound or lamp pattern, but record it only while parked or with a passenger handling the camera. Ask the technician to retain the pre-repair scan and measurements, explain the test that separated the failed path from the alternatives, and show how the original complaint was repeated afterward.
For the owner or service adviser, a useful repair explanation has three parts: what was observed, why the decisive test narrowed the fault, and which original condition passed after the repair. It should also say what the test did not prove. That boundary prevents a memorable case from becoming an automatic parts recommendation.
The circuit had voltage without current capacity. A nearly severed sill wire created the dim load-test result and master-switch buzzing; repairing it restored every window. The reusable lesson is narrower and more valuable: Make the dim lamp the visual pivot that separates voltage present from power deliverable.










Comments 0
Questions, fixes, and real-world diagnostic notes from readers.
Be the first to share a diagnostic result or ask a follow-up question.