
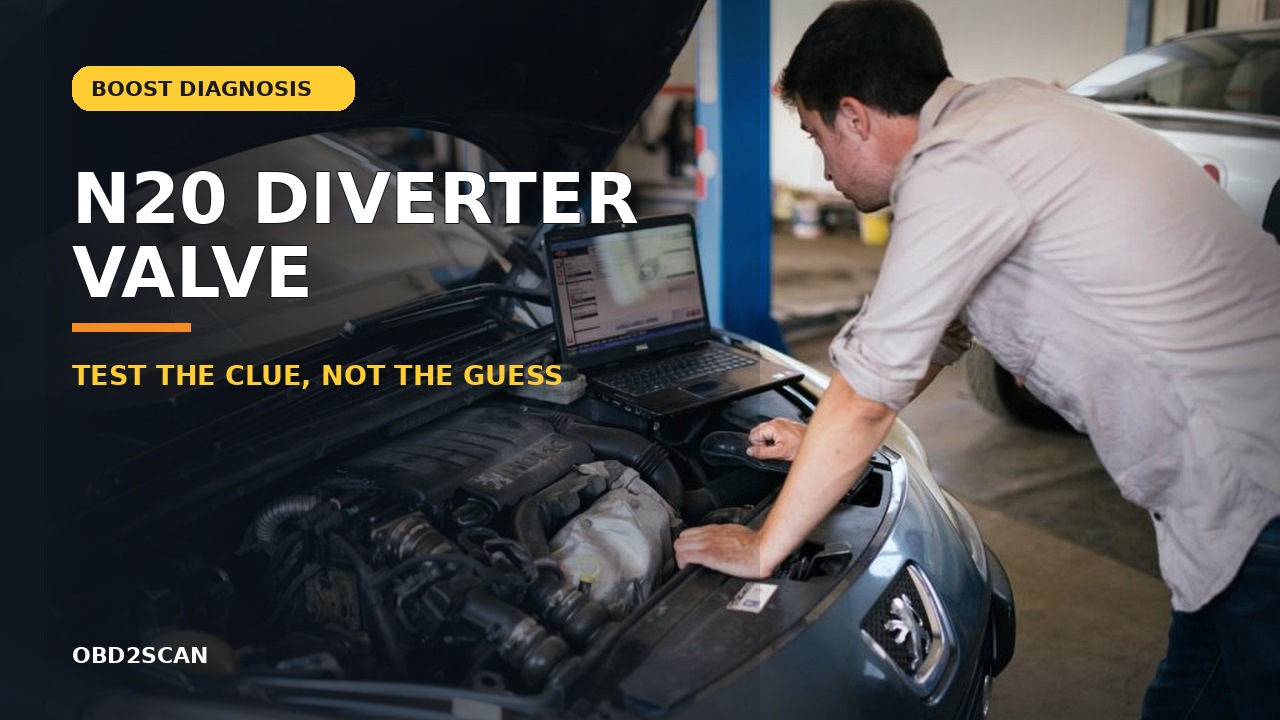
BMW N20 Diverter Valve: When Negative Leak Tests Aren’t the End

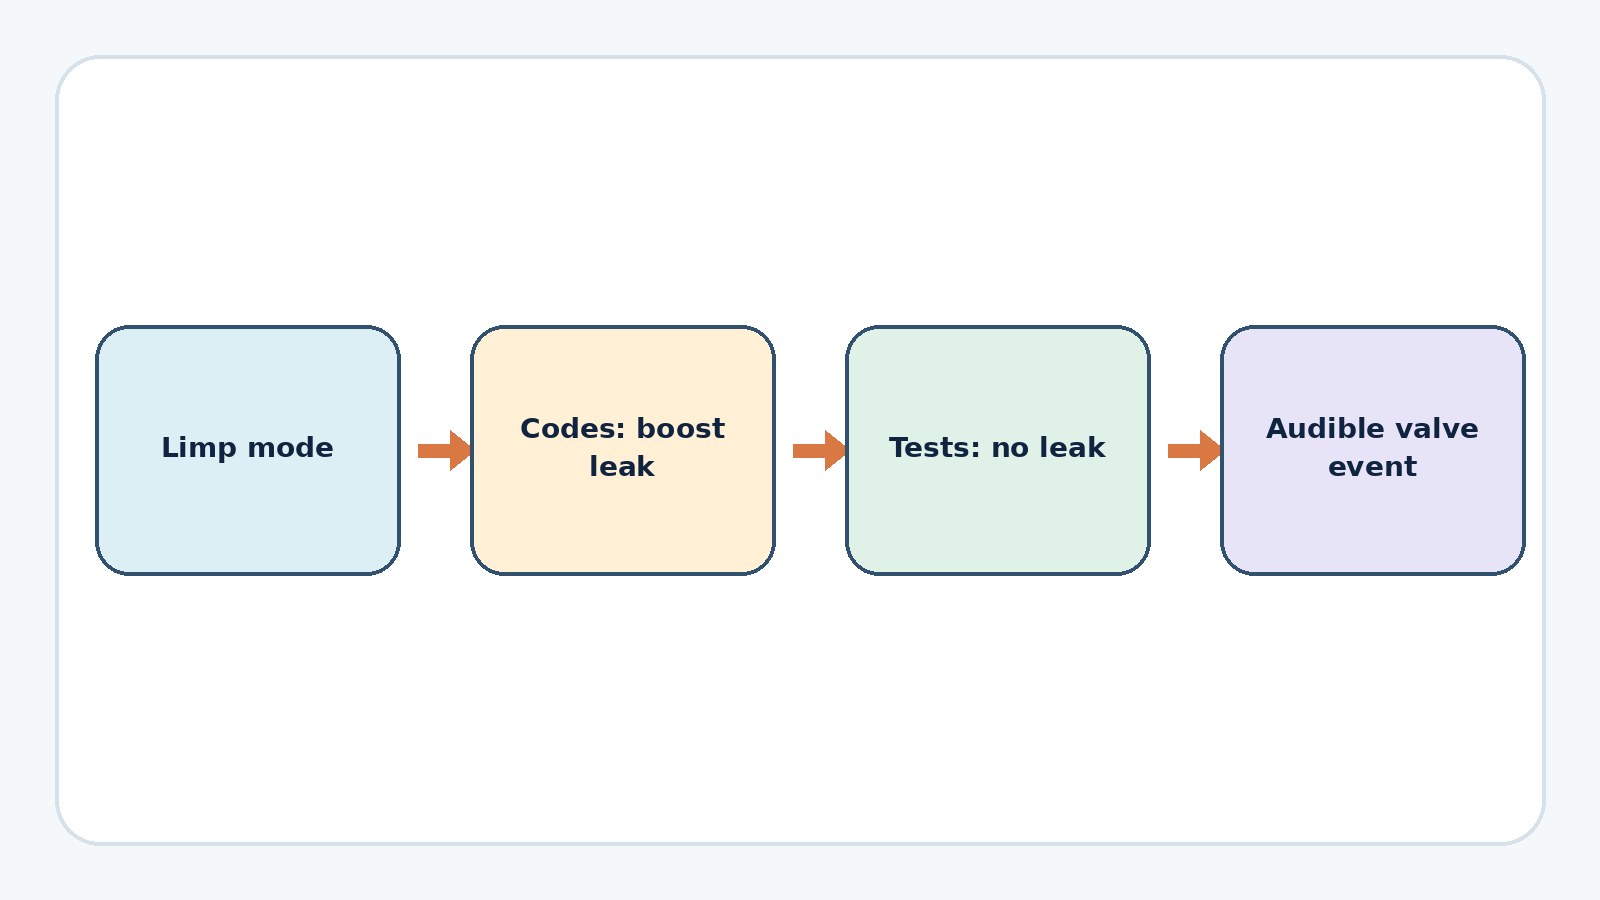
A tuned 2014 BMW Z4 with an N20 engine intermittently entered limp mode. Fault information pointed toward a boost leak, but pressure and smoke tests did not reveal one. A repeatable diverter-valve release under load created a stronger hypothesis. Replacement stopped that audible event in initial checks, but long-term data never arrived—so the result remains bounded.
Bottom line: negative leak tests did not erase the complaint; a repeatable sound under the same load condition created a new hypothesis. The repair then exposed a separate issue: access to the third diverter-valve screw could push the job into turbo/manifold work with much higher consequences.
In this project
The project began with an intermittent fault
The car was modified and tuned, which changed the diagnostic baseline. It had entered limp mode occasionally, and the stored information was interpreted as a boost-leak problem. The charge pipe had failed before and had already been replaced, so a familiar failure path naturally stayed high on the list.
That history was useful, but it also created anchoring risk. A previous charge-pipe failure does not prove the next pressure-control problem has the same source. On a modified car, commanded boost, calibration behavior, wastegate control, ignition quality, charge plumbing and diverter operation all need to be considered against the exact fault codes and captured operating data.
Project at a glance
| Item | Recorded project detail |
|---|---|
| Vehicle | 2014 BMW Z4 28i with N20 engine |
| Baseline | Modified/tuned; prior charge-pipe failure |
| Complaint | Intermittent limp mode with boost-leak direction from fault information |
| Tests before replacement | Pressure test and smoke test; neither located a leak |
| Turning point | Audible diverter-valve release during a low-rpm, high-load event |
| Reported result | Initial pulls showed no adverse effect and the audible release was gone; longer data absent |
The first tests did not find the leak
A pressure test and a smoke test both came back without a visible leak. That result narrowed the simple plumbing possibilities but did not prove the charge system was healthy under all conditions. A valve can behave differently when hot, commanded, vibrating or exposed to real pressure differential; a test setup can also isolate a section differently from the running engine. For a controlled repeat of that leak check, the AUTOOL SDT206 automotive smoke leak detector can make an allowed intake or boost leak path easier to see, provided the same valve state and test boundary are reproduced.
The correct response to a negative test is not automatic replacement. Preserve the fault codes and freeze-frame data, confirm the test boundary and pressure, inspect every branch included and excluded, and reproduce the complaint safely while logging commanded versus actual boost and relevant valve or wastegate data. If the symptom cannot be reproduced without risky road loading, controlled workshop or dynamometer testing is the better path.
One sound redirected the project
At about 50 mph in sixth gear under heavy throttle, the factory diverter valve could be heard the factory diverter valve dumping pressure. A loud exhaust had previously masked the sound. That observation fit the boost-loss theory closely enough to redirect the project toward the valve.
The useful part is the condition attached to the sound: gear, road speed, low engine speed and load. ‘I heard a whoosh’ by itself is weak evidence because normal control events, intake noise and other leaks can sound similar. A stronger modern record would include the exact fault codes, a log showing actual boost falling away from target, and a command or test that links the sound to valve operation.
Access became the real repair risk
The recorded estimate was four to six hours, with two possible access routes. One removed much more of the turbo/manifold assembly. The chosen route left the turbo in place and moved intake plumbing, the coolant reservoir, charge pipe and clean-air pipe out of the way before disconnecting the diverter valve and wastegate.
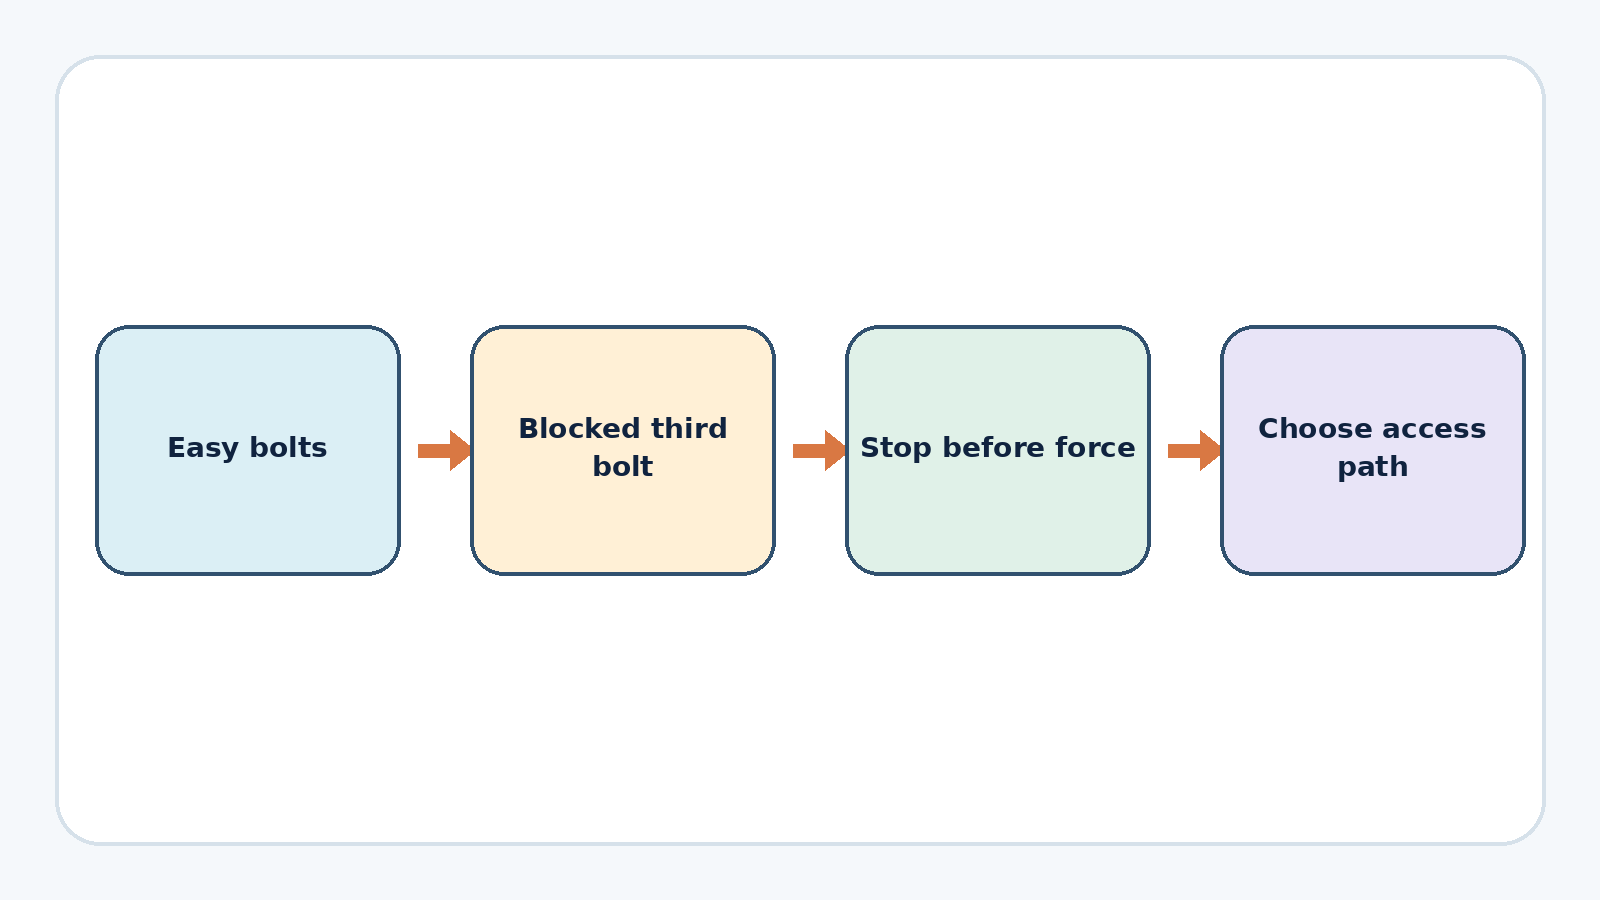
That sounds compact until the last fastener. Two screws were reachable; the third sat behind a severe angle near the timing-chain tensioner area. A long ball-end hex provided the severe-angle access, while a magnet retained the screw. Tool geometry, not replacement-part complexity, determined whether the job stayed inside the original scope.
The third screw created a stop decision
If the valve would not pass through the available gap, the documented fallback was to loosen the exhaust manifold and create slight clearance. Excessive force at this point can damage hard oil lines, the turbo, cylinder head or block. That is the point where an experienced DIY project can become a high-consequence engine repair.
Do not improvise manifold loosening, prying or angled fastener torque from this project summary. If the valve cannot be removed with the approved in-car access for the exact chassis, stop and obtain current BMW repair information—or hand the work to a technician equipped to support the turbo assembly, renew required hardware and verify oil, exhaust and cooling connections.
A damaged fastener head, tool that will not seat fully, or need to lever against a hard line is also a stop condition. The cost of changing access strategy is lower than the cost of a stripped turbo fastener or cracked line.
What the initial result can support
After installation and reassembly, several initial highway pulls produced no adverse effect, boost appeared to hold and the valve-release sound was gone. The check was too short to establish recurrence or durability.
No longer-term log or recurrence record is available. The result supports successful installation and a changed immediate symptom, but it does not prove a permanent cure, a performance improvement or superiority over the original valve. Similar hesitation can remain after valve replacement when another part of the boost-control system is responsible.
How to use this diagnostic path
- Start with the exact fault codes and operating snapshot; do not diagnose from ‘limp mode’ alone.
- Define what the pressure and smoke tests actually included and under what conditions.
- Record any sound with the condition that triggers it and pair it with boost data where possible.
- Inspect access before buying the part; the third screw and removal clearance can change the job’s risk.
- Require recurrence monitoring after repair. One clean pull is an initial check, not a durable fix verdict.
Use the OBD-II evidence workflow to preserve codes and freeze-frame data before clearing anything. If the only removal path requires manifold or turbo movement beyond your equipment, the DIY-versus-shop decision guide is the right next page. This project is most valuable because it keeps the missing proof visible.






Comments 0
Questions, fixes, and real-world diagnostic notes from readers.
Be the first to share a diagnostic result or ask a follow-up question.