
2004 Fiat Ducato Cranked Too Long After Timing Work: The Cam Sensor Sat Too Close

Poor Start After Timing Work? Check Sensor Gap
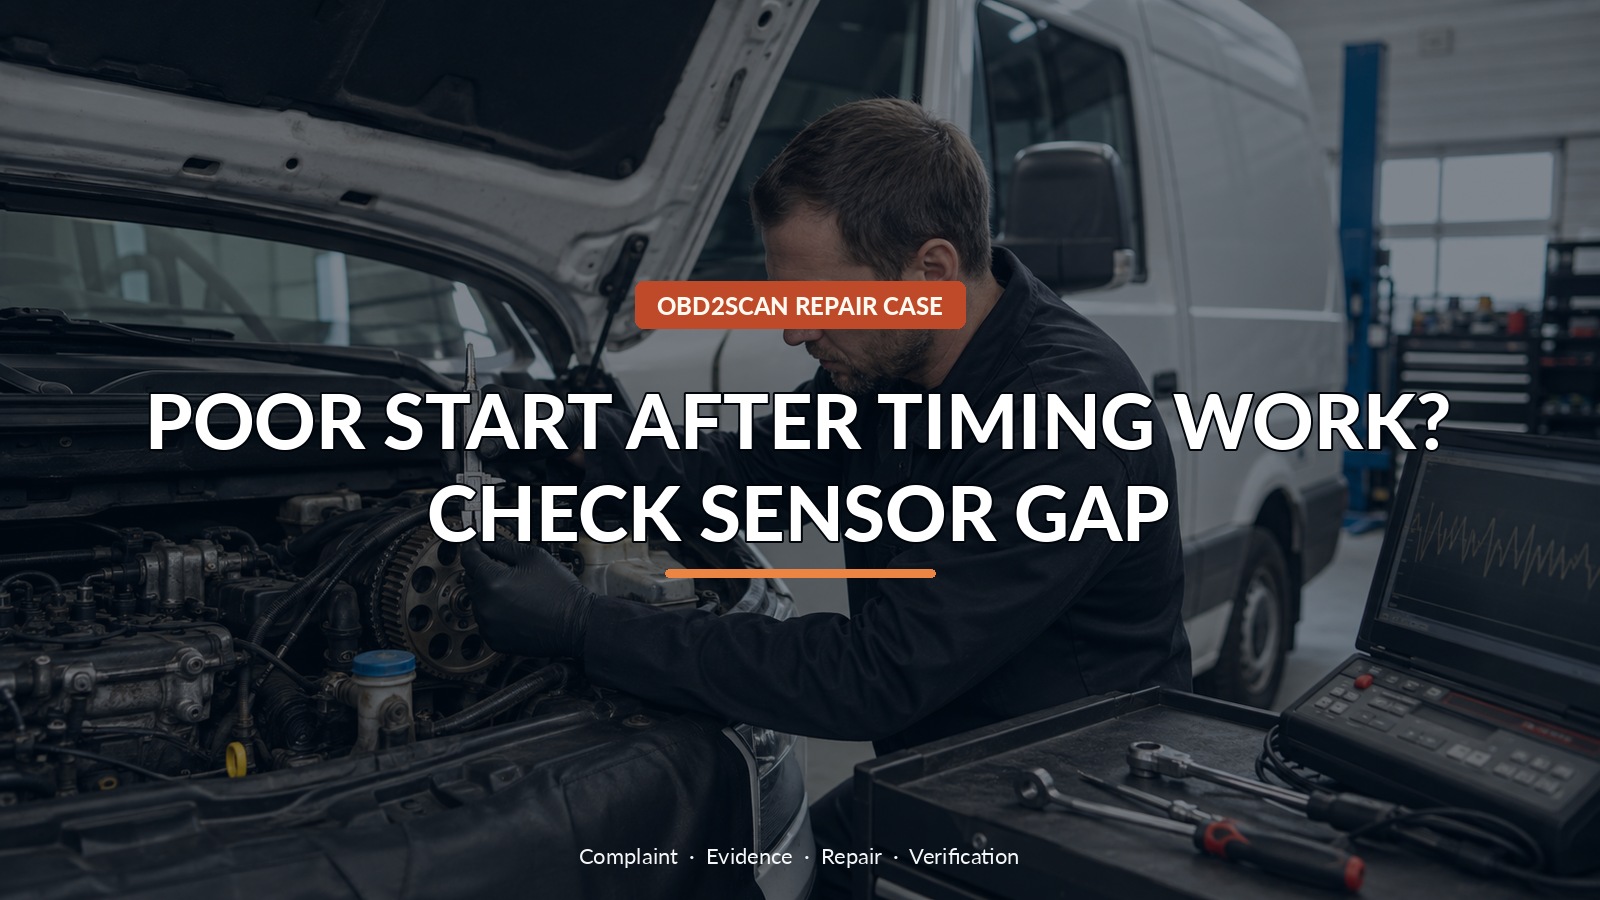
A 2004 Fiat Ducato 2.8 JTD began cranking too long after cambelt and top-end work. Cam/crank synchronization faults made the cam sensor look guilty, yet its electrical supply was present. The useful clue was not whether the sensor was new or old. It was where the sensor sat in relation to the target it had to read.
For an accessible first comparison, an automotive meter/scope can confirm supply, ground and whether cam and crank signals appear in the same cranking window. The AUTOOL DM303 is one route for those limited checks after the Fiat circuit and signal type are identified. DM303 can support accessible cam, crank, power and ground checks where Fiat data defines safe points and a suitable capture; it cannot set mechanical timing, measure every air gap accurately, replace a known-good comparison or prove bracket geometry from a single voltage reading.
The cam trace arrived late and looked erratic because the mounting bracket held the sensor face too close to the rotating gear. Carefully spacing the assembly restored the working relationship, produced a clean waveform and returned quick starting. This is a post-repair geometry case: correct wires cannot rescue a sensor positioned incorrectly.
Quick answer: Cam-sensor power and ground were good, but post-repair mounting geometry made the signal late and erratic. Correct spacing restored synchronization and quick starting.
In this guide
- Treat the recent timing work as context
- Confirm cranking speed and mechanical timing
- Check feed and ground before the waveform
- Compare cam timing with crank position
- Inspect the sensor face and target relationship
- Change only the confirmed mounting geometry
- Protect the sensor and bracket during reassembly
- Verify first-start time and synchronization
Treat the recent timing work as context
Recent work belongs at the top of the evidence sheet, but it is not permission to blame the last technician. Record exactly what was removed, timed, machined or replaced. Confirm battery condition and cranking speed because a slow diesel can distort every signal. Check mechanical timing using the approved locking and reference procedure before repeated cranking risks valve damage. If abnormal mechanical noise, binding or very low compression appears, stop. A scope pattern is not a safe excuse to keep turning an engine whose base timing is uncertain.
Confirm cranking speed and mechanical timing
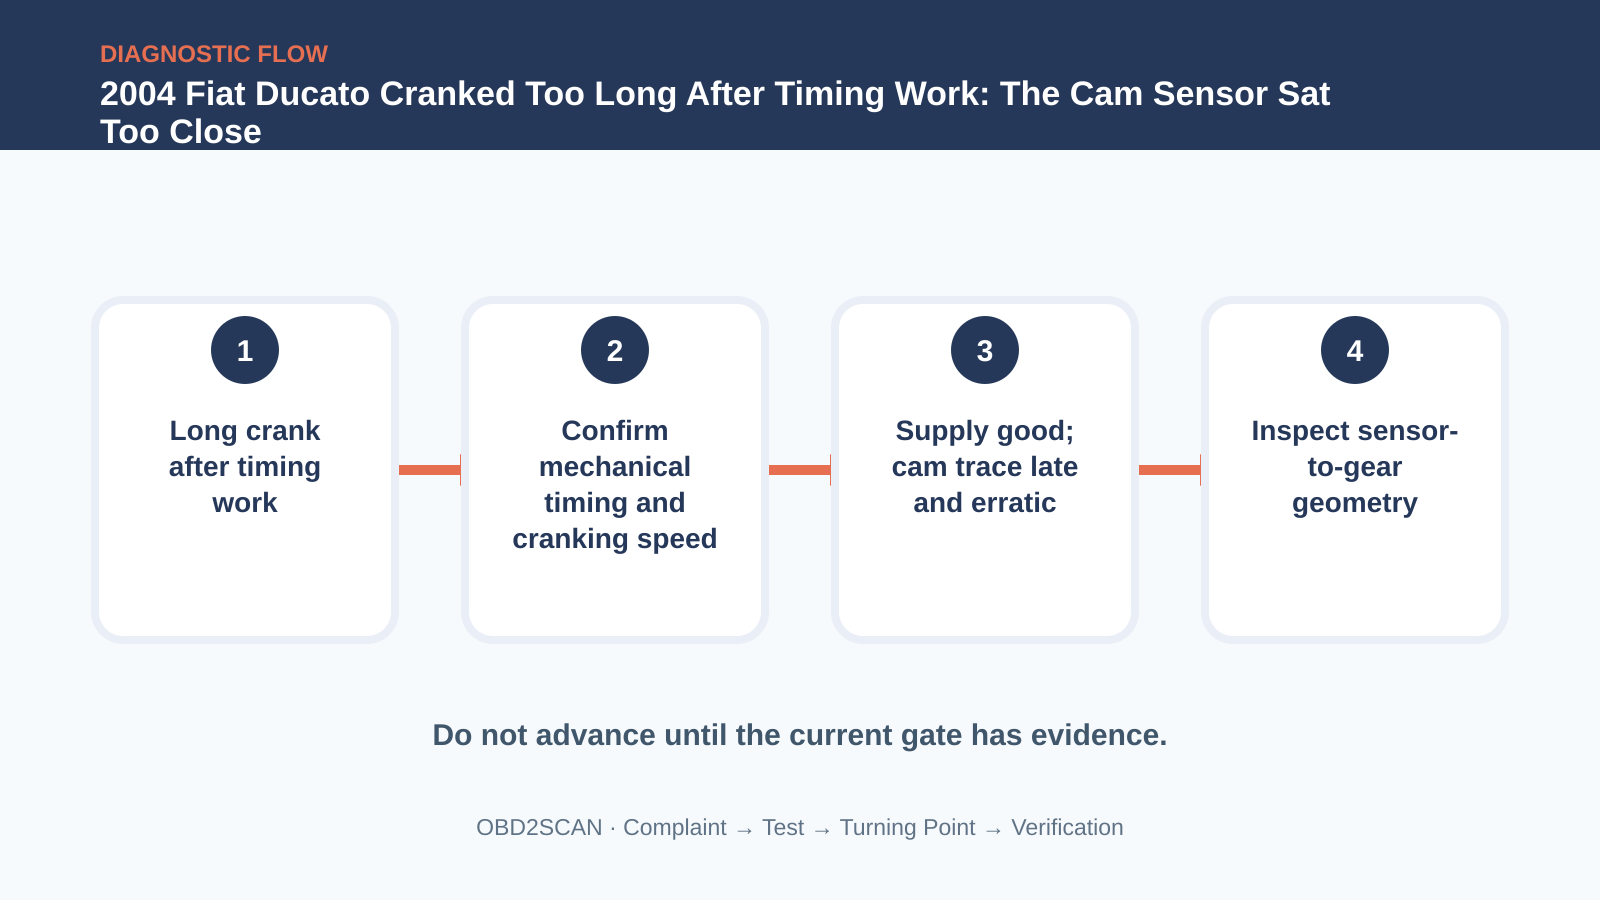
Next, ask whether the controller receives both position inputs during one complete crank. Verify the cam sensor’s supply and ground under load and identify whether its output is Hall, inductive or another architecture. Compare crank speed and cam transitions over several revolutions. The purpose is not to find a pretty waveform on the internet. It is to decide whether the signal arrives at the correct time, with repeatable edges, relative to the crankshaft on this engine after this repair.
Check feed and ground before the waveform
Correct power and ground move the diagnosis away from an open supply, but they do not certify the signal. In the documented capture, the cam output was delayed and unstable. Check the connector fit, pin tension and harness routing, then inspect the sensor face for contact marks or metallic debris. A sensor can be electrically capable and still unable to distinguish its target if the air gap is wrong, the bracket is distorted or the target passes through an unsuitable part of its magnetic field.
Compare cam timing with crank position
The bracket and gear must be treated as a pair. Look for missing spacers, paint, gasket thickness, burrs, a bent bracket or an incorrectly seated component. Turn the engine only by the approved method and keep hands clear. Measure available clearance with a method suitable for the design; do not force a metal gauge into a moving gap. On this Ducato, the assembly sat too close. The sensor face was influenced in a way that made the output erratic rather than simply absent.
| Check | Result in this case | Meaning |
|---|---|---|
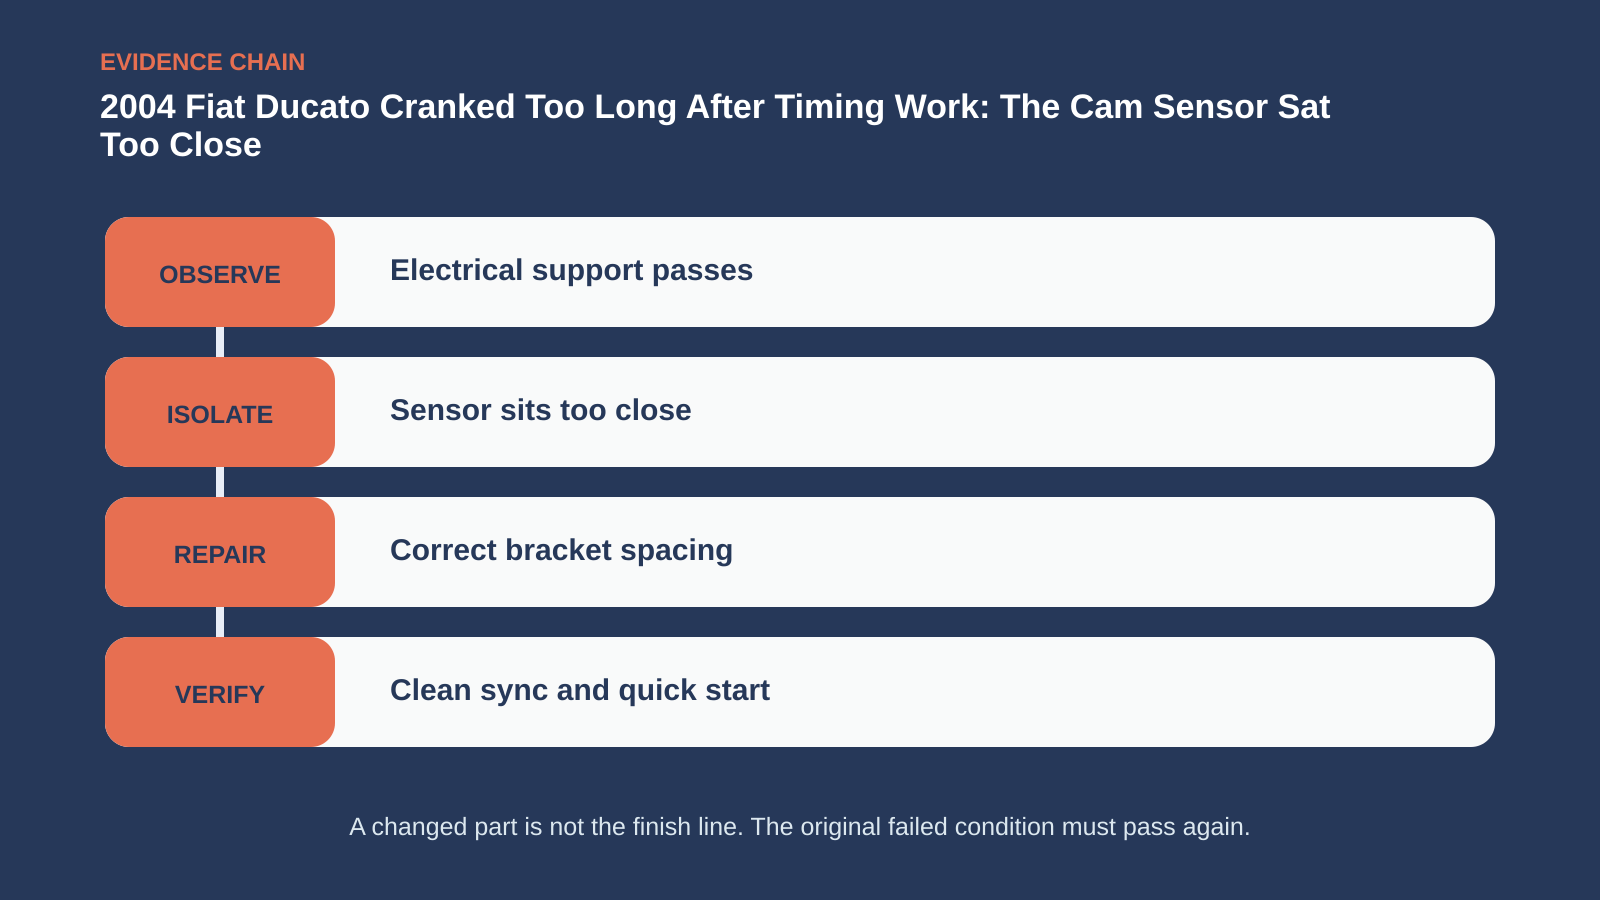
| Cam supply and ground | Present | Basic electrical support exists |
| Cam waveform while cranking | Erratic and delayed | Position information is unusable |
| Sensor/gear relationship | Sensor too close | Mounting geometry can explain the trace |
| Corrected spacing | Clean repeatable cam signal | Geometry change fixes the measured cause |
Inspect the sensor face and target relationship
Spacing was changed deliberately, not by stacking random washers until the engine started. Use the correct bracket, approved spacers and fastener torque where available. Before final assembly, confirm the sensor cannot touch the gear through runout, vibration or thermal movement. Then repeat the same cranking capture. A cleaner signal immediately after one geometric change is strong A/B evidence. It still deserves a mechanical timing check so an improved sensor reading is not allowed to hide a separate belt-indexing error.
Change only the confirmed mounting geometry
Protect the repair from becoming another post-service mystery. Replace a marked or contacted sensor, correct a bent mount, route the harness with its clips and keep the lead away from the rotating drive. Photograph the final gap and hardware. If a nonstandard spacer was necessary because parts information is unavailable, record its material and thickness and explain the limitation. The goal is a stable working relationship across heat and vibration, not a temporary position that happens to produce one successful start.
Protect the sensor and bracket during reassembly
Verification starts from cold if that is when the long crank was most obvious. Record time to fire, cranking rpm and synchronization status, then allow the engine to warm and restart it. Compare the post-repair cam/crank capture with the failed trace using the same time base. Clear faults only after saving the original report, and rescan after the road or loaded test. The engine should start promptly without abnormal contact noise, and the synchronization fault should not reset.
Verify first-start time and synchronization
Finally, inspect for leaks and recheck covers, mounts and belt-area fasteners affected by the repair. A quick start proves much, but a loose bracket could make the success temporary. Explain to the owner that this was a documented consequence of sensor geometry on one repaired van, not evidence that every Ducato hard-start needs shims. The transferable habit is to test the component in its physical system: electricity, distance, target and timing all have to agree.
A sensor is not just a plug and a part number. It is a measuring relationship. On this Ducato, restoring the relationship between sensor face and cam gear did what another electrical check alone could never do.









Comments 0
Questions, fixes, and real-world diagnostic notes from readers.
Be the first to share a diagnostic result or ask a follow-up question.