
2004 VW Golf Vibrated Only at 70 MPH: One Tire and a Broken Spring Shared the Cause

Vibration Only At 70 Mph? Follow Frequency
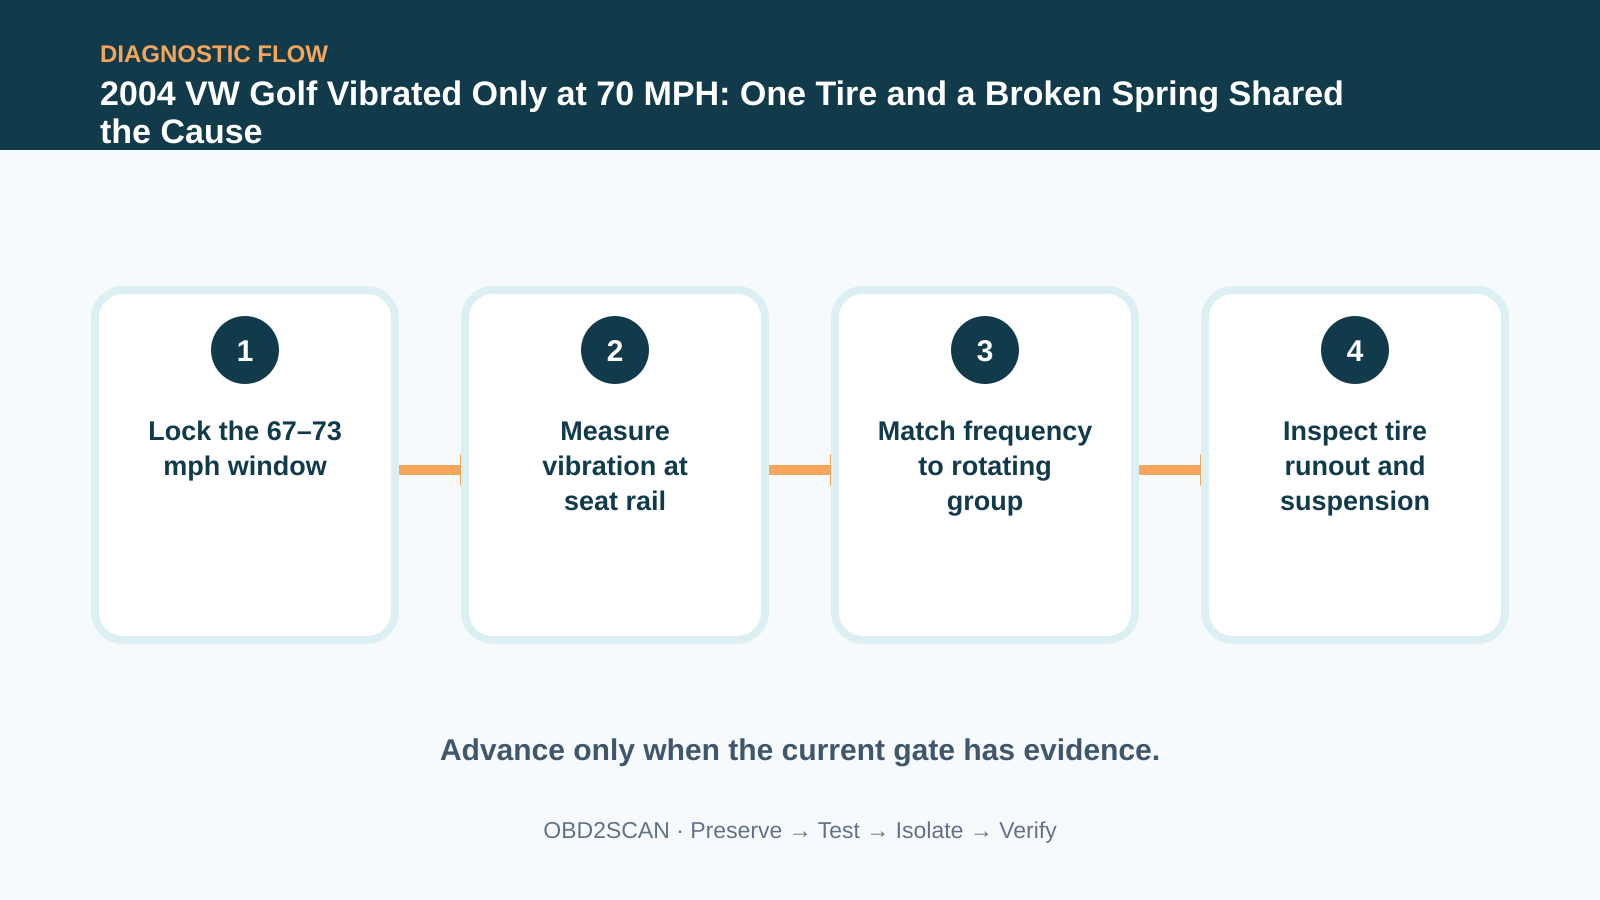
The Golf was comfortable at 65 mph and again at 75. Between roughly 67 and 73, however, the cabin vibrated strongly enough that the driver changed cruising speed to avoid it. All four wheels had already been balanced. The useful question was not “what usually shakes?” but “which rotating group matches this exact speed-dependent frequency?”
Once the car is safely lifted, a compact inspection camera such as the MRCARTOOL N100 can help document an inner tire shoulder or partly hidden spring. N100 can help document hidden inner-tire wear or an accessible spring area when the vehicle is safely supported. A camera image cannot assess tire structure, measure runout or replace lifting, hands-on inspection and NVH measurement.
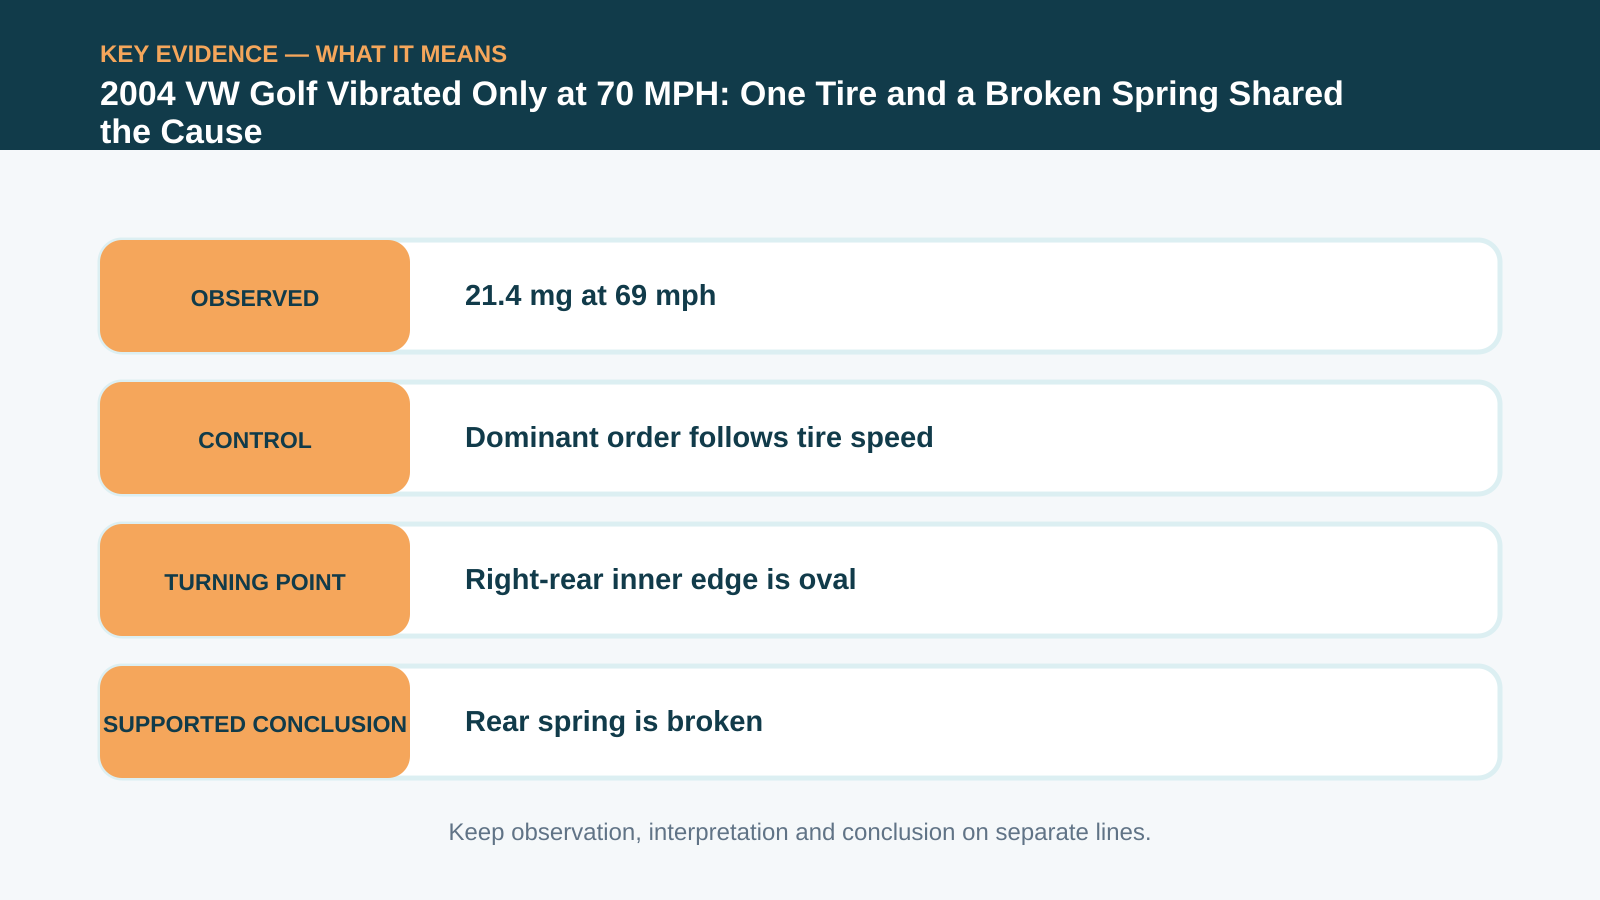
A seat-rail accelerometer measured 21.4 mg at 69 mph, dominated by first-order tire speed. The right-rear tire was visibly oval on its inner edge, and the rear coil spring was broken. Replacing that tire and both rear springs reduced the measured vibration by 76 percent on the same route.
Quick answer: The 69-mph vibration followed tire speed; an oval right-rear tire and broken rear spring explained both the frequency and the wear.

In this guide
- The driver had already found the test window
- Measure where the person feels it
- Translate road speed into component speed
- Use first-order tire frequency to shrink the list
- Inspect the inner shoulder, not just the visible tread
- A broken spring explained the tire’s history
- Repair the tire and axle-level spring issue
- Repeat the same road, speed and sensor position
The driver had already found the test window
The driver had already supplied a high-value test condition: a narrow road-speed window. Confirm the complaint with the customer if possible, note road surface, lane, load, tire pressures and whether throttle changes it. A vibration that tracks road speed while ignoring engine rpm points differently from one that appears in every gear at the same engine speed. Road testing must be legal and controlled; a technician should not stare at a screen while driving. Use recording equipment and review the capture after the vehicle is safely stopped.
Measure where the person feels it
Mount the accelerometer where the driver feels the disturbance—in this case, the seat rail tied to the body. Record its direction and orientation. Moving it between the before and after runs can change amplitude even when the vehicle has not changed. At 69 mph, the measured vibration was 21.4 mg. That number is not a universal reject limit, but it is an objective baseline for the exact vehicle, sensor position and route. It also protects the conversation from “I think it feels a little better” after parts are installed.
Translate road speed into component speed
Frequency converts a sensation into a rotating-speed question. Engine order follows crank speed; propshaft order follows transmission output; tire order follows road wheel speed. The dominant event aligned with T1, first-order tire speed, rather than engine or transmission input speed. That did not yet identify a particular tire. It removed major assemblies from the front of the list and redirected inspection toward wheels, tires, driveshafts and final-drive components turning at the same basic rate.
Use first-order tire frequency to shrink the list
The vibration was felt through the cabin rather than concentrated in the steering wheel, making a rear source more plausible. At this point, inspect radial and lateral runout on all four corners, wheel mounting faces, tire balance, tread separation signs and drive components. Do not accept a recent balance receipt as proof of roundness; a machine can add weights to an assembly that is still structurally oval. The right-rear tire’s inner edge showed a flat or oval area once it was rotated and viewed from the less visible side.
| Evidence | Diagnostic value |
|---|---|
| Vibration only around 67–73 mph | Establishes a repeatable speed window |
| 21.4 mg at 69 mph | Creates an objective before value |
| Dominant first-order tire frequency | Moves engine-speed causes down the list |
| Inner-edge tire ovality | Supplies a physical source at wheel speed |
| Broken rear spring | Explains altered ride height and tire loading |
Inspect the inner shoulder, not just the visible tread
The inner shoulder matters because it can hide tread deformation from a quick walk-around. Safely support the car, rotate the wheel by hand and use a fixed reference or runout gauge according to the service procedure. Look for cords, bulges and separation; if structural damage is suspected, do not continue a high-speed test. The documented tire had been subjected to long motorway use and a heavily loaded cargo area. Those facts are context, not permission to blame driving style. The physical ovality supplied the evidence.
A broken spring explained the tire’s history
A broken rear spring lowered the corner and increased negative camber, providing a credible history for abnormal inner-edge loading. Springs on the same axle share age and duty, so the case replaced both rear springs while renewing the affected tire. Inspect seats, isolators, dampers, bushings and the opposite tire before assembly. Follow vehicle lift and spring-compression procedures; stored spring energy can cause serious injury. Alignment and ride height should be checked after the suspension settles rather than assuming new parts restore geometry automatically.
Repair the tire and axle-level spring issue
The repair addressed both the immediate rotating defect and the condition that helped create it. Installing only a balanced tire could temporarily quiet the symptom while leaving the broken spring to damage the replacement. Conversely, springs alone would not make an oval tire round. This two-layer repair is why a case narrative should include cause history, not just the loudest part. Torque wheel fasteners correctly, set pressures, and inspect the wheel mounting face before the vehicle returns to speed.
Repeat the same road, speed and sensor position
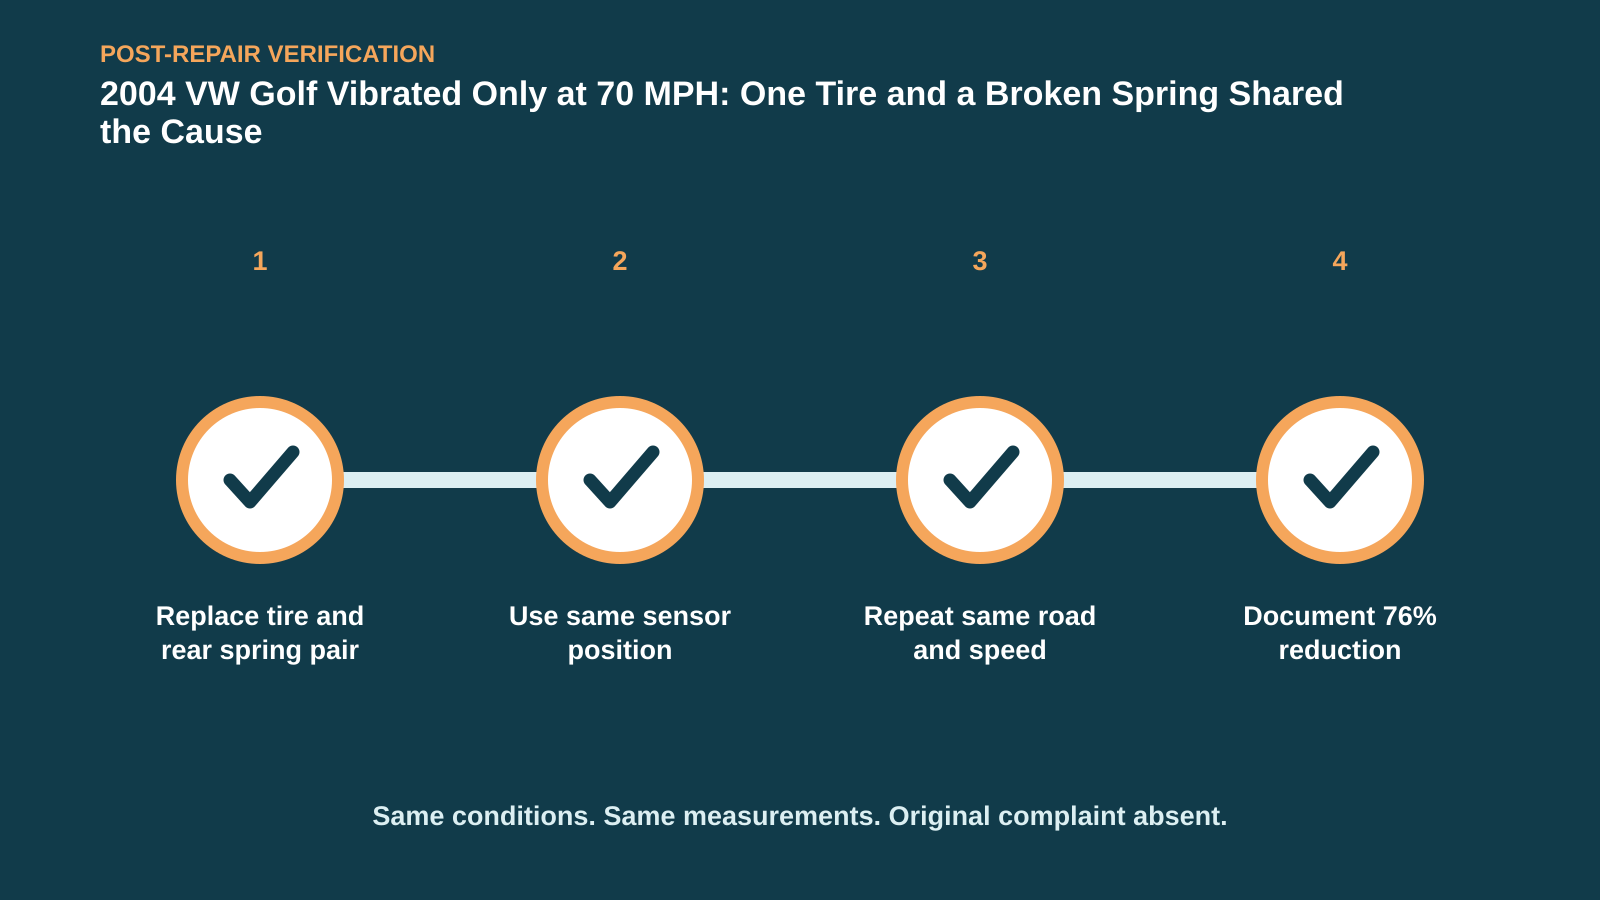
The after-test used the same sensor location, route and speed window. Vibration fell by 76 percent, a far stronger close than “customer says better.” Some background vibration can remain in an older vehicle; the task is to compare the reported event under matched conditions. Confirm no steering pull, tire rub, spring noise or stability warning, and recheck alignment. If the T1 peak remains high, repeat runout and examine other wheel-speed components rather than declaring every residual sensation normal.
Frequency did not name a right-rear tire on its own. It made the search small enough that the hidden ovality and broken spring could be found—and gave the workshop a number to prove the repair.










Comments 0
Questions, fixes, and real-world diagnostic notes from readers.
Be the first to share a diagnostic result or ask a follow-up question.