
2007 Toyota Hilux P0340/P0335 No-Start: A Starter-Wire Shortcut Hid the Real Fault

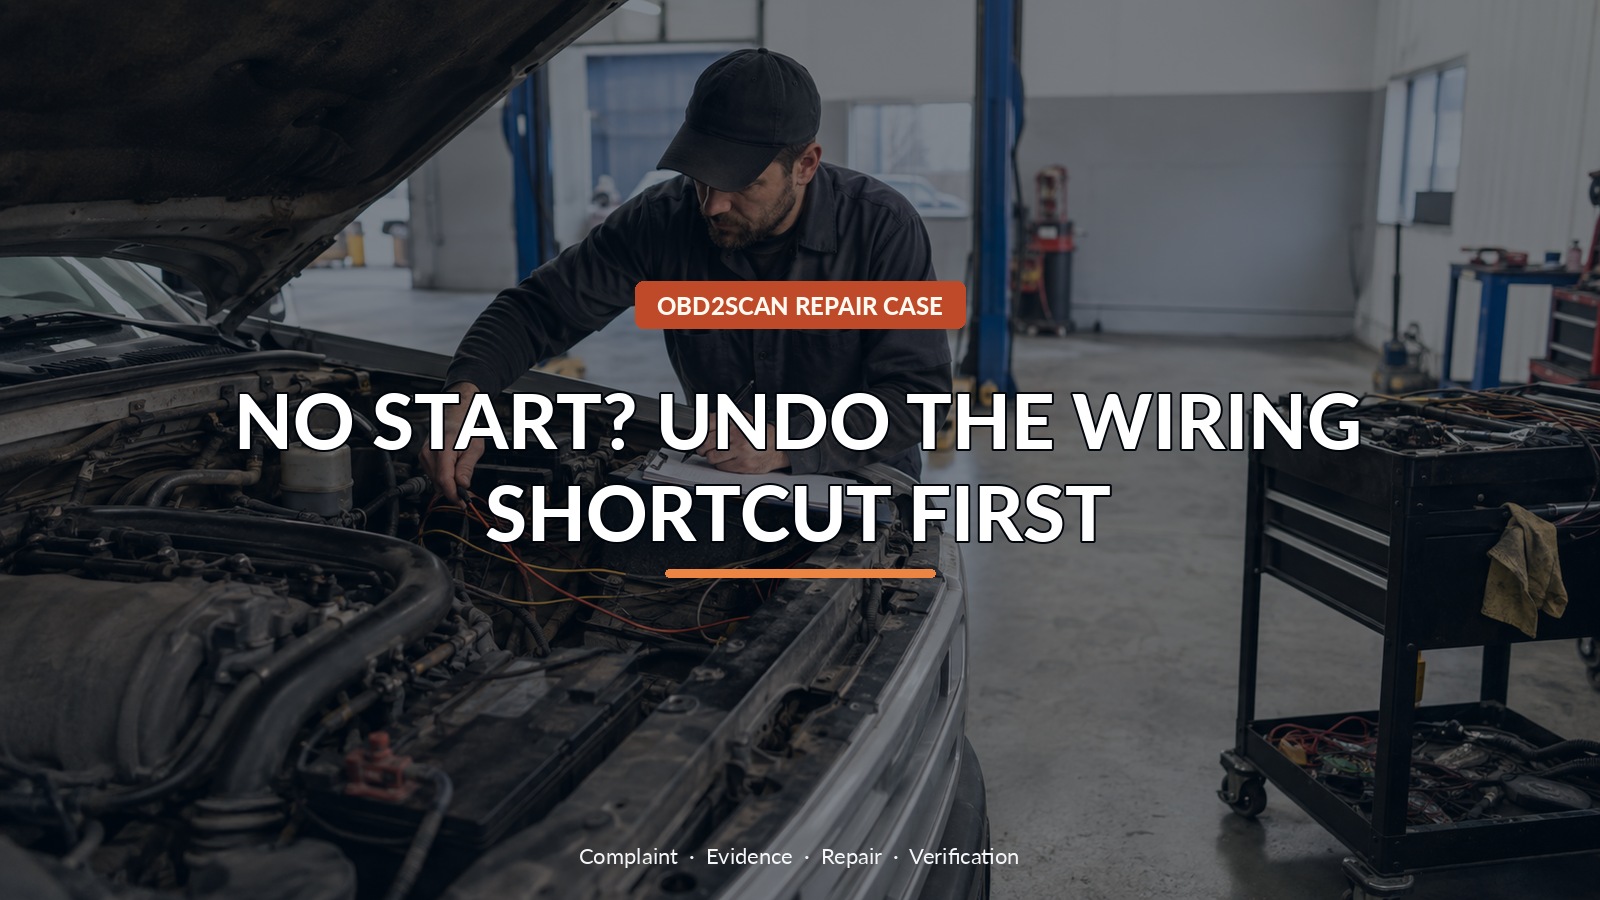
No Start? Undo The Wiring Shortcut First
A 2007 Toyota Hilux 2.5 TDI arrived as an auction no-start with P0340 and P0335 in memory. Those labels make camshaft and crankshaft sensors easy suspects, but this truck also carried an improvised starting circuit. That detail changed the order of work. The truck did not need two sensors thrown at it; it needed its inputs returned to a known configuration before any code could be trusted.
For that early electrical work, the useful tool class is an automotive meter/scope that can answer whether STA, power, ground and identified signal wires change at the correct moment. One accessible example is the AUTOOL DM303, used only after the Toyota diagram identifies the terminals. DM303 can support identified 12-volt feed, ground, continuity, crank/cam and accessible injector-command checks using Toyota wiring data; it cannot safely load an unknown terminal, replace a multi-channel injector-current capture, code a replacement unit or prove an EDU failed from one voltage reading.
The documented repair unfolded in two layers. Restoring the starter wiring did not magically make the engine run. It removed a false condition, allowed a more relevant P0200 injector-circuit code to appear, and made the missing injector feedback meaningful. The electronic injector driver unit became the confirmed fault only after its supplies, commands and loads had been separated.
Quick answer: A non-standard starter wire held STA high and obscured the real injector fault. Restoring factory wiring exposed P0200 and led to a failed injector driver unit.
In this guide
- Photograph every non-standard wire before touching it
- Check what the cam and crank codes actually witnessed
- Prove the STA request returns low after cranking
- Restore the factory start path before retesting
- Let the newly exposed P0200 redirect the case
- Compare injector command, current and confirmation
- Replace the driver only after feeds and loads pass
- Verify starting through several complete key cycles
Photograph every non-standard wire before touching it
An auction vehicle may carry a repair history nobody wrote down. Before cutting or reconnecting anything, photograph every added wire, splice, relay and fuse. Note whether the key springs back normally and whether the starter continues after the key is released. A modification may have been installed to overcome an earlier fault, so removing it without a record can destroy the only clue. Also check battery condition and engine cranking mechanically. Stop if a cable becomes hot, insulation smokes or a fuel leak is present; repeated cranking is not a diagnostic plan.
Check what the cam and crank codes actually witnessed
P0340 and P0335 mean the controller saw a problem involving cam/crank information under defined conditions. They do not prove both sensors failed together. Check whether engine speed appears during cranking and whether each sensor has the correct feed, ground and output architecture. An absent code after clearing also does not prove a circuit is healthy if the enabling condition never occurs. On a modified vehicle, a stuck start-request input can alter monitoring and code logic. Save the first scan, including status and freeze-frame data, before changing the circuit.
Prove the STA request returns low after cranking
The STA line tells the engine controller that the driver is requesting a start. It should have a clear before, during and after state. In this case it remained at battery voltage instead of returning low when cranking ended. That was an observable fault even though it did not yet identify why injection failed. Back-probe only an approved point, keep the connector loaded and compare the key state with the voltage state. If the reading disagrees with the wiring diagram, trace the modification rather than inventing a new normal for the truck.
Restore the factory start path before retesting
Returning the start circuit to factory routing creates a controlled baseline. Use the correct relay, fuse and ignition-switch path; do not simply twist wires together to see whether the engine catches. Once restored, repeat the same key cycle, rescan and compare what changed. The important result was not only that the inappropriate STA voltage disappeared. P0200 now became visible. A new code after a valid configuration change can be progress: it may be the controller finally completing a monitor that the shortcut had prevented.
| Evidence after baseline repair | What it supports | What it does not prove |
|---|---|---|
| STA returns low after cranking | Start request now behaves normally | Injection system is healthy |
| P0200 appears | Injector circuit/driver path deserves priority | Every injector is defective |
| Injector current is abnormal | Delivery circuit is not working normally | The driver unit is guilty before feeds and loads pass |
| Missing feedback to ECM | EDU-to-ECM confirmation path is absent | Wire or module location without circuit isolation |
Let the newly exposed P0200 redirect the case
P0200 moved the job from two position-sensor guesses to the injector actuation system. The engine controller requests injection, the injector driver amplifies that command, the injectors are the loads, and a confirmation path reports successful operation. Check the driver unit’s power and ground under load, not only with the connector unplugged. Compare injector resistance and wiring so one shorted load is not allowed to destroy a replacement driver. A click, a command pulse or a code alone cannot prove fuel is being delivered into every cylinder.
Compare injector command, current and confirmation
The strongest case compares events together: crank position, cam position, injector command, injector current and confirmation. If cam and crank are synchronized but current never takes the expected shape, move along the driver circuit. If the driver has correct supplies and receives a valid command, yet neither proper current nor feedback leaves it with known-good loads and wiring, the module conclusion becomes defensible. That sequence matters. Replacing an expensive EDU merely because P0200 appeared would repeat the same code-as-parts-order mistake made with P0340 and P0335.
Replace the driver only after feeds and loads pass
Before installing the driver unit, correct corrosion, connector tension, chafing and injector-load faults that could damage it. Match the part and follow Toyota configuration requirements. Do not use a powered probe to energize an unknown driver terminal; these are controlled high-current circuits, not lamp wiring. The successful repair in this case was replacement of the confirmed injector driver unit after the starting circuit had been returned to standard. That order distinguishes the root repair from an accidental result obtained while the circuit is still modified.
Verify starting through several complete key cycles
Verification should reproduce complete key cycles, not one lucky start. Let the key return from START, confirm the starter disengages, listen for even combustion and inspect for leaks. Rescan after a warm run, then perform a hot restart and a cold restart when practical. Confirm P0200, P0340 and P0335 stay absent and that no repair-created wiring code appears. Finally, update the vehicle record with the removed modification and the EDU test results. The next technician should inherit a standard truck and a legible evidence trail.
The lesson is broader than this Hilux: restore a known circuit state before interpreting what a controller reports. Here, undoing a starter-wire shortcut did not finish the repair—it allowed the real injector-driver fault to speak clearly.






Comments 0
Questions, fixes, and real-world diagnostic notes from readers.
Be the first to share a diagnostic result or ask a follow-up question.