
2021 MINI F56 Oil Seep and Grease Spray: Front Cover Resealed, CV Boot Renewed

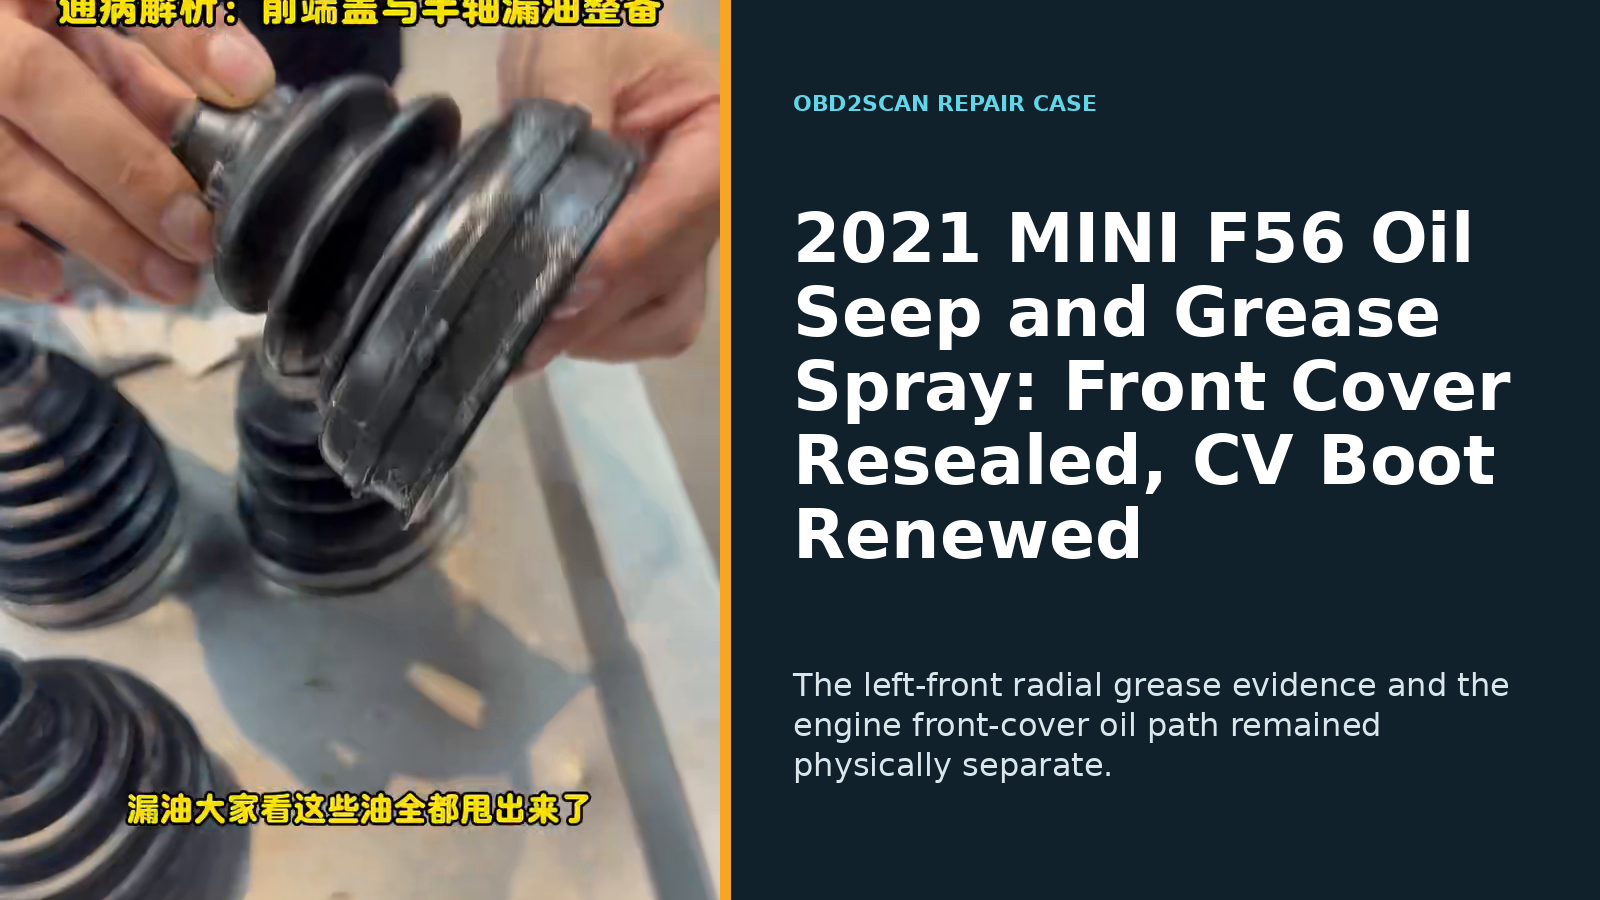
A 2021 MINI F56 with 54,000 km arrived with two different traces: oily sludge at the engine front-cover area and fresh black grease inside the left-front wheel area. The engine is not identified beyond the source’s unresolved “B38/B48” alternatives, so no engine-specific specification is assumed here. The workshop confirmed a front-cover sealing leak and a split left outer CV boot, resealed the cover and renewed the serviced boot, but did not report a post-repair leak check or road-test result.
Case at a glance
| Item | This MINI |
|---|---|
| Vehicle | 2021 MINI F56 |
| Engine | Not reported; source says B38/B48 without choosing one |
| Mileage | 54,000 km |
| Complaint | Oil residue at the engine front cover; grease spray inside the left-front wheel area |
| Confirmed faults | Front-cover sealing leak; split left outer CV boot with grease loss |
| Repair | Front cover removed, sealing face cleaned and resealed; left axle removed, joint cleaned/regreased and boot/clamps renewed |
| Restoration | Contaminated subframe, suspension and belt-area surfaces cleaned; components reassembled |
| Verification | Not reported: no hot leak recheck, boot-rotation check or road-test result is given |
One visit, two evidence trails
The useful diagnostic move was refusing to call both marks “an oil leak.” Grease thrown from a rotating joint forms a local spray pattern near the wheel and axle. Engine oil, by contrast, follows gravity and surfaces from a stationary sealing seam. Their proximity did not make them one fault.
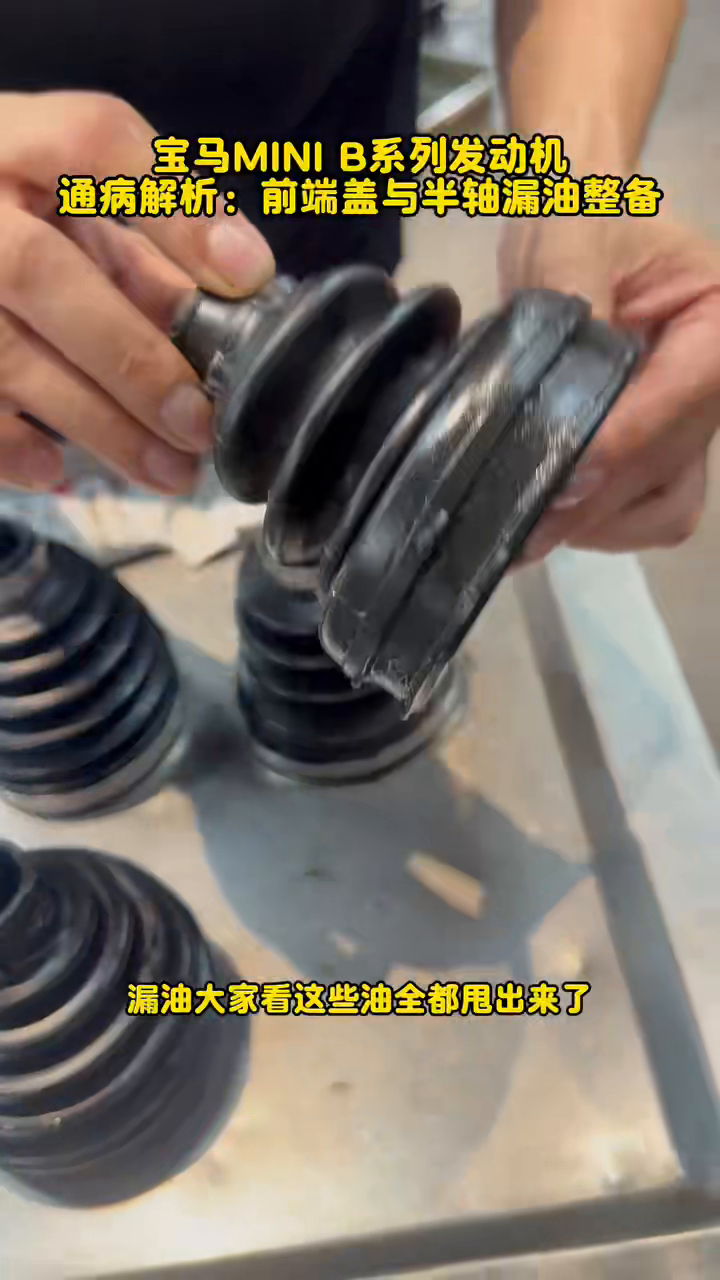
The source reports that the engine-side trail ran from the front-cover seam toward the accessory-drive area. At the left-front corner, the outer boot had a physical split and had lost grease. Those observations gave each residue its own origin before any parts decision was made.
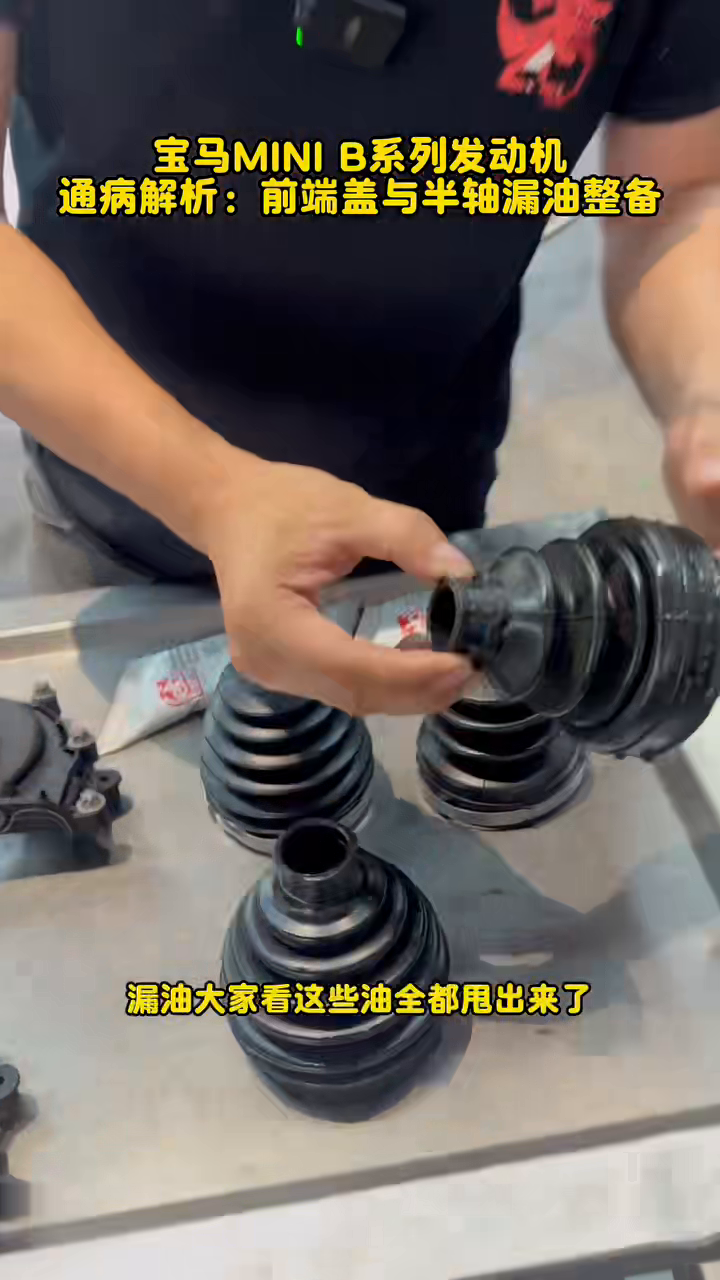
The left-front grease trail stopped at the boot
The video does not show a vague wet axle. It shows the removed boot and then a close view of the split. That opening is decisive evidence for a grease escape path. It does not, by itself, show whether the joint’s tracks or balls were already damaged.
The shop chose a boot-level repair rather than a complete axle assembly. The reported work was to remove the left axle, clean old grease and contamination from the outer joint, add fresh joint grease, and install a replacement boot with new clamps. The source does not state the internal joint-inspection result, grease quantity, boot material specification, axle-fastener policy or torque. Those are application decisions to retrieve by VIN before repeating the work.
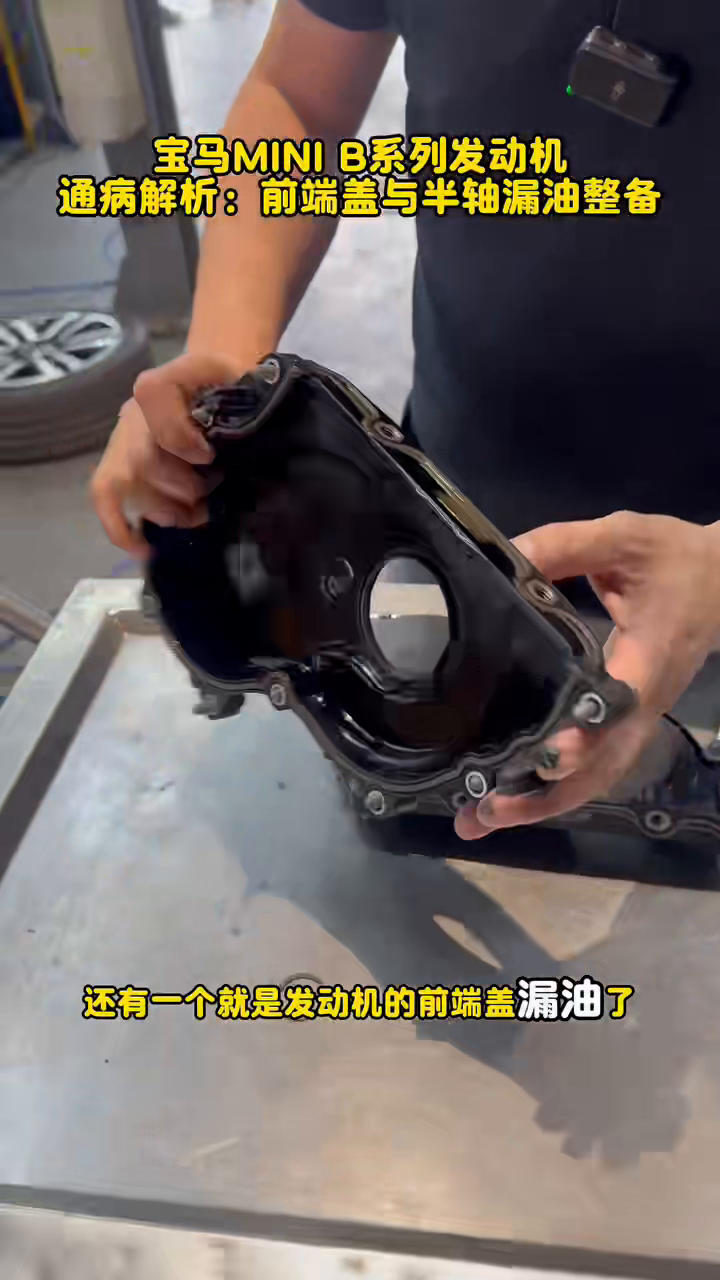
The engine oil path remained separate
On the engine side, the source describes oil sludge at the right/front cover and a trail moving toward the alternator and belt area. That location made the cover seam the confirmed repair boundary. The workshop removed the necessary accessories and cover, cleaned the aluminum mating face without gouging it, and resealed the cover with an application-appropriate sealing system.
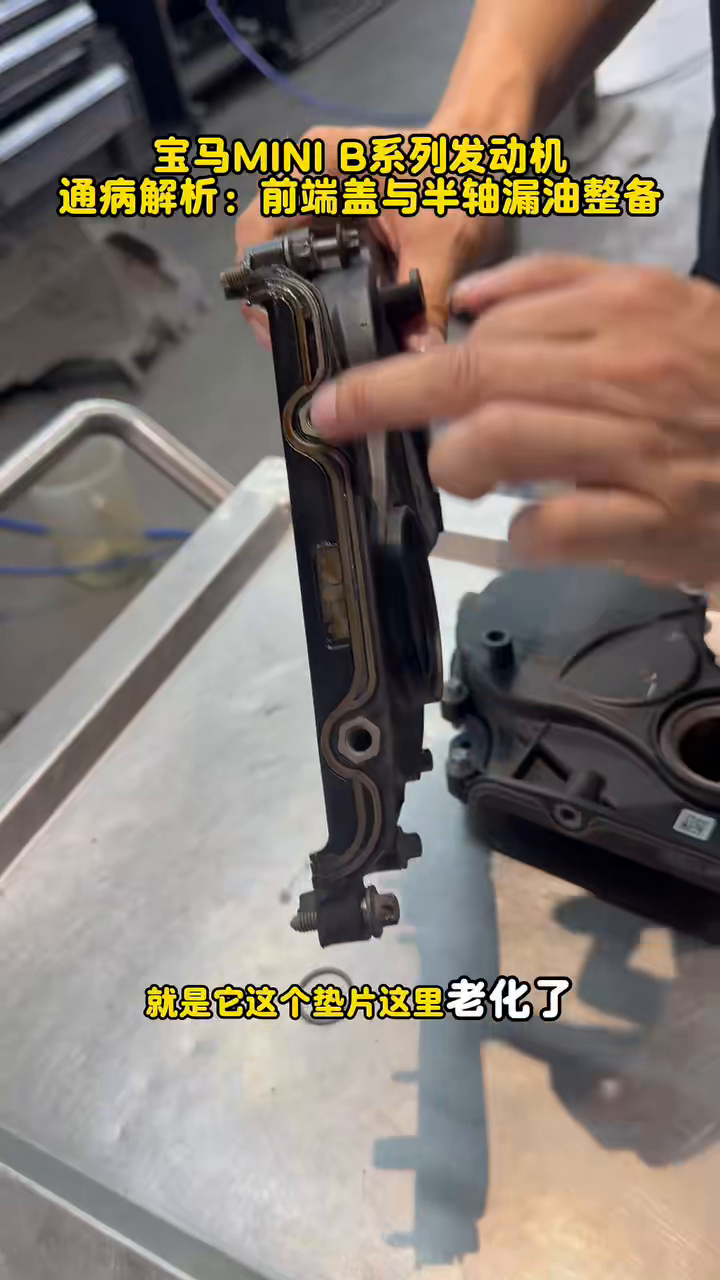
No sealant type, bead geometry, curing time, fastener sequence or tightening value is reported. The engine variant is also unresolved. That is why the article does not repeat the source’s generic claim that BMW specifications were followed as if it supplied a usable procedure.
Two repairs, then cleanup—not one root cause
After the two mechanical repairs, the source reports cleaning oil and grease from the subframe, suspension pieces and belt area. Cleanup matters because it establishes a new visual baseline: old residue left behind can make a sound repair look active, while an unrecorded baseline can hide a returning leak.
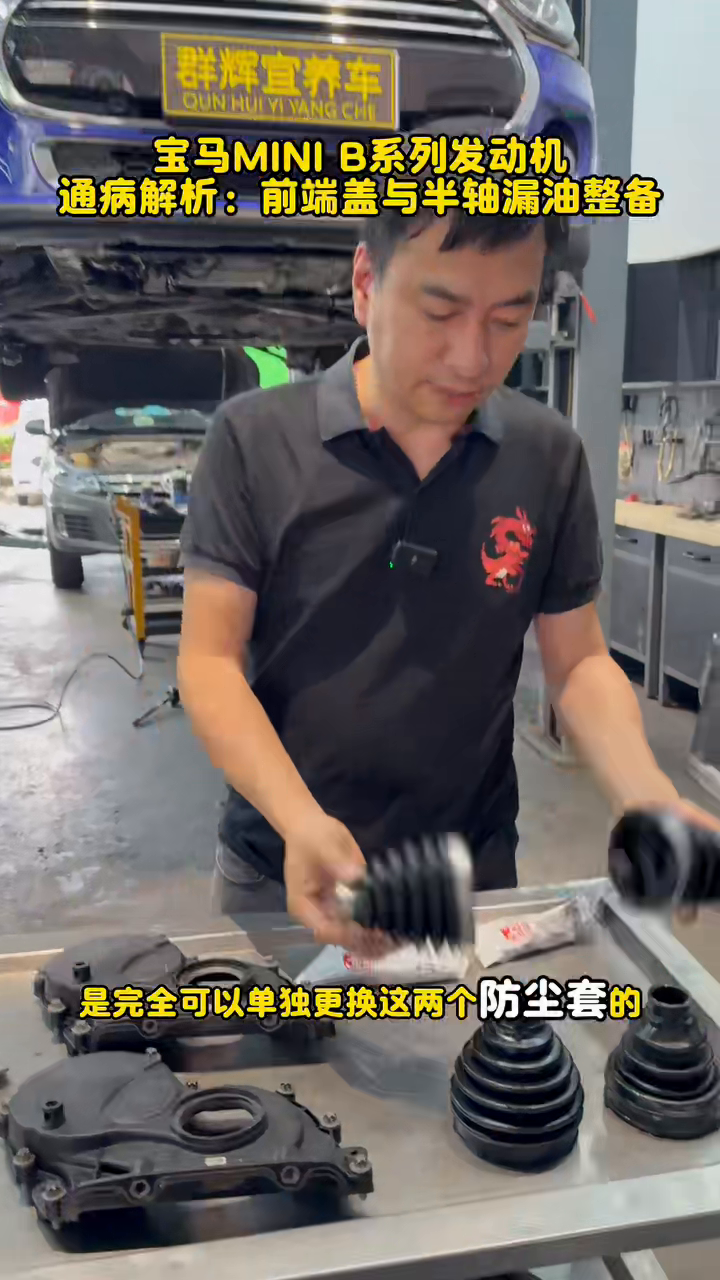
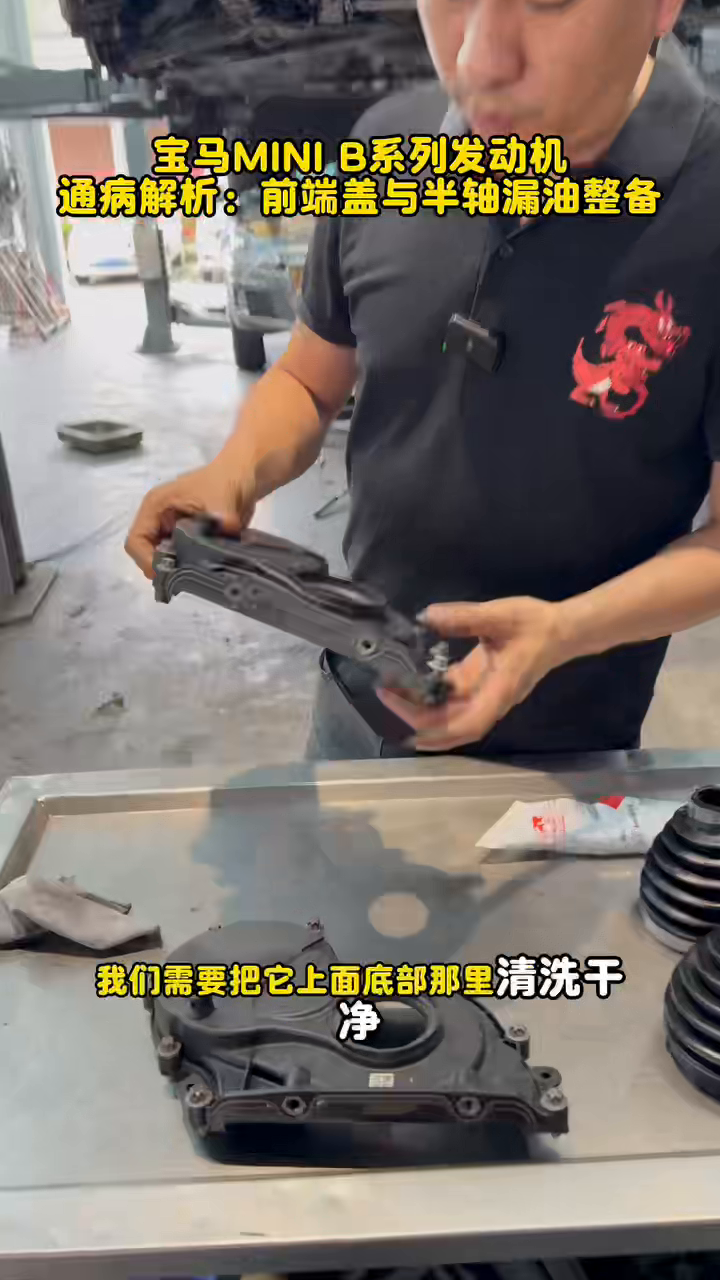
The belt deserves attention when oil has traveled toward it, but the source does not report belt damage or replacement. Likewise, the split boot creates a contamination risk; it is not evidence that the joint was already noisy or worn out. Keeping consequence, confirmed fault and repair scope separate avoids turning prudent checks into invented damage.
What the source did not close after cleanup
The repair actions are reported, but the verification layer is missing. There is no documented warm idle inspection at the cover, no rotation check for boot seating and clamp clearance, no road distance, and no second look for fresh oil or grease. The accurate outcome is therefore “repaired and cleaned, verification not reported,” not “permanently dry.”
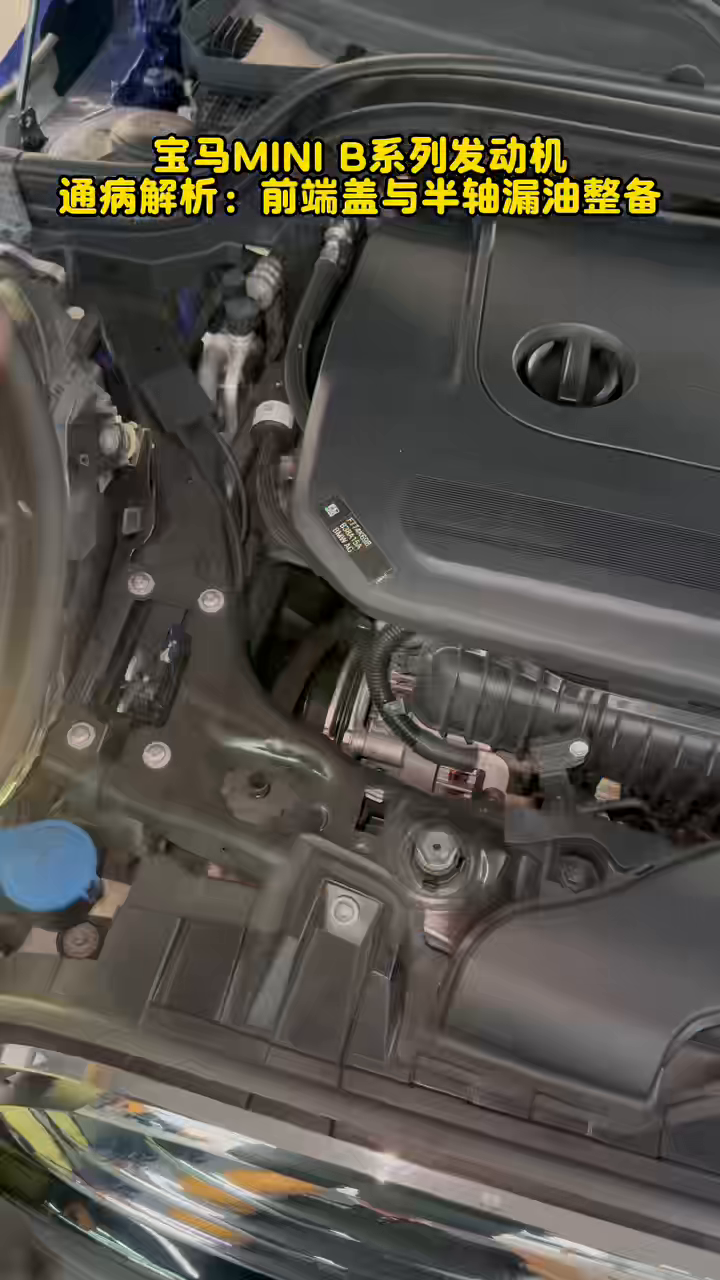
A complete closeout on a similar vehicle would revisit both complaints independently: inspect the cover seam after the engine reaches operating temperature, then inspect the boot and surrounding wheel area after steering and axle rotation. A missing result here is a maintenance trigger, not permission to invent one.
What to carry to another MINI
Start with the material and the throw pattern. Trace stationary engine oil upward to its highest fresh point; trace radial grease toward a rotating boot or joint, then clean only after recording the baseline. That sequence is the transferable value of this case.
Do not copy its parts choice from model and mileage alone. Another MINI can have a different engine, another cover interface, or a CV joint already damaged by contamination; VIN-specific service data and an actual joint inspection determine whether resealing and rebooting are suitable.


Comments 0
Questions, fixes, and real-world diagnostic notes from readers.
Be the first to share a diagnostic result or ask a follow-up question.