
2018 BMW X2 B38 Oil-Pan Seam Leak: Interface Preparation and Reseal Case

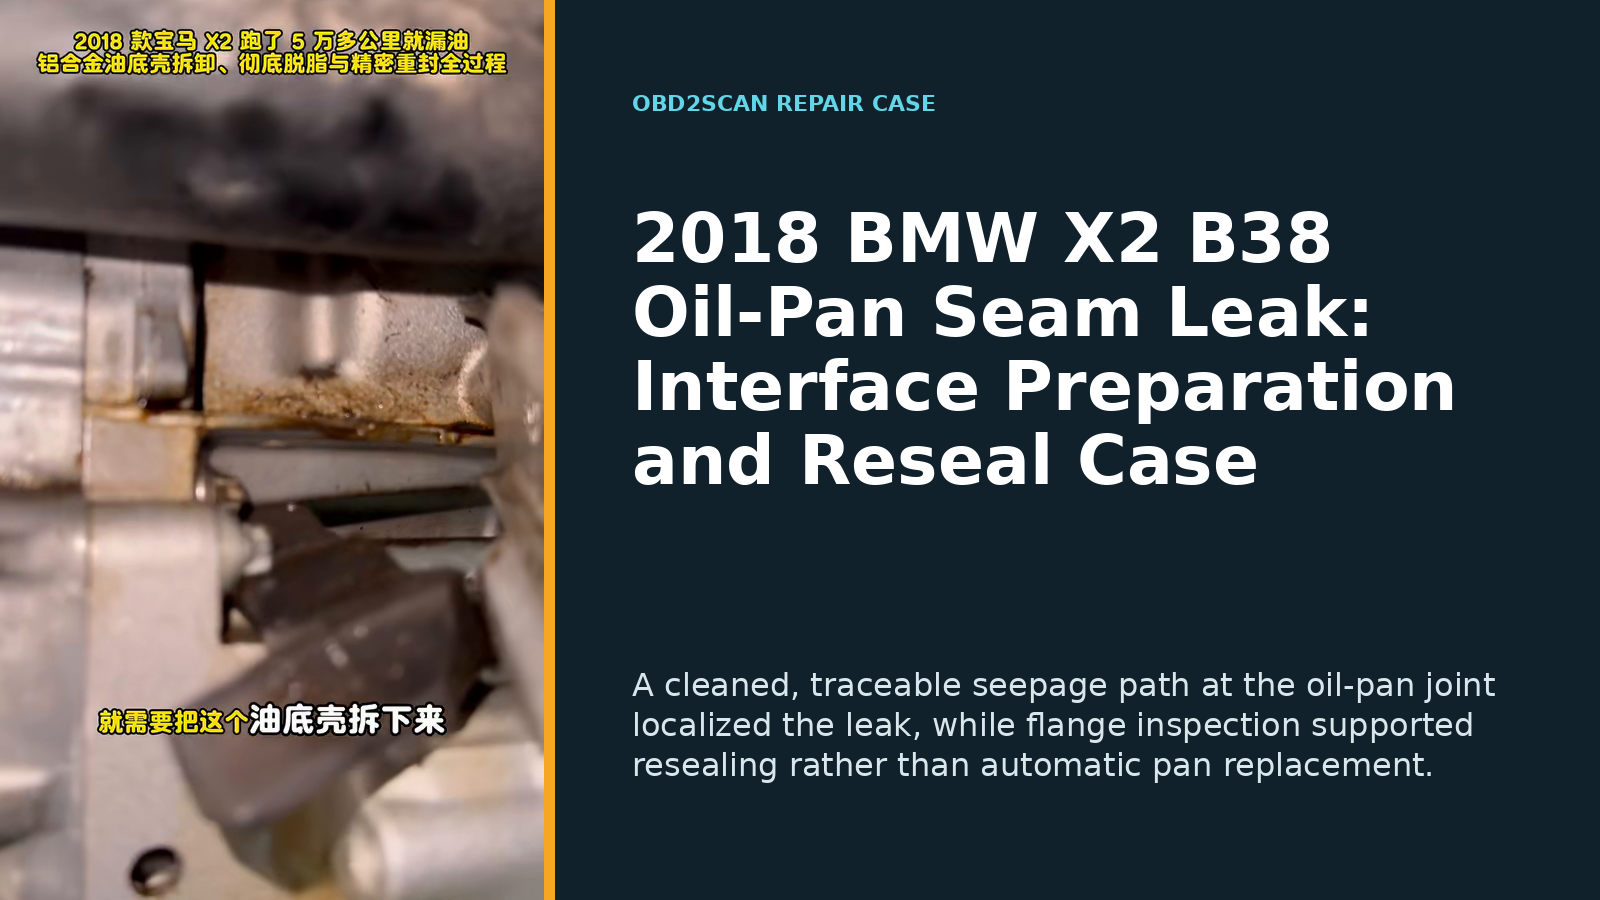
This 2018 BMW X2 F39 with a B38 engine and 58,000 km had oil on the lower shield and visible seepage along the oil-pan joint. Cleaning and inspection localized the active path to the pan-to-engine sealed interface, while the source reported no physical flange deformation that required automatic pan replacement. The pan was removed, both mating faces were stripped and degreased, compatible sealant was applied under the correct procedure, and a hot-idle check found the joint dry after the pan and partially lowered subframe were restored.
The source publishes generic bead, assembly-time, and torque language, but it does not establish the exact sealant used or enough VIN-safe procedural context. None of those values is reused here, and no cure interval is invented.
Case at a glance
| Item | Case detail |
|---|---|
| Vehicle | 2018 BMW X2 F39, B38; 58,000 km |
| Driver-visible evidence | Oil collected on the lower shield and lower engine area |
| Location evidence | Visible seepage trail at the oil-pan-to-engine joint after inspection |
| Confirmed fault | Oil-pan RTV interface had lost sealing integrity |
| Pan condition | Source reported no physical flange deformation; no flatness measurement published |
| Access | Subframe lowered sufficiently for pan removal |
| Repair | Old sealant removed; both faces cleaned and degreased; compatible sealant applied; pan reinstalled |
| Restoration | Subframe locating points and steering/suspension geometry reviewed |
| Verification | Resealed seam dry during the reported hot-idle check; access geometry reported restored |
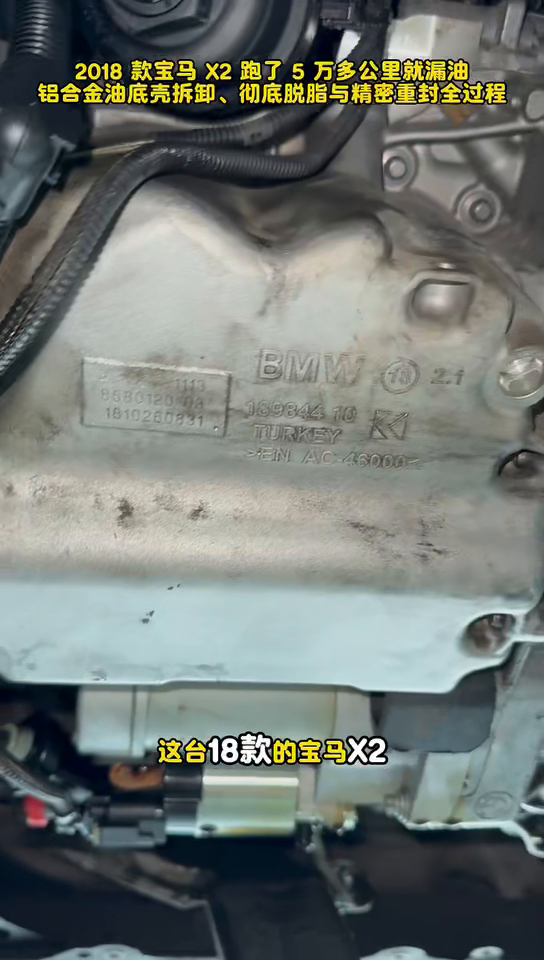
Locating the leak before removing the pan
Oil travels downward and rearward with gravity, airflow, and underbody movement. A wet lower shield can collect oil from a higher cover, filter housing, pressure component, drain point, crankshaft seal, or previous spill. The workshop therefore followed the visible trail rather than naming the pan from its position.
After cleaning and inspection, seepage was visible along the sealed pan joint. That component-level location evidence justified planning interface access. It did not prove a cracked casting or permanently warped flange.
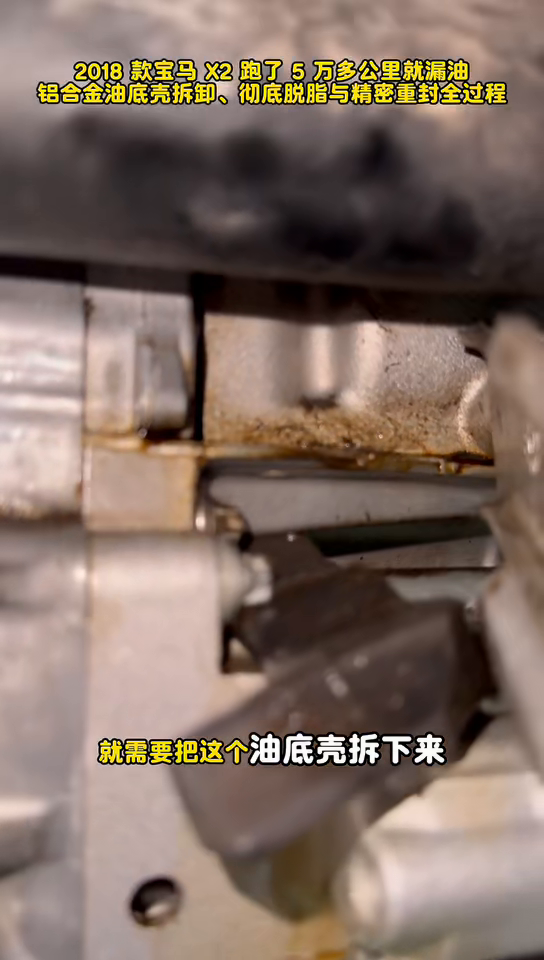
For another vehicle, preserve the original residue pattern, clean only as needed to trace a fresh path, and recheck under the applicable operating condition. If the path remains ambiguous, diagnosis continues before pan removal.
Reuse depended on flange condition
The pan was removed after sufficient access was created by partially lowering the subframe. Once cleaned, the source reports that the aluminum flange had no physical deformation requiring a new casting. It does not publish a straightedge, flatness, crack-test, thread, or corrosion measurement, so reuse remains an inspection decision for this pan.
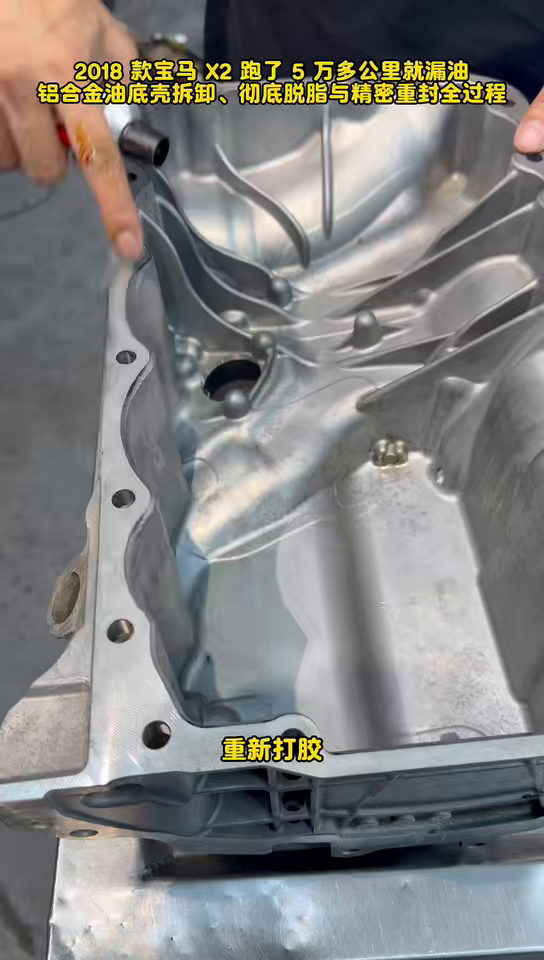
A cracked pan, pulled thread, damaged sealing land, impact distortion, or unacceptable corrosion would change the repair scope. The car’s 58,000 km does not prove the casting is good or explain why the seal failed. Physical condition controls reuse.
Surface preparation controlled the outcome
The workshop removed the old cured sealant from the pan and engine-side faces, then used chemical cleaning and final degreasing. Mechanical removal had to clear residue without gouging the aluminum; chemical cleaning had to leave no oil film that could interrupt new sealant adhesion.
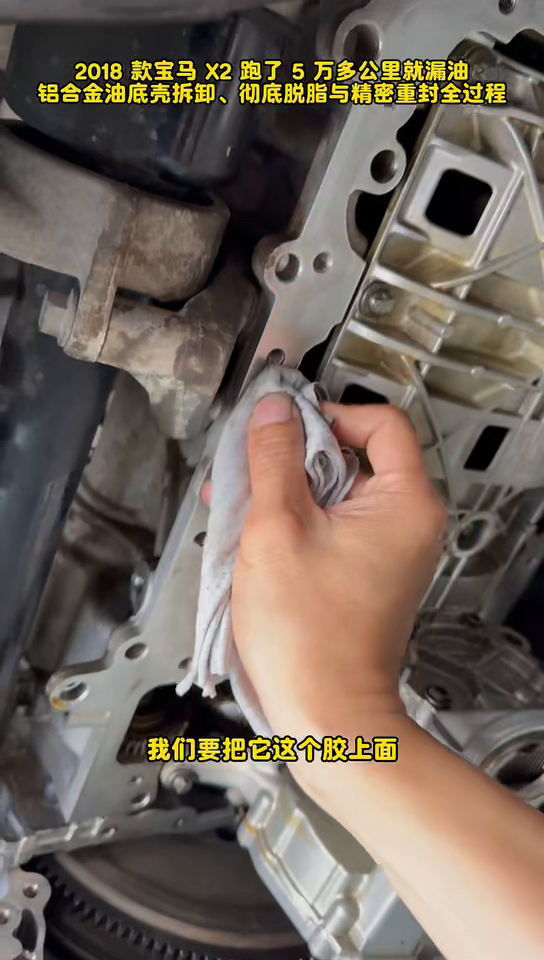
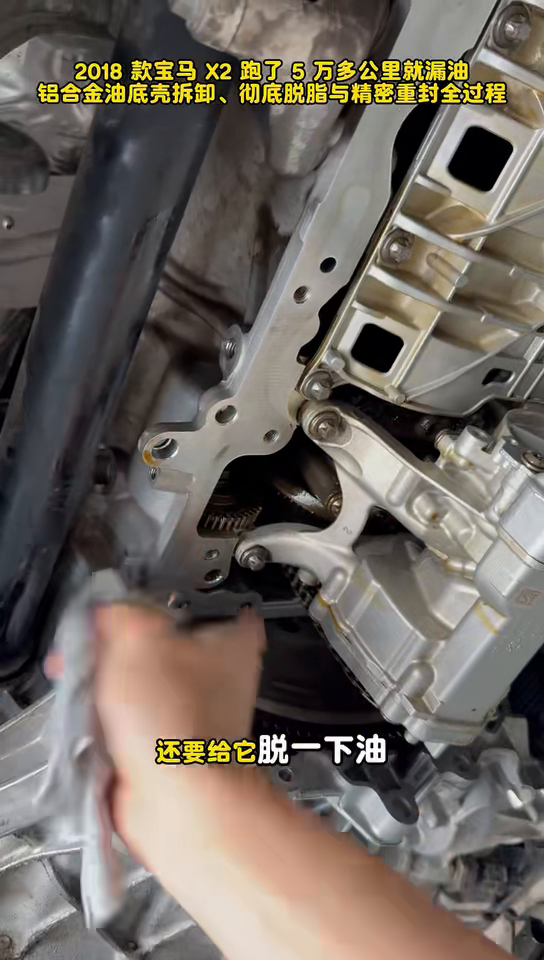
Open oil areas also need protection from scraped material, lint, and solvent. Both mating faces require inspection after cleaning, and every nearby component disturbed for access must be tracked for restoration.
Sealing values came from the exact procedure
The repair used a compatible high-temperature, oil-resistant sealant and controlled reassembly. The source suggests an example sealant family but does not confirm the brand actually installed. It also contains a malformed bead range and generic timing/torque references. Copying those items could create excess internal squeeze-out, an incomplete bead, poor clamp load, or a joint disturbed before the sealant is ready.
Exact sealant chemistry, primer need, bead path and geometry, assembly window, bolt replacement policy, tightening sequence, torque/angle, cure stage before oil or heat, and oil fill all come from the exact VIN procedure and the selected sealant’s current instructions. BMW’s official owner-manual lookup is the VIN-based owner-information route, not a substitute for workshop sealing data.
The pan was reinstalled and the access work reversed. Because the subframe had been lowered, returning locating points, steering interfaces, and suspension geometry was part of restoration rather than an unrelated alignment upsell.
Hot operation and access restoration closed the case
The source reports bringing the engine to a hot operating condition at idle and observing the resealed interface. No oil vapor or fresh seepage appeared at the joint during that check.
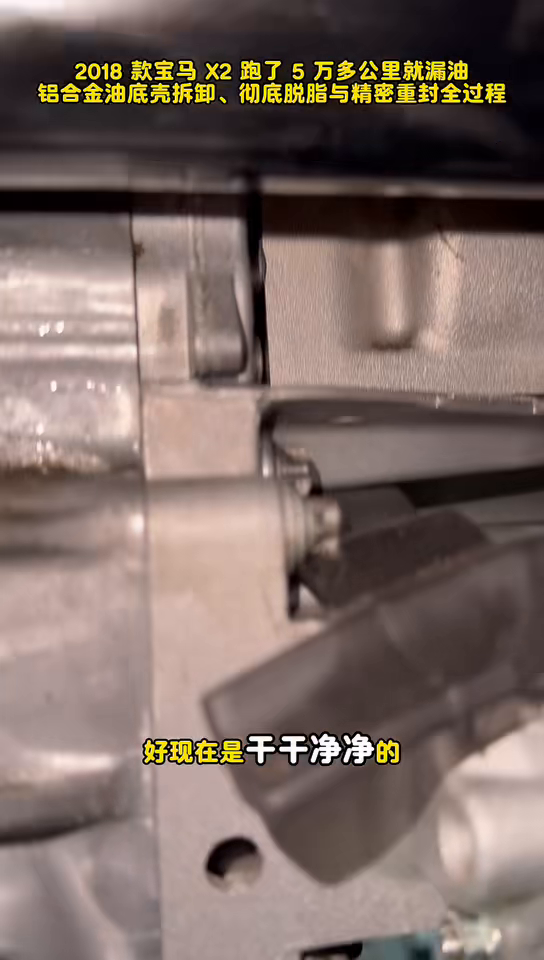
Subframe locating points were also rechecked, and the source reports no steering or suspension geometry deviation after assembly. Those results close the immediate leak and access-restoration risks. They do not supply a road-test duration, later mileage inspection, or universal cure time. A follow-up should check oil level by the exact vehicle method and inspect the clean joint again after real heat cycles.
What transfers to another sealed-joint leak
First prove where fresh oil begins. Then inspect whether the casting, flange, fasteners, and threads are reusable; create safe access; remove every incompatible residue; and leave both mating faces clean, dry, and undamaged. Apply the exact sealant and tightening procedure, respect its fill/heat restrictions, restore every lowered support or geometry reference, and return to the seam under operating conditions. The reusable lesson is disciplined interface control and reinspection—not that every early B38 seep needs more RTV.



Comments 0
Questions, fixes, and real-world diagnostic notes from readers.
Be the first to share a diagnostic result or ask a follow-up question.