
Oil Pressure Warning Light On? Shut the Engine Off Before Checking Level

If the red oil-can or low-oil-pressure warning stays on with the engine running, stop as soon as safely possible and shut the engine off. This is not the same as an oil-life or change-oil message. After waiting on level ground, check the dipstick by the owner's-manual method. If level is correct, the light remains on after a permitted correction, or knocking/ticking/leakage is present, do not restart—tow the vehicle and have actual oil pressure verified.
What to do first
- Stop safely and switch the engine off; continued operation can rapidly damage bearings, camshafts, turbochargers and timing components.
- Wait as specified, park level, and check the dipstick without reaching near hot or moving parts.
- If low, add only the specified oil in small measured amounts and do not overfill; find the loss before resuming normal use.
- Do not assume a sensor fault or restart repeatedly to see whether the lamp goes out.
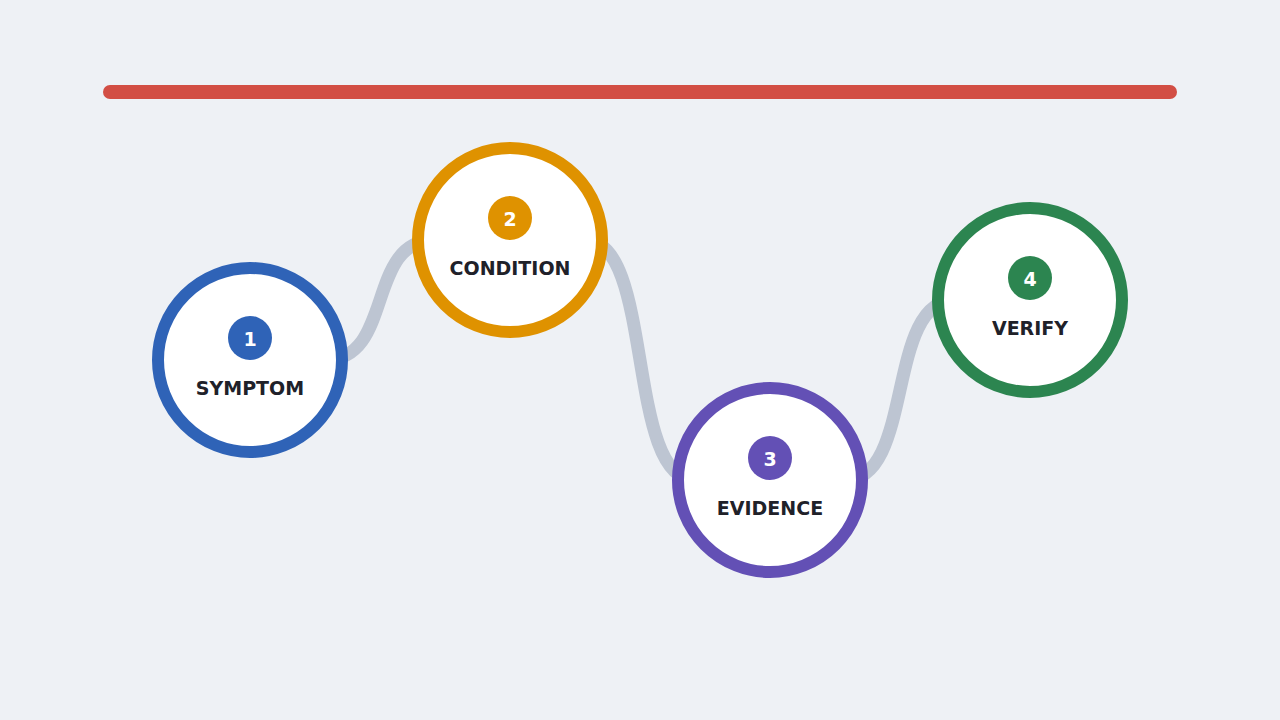
In this guide
1. What the symptom means—and does not prove
The warning usually responds to pressure or a pressure-related signal, not directly to oil quantity. Low level can uncover the pickup and reduce pressure, but normal level does not prove adequate pressure. Oil viscosity/temperature, filter and pickup restriction, aeration, pump drive, bearing clearances, variable-pressure controls, sensor/wiring, and software can all affect the signal or actual lubrication pressure.
It does not independently prove
- that the engine only needs an oil change;
- that low oil level is the only cause;
- that normal dipstick level makes restarting safe;
- that the pressure switch is faulty;
- that one universal PSI value applies;
- that a quiet engine has safe pressure;
2. Save the evidence and make only low-risk checks
- warning color/message and whether it occurred at idle or speed;
- engine temperature, RPM, cornering/braking and oil-change timing;
- dipstick level after the correct wait;
- oil grade, quantity, filter and recent service;
- external leak, noise, sludge, fuel dilution and overheating history;
Preserve this record before resets, repeated starts, part swaps, or fluid additions change the condition. Related background: oil leak versus consumption engine-bay inspection route.

3. Use the pattern to choose the next test
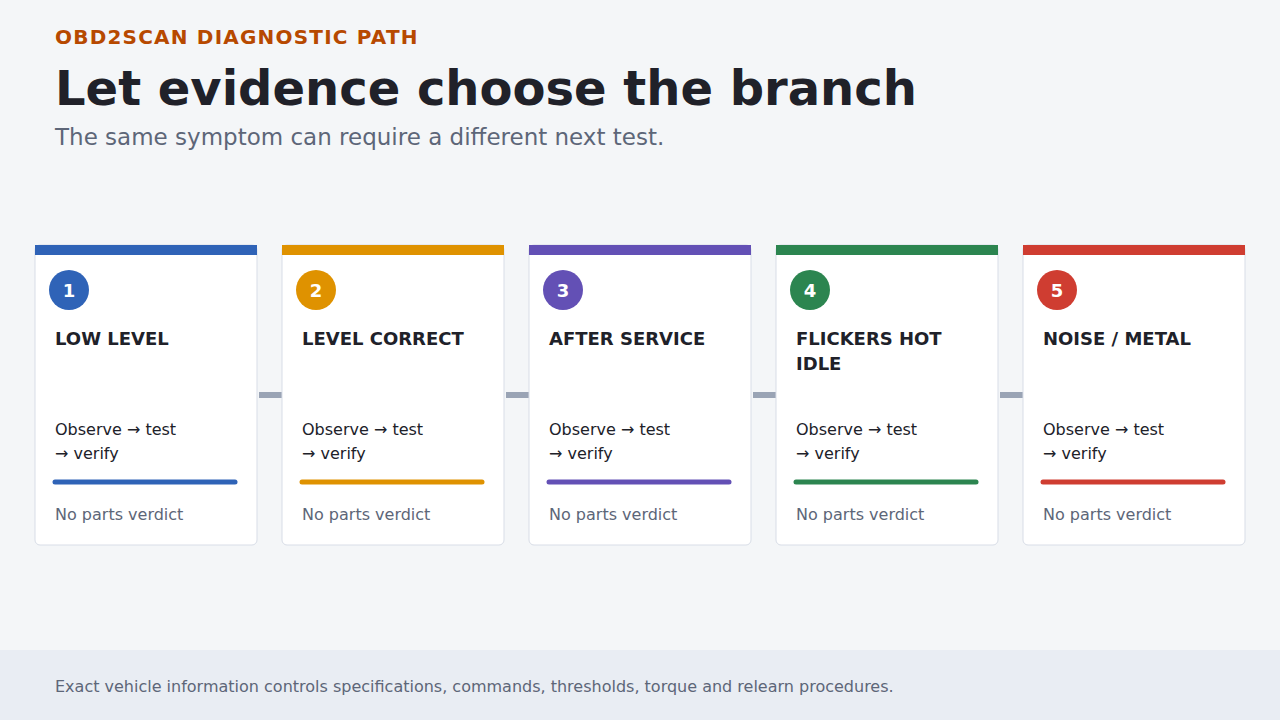
1. The dipstick is below the safe range
What the pattern changes: Insufficient quantity can reduce pressure, especially during acceleration, braking or cornering, but the reason for the loss remains unresolved.
Next proof: Add the exact oil only as the manual allows, document quantity, inspect for leakage/consumption, and stop if the warning does not clear immediately as specified.
2. Level is correct but the warning remains
What the pattern changes: Actual low pressure or an electrical reporting fault must be separated without running the engine unnecessarily. If the oil level is correct and the warning remains, the AUTOOL PT620 engine oil-pressure gauge can verify actual mechanical oil pressure before a pressure switch, pump, or engine repair is chosen.
Next proof: Tow the vehicle. Verify with the specified mechanical/electronic test at controlled temperature and speed before replacing a switch.
3. The warning appeared immediately after service
What the pattern changes: Wrong quantity/viscosity, loose or incorrect filter, missing seal, drain-plug leak, priming issue, damaged wiring, or a disturbed pickup/control path becomes urgent.
Next proof: Shut down, compare invoice and measured level, inspect the serviced area, and do not accept 'the sensor needs time to reset.'
4. The light flickers hot at idle
What the pattern changes: Hot thin oil can expose worn clearances, pump/pickup limits, control-valve behavior, incorrect viscosity, dilution, or an electrical threshold issue.
Next proof: Do not raise idle as a workaround. Measure actual pressure at specified oil temperature and RPM, then inspect the cause.
5. Knocking, ticking, turbo noise, or metal is present
What the pattern changes: Loss of lubrication may already have affected components and continued running can multiply damage.
Next proof: Do not restart. Document the noise/event and inspect oil/filter/debris plus the lubrication system before any road test.
Safety boundary
Exact service information controls specifications and invasive procedures. Fuel/refrigerant systems, hot or rotating parts, brake hydraulics, lifted vehicles, high-current circuits, pressure testing, forced commands, and road reproduction belong with trained personnel and the correct equipment.
4. Give the shop a reproducible handoff
- exact warning and operating condition;
- dipstick level and oil added;
- oil/filter/service history;
- leaks/noise/temperature;
- actual pressure by temperature/RPM and sensor-circuit findings;
Ask for the failed test and the before/after result—not only the name of the installed part. A model-specific bulletin is useful only after VIN, engine, software, code set, and symptom applicability match.
5. Verify the repair under the original condition
Verification is actual oil pressure meeting the exact engine specification at the required oil temperature and RPM, with the sensor signal agreeing, no leakage or abnormal noise, stable oil level, and no warning during the original hot-idle or road condition. Simply installing a switch or seeing the lamp off after a cold restart is not proof.
Official and primary technical references
- Ford low-oil-pressure warning guidance — Ford Motor Company
- Ford engine-oil warning lamp guidance — Ford Motor Company
- Kia oil-pressure switch warranty letter — Kia / NHTSA
The useful outcome
You should finish with the original condition precisely recorded, the unsafe possibilities controlled, one failed path proven, and a repeat test showing the symptom or warning is genuinely resolved.







Comments 0
Questions, fixes, and real-world diagnostic notes from readers.
Be the first to share a diagnostic result or ask a follow-up question.