
The 10-Minute Engine Bay Inspection: A Safe, Repeatable Route

The best quick inspection is repeatable, not adventurous. Park in good light on level ground, let the vehicle reach the condition required by its manual, look beneath it first, and follow the same route through the engine bay without opening hot caps or touching orange high-voltage components.
What to do first
- Start with the ground and warning history: a fresh puddle, overheating, oil-pressure warning, fuel smell, smoke, or visible arcing changes the plan immediately.
- Use the owner’s manual for fluid locations, level conditions, specifications, and whether a reservoir is user-checkable; layouts and procedures vary widely.
- Photograph a finding before wiping or moving it. Record color, odor from a safe distance, exact location, level, date, mileage, and whether it is changing.
In this guide
1. Prepare the vehicle and preserve evidence
- Park on level ground, secure the vehicle, switch it off, remove the key as applicable, and use good daylight or an inspection lamp.
- Let hot, moving, pressurized, and electrically active systems reach the state required by the owner’s manual.
- Look under the front, center, and rear before opening the hood. Mark or photograph any fresh spot rather than driving over it.
- Review new warning messages, smells, noises, recent service, impacts, and quantities recently added; they determine which area deserves priority.
Never open a hot cooling system
A reservoir that looks low while hot is not permission to remove a pressure cap. Follow the exact vehicle cooling and level-check procedure after the specified cool-down.
2. Follow one visual route without dismantling parts
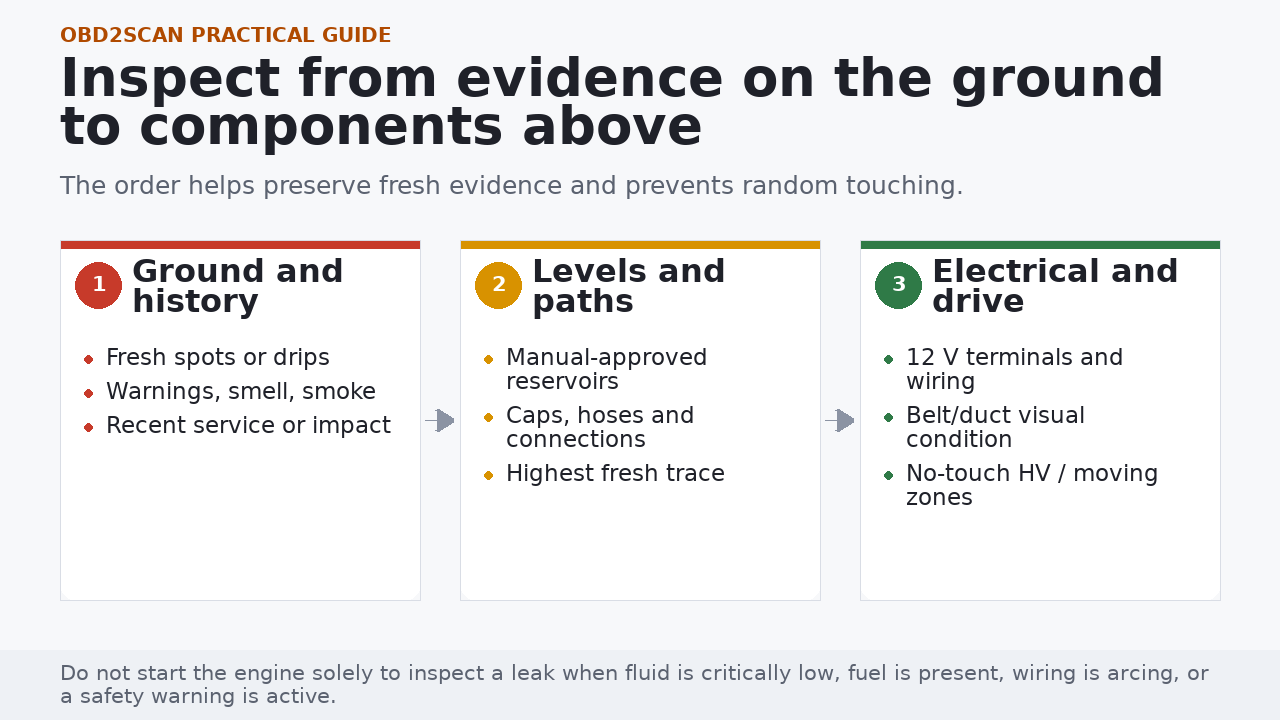
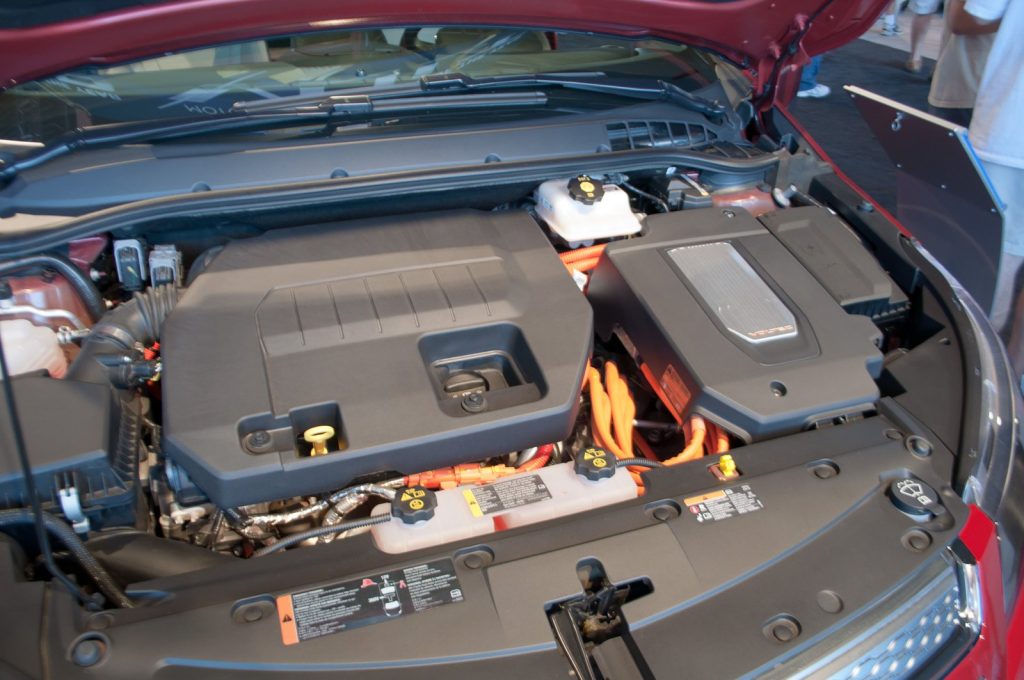
- Scan the underside of the hood and highest visible surfaces for spray, tracks, loose insulation, or evidence left by animals.
- Trace accessible fluid zones from the highest fresh wet point downward. Check only owner-serviceable levels and use the vehicle’s specified condition.
- Inspect visible hoses, ducts, clamps, and connectors for separation, rubbing, swelling, cracking, melted areas, or a connector not fully seated.
- With the engine off, inspect the visible belt path for missing ribs, frayed edges, contamination, and misalignment; do not put fingers near a fan or belt.
- Inspect accessible 12-volt battery terminals and hold-down visually. Do not bridge terminals with a tool, and do not assume an orange cable is a 12-volt circuit.
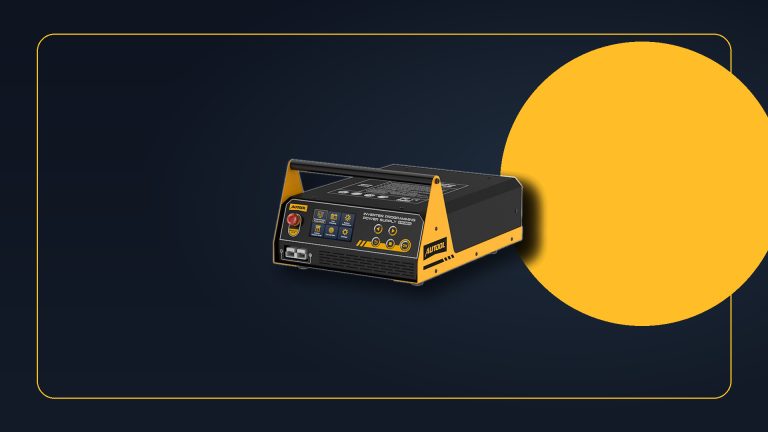
For areas that remain hidden without disassembly, the AUTOOL SVB303 automotive borescope can provide a quick visual check for residue, damaged wiring, or loose connections, while any finding still needs to be confirmed in context.
3. Classify the finding before cleaning or topping up
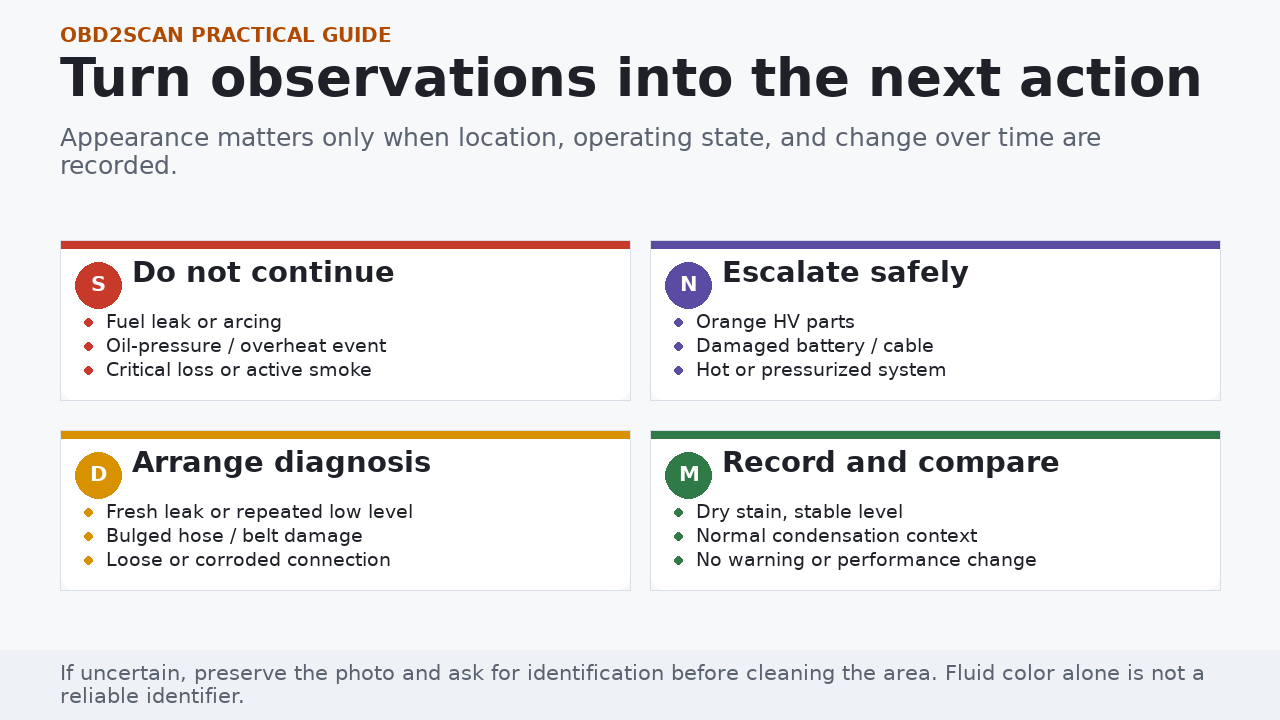
| Finding | Useful record | Next action |
|---|---|---|
| Fresh wet trace | Highest point, component below it, amount, smell and recent work | Verify fluid and source; service before repeated top-up. |
| Level below the specified range | Check condition, mileage and measured amount added | Use only the correct fluid; diagnose repeated loss. |
| Crust or dry residue | Color, exact joint/cap and whether the area becomes fresh | Clean only after documentation; recheck under controlled conditions. |
| Damaged wiring, orange cable, heat mark | Do not manipulate; photograph from a safe distance | Disable/use emergency guidance as applicable and obtain qualified service. |
4. Build a baseline that makes the next check faster
Take a wide orientation photo and one close view with a fixed reference. Record date, odometer, engine temperature state, level positions, and additions. Repeating the same views makes a small change visible and prevents an old stain from being treated as a new leak.
The inspection ends with a decision
Write one of four outcomes: no change found; monitor a documented condition; book service with evidence; or stop use and obtain help. A list of component names without an action is not a useful inspection result.
Official references
Use these sources for the principles in this guide, then use the owner’s manual and current service information for your exact vehicle.
- Toyota Owners: General Maintenance (toyota.com)
- NHTSA: Summer Driving and Road Trip Tips (nhtsa.gov)
The useful outcome
You now have a repeatable route and an action attached to every meaningful observation. The value is not finding the most component names in ten minutes; it is detecting a change early without destroying evidence or entering a hazardous work area.




Comments 0
Questions, fixes, and real-world diagnostic notes from readers.
Be the first to share a diagnostic result or ask a follow-up question.