
Lexus GS 350 Water Pump Replacement: Confirm the Leak, Then Control the Refill

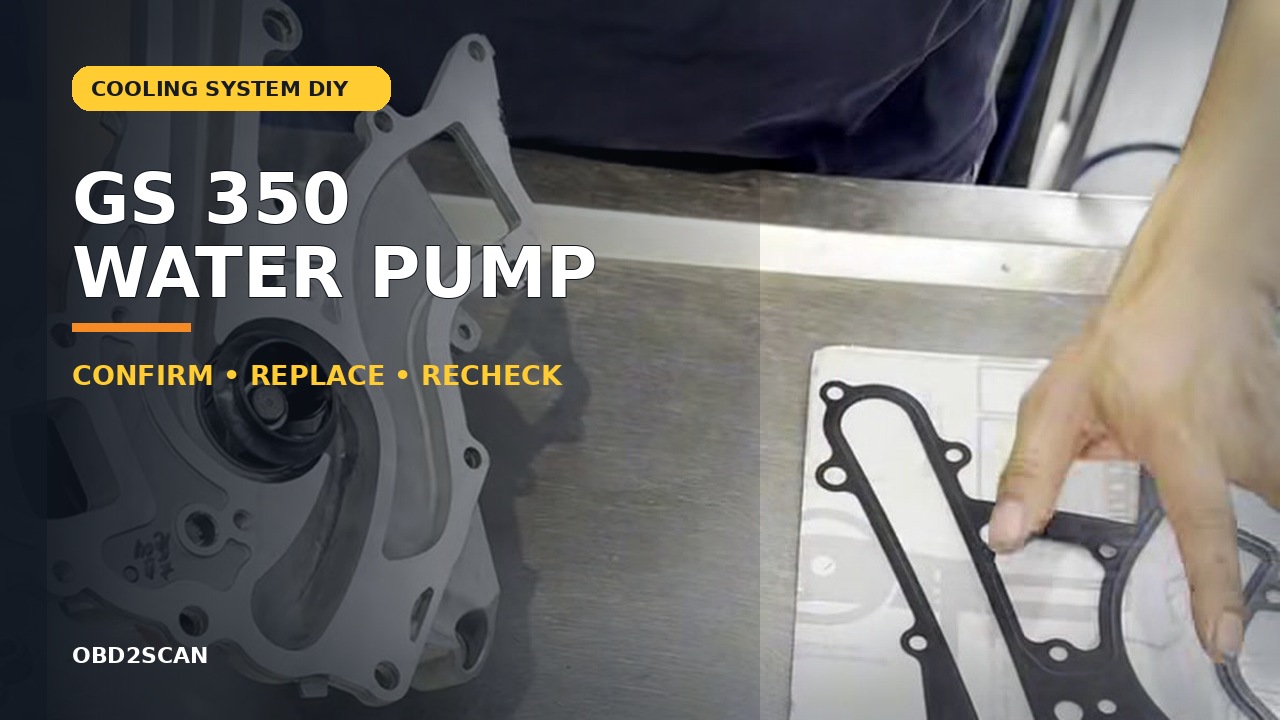
At about 96,000 miles, dried pink coolant below the water-pump area justified a closer inspection on a third-generation Lexus GS. The pump was replaced, but the correct lesson is not ‘pink crust always means replace the pump.’ It is to clean, locate and distinguish old dry residue from an active leak before turning a clue into a parts order.
Bottom line: access exposed additional coolant evidence on the back of the pulley and pump; replacement was followed by a controlled refill and warm-up. Before repeating the job, a GS driver must first identify the exact engine and hybrid status, prove the leak is current, and use the matching Lexus repair information.
In this project
Why pink residue justified inspection
Pink crystalline residue appeared below the pump without a dramatic overheating event. That made this a planned inspection and replacement built around visible evidence and mileage—not an emergency roadside repair.
That makes the case especially useful. A calm vehicle gives time to photograph the residue, check the reservoir level when cold, inspect other cooling-system joints and decide whether the deposit is old or becoming wet again. If the engine is hot, the coolant level is falling quickly, steam is present or a temperature warning appears, the decision changes from DIY planning to stopping the engine and arranging safe recovery.
Project at a glance
| Item | Recorded project detail |
|---|---|
| Vehicle | Third-generation Lexus GS, non-hybrid configuration shown in the main project |
| Mileage | Approximately 96,000 miles |
| Trigger | Dried pink coolant evidence below the pump |
| Recorded estimate | Difficulty 4/10; about 2.5 hours |
| Historical spend | $193 in 2013 for pump, related drive parts, belt and coolant |
| Result | Pump installed, cooling system refilled and warmed for an immediate leak/level check |
The time, difficulty and cost describe one experienced 2013 repair. Corrosion, regional parts prices, tool access, engine variant and additional leaks can change all three.
Pink residue was a clue—not the whole diagnosis
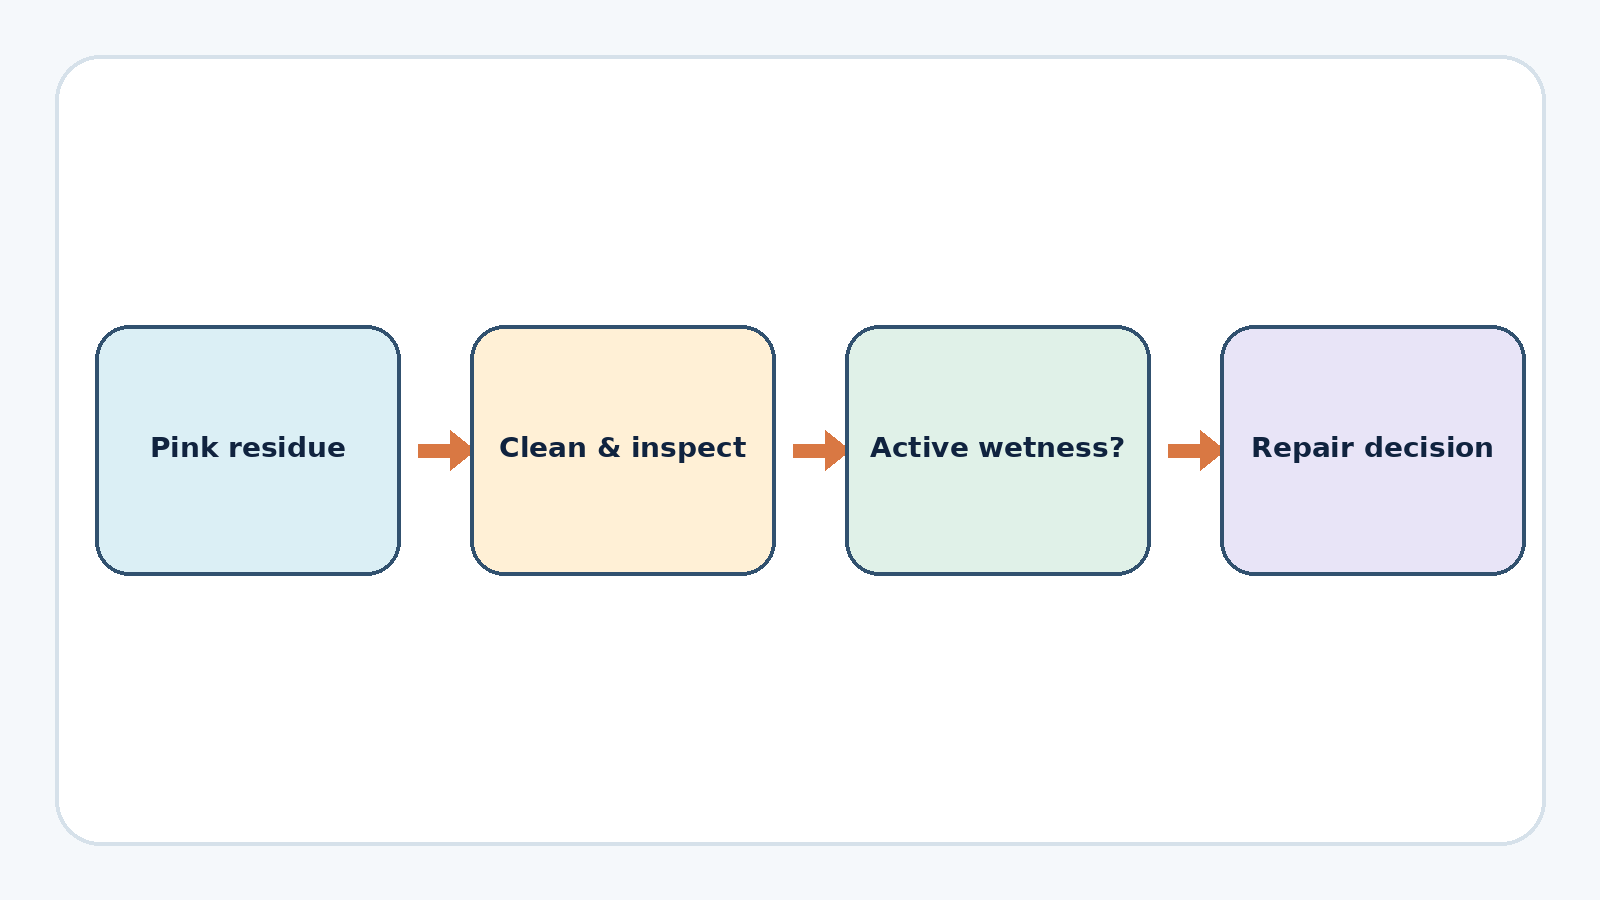
A later Lexus technical bulletin explains an important general distinction on the models it covers: dry residue at a pump can reflect a temporary seal event, while wet residue or drips indicate an active leak. It tells technicians to check the rest of the cooling system, inspect level and pump bearing condition, clean deposits, and use a dry towel to see whether fresh coolant remains.
That 2020 bulletin does not list the 2007-era GS in this repair, so it cannot be pasted over the older GS as its exact procedure. It does, however, expose the weakness in replacing a pump from color alone. For an older GS, clean the area, apply the correct pressure or running inspection from current Lexus information, and confirm where fresh coolant appears. Also inspect the radiator, hoses, reservoir and valley or nearby joints before declaring a single source.
The parts plan was broader than the pump
The parts plan included an Aisin pump kit, an idler, a belt and Toyota coolant. The 2013 record listed about $93 for the pump, $30 for the idler, $23 for the belt and $47 for two gallons of coolant. Those are historical figures, and the recorded part numbers must not be assumed correct for another VIN.
The practical planning lesson is ‘while-access-is-open’ triage. Inspect the belt, idlers and tensioner before ordering; replace only what condition, age and the maintenance plan justify; and have every pump seal or O-ring specified for the exact engine. GS 450h belt routing and sealing details differ from the non-hybrid car, so hybrid status must be established before ordering parts or planning access.
The real removal sequence
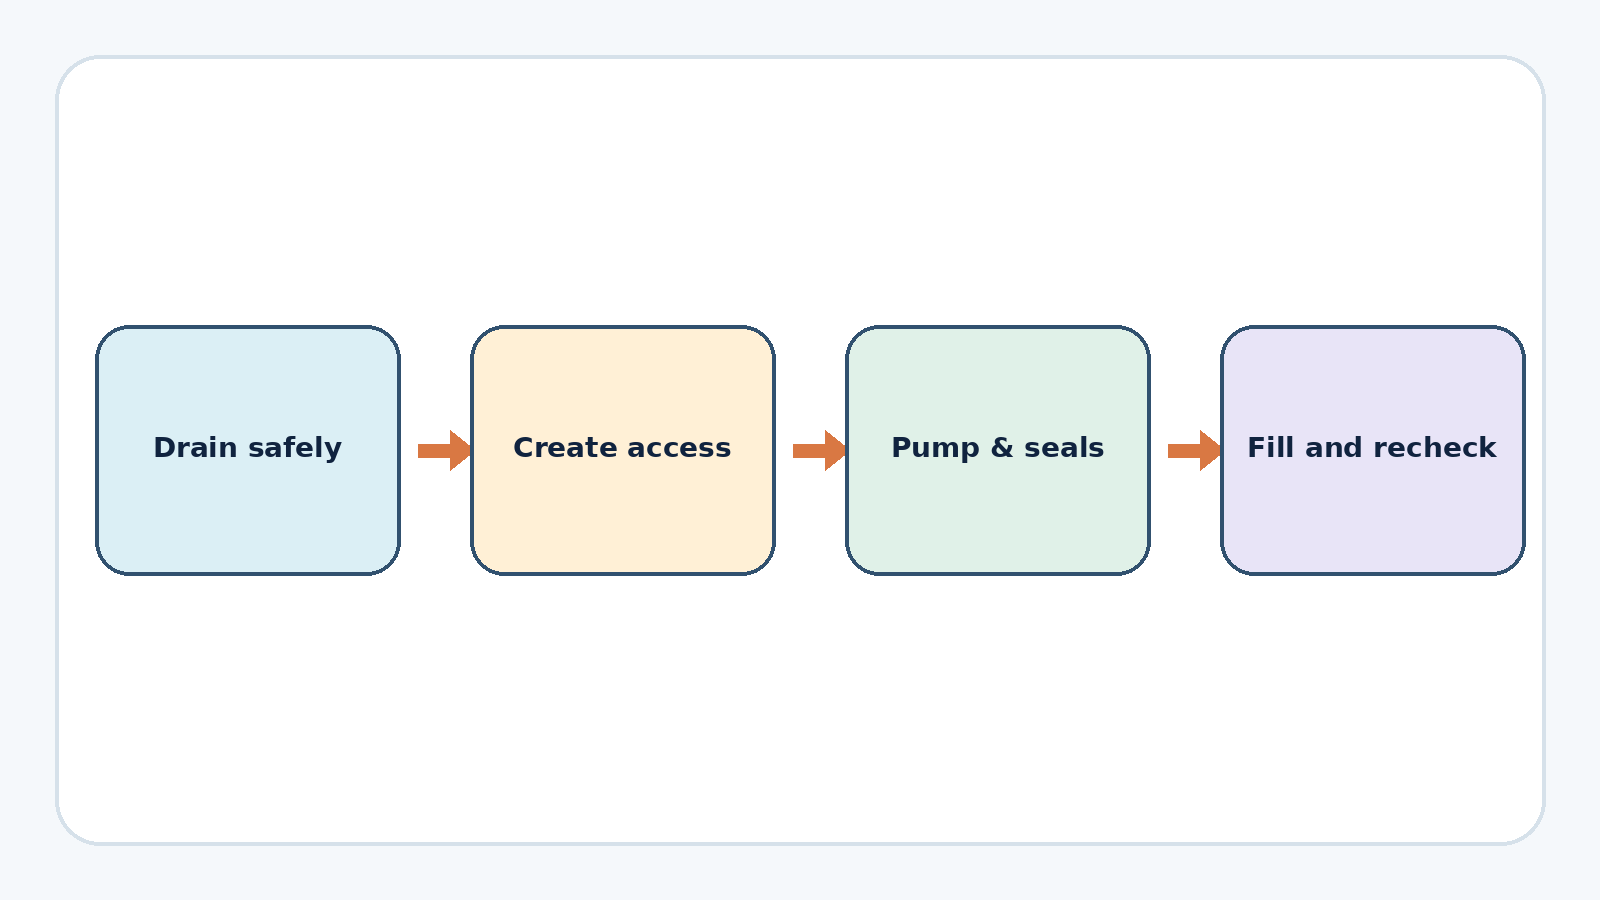
The removal sequence drained coolant, disconnected the battery as required for the access plan, removed covers and the reservoir, loosened the pump pulley while the belt still held it, then removed the belt and moved surrounding drive components. The water inlet and pump fasteners came later, after the work area was visible.
This configuration used 16 pump fasteners and two rubber seals. Those numbers are useful for understanding why organization mattered, not for identifying another engine. Use a fastener map and the current Lexus procedure for sequence, thread direction, sealant rules and torque. Values copied from unrelated media are not a substitute for vehicle-specific service information.
Stop if the vehicle identity is uncertain, the cooling system is hot or pressurized, the pump will not separate after all documented fasteners are removed, threads are damaged, or the sealing surface is pitted. Do not pry against an unknown surface or reuse a seal because it appears serviceable.
What the open engine revealed
As access improved, additional coolant evidence became visible on the back of the pulley and pump, strengthening the repair decision. A broad inspection can also reveal unrelated conditions such as a cracked radiator inlet. Those discoveries should stay separate: they show the value of a broad cooling-system inspection, not that pump replacement causes radiator damage.
Before installing the new pump, the useful checkpoints are a clean undamaged sealing face, the correct new seals seated in the intended grooves, smooth related pulleys, no coolant-soaked belt and a complete count of removed tools and fasteners. Rotate only components the vehicle procedure permits and never use fasteners to pull a misaligned pump into place.
Refill, warm-up and result
After reassembly, the specified coolant mixture was added and the engine was run with the heater operating while the system was watched. Installation and the immediate refill check were completed; no long-term mileage record is available to establish durability. At the refill stage, the MRCARTOOL cooling-system vacuum refill kit can evacuate trapped air and introduce coolant in a controlled step before warm-up, while the repaired system still needs the article’s hot and cold leak checks.
A current verification should follow the exact air-removal method for the car, confirm cabin heat and normal temperature behavior, inspect for active leakage, scan for relevant faults where applicable, cool fully, and recheck level. Any repeated level loss, wet pump area, abnormal bearing noise or temperature warning sends the vehicle back into diagnosis rather than into repeated topping-off.
What to decide before starting
- Identify VIN, engine and hybrid status before buying a pump, belt, seals or coolant.
- Clean and prove an active leak; do not replace solely because old pink residue exists.
- Inspect the entire cooling system and belt drive while access is available.
- Use current Lexus repair information for fasteners, seals, thread direction and air removal.
- Plan a cold-level recheck after the heat cycle; the first warm idle is not the final verdict.
If the leak source is still uncertain, start with water-pump-area leak diagnosis and a controlled cooling-system pressure test. The complete sequence is useful for planning, but its prices, difficulty score and exact hardware remain specific to one 2013 repair.



Comments 0
Questions, fixes, and real-world diagnostic notes from readers.
Be the first to share a diagnostic result or ask a follow-up question.