
How to Use the MRCARTOOL Porsche Cayenne/Panamera Timing Tool Kit

The MRCARTOOL Porsche Cayenne/Panamera Camshaft Timing Tool Kit is a model-specific set of fixtures for Porsche Cayenne and Panamera V8 4.5 L and 4.8 L, plus V6 3.6 L applications. It supports holding specified camshaft or related timing references during chain work while current Porsche service information controls application, true engine position, tensioning, counterholding, fasteners and verification. It does not determine top dead center, choose a repair method or supply universal torque values by itself. Those decisions must come from current Porsche service information for the verified VIN, engine code and production revision.
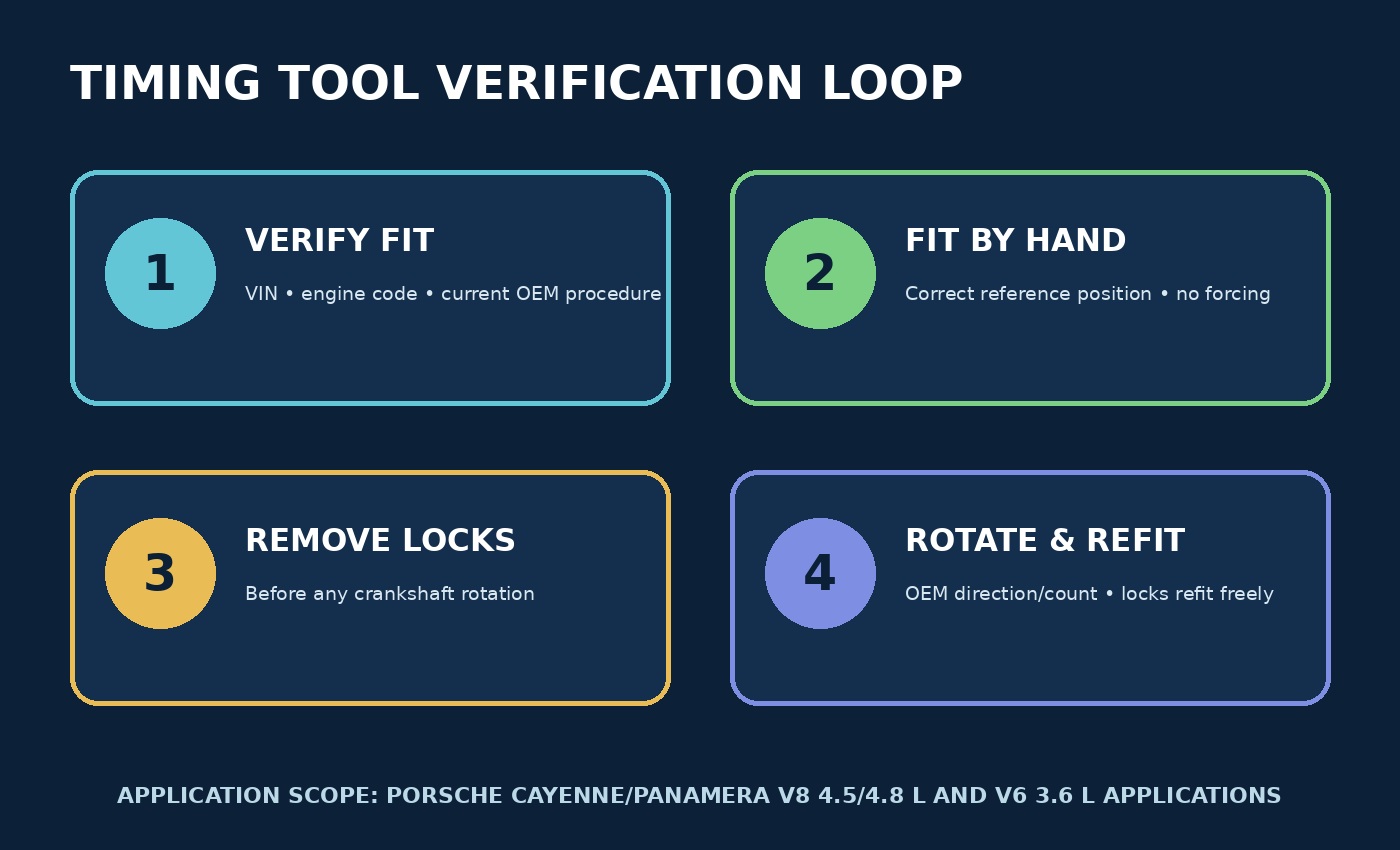
Quick answer: Verify that the vehicle actually has Porsche Cayenne and Panamera V8 4.5 L and 4.8 L, plus V6 3.6 L applications and obtain the current Porsche timing procedure before opening the engine. Photograph and inventory the case, inspect every contact surface and match each tool to the procedure rather than to appearance. Move the engine to the specified reference position with normal service tools, then test-fit each Porsche Cayenne/Panamera camshaft timing tool kit fixture by hand. A correct lock seats fully without levering or fastener force. Use separate counterholding for torque unless Porsche explicitly assigns that job to a kit component. Remove all locks before rotating the crankshaft. After assembly, turn the engine by hand in the specified direction and for the specified count, return to the reference position and confirm the fixtures refit without force before final closure.
In this guide
Verify compatibility and the exact Porsche procedure
1. Identify the engine—not just the vehicle badge
The current product title identifies Porsche Cayenne and Panamera V8 4.5 L and 4.8 L, plus V6 3.6 L applications. The rest of the page refers broadly to Porsche engines but does not publish model years, engine codes, production revisions or an OEM tool-number cross-reference. Verify all four before deciding the supplied fixture geometry is correct. Confirm the VIN, engine designation, production date and installed hardware through reliable vehicle information. A model name or displacement alone is not enough. If the Porsche procedure lists tool identifiers, compare those identifiers and functions with the supplied pieces before treating the kit as compatible.
Stop if the procedure shows a different fixture geometry, a revised timing arrangement or additional mandatory tooling. Do not adapt, grind, shim or substitute a nearly fitting lock. A timing tool that contacts the wrong datum can hold an engine in the wrong relationship while still appearing secure.
2. Define the repair and required consumables
Clarify whether the job is inspection, belt or chain replacement, camshaft work, cylinder-head service or another operation. Download the matching Porsche work instruction and related preliminary tasks. Identify new seals, one-time-use bolts, torque-angle requirements, sealants, lubrication points, counterholding tools and any electronic service steps before disassembly. The product page does not publish those values.
Timing fixtures locate or hold references; they are not automatically torque reaction tools. Unless the current Porsche instruction explicitly says otherwise, do not use a pin, bridge or cam fixture to resist sprocket, hub or crank fastener torque. Use the separate counterhold named by the procedure.
Inventory and inspect the kit
3. Record the case before removing parts
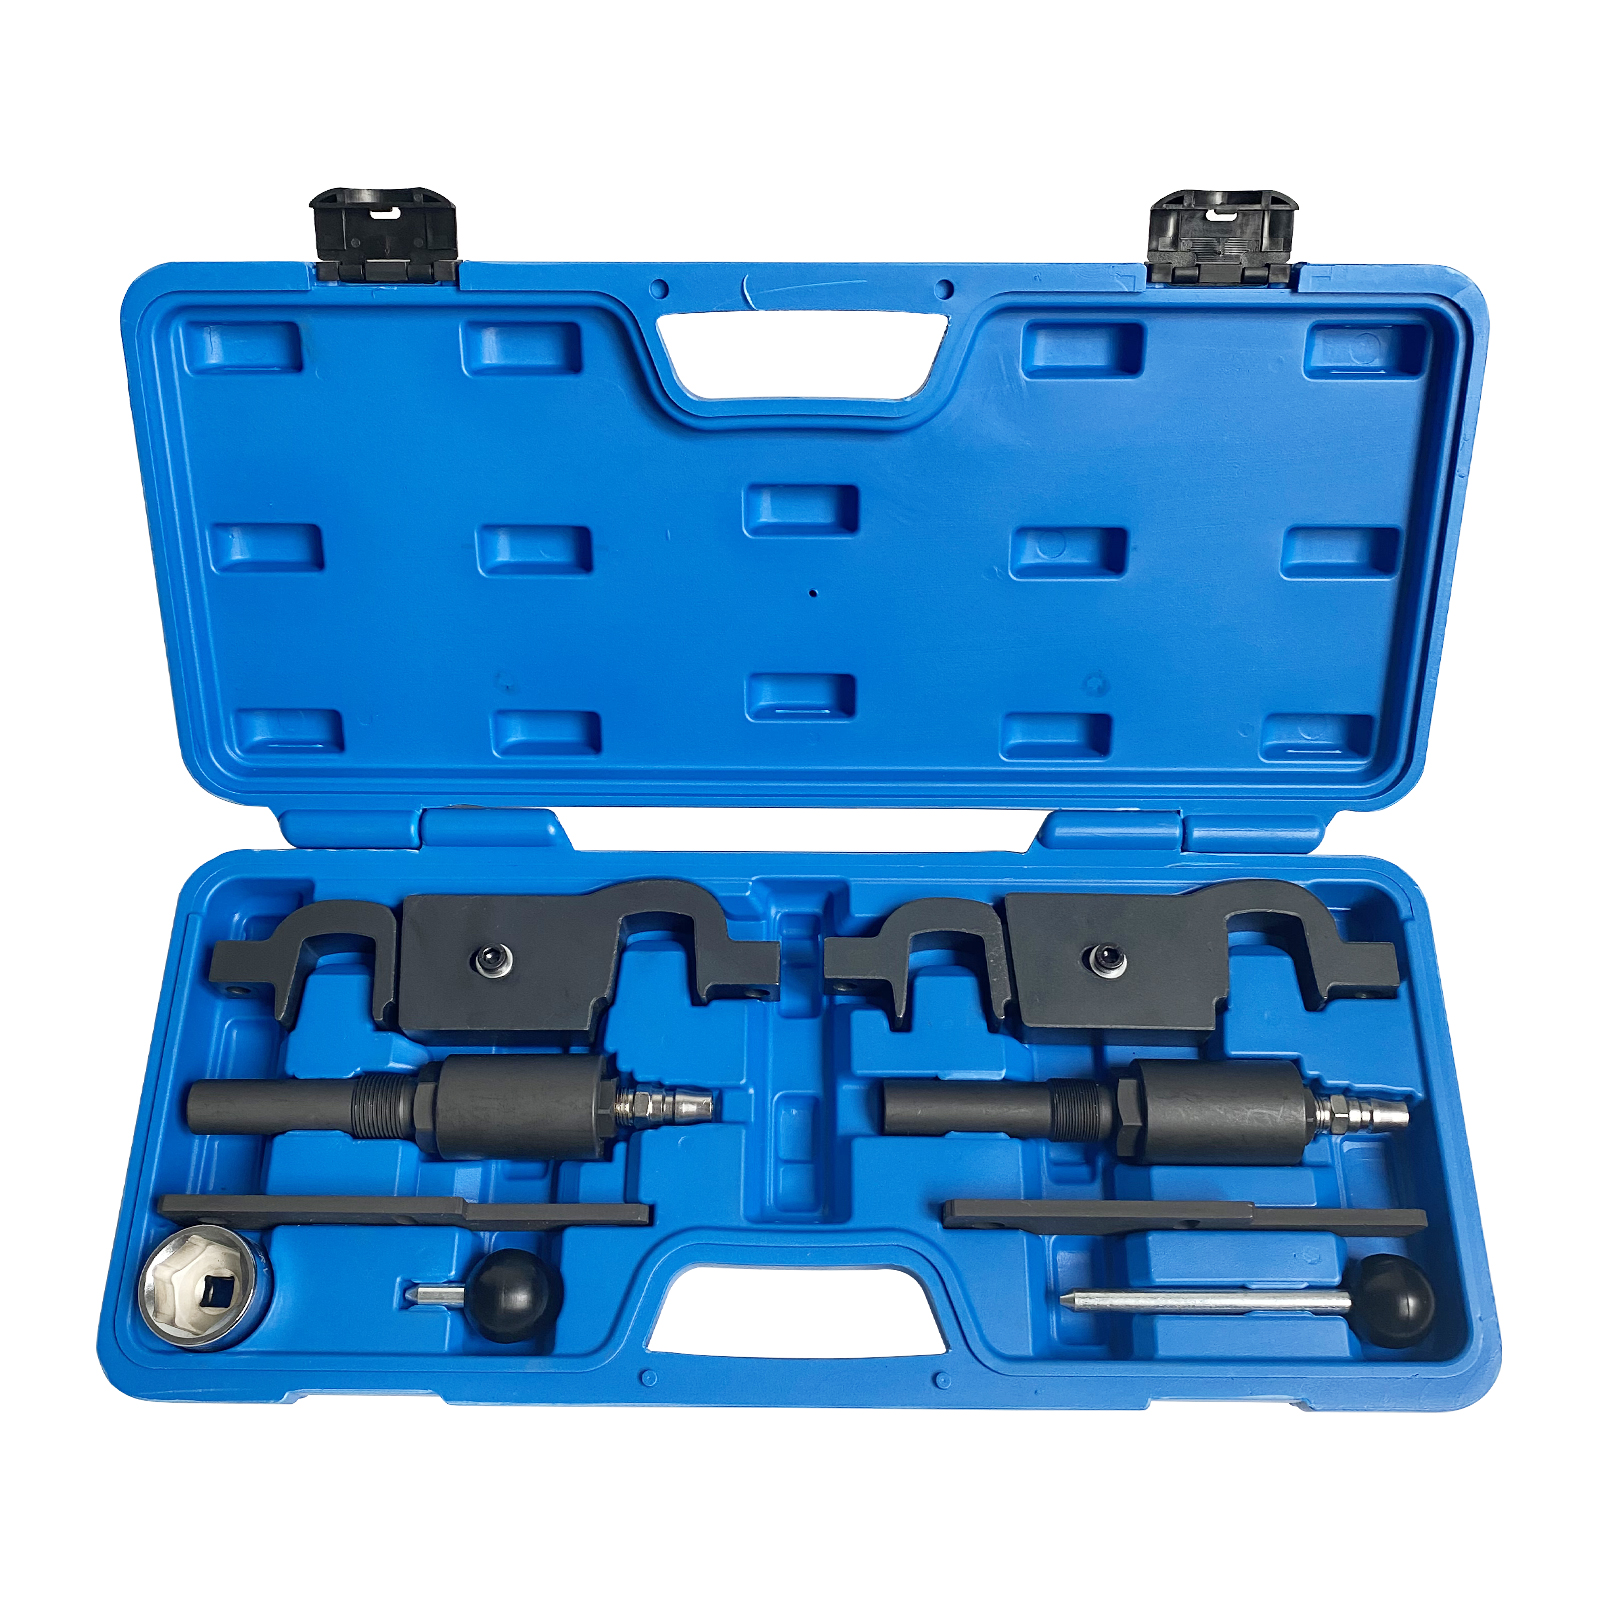
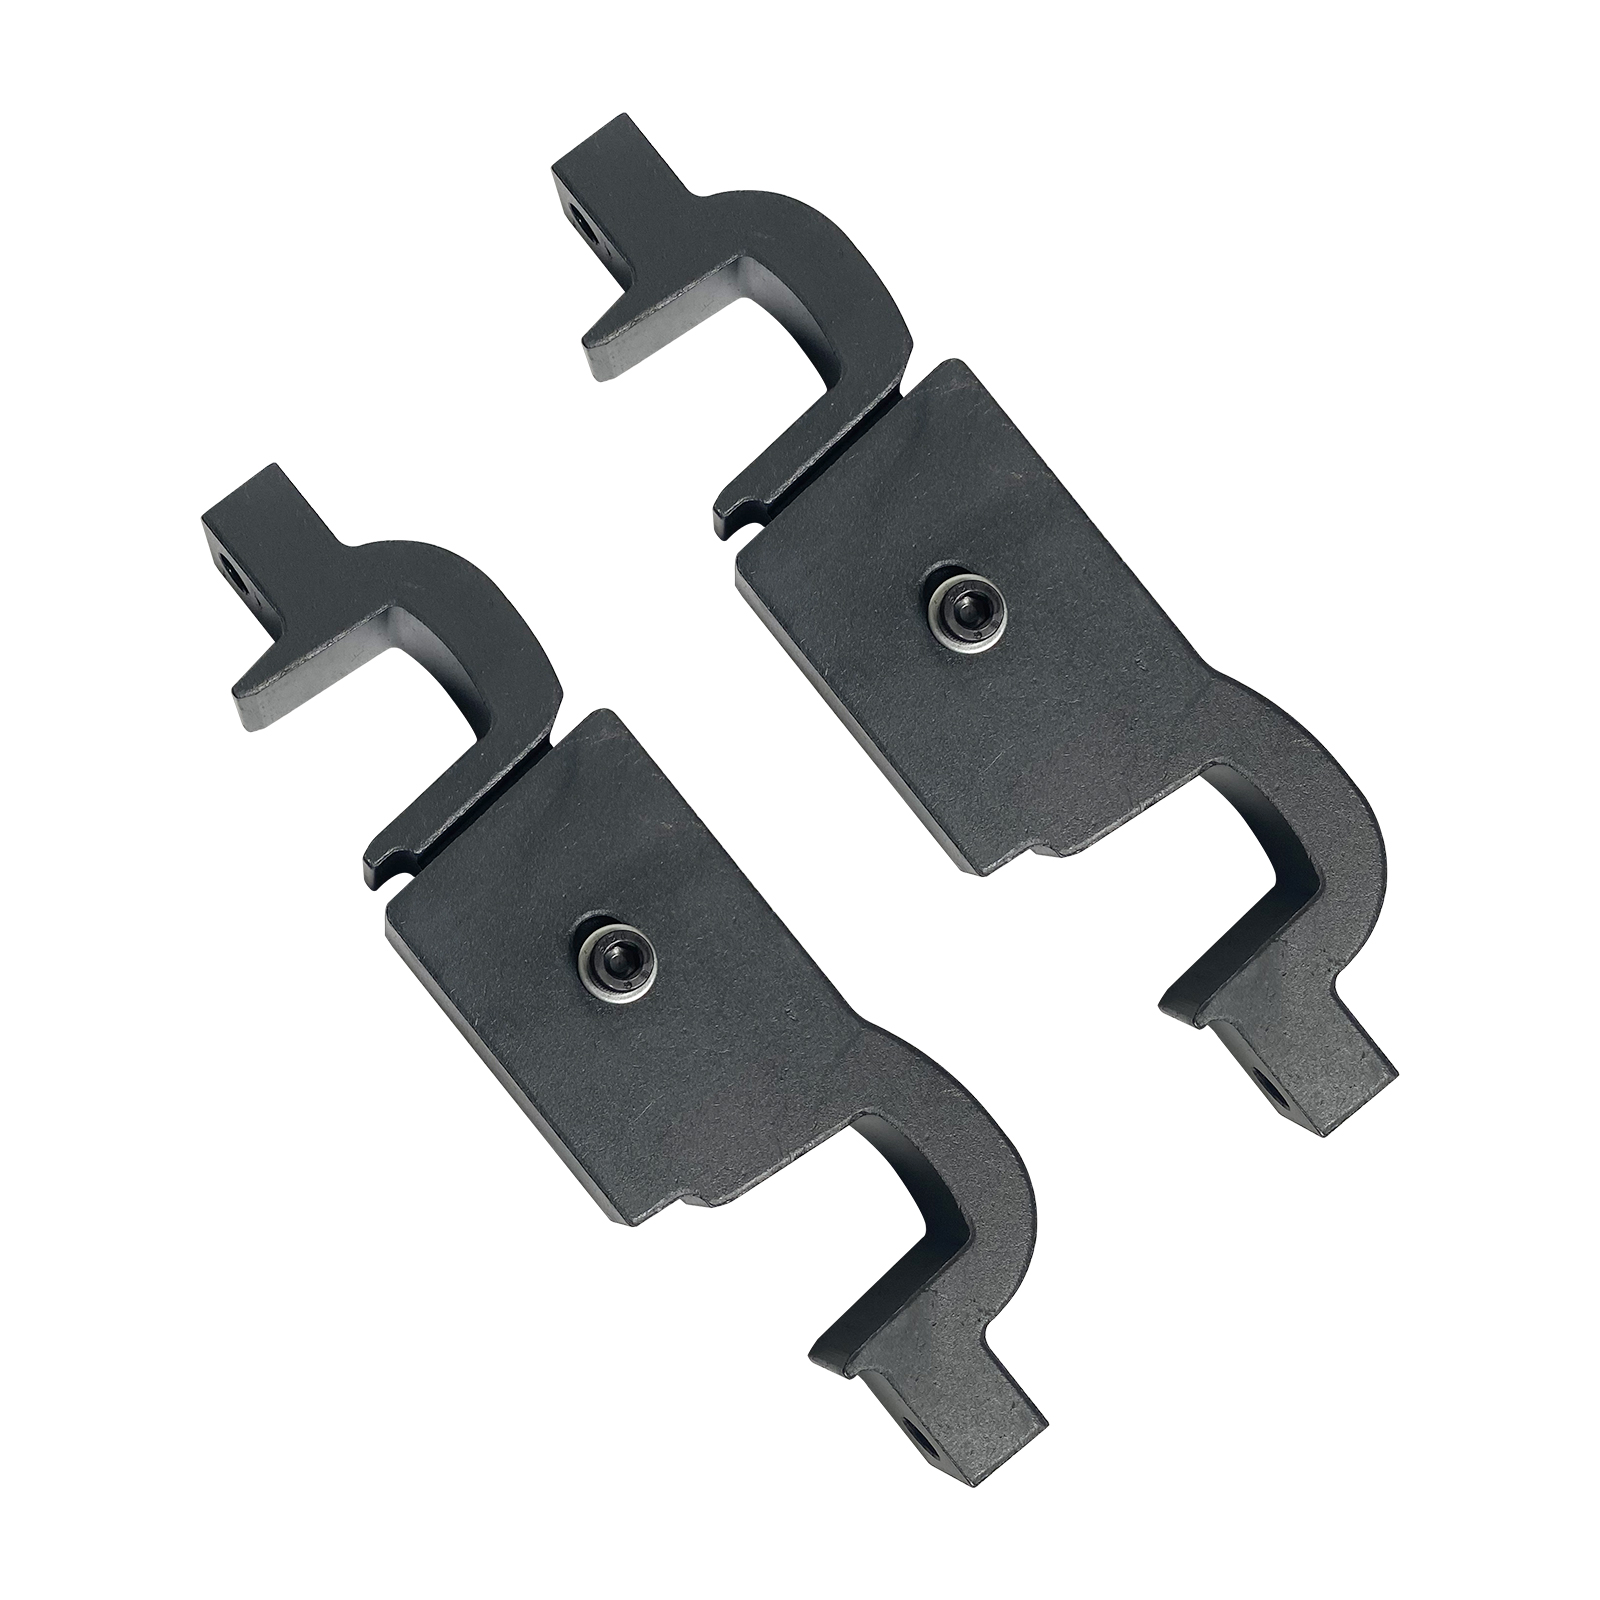
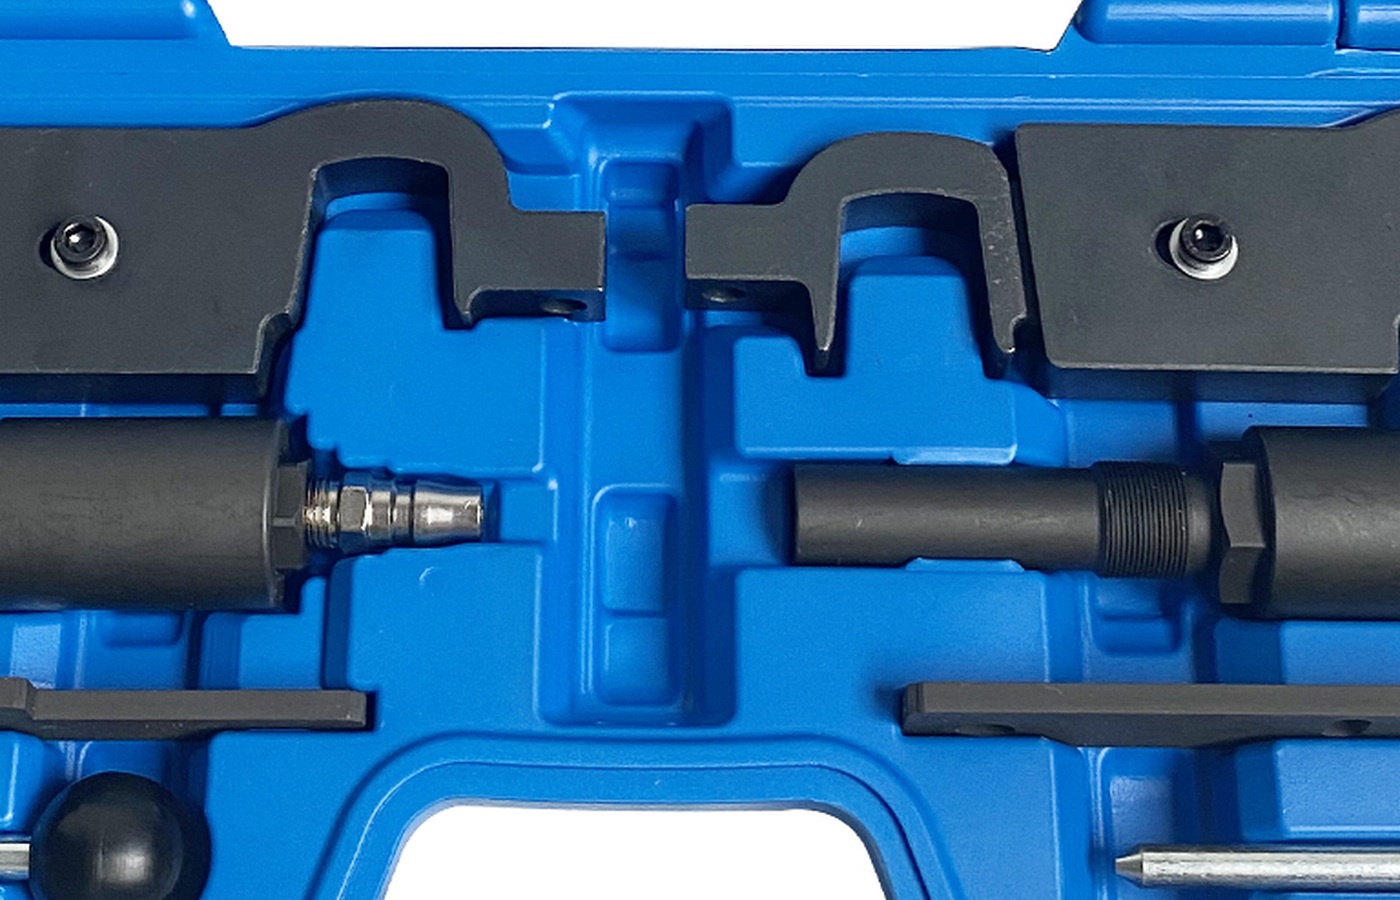
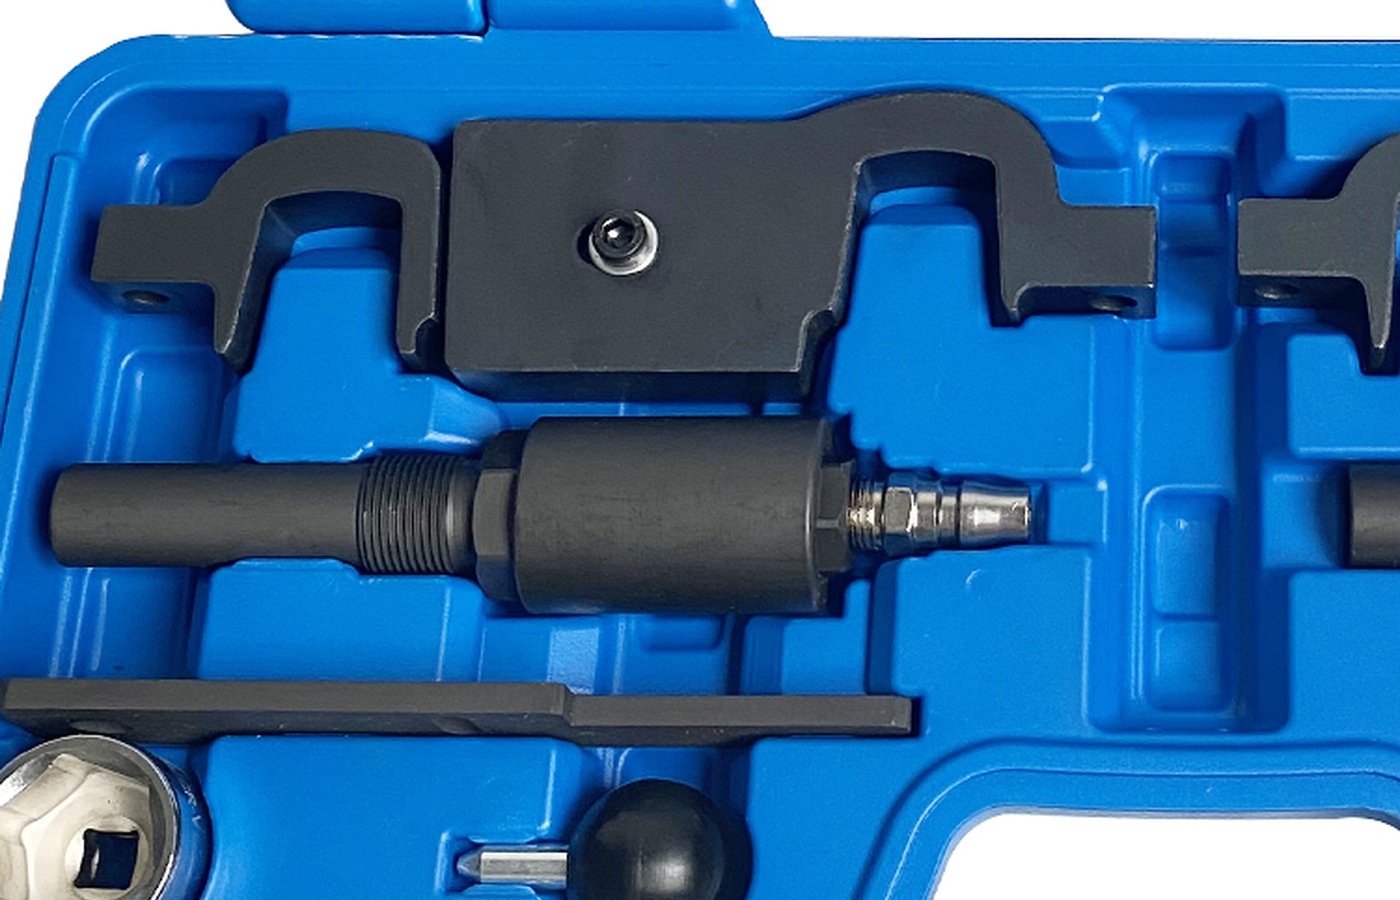
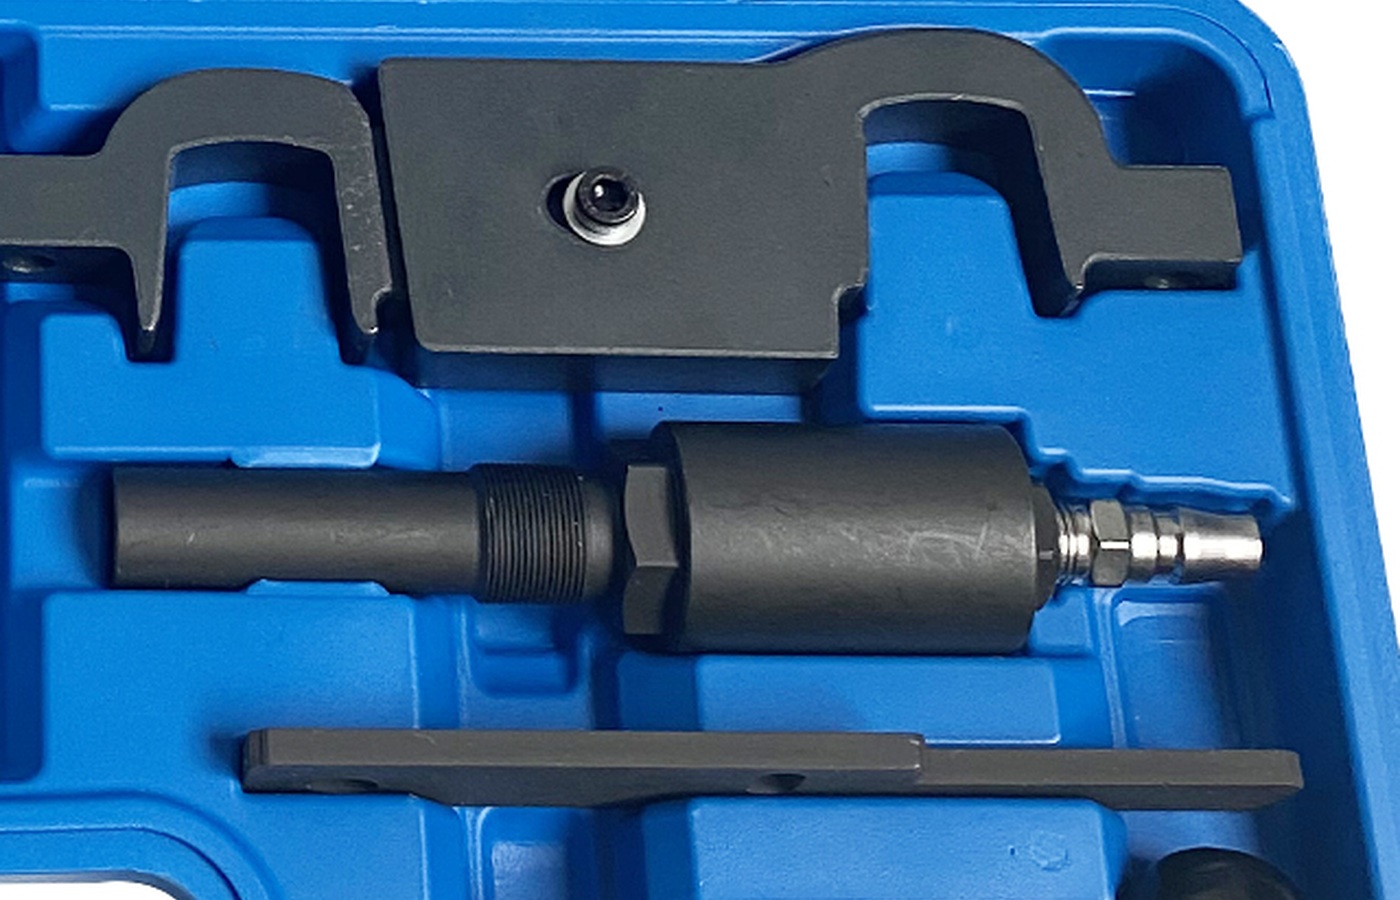
Place the case on a clean bench and photograph it from directly above. Compare every occupied recess with the official product images. Keep screws, pins, adapters, bridge pieces and measuring fixtures grouped by their original positions. The five official gallery images show paired flat plates, paired cylindrical pieces, paired fork-ended blocks and several smaller handles or adapters, but the page’s packing-list section is blank. Photograph each component in its case position and match its exact function and orientation to current Porsche service information rather than assigning a role from shape.
4. Inspect every locating surface and thread
Clean the tools without rounding edges or removing coatings. Check flat contact faces for burrs, dents and embedded debris. Examine dowels and pins for bends or mushrooming, threaded screws for galling, and bridge or adapter pieces for cracks or distortion. Run adjustment screws through their usable range by hand. Check any included electronic measuring device for a clean reference surface and stable display. A damaged fixture can create false alignment or fail to seat squarely.
5. Establish clean engine and tool zones
Protect open oil passages and exposed timing areas from dirt. Keep removed fasteners organized by location and replacement status. Follow the vehicle-specific power-down procedure before accidental cranking becomes possible; the product page recommends disconnecting the negative terminal, but sleep, memory and battery procedures still control how that is done. Post a clear ‘do not crank’ notice.
Prepare the engine reference position
6. Expose the timing components in OEM order
Remove covers, intake components, ignition parts and other access items only in the sequence specified for the exact engine. Support the vehicle and engine where required. Do not use timing tools as pry points or lifting fixtures. Keep foreign material away from the chain, guides, oil galleries and camshaft contact areas.
7. Move the crankshaft to the specified reference position
Rotate the engine only with the normal crankshaft turning tool, in the direction and by the method stated by Porsche. Observe the required cylinder, marks, flats or other reference features described in the procedure. Approach the position deliberately; if it is passed, follow the prescribed correction rather than rotating backward automatically. Do not insert a locking pin into a moving engine or use it to find position by collision.
Fit and use the holding tools
8. Test-fit each locator by hand
Clean the engine datum and the matching tool face. Offer the fixture squarely and let it seat under light hand pressure. Install retaining screws only after the locating surfaces are fully home, and tighten only to the tool-installation value or hand condition stated by Porsche. Never draw a misaligned bridge or adapter down with its bolts. Remove it, recheck engine position, part orientation and compatibility.
9. Confirm all required references agree
A single fitted piece does not validate the whole timing relationship. Confirm the crankshaft reference and every camshaft or related fixture required by the instruction can be installed together without force. Check that the tool is contacting intended machined datums rather than a casting edge, sealant bead or debris. Record photographs before loosening any timing fastener.
10. Perform the repair without loading the locks
Carry out belt or chain, guide, tensioner, sprocket, camshaft or related work exactly as the Porsche procedure describes. Keep the fixture seated but free of unintended bending. Apply fastener torque through the named holding arrangement, not through an incidental lock. Replace one-time-use fasteners and seals where required. If a fixture shifts, lifts or binds, stop and restore the reference position before proceeding.
11. Release tension and remove tools in the stated order
Complete tensioner activation, preload or settling steps in their specified order. Mark every installed locking piece on a checklist. Remove the tools before any crankshaft rotation, then count them back into the case. Never assume a small pin has already been removed. Rotate the engine only after the engine bay and case inventory prove all locks are clear.
Rotate and verify timing
12. Turn the engine by hand
Using the normal crankshaft turning tool, rotate in the specified direction and through the number of revolutions required by the current Porsche procedure. Move slowly and feel for abnormal resistance. Stop immediately if the crankshaft locks, spring force changes unexpectedly or internal contact is suspected. Do not use the starter to perform this verification.
13. Return to reference and refit the fixtures
Bring the engine back to the exact check position according to the procedure. Reinstall the required crank and cam fixtures by hand. They should seat as the procedure defines without leverage or bolt force. A fixture that no longer fits is a failed timing verification: do not average the error, enlarge a hole or declare it close enough. Reopen the relevant steps and correct the cause.
14. Repeat any prescribed tension or measurement check
Some repair instructions require a second tensioning, preload, angular or reference check after rotation. Complete it with the specified measuring and counterholding tools. The MRCARTOOL kit cannot replace an omitted gauge, torque-angle instrument or model-specific calibration step merely because the locating fixtures refit.
Finish, start and store
15. Reassemble with documented fastener control
Remove and account for every timing tool, clean the sealing surfaces and install covers, plugs, seals and ancillary components with the specified new hardware, sealant and torque. Restore electrical power through the proper Porsche process. Turn the engine by hand one final time if the work instruction calls for it, and confirm the engine bay is clear before cranking.
16. Verify operation after start
Monitor oil-pressure and timing-related warnings, abnormal noise, leaks and scan-tool faults. Do not rev an engine that rattles, runs unevenly or reports correlation errors. Shut it down and recheck the mechanical procedure. After a successful warm-up and leak inspection, complete any adaptation, fault-memory or road-test steps required by Porsche.
17. Clean and return each tool to its recess
Wipe tools clean, inspect again for witness marks or deformation and apply only an approved corrosion-protection method. Match every piece to the before-service case photograph. Keep damaged parts quarantined and labeled; do not return them to a ready-to-use kit. Store the closed case dry and record the engine and job on which it was last used.
Troubleshooting
| Symptom | Check first |
|---|---|
| Tool does not resemble the procedure | VIN, engine code, production revision, required tool identifier and kit completeness |
| Fixture will not seat | Correct reference position, orientation, clean datum, burr-free tool and no load on cam/chain |
| Retaining screw will not start by hand | Do not force; remove fixture and correct alignment or thread mismatch |
| One lock fits but another does not | Timing references do not yet agree; recheck engine position and repair steps |
| Tool moves during fastener torque | Stop; confirm separate counterhold and whether the fixture has been improperly loaded |
| Engine binds during hand rotation | Stop immediately; confirm every lock removed and investigate timing or internal contact |
| Tools do not refit after rotation | Timing verification failed; repeat the relevant setting and tension procedure |
| Engine faults or rattles after start | Shut down; check mechanical timing, tensioning, connectors, lubrication and fault memory |
Final Porsche Cayenne/Panamera camshaft timing tool kit checklist
- VIN and exact engine code confirm Porsche Cayenne and Panamera V8 4.5 L and 4.8 L, plus V6 3.6 L applications
- Current Porsche repair instruction and related preliminary tasks available
- Required additional tools, new fasteners, seals and fluids prepared
- Kit photographed and every case position inventoried
- Tool functions matched to the procedure rather than appearance
- Contact faces, pins, threads and bridge pieces clean and undamaged
- Vehicle powered down and accidental cranking prevented
- Engine moved to reference with the normal turning tool
- Every locator seated fully under light hand pressure
- No fixture pulled into place with screws
- All required crank and cam references agree simultaneously
- Separate counterholding used unless Porsche explicitly states otherwise
- One-time-use fasteners and torque-angle steps followed
- Every lock removed and counted before rotation
- Crankshaft rotated by hand in the specified direction and count
- Engine returned to exact check position
- Required fixtures refit without force after rotation
- All locks removed again before start
- No abnormal noise, leak, warning or correlation fault remains
- Tools inspected and returned to their photographed case positions
The correct way to use the Porsche Cayenne/Panamera camshaft timing tool kit is to make it part of a controlled Porsche procedure. Verify the engine, inventory the fixtures, position the engine with normal service tools, fit every locator without force, keep torque loads off unintended locks, remove all tools before rotation and prove the references again after hand-turning. Free refit at the specified check position is the decisive result—not how confidently a fixture was tightened.











Comments 0
Questions, fixes, and real-world diagnostic notes from readers.
Be the first to share a diagnostic result or ask a follow-up question.