
BMW N5X Oil Filter Housing Gasket: Replace It Before Oil Reaches the Belt

Bottom line: A complete N51/N52/N54/N55 oil-filter-housing gasket repair, including variant-specific access, belt protection, sealing-surface preparation, cooling-system bleed and cold leak verification.
Can you know how to repair it from this page? Yes—after the vehicle and failure match. The article identifies the staged parts and tools, access layers, removal and installation sequence, torque gates, fluid or adaptation work, first-start stop rules and the same-condition test that closes the job.
In this case
- Repair at a glance
- Confirm the repair before disassembly
- Parts, tools, and consumables to stage
- Preparation and safety boundary
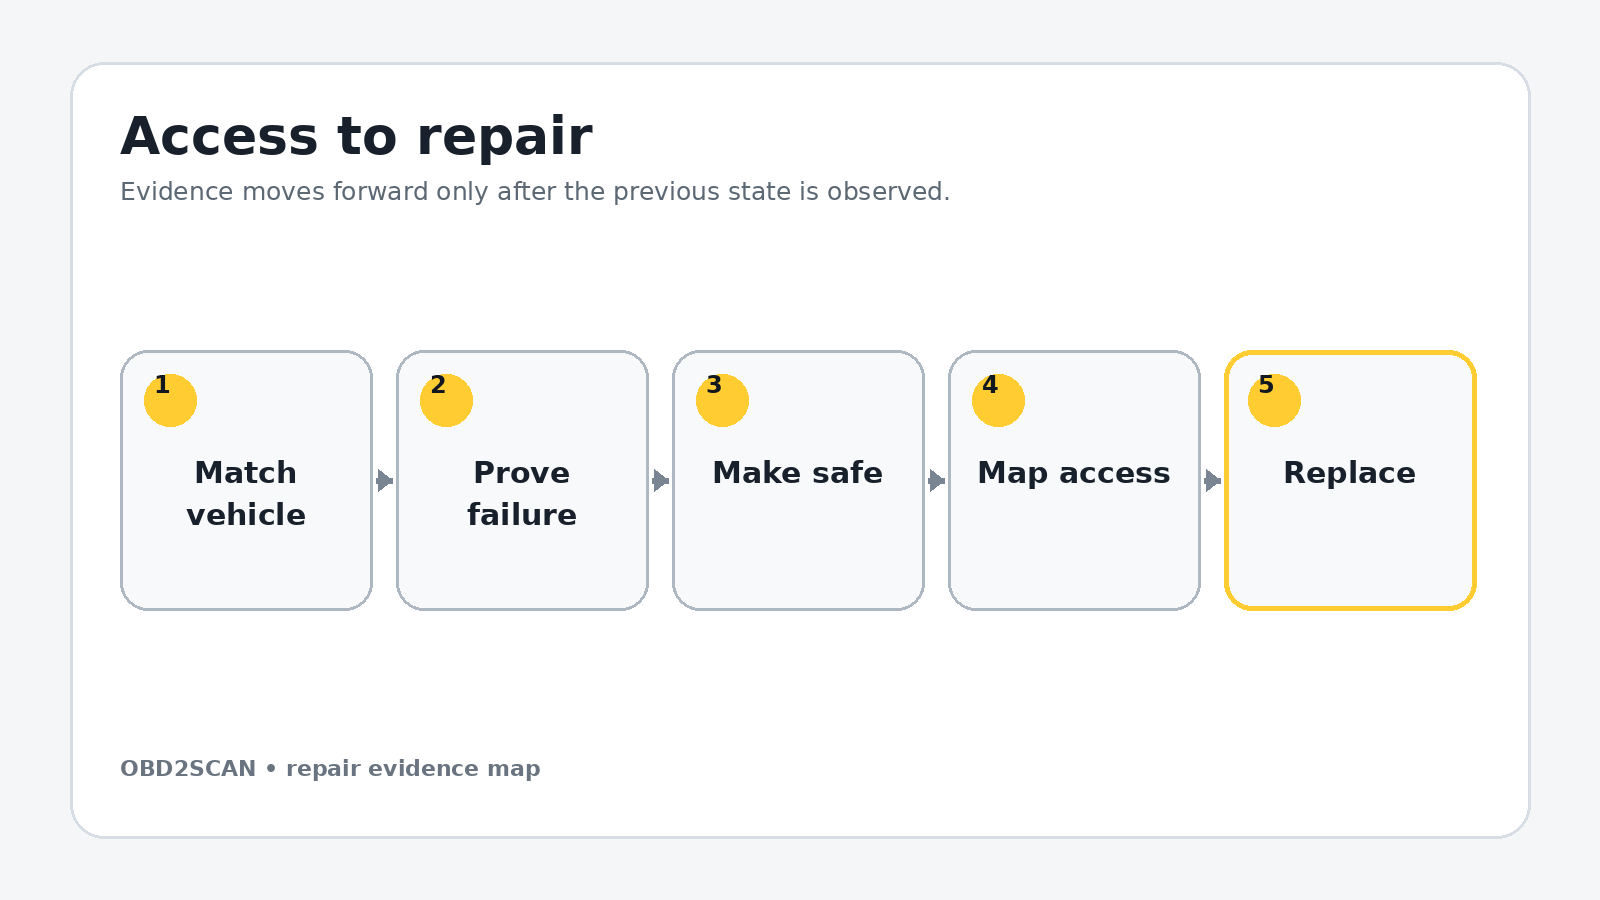
- Remove the access layers without losing the map
- Exact repair sequence
- Reassembly and torque control
- Fluids, adaptations, and first start
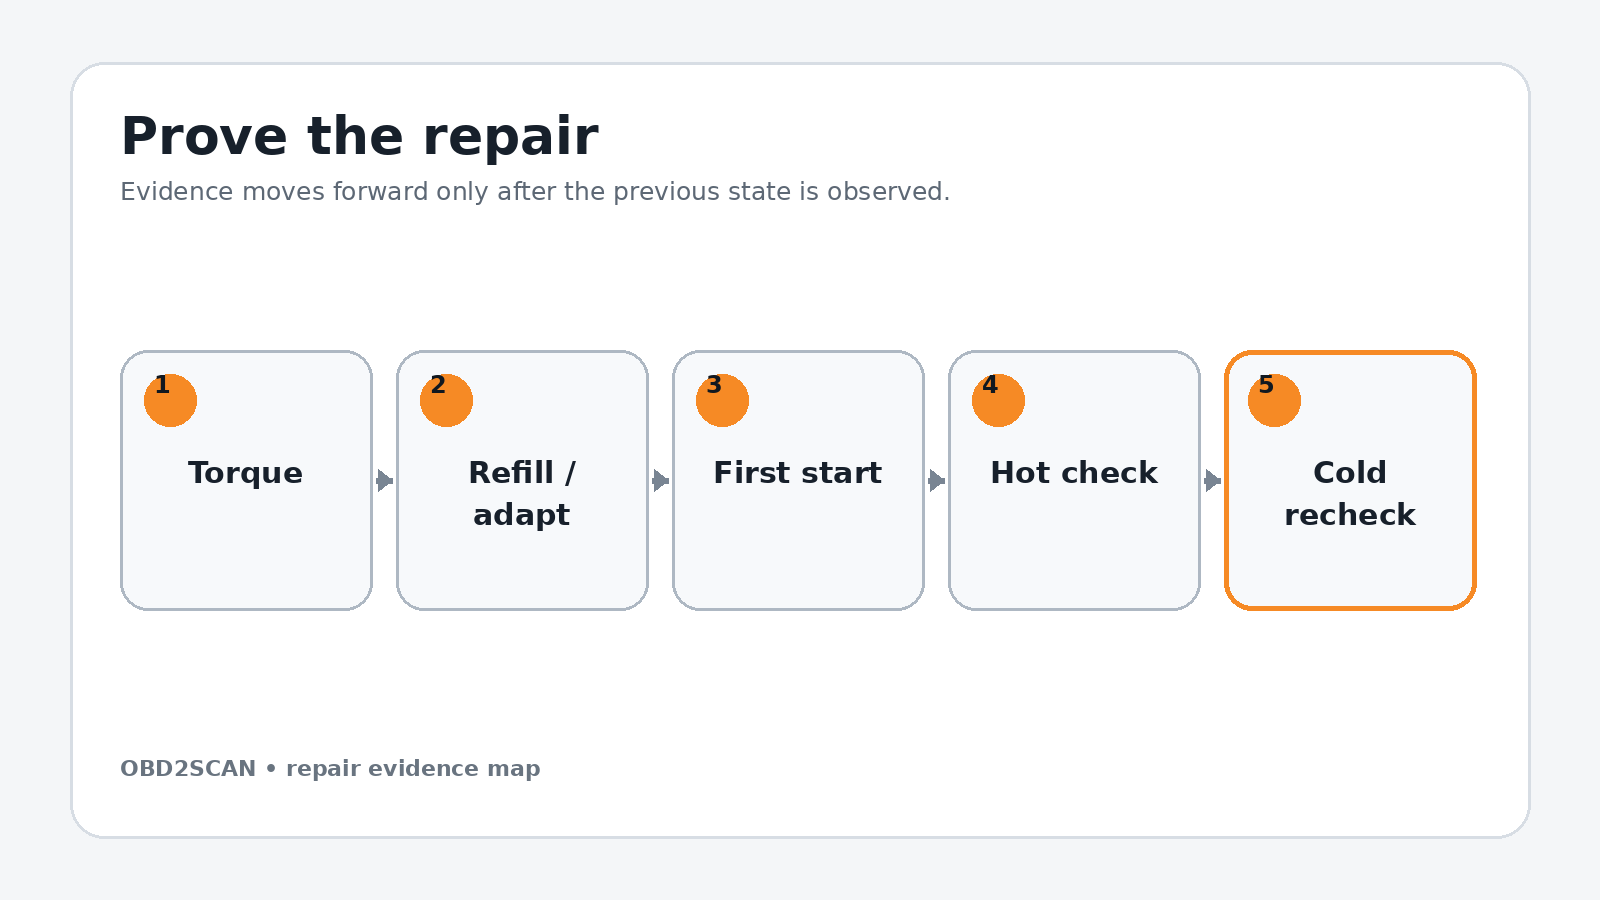
- Prove the repair under the original condition
- Common ways this repair goes wrong
- Exact repair checklist
- Minimum record to retain
Repair at a glance
| Field | Repair detail |
|---|---|
| Applies to | BMW N51, N52, N54 and N55 configurations after VIN/engine confirmation |
| Repair trigger | Fresh oil from the housing-to-cylinder-head seam |
| Parts | Housing gasket, filter and cap O-ring; cooler seal and intake seals where fitted |
| Time / difficulty | Several hours; intermediate, with more access work on N54/N55 |
| Stop point | Do not restart if the belt is missing, shredded or entering the front crank seal |
| Proof complete | Dry seam and belt path hot, then dry again after a full cold soak |
Confirm the repair before disassembly
Wash or wipe the front of the engine enough to identify the highest fresh-oil point. Oil beginning at the cap O-ring, oil-cooler seam or VANOS line can run across the housing and imitate the main gasket. The repair starts only when fresh oil is seen at the housing-to-head joint. Photograph the dry baseline and recheck after a short run if the path is uncertain.
Inspect the belt with a light before disassembly. Swelling, gloss, frayed edges or oil between the ribs means the belt is no longer a reusable part. If belt material has disappeared behind the crank pulley, stop. The job has expanded to front-seal and oil-pan inspection; running the engine can pull more debris inside. This early decision is more important than finishing the gasket quickly. Use the oil-leak source tracing workflow when the highest wet point is not obvious.
Do not continue when: Do not restart if the belt is missing, shredded or entering the front crank seal.
Parts, tools, and consumables to stage
Stage the complete job before access is opened. Part numbers, seals, bolt-reuse rules and fluid specifications must be matched to the VIN, engine or chassis code; a familiar model name is not precise enough.
| Parts and consumables | Tools and support equipment |
|---|---|
| • Oil-filter-housing-to-cylinder-head gasket • Oil filter and filter-cap O-ring • Oil-cooler-to-housing seal if an oil cooler is fitted • Fresh intake-manifold seals for N54/N55 access • Upper radiator-hose O-ring if flattened or hardened • Correct engine oil and coolant • Serpentine belt if it has absorbed oil; one-time-use aluminum bolts where the exact build requires them | • E10 socket, E10 universal socket or E10 box wrench • Locking extensions and a short 8 mm ratcheting wrench • Oil-filter-cap socket and low-range torque wrench • Hose pinch pliers, pick, fluid syringe and drain pan • Plastic scraper, lint-free wipes, approved residue cleaner • Battery charger for the electric coolant-pump bleed |
Preparation and safety boundary
Work only on a cold engine. Disconnect the battery negative if the alternator or its positive connection will be disturbed. Protect every belt pulley and the alternator from coolant, oil and cleaner. Do not leave shop towels inside the filter cavity or intake ports; count them in and count them out.
Confirm the engine family before ordering seals. N51/N52 usually allow the rear E10 fastener to be reached with a swivel tool beneath the manifold. N54/N55 normally require manifold removal. Power-steering brackets and alternator fasteners also vary, and some aluminum bolts are single-use. Print the VIN-specific diagram and torque list before the first bolt is removed.
Remove the access layers without losing the map
Remove the intake snorkel, air box and electric cooling fan. Photograph belt routing, release the tensioner with the specified tool, remove the belt and cover the pulley area. Move the power-steering reservoir bracket only if it blocks the housing; do not open its hydraulic lines. On N54/N55, relieve fuel pressure by the current service procedure, remove the intake manifold and cap every exposed fuel or intake opening.
Open the oil filler cap, remove the filter cap and filter, and allow oil in the housing to drain back. Extract the remaining pool with a syringe, then plug the cavity with a counted clean cover. Pinch only approved flexible hoses. Release the upper radiator-hose locking clip, catch the coolant and move the hose without levering against its plastic neck.
Use separate trays for each access layer, label connectors by destination and photograph every hidden hose before it moves. Mark fastener length and location on a drawn component outline. Reassembly should follow a map created during removal, not memory or wire reach.
Exact repair sequence
Complete the following sequence in order. A bold lead identifies the action; the remaining sentence states the checkpoint that must be true before the next action begins.
- Label the three housing fasteners. Their lengths and approach angles matter. Break the difficult rear E10 bolt loose first while the housing is still rigidly supported.
- Disconnect the oil-pressure sensor. Release the connector lock rather than pulling on the wires. Move cooler lines or the cooler assembly only on versions that use them, catching both oil and coolant.
- Remove the housing evenly. Loosen all fasteners, support the assembly and lift it squarely from the cylinder head. Do not pry on the machined head face or use the hose neck as a handle.
- Remove both suspect seals. Lift the main molded gasket from its groove. If the cooler seam is wet or already accessible, separate the cooler and replace that seal now rather than reopening the area later.
- Clean with the ports protected. Remove old elastomer and oil film with a plastic scraper and cleaner applied to a wipe. Keep debris out of the oil and coolant passages. The aluminum face must be smooth, dry and un-gouged.
- Check the housing itself. Inspect the gasket groove, cooler face, threaded bosses and plastic or aluminum hose neck. Replace a cracked, warped or corroded housing instead of asking a new gasket to bridge damage.
- Seat the new gasket dry unless current BMW data specifies otherwise. Confirm that it is fully inside the groove and not twisted. Position the housing without sliding the seal across the head.
- Start every bolt by hand. Draw the housing down in alternating passes. For the documented N5X layout, torque the housing-to-head fasteners to 22 Nm; confirm that value and bolt-reuse rule against the VIN-specific procedure.
- Rebuild the attached interfaces. The documented cooler-to-housing value is 16 Nm. Fit a sound upper-hose O-ring, lock the retaining clip fully and tug-check the connection.
- Restore N54/N55 access parts. Fit new intake seals, reconnect every capped fuel, vacuum and electrical interface, and torque the manifold fasteners to 15 Nm on the documented configuration after checking current data.
- Prime the housing. Install the new filter and lubricated cap O-ring in the correct groove. Add roughly 0.2 L of the specified oil to the housing where the configuration permits, then torque the cap to 25 Nm.
- Replace and route the belt. Degrease pulley grooves without flooding bearings, install a clean belt and verify every rib by sight and touch before the fan and intake return.
Reassembly and torque control
Reconnect the oil-pressure sensor before access disappears. Route hoses in their original clips so they cannot touch the belt, fan or hot surfaces. Remove every protective towel and plug from a written count. Reinstall the fan, intake and braces only after the belt path has been inspected from above and below.
Top up oil and coolant with the exact approved specifications. Do not assume the small amount spilled equals the amount required; use the vehicle’s level procedure. A pressure test on a cold system can reveal an incompletely seated hose before the engine warms. The cold cooling-system pressure test explains how to keep pressure below the cap rating and interpret a loss.
| Fastener or setting | Documented value | Applicability gate |
|---|---|---|
| Housing to cylinder head | 22 Nm | Documented N5X configuration; verify VIN |
| Oil-filter cap | 25 Nm | Lubricate O-ring and keep it in the correct groove |
| Oil cooler to housing | 16 Nm | Only where equipped; verify bolt type |
| N54/N55 intake manifold | 15 Nm | Use fresh seals; verify variant |
Torque boundary: Values in this table belong to the documented configuration. Check current VIN/engine-specific service data, bolt material, replacement rule and torque sequence before applying them.
Fluids, adaptations, and first start
Connect a charger. With the engine off, switch ignition on, set heat to maximum and blower to its lowest speed, then hold the accelerator fully down for about ten seconds. On the documented electric-pump system, the pump runs its bleed cycle for roughly twelve minutes. Listen for circulation, keep the charger connected and do not start the engine during the routine. Use the current model procedure if the controls differ.
After the bleed, correct the cold level. Start the engine and watch the oil-pressure warning; shut down immediately if it does not extinguish normally. Inspect the housing, cooler, upper hose and filter cap while idle speed stabilizes. A little residue may smell after cleaning, but new liquid at a seam is not normal.
Prove the repair under the original condition
Run the engine to operating temperature without loading it hard. Observe coolant temperature, cabin heat and belt tracking. Shut down, inspect with a dry white towel at each seam, and record oil and coolant levels. Scan for fuel-pressure, mixture, temperature or pump faults caused by a missed connection.
After a full cold soak, repeat the level and dry-seam checks. Then inspect again after a mixed road test. The repair is complete only when the highest fresh-oil point remains dry, the coolant level stabilizes, no belt contamination returns and no intake or fuel leak was introduced.
Completion standard: Dry seam and belt path hot, then dry again after a full cold soak.
Common ways this repair goes wrong
- Replacing the main gasket when the filter-cap or cooler seal is the actual highest leak
- Leaving an oil-soaked belt in service
- Allowing coolant to run into the alternator or pulley grooves
- Pinching the new gasket while sliding the housing into place
- Reusing a flattened radiator-hose O-ring or a single-use aluminum bolt
- Calling one clean idle period a repair without the next-morning inspection
A repair is not improved by clearing a code, adding sealant, tightening beyond specification or skipping a blocked step. When a checkpoint fails, return to the last verified state and correct the cause before more parts are installed.
Exact repair checklist
- VIN, engine/chassis code and installed component revision match the planned procedure.
- The failed component or interface was proven before disassembly; the before-state is saved.
- All seals, fluids, required new hardware and special tools are present before access is opened.
- Connectors, hoses, fastener lengths, routing and timing/alignment references are photographed and labeled.
- Open fuel, oil, coolant, intake or refrigerant interfaces are protected and every plug is counted.
- Replacement parts seat without force; every structural or sealing fastener starts by hand.
- Final torque, angle, sequence and ride-height/temperature conditions match current service data.
- All fluids, bleed routines, adaptations or calibrations required by the exact vehicle are complete.
- First start passes the listed stop rules; the repaired area is checked before trim or shields hide it.
- The original symptom is repeated hot and cold, the final scan is saved and the next-morning recheck passes.
Minimum record to retain
Retain the VIN, engine or chassis code, before-scan, symptom conditions, disassembly photos, connector labels, fastener map, service-data revision and every measured value. Record the exact fluid specification and quantity added, all adaptations or bleed routines completed, the first-start observations and a cold recheck. A later technician should be able to tell what was directly observed, what was replaced and which same-condition test proved the repair without relying on the invoice description.
- N54 and N55 access requires the intake manifold to move for the rear housing bolt.
- Housing bolts are 22 Nm on the documented N5X configuration.
- Filter cap is 25 Nm; cooler-to-housing is 16 Nm in the documented configuration.
- A contaminated or displaced belt requires inspection beyond the gasket repair.
This workflow is marked completed only when its stated repair and post-repair checks are represented. It does not certify an unseen vehicle, replace current service information or convert a different engine/chassis variant into the documented configuration.



.jpg?utm_source=obd2scan&utm_medium=referral&utm_campaign=outbound_links)
Comments 0
Questions, fixes, and real-world diagnostic notes from readers.
Be the first to share a diagnostic result or ask a follow-up question.