
2004 Mitsubishi Lancer Lost Lights, Wipers and Radio After Body Repair: One Collision Zone Joined the Symptoms

Multiple Electrical Failures After Body Work?
<strong>Quick answer:</strong> The common clue was not a failed front ECU or another steering-column switch. The left kick-panel harness had been damaged in the collision, and repairing those conductors restored all affected functions. This article follows one documented vehicle. It explains the evidence chain, not a universal failure rate or a direction to replace the same part on every similar car. Stop whenever the test would involve overheated brakes, high current, moving parts, refrigerant handling or an uncontrolled road condition.
Once the factory diagram identifies a safe low-voltage feed and expected load, a fused circuit tester such as AUTOOL BT210 Circuit Tester can compare supply on both sides of the collision zone. It cannot authorize an unknown-wire bypass, prove wire identity by color alone, or be used on airbag, data or module circuits without the exact diagram and limits.
Four electrical features failed after collision repair, inviting four separate diagnoses. Plotting them against the repaired body area instead revealed a shared path through one damaged section of the instrument-panel harness.
Quick answer: The common clue was not a failed front ECU or another steering-column switch. The left kick-panel harness had been damaged in the collision, and repairing those conductors restored all affected functions.
In this guide
Make a symptom map before touching parts
List every failed function before choosing a component: radio, turn signals, low beams and low-speed wipers. Then mark which functions still work. A symptom map can reveal a shared ETACS feed or harness region that four separate parts lists obscure. Preserve the original condition before changing it. The first observation is the control sample against which every later test must be compared.
Overlay the collision and repair area
Place that electrical map over the collision and body-repair area. Ask what panels, brackets, grounds and harnesses were moved. Prior replacement of the steering-column switches and front ECU without improvement should lower confidence in those branches rather than normalize more module swapping. Use service information for the exact engine, build date and options. A correct method on the wrong terminal can create a precise but useless result.
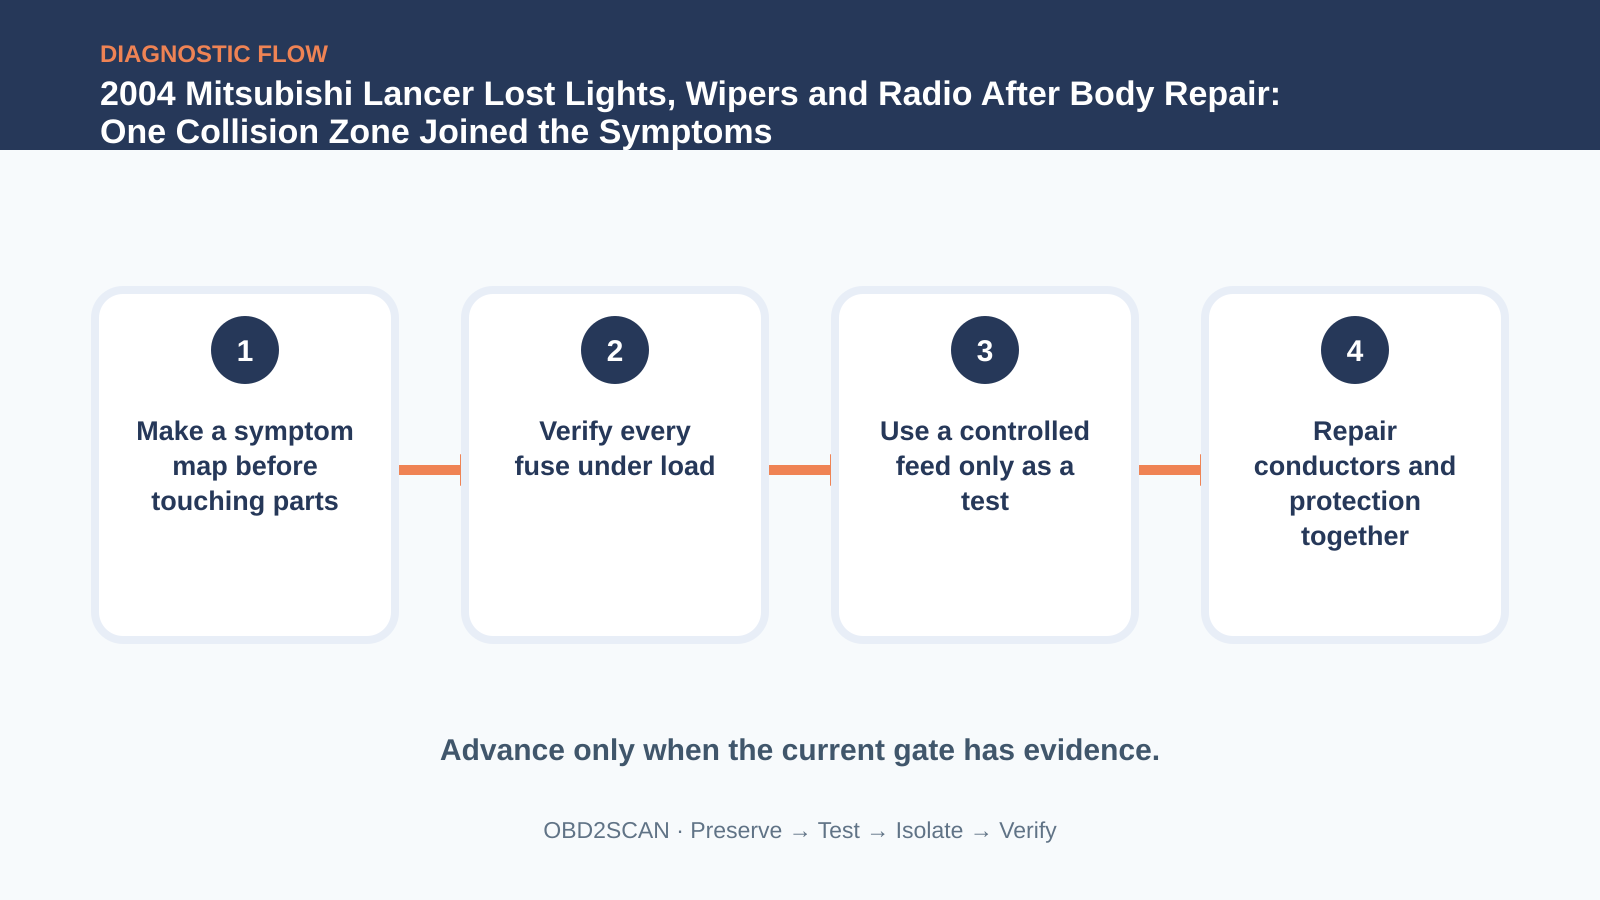
Verify every fuse under load
All fuses were checked, but a visual fuse check is not enough for a loaded circuit. Verify supply on both sides and confirm the exact fuse population for the vehicle. Good fuses only establish that the protected elements are intact; they do not deliver voltage through a damaged downstream harness. Treat prior work as evidence, not blame. A repair that made no change can narrow the case when its installation and test conditions are verified.
Find the missing feed at C-129
Following the diagram to C-129 pin 14, the technician found no voltage on the orange wire. That measurement located the loss near the left kick-panel route. Verify connector orientation and terminal numbering before back-probing; a mistaken pin can turn a clean circuit into misleading evidence. At this stage, separate what was observed from what is inferred. The observation should remain true even if the current theory is later rejected.
| Observation | What it supports | What it does not prove |
|---|---|---|
| Four body functions fail together | Shared feed or harness deserves priority | Four components are bad |
| Fuses pass | Protected elements are intact | Voltage reaches C-129 |
| Controlled feed restores turn signal | Downstream function can operate | A jumper is a repair |
| Harness repair restores all functions | Collision damage was causal here | No other collision issue remains |
Use a controlled feed only as a test
A controlled power feed made the turn signals operate. Used correctly with current limiting and a known circuit, that test showed the downstream function could work. It was not a repair and did not authorize feeding the other dead circuits or leaving a jumper in place. This is the decision point in the documented case. Its value comes from changing one bounded condition while leaving the rest of the system intact.
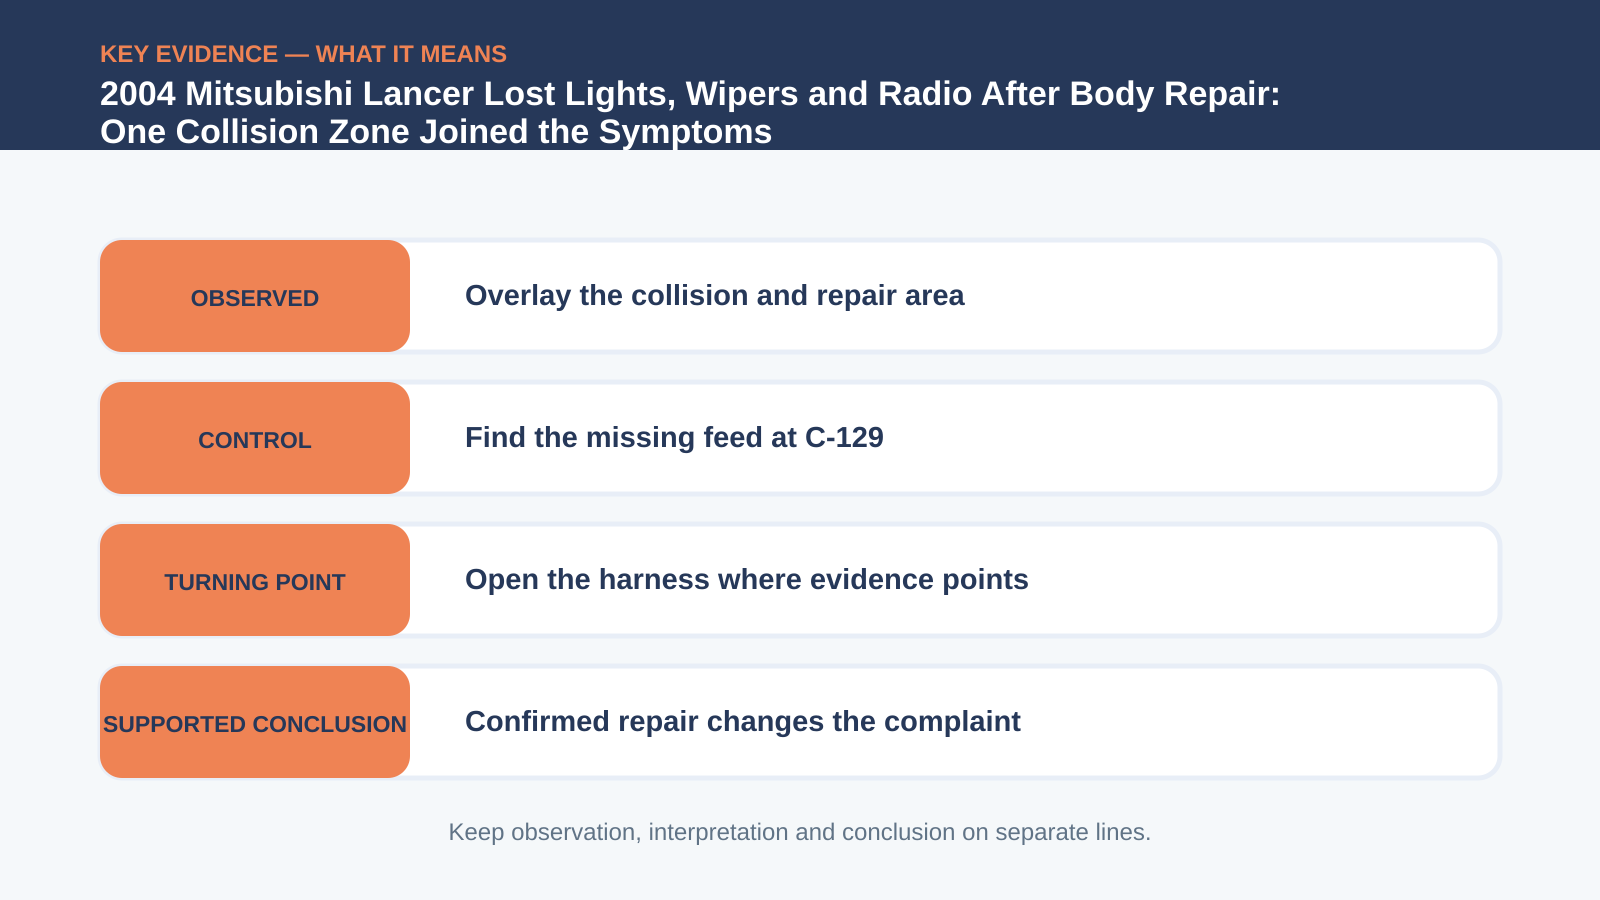
Open the harness where evidence points
The recovered output justified opening the nearby harness, where several collision-damaged wires were found. Inspect farther than the obvious break for stretched copper, pinched insulation and poor prior splices. The repair needs clean conductor, sealed joins, strain relief and restored abrasion protection. A confirmed component still needs a repair that restores sealing, support, torque, routing or terminal fit—the physical conditions that keep the fault from returning.
Repair conductors and protection together
Route and retain the repaired harness so the kick panel cannot pinch it again. Reinstall grounds, grommets and clips, then perform loaded voltage-drop checks across the repaired section. Continuity with the panel removed may not reveal a wire that fails when bent back into place. Reassemble protective covers and retainers before declaring success. A diagnostic shortcut must not become the next failure mechanism.
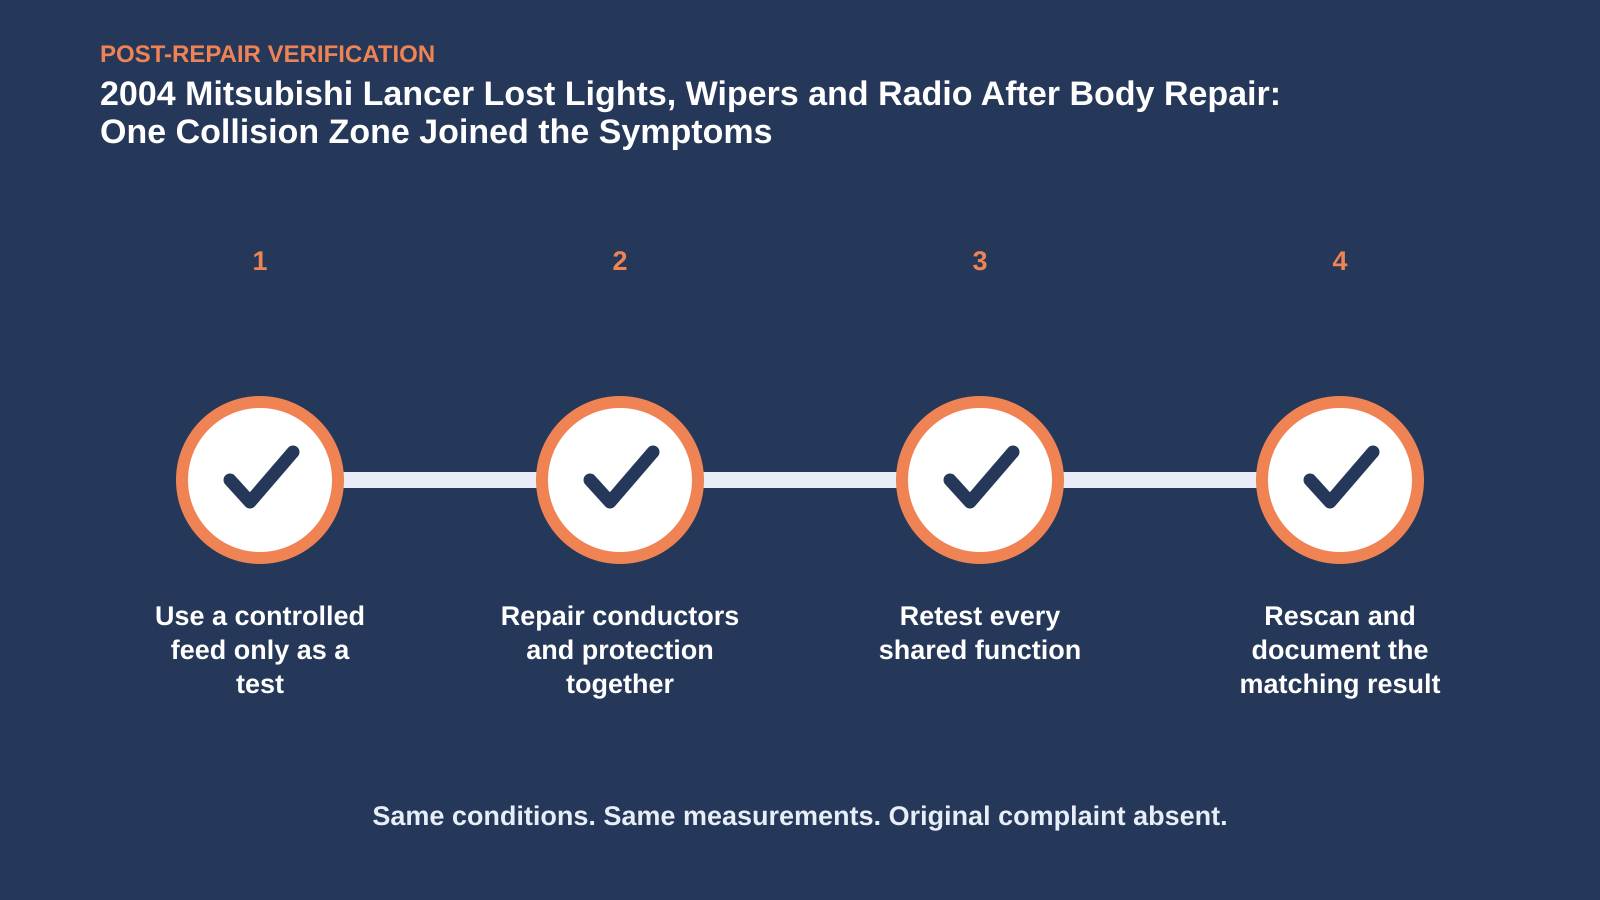
Retest every shared function
Operate radio, turn signals, both beam states and every wiper speed, then scan ETACS and related modules. Wiggle only safe harness areas while observing the functions. A complete closeout proves that the shared harness repair solved the symptom group without introducing a new intermittent. Use the customer’s original complaint as the final specification. A cleared code, quiet bay or one good key cycle is not equivalent to reproducing and passing that condition.
If you are bringing a similar symptom to a shop, arrive with the useful conditions rather than a requested part: whether the vehicle was cold or hot, the exact speed or switch position, which warning lamps appeared, what changed after a restart, and a chronological list of earlier repairs. A short video can preserve an intermittent sound or lamp pattern, but record it only while parked or with a passenger handling the camera. Ask the technician to retain the pre-repair scan and measurements, explain the test that separated the failed path from the alternatives, and show how the original complaint was repeated afterward.
For the owner or service adviser, a useful repair explanation has three parts: what was observed, why the decisive test narrowed the fault, and which original condition passed after the repair. It should also say what the test did not prove. That boundary prevents a memorable case from becoming an automatic parts recommendation.
The common clue was not a failed front ECU or another steering-column switch. The left kick-panel harness had been damaged in the collision, and repairing those conductors restored all affected functions. The reusable lesson is narrower and more valuable: Map each dead function to the repaired body area, then use one recovered output to justify opening the harness rather than another parts order.








Comments 0
Questions, fixes, and real-world diagnostic notes from readers.
Be the first to share a diagnostic result or ask a follow-up question.