
Volvo C30 PCV Failure: Replace the Oil Filter Housing Without Losing the Reassembly Map

Bottom line: A Volvo P1 PCV and oil-filter-housing replacement organized around access, hose routing, ECM protection, oil-pressure confirmation and leak checks.
In this case
- Case at a glance
- The answer: the PCV diaphragm failed inside the housing
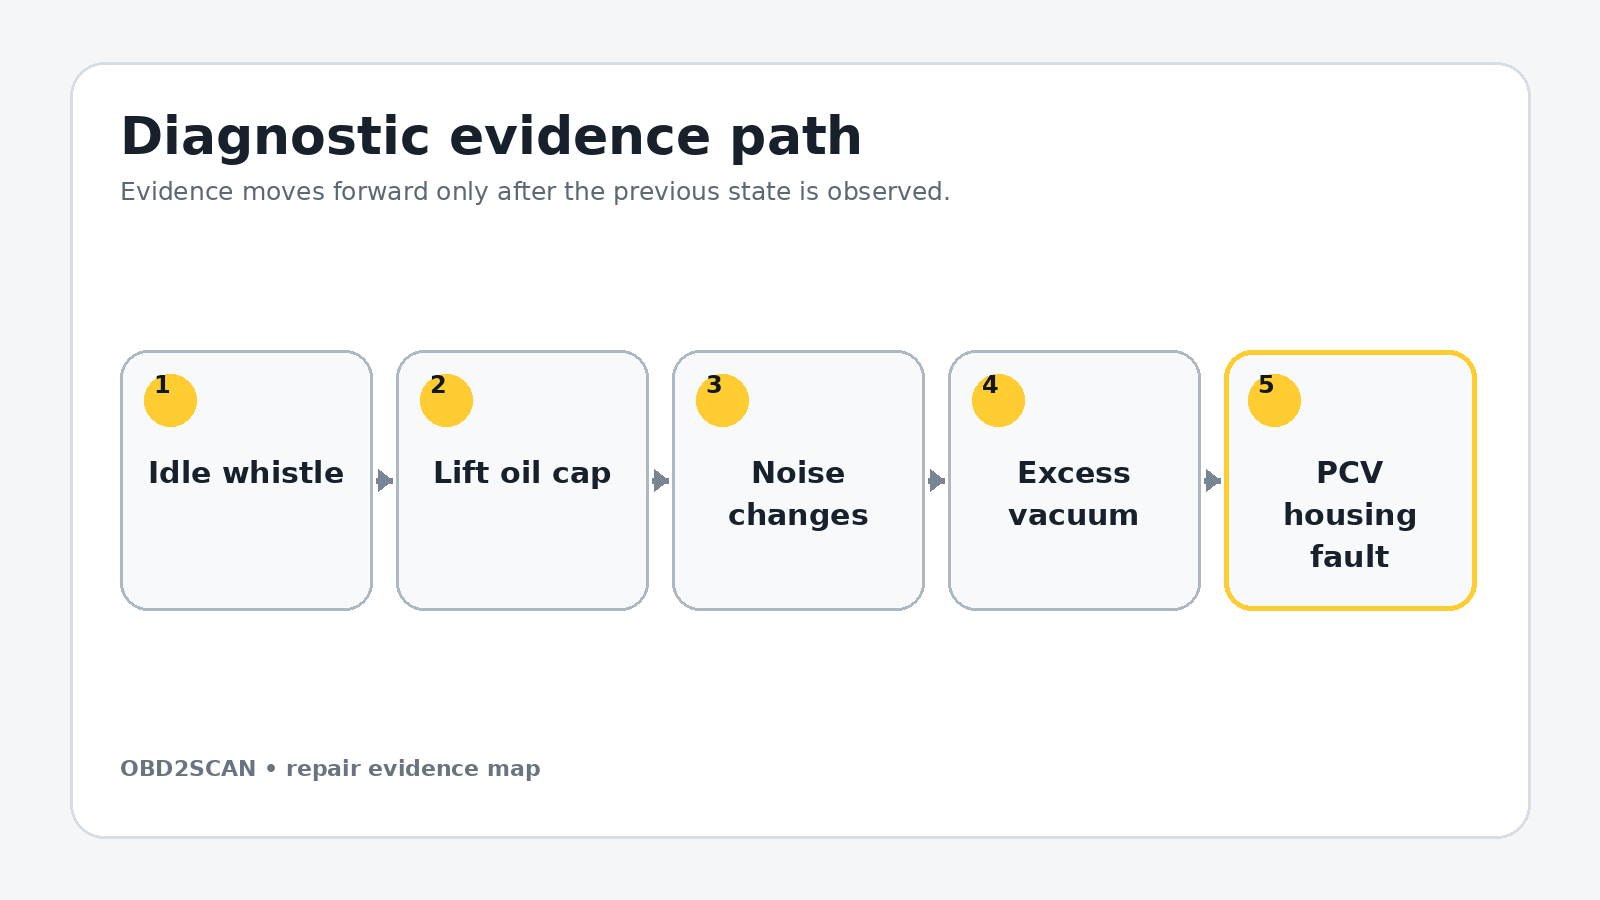
- Confirm abnormal crankcase vacuum before disassembly
- Photograph the harness and hose map before removing the airbox
- Drain the oil and prepare the new housing on the bench
- Protect the sealing faces, coolant hose and knock-sensor wiring
- Treat the first start as an oil-pressure test
- The final reassembly and follow-up
- Minimum record to retain
Case at a glance
| Field | Case detail |
|---|---|
| Platform | Volvo P1 five-cylinder T5/2.4 applications; exact build must be confirmed |
| Complaint | Whistle/warble at idle and excessive oil-cap vacuum |
| Repair | Integrated PCV and oil-filter-housing assembly plus breather hoses |
| Access | Intake plumbing, airbox and ECM removed with battery disconnected |
| Verification | Oil-pressure lamp extinguished promptly, whistle gone, mild normal vacuum and no immediate leaks |
The answer: the PCV diaphragm failed inside the housing
The idle whistle was crankcase air being pulled past the oil-fill seal because the integrated PCV diaphragm had failed. The oil cap was unusually difficult to lift, and opening it changed the noise immediately. Replacing the oil-filter-housing/PCV assembly and breather hoses restored mild normal crankcase vacuum and removed the whistle.
The job’s real difficulty was access management. The ECM lives with the airbox assembly, the harness wraps around it, one housing fastener is easier from below, and two breather hoses are replaced while the housing is out. A reassembly map matters more than a long tool list.
Evidence boundary: The numeric values in this article belong to the documented vehicle unless an official applicability statement says otherwise.
Confirm abnormal crankcase vacuum before disassembly
A whistle near the valve cover can also come from an intake leak, turbo inlet connection or accessory. Observe idle quality, listen around the housing, and gently lift the oil cap. A dramatic vacuum load plus immediate noise change strongly supports the PCV path, but compare with the exact engine’s normal behavior.
Inspect for existing cam-seal and gasket leakage. Use the oil-loss diagnostic guide to establish a clean baseline; replacing the PCV cannot reverse a seal that is already damaged.
Photograph the harness and hose map before removing the airbox
Remove the turbo fresh-air pipe, vacuum connections, air inlet and covers methodically. Rust inside Torx heads should be picked clean so the bit seats fully. The mass-airflow sensor can be protected by removing it from the airbox rather than forcing the whole assembly around it.
Disconnect the battery negative before unplugging or removing the ECM. Release connector locks by their designed motion, label the two plugs, free every harness retainer and only then lift the airbox from its three grommets. The engine-bay inspection routine is a useful pre-job record of broken locks, missing fasteners and prior repairs.
Safety boundary: Use current vehicle-specific service information, approved support and the correct test load before opening a circuit or assembly.
Drain the oil and prepare the new housing on the bench
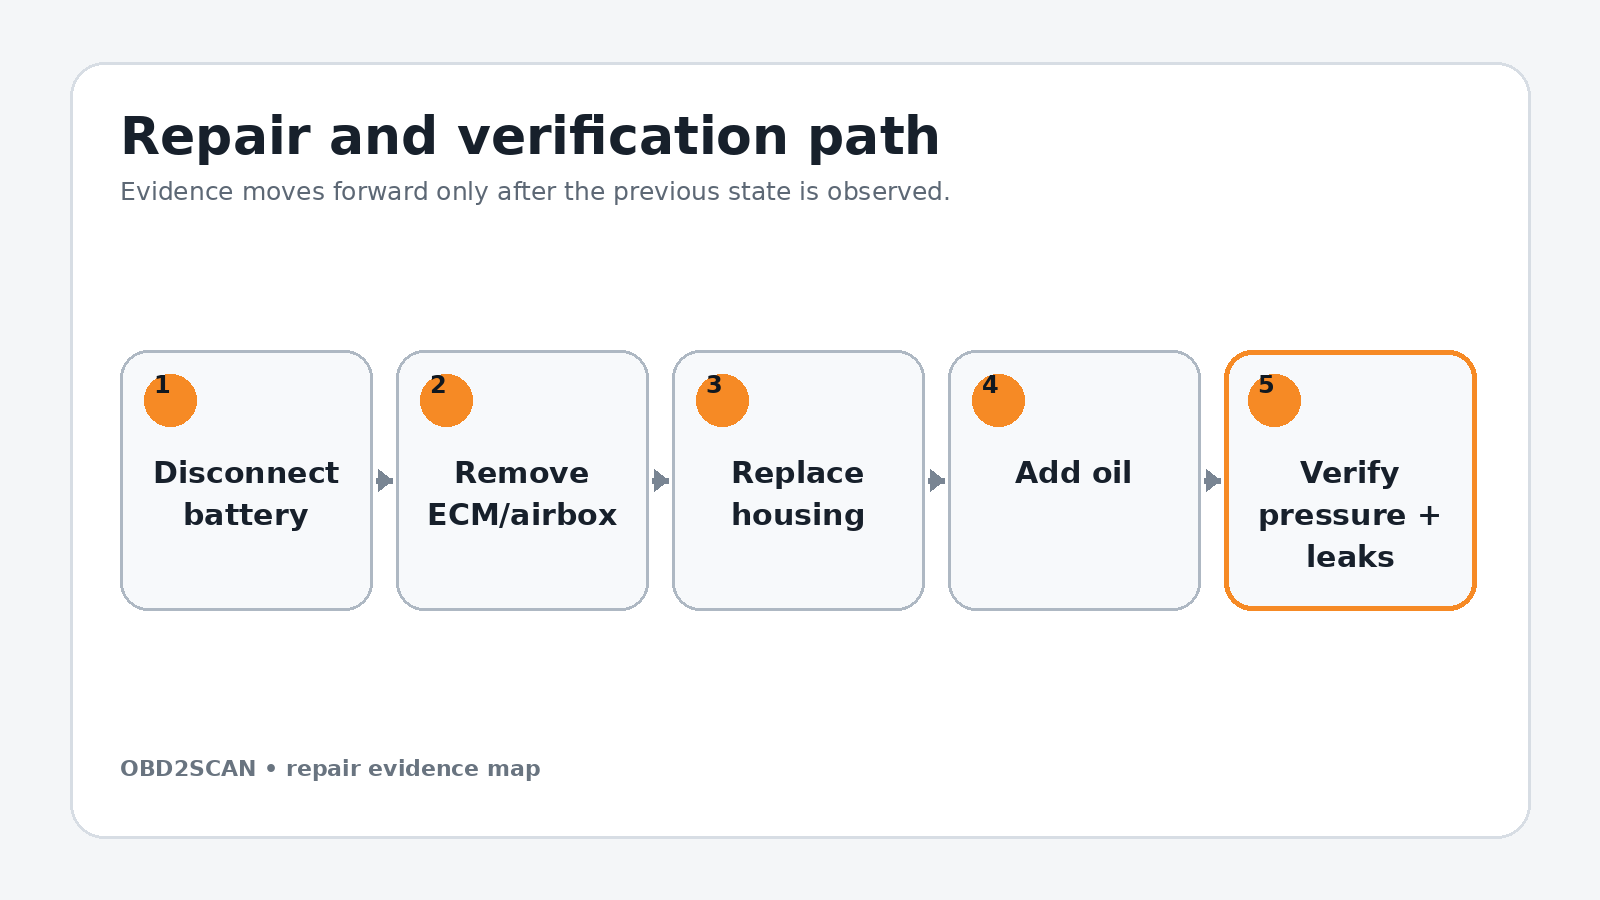
Loosen the filter cap until its seal is exposed so oil can drain from the housing, then drain the sump using the exact service procedure. Keep an oil catch below the housing because residual oil remains. Replace the filter and cap seal as part of the same controlled oil service.
On the replacement used in this job, accessory mounting holes were intentionally formed by the specified Volvo-style fasteners. Starting those fasteners straight on the bench reduced cross-threading risk in the vehicle. Confirm the supplied housing design and instructions; do not force an ordinary bolt into an unthreaded casting.
Protect the sealing faces, coolant hose and knock-sensor wiring
Cut only the breather hoses that are being replaced and keep the adjacent coolant line protected. Leave the hard-to-reach lower housing bolt controlled until the assembly can be supported from above. Once removed, clean every sealing face without gouging it and keep debris out of the oil passages.
Lower the new assembly without trapping the harness, knock-sensor lead or coolant hose. Start all housing bolts by hand, seat the assembly evenly, reconnect the new breather routing and place clamps where they will not touch the positive battery feed or obstruct coil service.
Treat the first start as an oil-pressure test
Refill with the exact oil quantity and specification for the vehicle, confirm oil registers on the dipstick, reconnect the battery and watch the oil-pressure warning. In this repair it went out within a few seconds. If it does not, stop the engine immediately and investigate rather than waiting for the filter housing to fill indefinitely.
With the engine running, inspect the upper and lower housing joints. Confirm the oil cap now shows only modest vacuum and the whistle is gone. Cleaned surfaces make fresh seepage visible instead of blending it into old residue.
Verification boundary: A cleared code is not a result by itself. Repeat the original operating condition and retain the measured before-and-after evidence.
The final reassembly and follow-up
Refit the ECM cover, intake duct and lower shield only after the dry running inspection. Recheck oil level after circulation, then inspect again after the first drive and over roughly the next hundred miles. Any pre-existing cam-seal leak deserves its own repair plan.
The reusable lesson is to diagnose the vacuum symptom first, then organize the job around electronics, hose routing and oil pressure. The housing is only one part; the repair is complete when the crankcase and lubrication systems both behave normally.
Minimum record to retain
Keep the initial scan before clearing anything, the exact ambient and operating condition that reproduces the complaint, and one labeled result for every branch tested. Save photographs or waveforms at their original resolution and identify the measurement point, scale, engine state and tool setup. A future technician should be able to distinguish a direct observation from an inference without reconstructing the whole visit from invoices. Retain exact vehicle identification with every saved measurement.
- Removing the oil cap changed the whistle and revealed excessive vacuum.
- Airbox/ECM access required battery disconnection and careful harness routing.
- Housing mounting holes were prepared on the bench using the specified self-threading fasteners.
- Oil-pressure lamp extinguished, excessive vacuum/whistle disappeared and immediate leaks were absent.
This case includes a repair result, but the same-condition retest is still the reason the result is credible. Record what changed, what did not change, and which test was repeated after the work. Also retain any programming, adaptation or calibration report and a final whole-vehicle scan. If the symptom is intermittent, define a monitoring window instead of treating one successful start or one short drive as permanent proof.


.jpg)
Comments 0
Questions, fixes, and real-world diagnostic notes from readers.
Be the first to share a diagnostic result or ask a follow-up question.