
Porsche 997.2 Water Pump Replacement: Choose the Access Route First

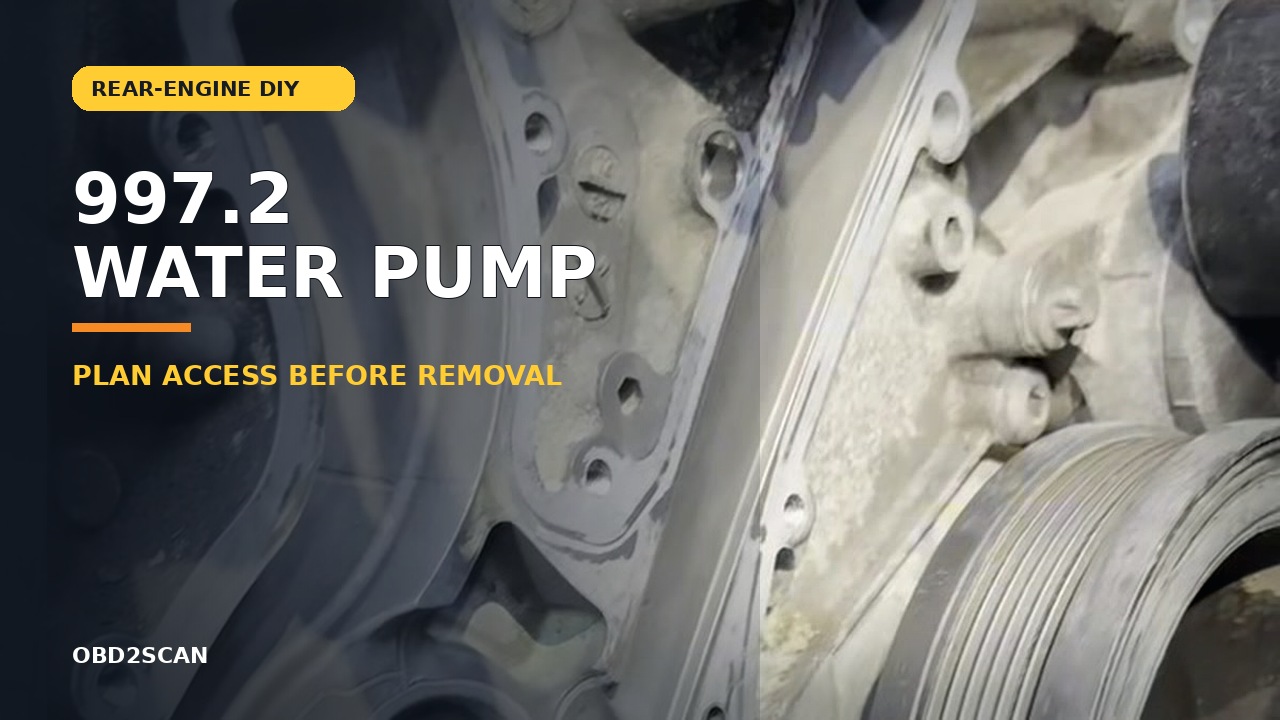
Additional water-pump noise on a Porsche 997.2 was localized with a stethoscope before preventative replacement. The pump itself was only part of the workload. Safe working space around the rear carrier, thermostat housing and exhaust determined the plan, with two viable access strategies carrying different restoration obligations.
Bottom line: the project was completed, refilled and road-tested, but it is not a universal argument for preventative replacement. Its transferable lesson is to choose an access route before disassembly, support the engine exactly as current Porsche information requires, and budget for seized exhaust hardware and hose/line clearance.
Updated August 27, 2026.
In this project
Why a quiet noise started a large project
There was no active coolant leak. Extra mechanical noise was compared at the pump with a stethoscope before preventative replacement. That is a different evidence level from an actively leaking pump or a bearing with obvious play.
An accessory-drive noise can travel through the engine. Before ordering a pump, compare the water pump, idlers, tensioner, alternator and other driven components using an approved listening method, inspect the belt path and check for coolant evidence. Never place a probe, clothing or hands near a moving belt. When isolation requires running inspection, keep it within a trained technician’s safe procedure.
Project at a glance
| Item | Recorded project detail |
|---|---|
| Platform | Porsche 997.2 / 911 generation-two cooling-system project |
| Original trigger | Additional pump noise localized with a stethoscope; preventative replacement |
| Preliminary access | Rear bumper/heat shields and center exhaust work, depending on vehicle configuration |
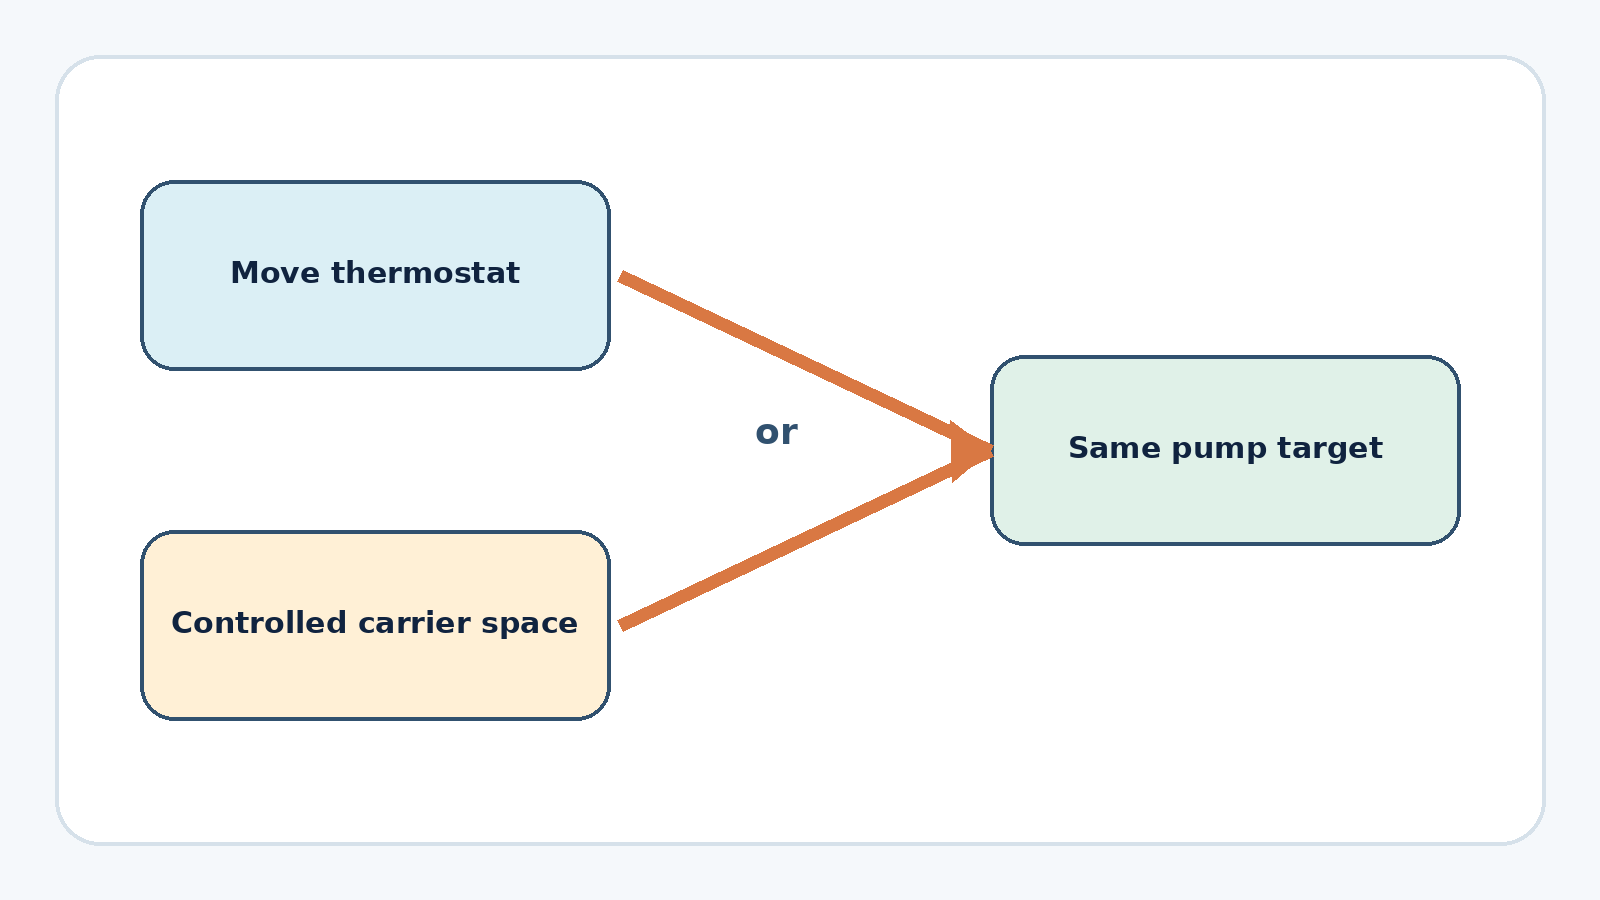
| Two routes | Move the thermostat housing, or create controlled additional carrier clearance |
| Independent follow-up | A 2009 C2S at 169,000 miles documented chirp, tool access and seized exhaust hardware |
| Result | Pump installed; coolant restored; warm operation and test drive recorded |
Rear access was most of the job
Rear exterior and heat-shield pieces may need removal before pump access, while exhaust layout changes the available space. A sport exhaust and a standard exhaust therefore cannot share one universal removal list.
The belt was loosened or removed, coolant was drained and the engine/rear carrier relationship was managed for clearance. Compact ratchets, short external-Torx sockets, extensions and an articulated connector mattered because several pump fasteners could only be approached through or around the carrier. A tool that fits the visible bolt but cannot support controlled tightening on reassembly is not adequate access.
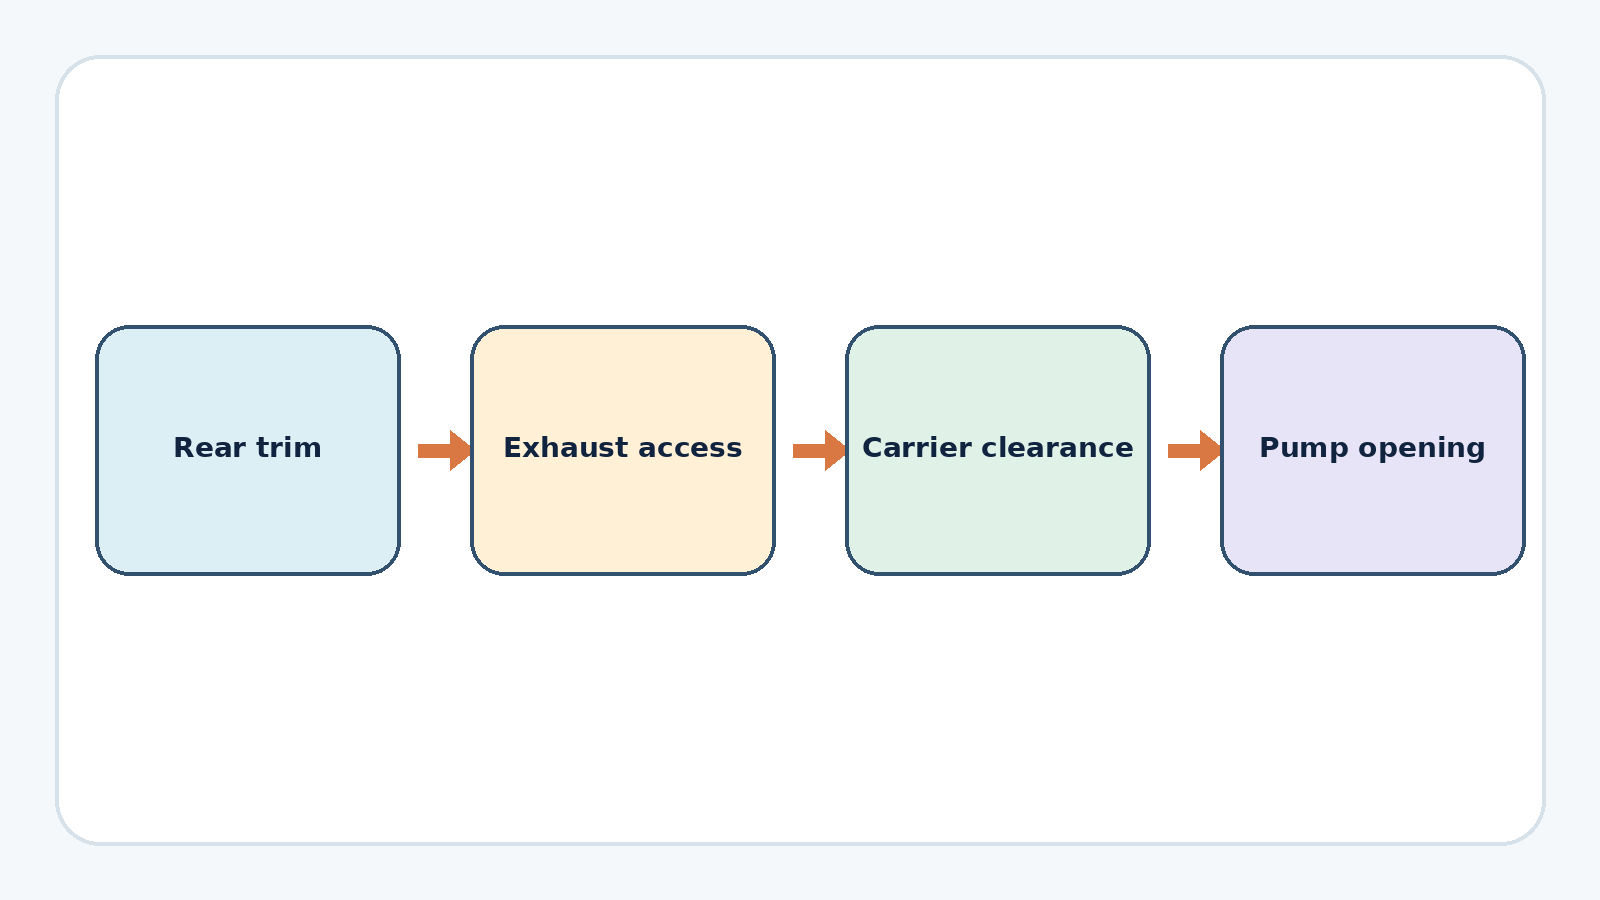
Route one: move the thermostat housing
One route removes and replaces the thermostat while the cooling system is open, moving the housing to create more room around the pump. A second route keeps the thermostat housing in place and creates controlled clearance at the rear carrier.
This route makes sense only when thermostat work is independently justified or when the approved procedure calls for it. It adds seals, fasteners, coolant joints and another component that must pass the final leak check. ‘While you are in there’ is not free: every opened joint creates a new restoration obligation.
Route two: create controlled carrier clearance
The alternative kept the thermostat in place and created more space at the rear carrier. The supported engine was lowered only until hoses and a corrugated line began to take load; further movement stopped at that boundary. Pulling the loosened carrier then provided enough access for the pump tools.
That observation is a warning, not an instruction to copy dimensions. Engine support points, allowable movement, mount loading, line clearance and carrier alignment must come from current Porsche repair information. The long carrier fastener must also be aligned correctly during installation to avoid cross-threading.
Stop if support is improvised, the vehicle rises or shifts unexpectedly, a hose or hard line begins to carry engine movement, the carrier will not realign by hand, or a fastener starts at an angle. Do not use an improvised jack-and-board arrangement as a substitute for an approved support plan.
Access and corrosion set the real time cost
At 169,000 miles, the workload expanded beyond pump removal: exhaust fasteners broke, muffler hardware resisted removal, additional gaskets and bolts were needed, and short E-Torx sockets became critical. A deliberate repair took three days; roughly eight hours was only a personal estimate for a prepared, assisted job.
Those numbers are personal estimates, not labor times. The stronger planning rule is to inspect exhaust hardware before the car is disabled, have a non-destructive plan for corrosion, and leave schedule room for replacement hardware. Heating seized hardware with an open flame, as one anecdote described, is not an acceptable takeaway around a vehicle with fuel, oil, insulation and confined spaces.
Refill and verification close the project
After the pump and access components were restored, the cooling system was vacuum-filled, brought to operating temperature and test-driven. The level was checked again when cold. Coolant draining and filling remained a separate controlled procedure rather than a final splash of fluid.
A complete verification checks every disturbed coolant joint, the belt path, carrier and mount hardware, exhaust joints, underbody panels and stored faults. Monitor temperature and cabin heat during the approved warm-up, then cool fully and recheck level and dry surfaces. A quiet first idle does not prove that an air pocket, slow seep or misaligned belt will not appear on the next heat cycle.
Who should take this on?
- An experienced DIYer with correct engine support, exhaust-access tools, short E-Torx tooling and current 997.2 repair information can use this sequence as a scope map.
- A first-time cooling-system repair should not begin with uncertain engine support or corroded exhaust removal.
- Choose the thermostat or carrier route from vehicle configuration and the approved procedure—not from whichever route looks easier in isolation.
- Budget time for incidental hardware and verify every system opened to gain access.
- Do not convert one preventative repair decision into a mileage-based replacement rule.
If the first symptom is chirp or squeal, use the belt-drive condition map before condemning the pump. If coolant is visible, begin with water-pump-area leak diagnosis. The project earns its value by showing how access strategy, not the shiny new part, determined whether the job remained controlled.


Comments 0
Questions, fixes, and real-world diagnostic notes from readers.
Be the first to share a diagnostic result or ask a follow-up question.