
Steering Wheel Shakes at Highway Speed? Use the Driving Condition to Find the Source

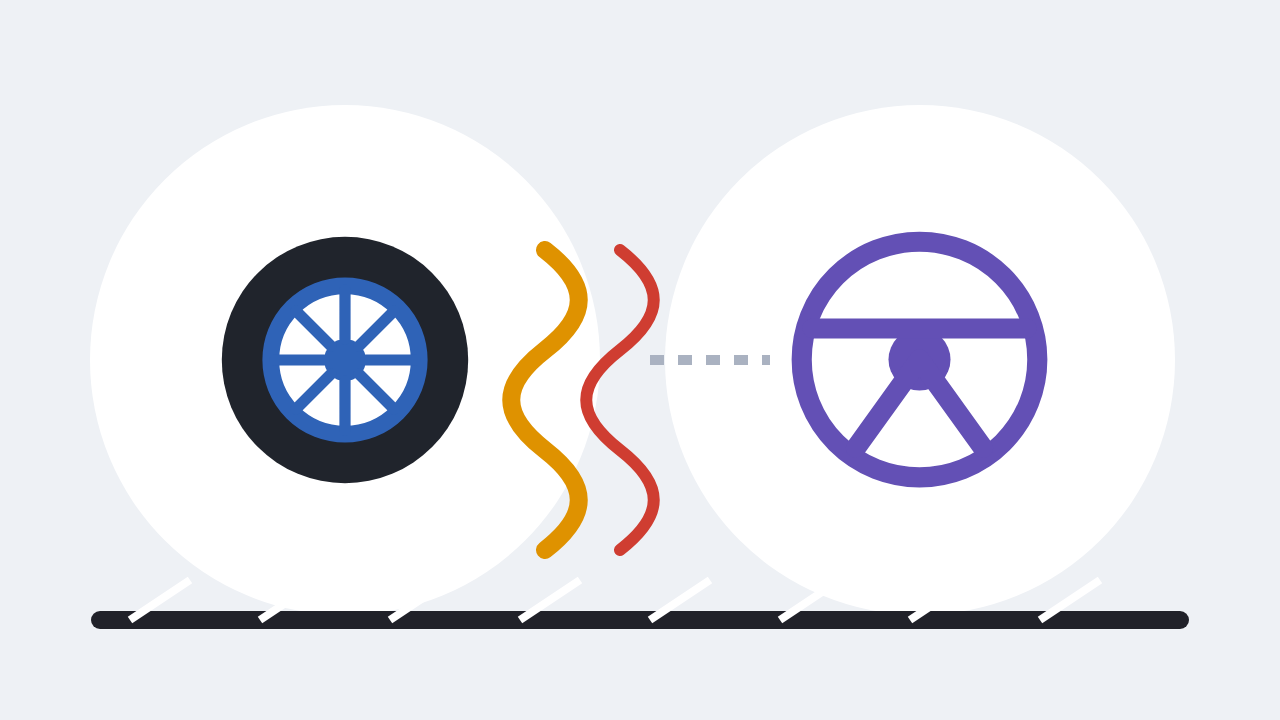
A steering wheel that shakes mainly in a repeatable highway-speed band often places the front tire/wheel assemblies high on the test list, but “needs an alignment” is not a diagnosis. First record where the vibration is felt and how it changes with tire warm-up, road surface, light braking, acceleration, steady cruise, and coast. Inspect visible tire or wheel damage before another high-speed test; a bulge, exposed cord, rapid pressure loss, loose wheel, severe pull, or new impact damage is a stop-driving condition.
What to do first
- On level ground with cold tires, compare all pressures with the door-jamb placard and inspect for bulges, cuts, exposed material, bent flanges, missing weights, packed mud/ice, and incomplete bead seating.
- Record the narrowest repeatable speed range, road surface, cold-versus-warm behavior, steering-wheel versus seat/floor location, and whether light brake application or power/coast changes it.
- Note recent tire replacement, rotation, puncture repair, wheel removal, pothole/curb impact, long parking, or wheel-bearing/brake/suspension work.
- Do not hold the car at an unsafe speed, remove your hands from the wheel, or diagnose while filming. Use a trained driver, legal road, and service-information procedure.
In this guide
1. Screen for damage before another road test
Park safely and let the tire pressures become cold if possible. Use the placard pressure rather than the maximum number molded on the tire sidewall. Walk around all four assemblies and look for:
- sidewall bulges, cuts, exposed cord, separated tread, objects, or rapid pressure loss;
- bent rim flanges, cracks, corrosion, or incomplete bead seating;
- missing or obviously displaced balance weights;
- mud, snow, or ice packed inside a wheel;
- irregular wear, a newly installed mismatched tire, or directional/asymmetric tire installed incorrectly;
- signs that a wheel is not seated squarely at the hub.
Stop-driving evidence
Do not continue a highway test with structural tire damage, a loose or cracked wheel, rapid pressure loss, strong pull, grinding, wheel-contact noise, or a shake severe enough to affect control. Wheel fastener inspection and torque must follow the exact vehicle and wheel procedure.
2. Turn the driving condition into data
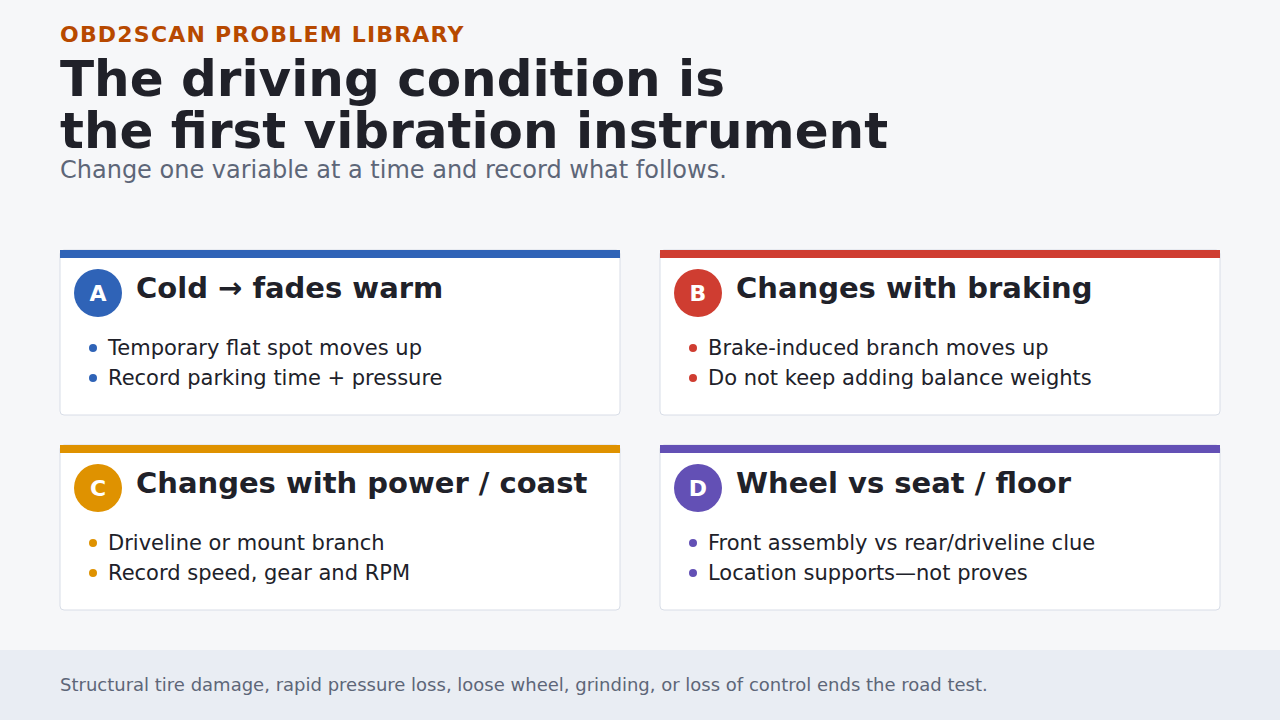
Cold, then better after several miles
A tire parked long enough can develop a temporary flat spot. GM and Subaru service information both recognize warm-up behavior as useful evidence. If the vibration fades as the tires warm and remains gone, document the parking duration, temperature, pressure, tire construction, and recurrence instead of immediately adding balance weights. A persistent warm vibration needs the next measurement.
Mostly in the steering wheel
Front tire/wheel disturbance moves higher on the list, especially when the steering wheel oscillates in a repeatable speed band on a smooth road. It is still not proof: steering linkage, hub/runout, brake, or other front-corner faults can transmit a similar sensation.
Mostly in the seat or floor, with a low pulsing boom
Rear tire/wheel or driveline evidence moves forward. GM’s vibration bulletin uses location, sound, and frequency/order to separate tire/wheel from propshaft-related disturbance. Frequency diagnosis belongs to trained technicians using the correct sensor placement and vehicle procedure; the owner contribution is an accurate description of where it is felt and when.
Changes with light brake application
If the steering pulsation increases with light braking, especially from highway speed, move toward the brake-induced pulsation procedure rather than repeatedly balancing tires. Do not perform repeated brake tests in traffic or continue if braking performance is impaired.
Changes with acceleration, steady cruise, or coast
A disturbance tied to torque rather than road speed can move engine mounts, axles, joints, propshaft, or driveline angles forward. Record the gear, engine RPM, vehicle speed, and whether the vibration follows one of those variables. Avoid full-throttle testing.
Appears on one road surface only
Road texture can excite a normal vehicle response or hide/reveal a tire disturbance. Confirm on a known smooth route before disassembling the car. A single rough road is not a repeatable diagnostic condition.
3. Separate balance from tire and wheel uniformity
Dynamic balance corrects uneven mass distribution. It does not prove that a wheel is round, a tire has uniform stiffness, the bead is seated evenly, or the assembly was centered correctly on the hub and balancer. A machine can display a good mass-balance result while the loaded assembly still generates a repeating force.
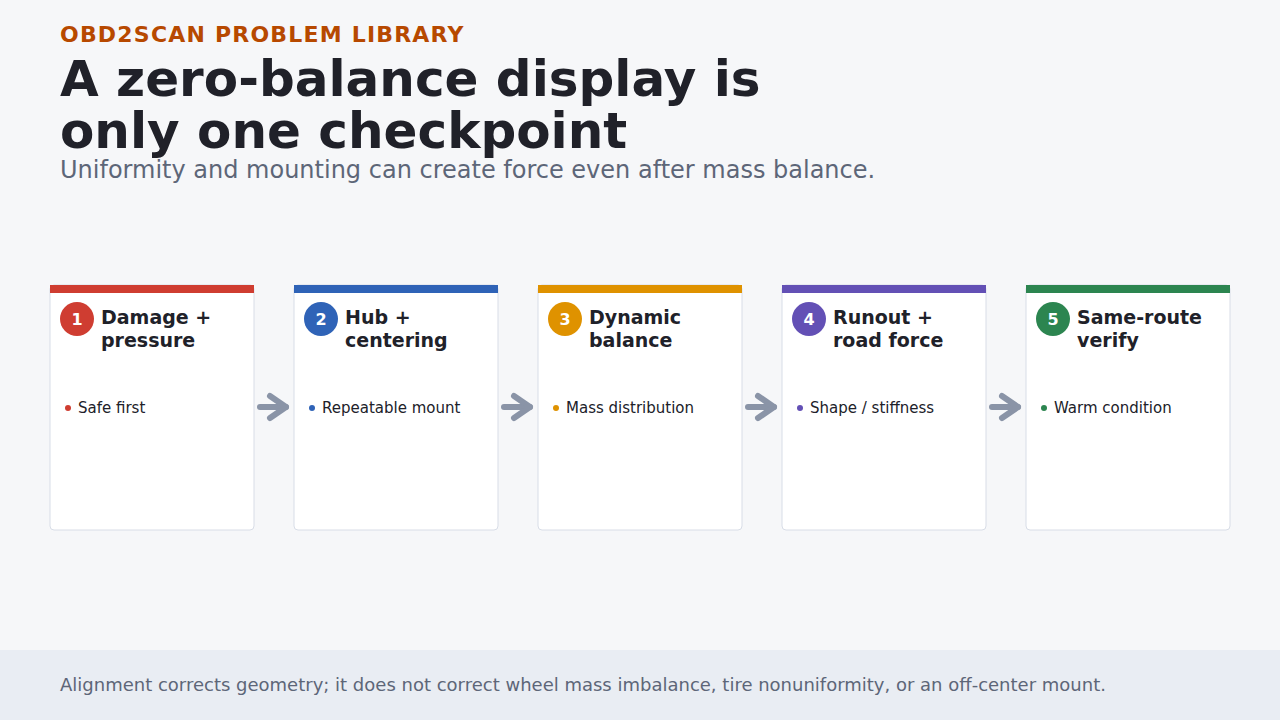
1. Center the assembly correctly
Clean the wheel/hub and balancer mounting surfaces, use the correct cone or collet and pilot location, and verify repeatable centering. GM warns against centering on a non-precision hub-cap bore. If mounting changes the reading, the first result was not a stable basis for adding weights.
2. Measure dynamic balance
Use a calibrated two-plane balancer and record the before/after values and weight locations for each wheel. Do not copy a universal allowable residual value; the machine, wheel, tire, and current OEM procedure control.
3. Check runout, bead seating, and radial force variation
Subaru defines radial force variation as the repeating change in load caused by tire roundness and stiffness variation. A load-roller system can identify conditions that ordinary free-spin balance may miss, including tire uniformity, rim runout, bead seating, and pull. Measure before replacing, then use approved match-mounting or part-isolation procedures.
4. Use position changes as controlled evidence
When tire size, direction, wear, and service information permit, a controlled front/rear or known-good assembly substitution can show whether the symptom follows an assembly. Record every position and torque event. Random rotations without a before/after route create more variables than evidence.
For the service standard around pressure, centering, fasteners, balance, and post-service checks, see What a Complete Wheel and Tire Service Should Include.
4. Move beyond the tire branch only when evidence does
If all tire/wheel assemblies are correctly pressured, centered, balanced, uniform, and within the exact runout/RFV procedure, continue by condition:
- Brake-sensitive: measure brake-rotor/hub runout and thickness variation using the brake procedure.
- Torque-sensitive: inspect axles, joints, propshaft, mounts, and driveline angles with frequency/order evidence where required.
- Constant with looseness or impact history: inspect wheel bearings, hubs, steering and suspension joints, and alignment geometry. Alignment corrects geometry; it does not remove wheel mass imbalance.
- Appeared after wheel/tire modification: confirm fitment, hub centering, tire specification, wheel runout, fastener seat, and vehicle compatibility before compensating elsewhere.
A suspension clunk is a different symptom path; use the condition-based suspension noise map when noise over impacts, rather than a speed-locked smooth-road shake, is the primary complaint.
5. Verify on the same route and condition
Useful shop handoff
- exact speed band and known road surface;
- cold-start versus fully warmed tires;
- steering wheel, seat, floor, or body location;
- effect of light braking, acceleration, steady cruise, and coast;
- pressures, tire IDs/positions, recent impacts and service;
- before/after balance, centering, runout, and road-force records.
Return to the same safe route, legal speed band, tire temperature, pressure, and load. Confirm the original vibration is reduced to the vehicle’s normal baseline without creating a pull, brake pulsation, warning light, or new noise. Recheck wheel fasteners according to the wheel/vehicle procedure and retain the assembly-position and machine reports.
Official references
The useful outcome
You should finish with a reproducible driving condition and a measured assembly or non-tire branch—not an alignment, balance, or parts replacement ordered from the word “shake.”


Comments 0
Questions, fixes, and real-world diagnostic notes from readers.
Be the first to share a diagnostic result or ask a follow-up question.