
What a Complete Wheel and Tire Service Should Include

A complete wheel and tire service is more than putting rubber on a rim. The job begins by confirming the exact tire and wheel, continues through condition checks and correct mounting, and ends with vehicle-specific pressure, fastener torque, TPMS status, and a documented final check.
What to do first
- Before work starts, confirm the size, service description, direction/asymmetry, condition, and intended axle position of every tire and wheel.
- Balancing corrects rotating mass distribution; alignment adjusts wheel angles; neither automatically fixes a bent wheel, out-of-round tire, loose joint, or installation error.
- At handoff, verify placard pressure, valve/TPMS status, fastener torque to the exact vehicle procedure, warning lamps, and what the shop observed or measured.
In this guide
1. Confirm the parts and service scope before authorization
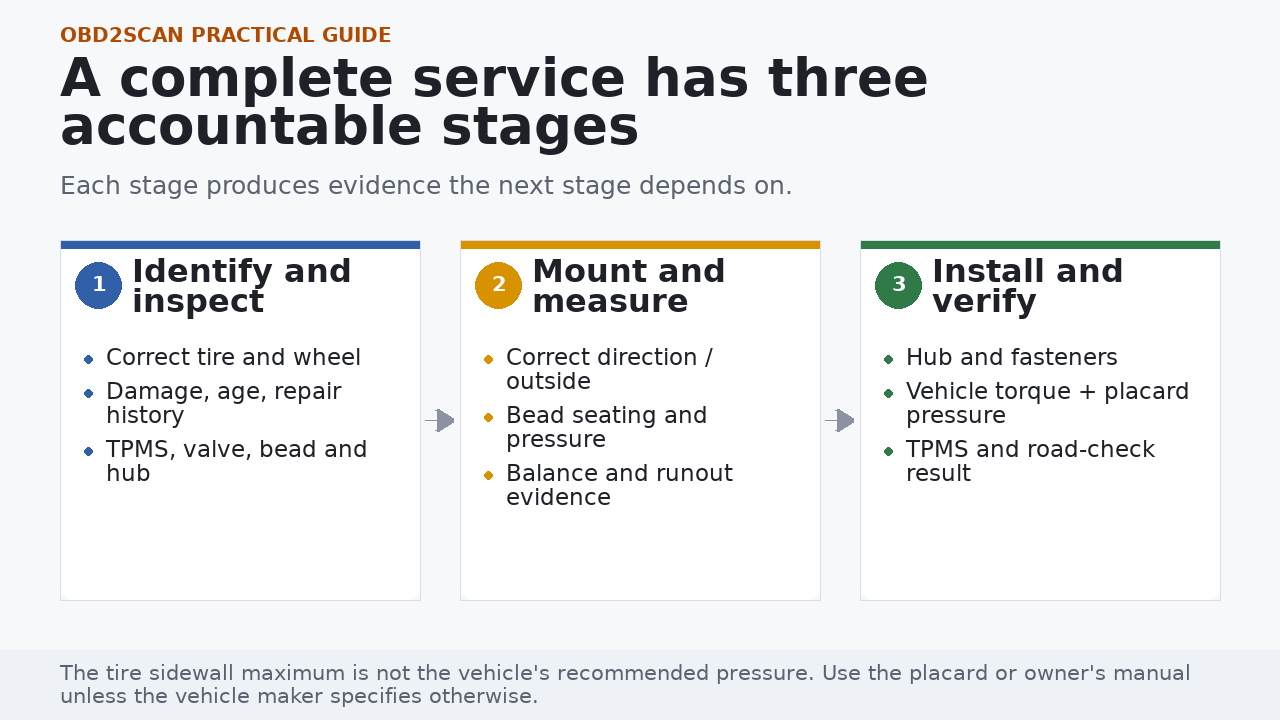
- Match the tire size to the vehicle label and approved fitment; verify load index, speed rating, run-flat or special construction, and any front/rear size difference.
- For directional tires, confirm the rotation arrow. For asymmetrical tires, confirm the side marked outside. These markings solve different installation questions.
- Inspect tread, sidewall, bead, prior repairs, and production-date code. Age alone is not a universal discard verdict, but damage, recall status, maker guidance, climate, storage, and service history all matter.
- Agree whether the scope includes new valves or TPMS service parts, puncture repair, wheel repair, balancing, rotation, alignment measurement, or diagnosis of an existing vibration.
Do not authorize a hidden substitution
If the proposed size, load capability, construction, or mixing pattern differs from the vehicle or tire maker’s guidance, obtain a documented compatibility explanation before installation.
2. Inspect, mount, and balance as one controlled process
With the assembly removed, the shop can inspect both beads, the inner liner, wheel flange, valve area, mounting surface, and TPMS sensor. A puncture may appear small outside yet be unrepairable because of its location, internal damage, prior repair, or operation while underinflated; repairability follows the tire maker and industry procedure, not plug size alone.
Correct equipment, mounting lubricant, bead-seating method, inflation restraint, and pressure limits are technician controls. The customer-facing result is simpler: the bead is evenly seated, the tire direction is correct, the valve does not leak, the wheel is not visibly damaged, and the assembly reaches balance without concealing excessive runout or deformation.
Explosive seating is not a routine method
Do not use flammable vapors, improvised blasts, or uncontrolled overinflation to seat a bead. A difficult bead fit or damaged assembly needs the correct equipment and product procedure.
3. Separate balance, alignment, and runout questions
| Complaint or finding | Most useful next evidence | What it does not prove |
|---|---|---|
| Speed-related steering or seat vibration | Balance result, wheel/tire runout, centering, hub condition and road test | It does not automatically prove alignment is wrong. |
| Vehicle pulls or steering wheel is off-center | Tire pressure/conicity checks, suspension inspection and alignment measurement | An alignment number does not rule out a tire pull. |
| Uneven tread wear | Pressure history, measurements across tread, rotation history, joint condition and alignment | The visible pattern alone does not name one failed component. |
| Balance requires unusual correction or vibration remains | Confirm mounting, cleanliness, runout, wheel damage and tire uniformity | Adding more weight may not correct an out-of-round assembly. |
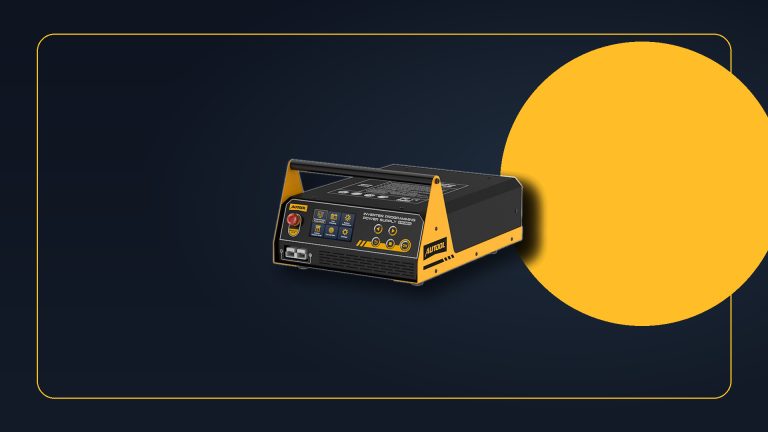
Once tire condition, balance, runout, and brake drag have been controlled, the AUTOOL XC508 3D wheel alignment system can measure toe, camber, and related alignment angles so the remaining pull or wear pattern is verified rather than guessed.
NHTSA recommends proper inflation and attention to balance, rotation, alignment, damage, and tread. The service decision still depends on the exact complaint and measurements; asking for those measurements is more useful than ordering all four services together.
4. Verify installation and the final handoff
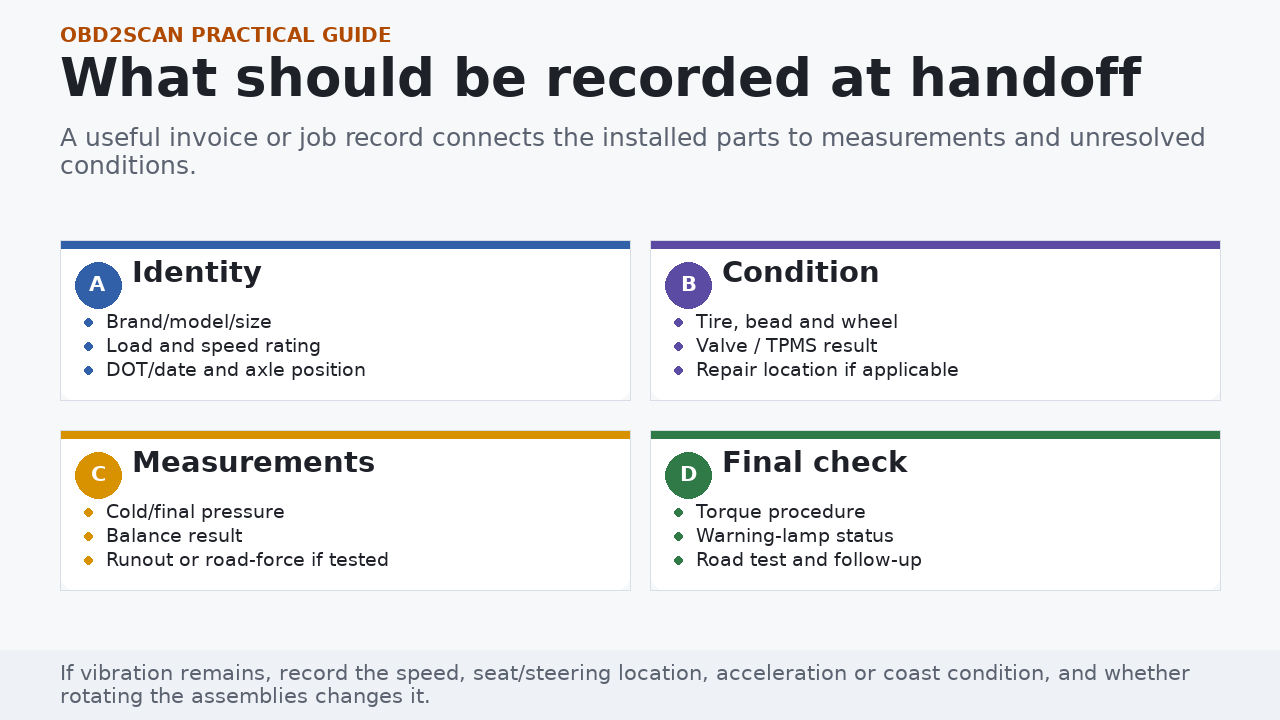
- Confirm each wheel sits against a clean, undamaged mounting surface and that compatible fasteners were used.
- Fasten and torque in the sequence, stages, condition, and value specified for the vehicle and wheel. Impact-tool sound is not a torque measurement.
- Set pressure from the vehicle placard or approved loading instruction, reinstall caps, and confirm leaks are absent.
- Complete any required TPMS service or relearn and confirm the warning-lamp state; a relearn does not repair a leaking tire or failed sensor.
- Perform the authorized road check, then record any remaining pull, vibration, noise, damage, or follow-up torque instruction from the vehicle/wheel maker.
A good handoff is specific
The invoice should identify what was installed, what was measured, what was repaired, and what remains unresolved. That record protects the customer and gives the next technician a useful baseline.
Official references
Use these sources for the principles in this guide, then use the owner’s manual and current service information for your exact vehicle.
- NHTSA TireWise: Tire Safety Ratings and Awareness (nhtsa.gov)
- NHTSA: Summer Driving and Road Trip Tips (nhtsa.gov)
The useful outcome
You can now evaluate a wheel and tire service by traceable deliverables: correct parts, documented condition, appropriate measurements, correct vehicle installation, and a final verification. That is more meaningful than judging the work by whether the wheel looks clean when returned.





Comments 0
Questions, fixes, and real-world diagnostic notes from readers.
Be the first to share a diagnostic result or ask a follow-up question.