
2015 Mercedes C180 Coolant Loss: Thermostat-Housing Leak Repair Case

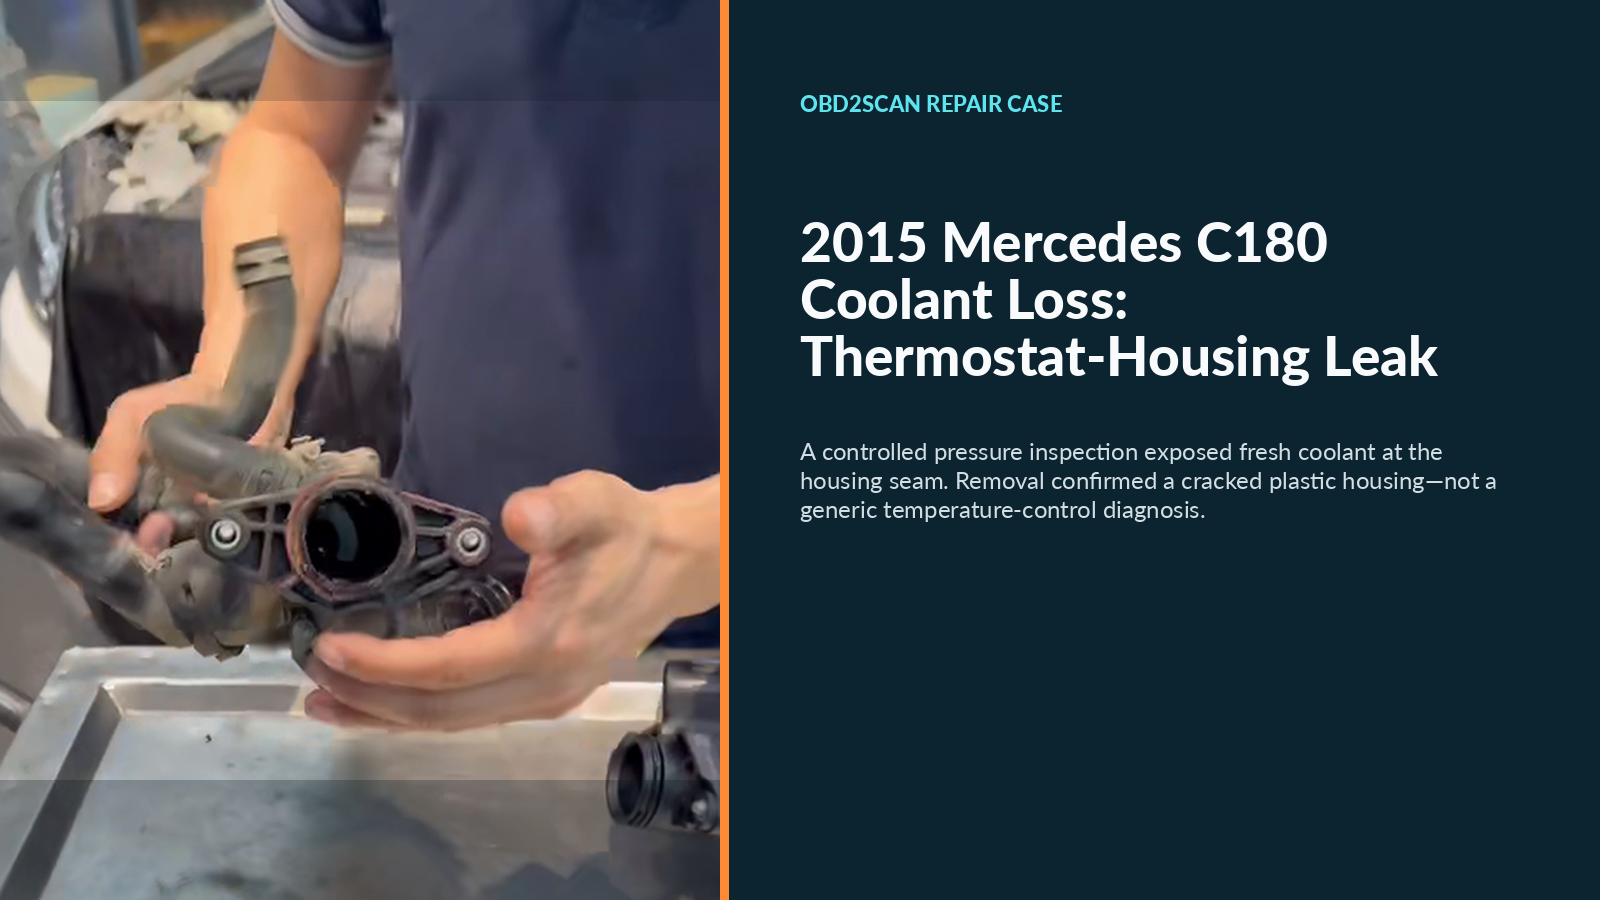
A 2015 Mercedes C180 (W205, M274) came in with repeated low-coolant messages, coolant marks under the parked car and a hot-coolant odor from the engine bay. During a controlled cooling-system pressure inspection, fresh purple coolant appeared at the thermostat-housing seam; removal confirmed a cracked, leaking plastic housing while the thermostat element was still able to move. The thermostat assembly was replaced, the system was refilled and bled, and a 30-minute idle-and-road check ended with normal temperature behavior and no renewed leak at the housing.
Case at a glance
| Item | Case detail |
|---|---|
| Vehicle | 2015 Mercedes-Benz C180, W205 chassis, M274 engine |
| Mileage | Not reported in the source case |
| Driver complaint | Repeated coolant top-up message, marks under the parked car and coolant odor |
| Confirming test | Fresh coolant appeared at the thermostat-housing seam during a controlled pressure inspection |
| Confirmed fault | Plastic thermostat housing cracked and leaking externally |
| Important distinction | The wax thermostat element still moved; the confirmed failure was the housing seal integrity |
| Repair | Thermostat assembly replaced and mating surface cleaned |
| Result reported in the case | 30-minute idle-and-road check with normal temperature behavior and no renewed housing leak |
From three symptoms to one testable location
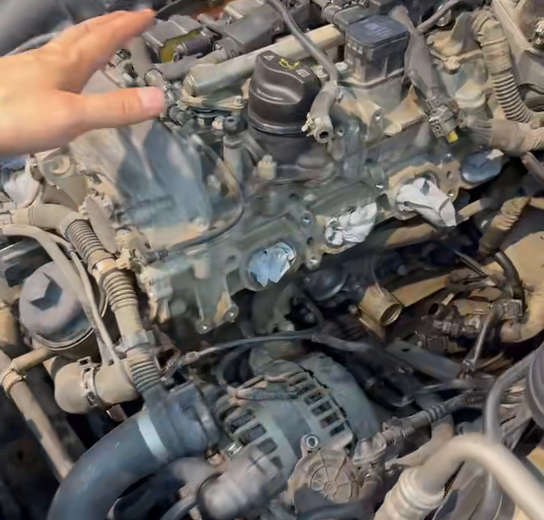
The low-coolant message established that the system needed inspection, while the parking mark and odor suggested an external leak. None of those symptoms named the thermostat. With the system cold, the workshop inspected the higher hose and housing connections before cleaning away the existing residue.
The thermostat area became the focus when fresh coolant emerged directly at the housing seam during the controlled test. That visible wet point—not age or a model reputation—supported removal.
What removal showed
Once removed, the plastic housing showed the joint and crack area responsible for the external leak. The source description also says the internal wax element could still move. In other words, this was a sealing failure in an assembly that contains the thermostat, not proof that temperature regulation had caused the original complaint.
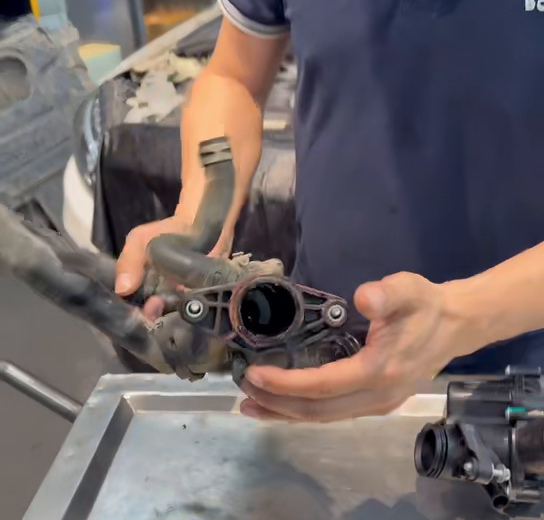
This distinction improves the repair record. “Thermostat failure” is too broad when the confirmed evidence was coolant escaping through the housing. A different C180 could have a regulation fault without any external leak, and it would need a different diagnostic path.
What was replaced and restored
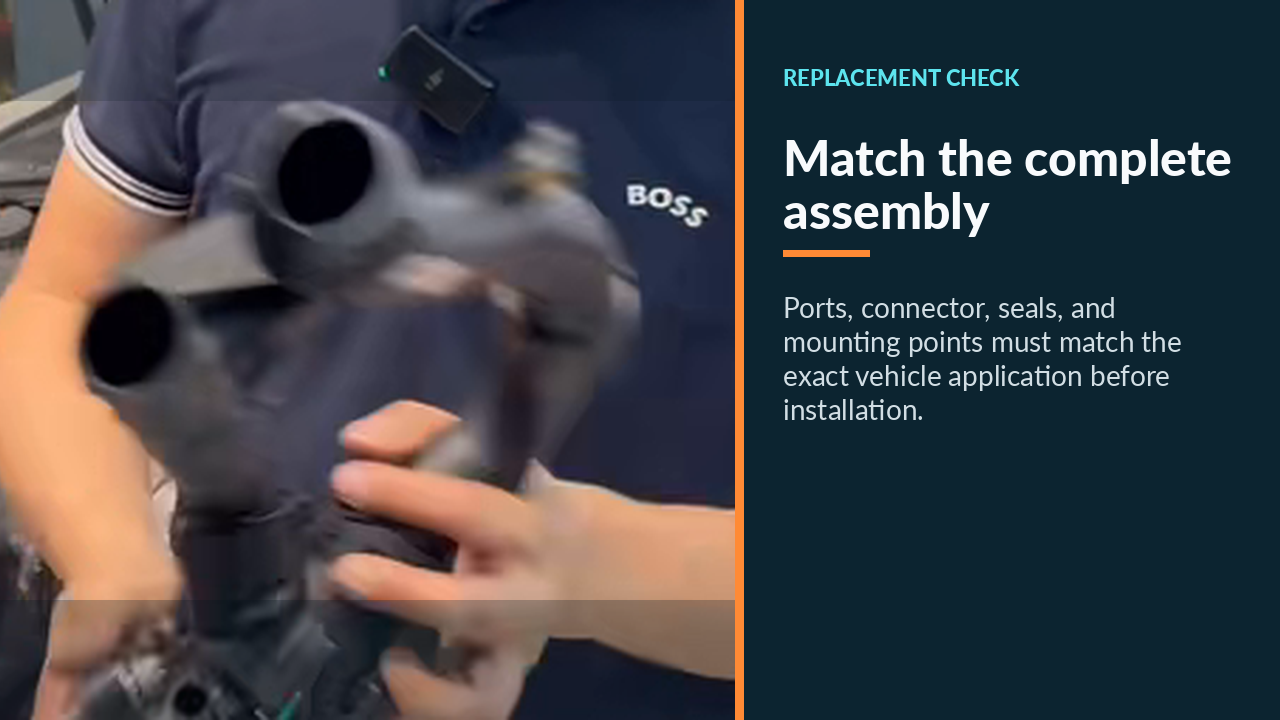
The workshop installed a thermostat assembly applicable to the vehicle, cleaned the engine-side mating surface and used new sealing components. Surrounding return and vacuum hoses were inspected while the area was open; they were not automatically added to the repair simply because of vehicle age.
The case repair can be summarized as:
- Preserve the low-coolant warning, parking evidence and odor complaint.
- Cool the system fully and trace fresh leakage to the housing seam.
- Remove the confirmed leaking assembly using current vehicle service information.
- Clean and inspect the mating surface without damaging it.
- Install the correct assembly and seals with the specified fastener procedure.
- Refill with the specified coolant and complete the applicable bleed routine.
- Recheck both sealing and temperature behavior.
The source case mentions a test pressure and coolant specification, but those values are not a transferable instruction. The current VIN-specific service procedure remains the controlling source for pressure limits, coolant, fasteners and bleed steps.
Refill and leak-screening role
After installation, the system was refilled and bled. Where the vehicle procedure permits vacuum testing and filling, an AUTOOL SC301 cooling-system tester and vacuum filler can support a vacuum-hold screen and vacuum-assisted refill with a compatible opening, adapter, 12 V supply and compressed air. It cannot perform the positive-pressure inspection used to reveal this leak, identify the housing or verify thermostat regulation.
How the repair was checked
The source case records a combined 30-minute idle-and-road check after filling and bleeding. The temperature moved through the expected operating range, the repaired housing remained dry and the original coolant-loss evidence did not return during that check.
A later cold-level check is still part of a complete handoff because a hot operating check alone cannot confirm the final settled level. If the warning, odor or fresh residue returns, inspect the full coolant path again instead of tightening the new housing blindly.
The transferable lesson
For a C180 with repeated coolant loss, use the warning, odor and parking mark to begin the search, then name the failed part only when fresh leakage identifies it. In this car the thermostat housing was the answer; the fact that its internal element still moved is precisely why the article should describe the confirmed housing leak instead of turning the case into a generic “bad thermostat” diagnosis.



Comments 0
Questions, fixes, and real-world diagnostic notes from readers.
Be the first to share a diagnostic result or ask a follow-up question.