
2026 Palisade Active Air Flap Warning After Rain? Inspect the Lower Connectors

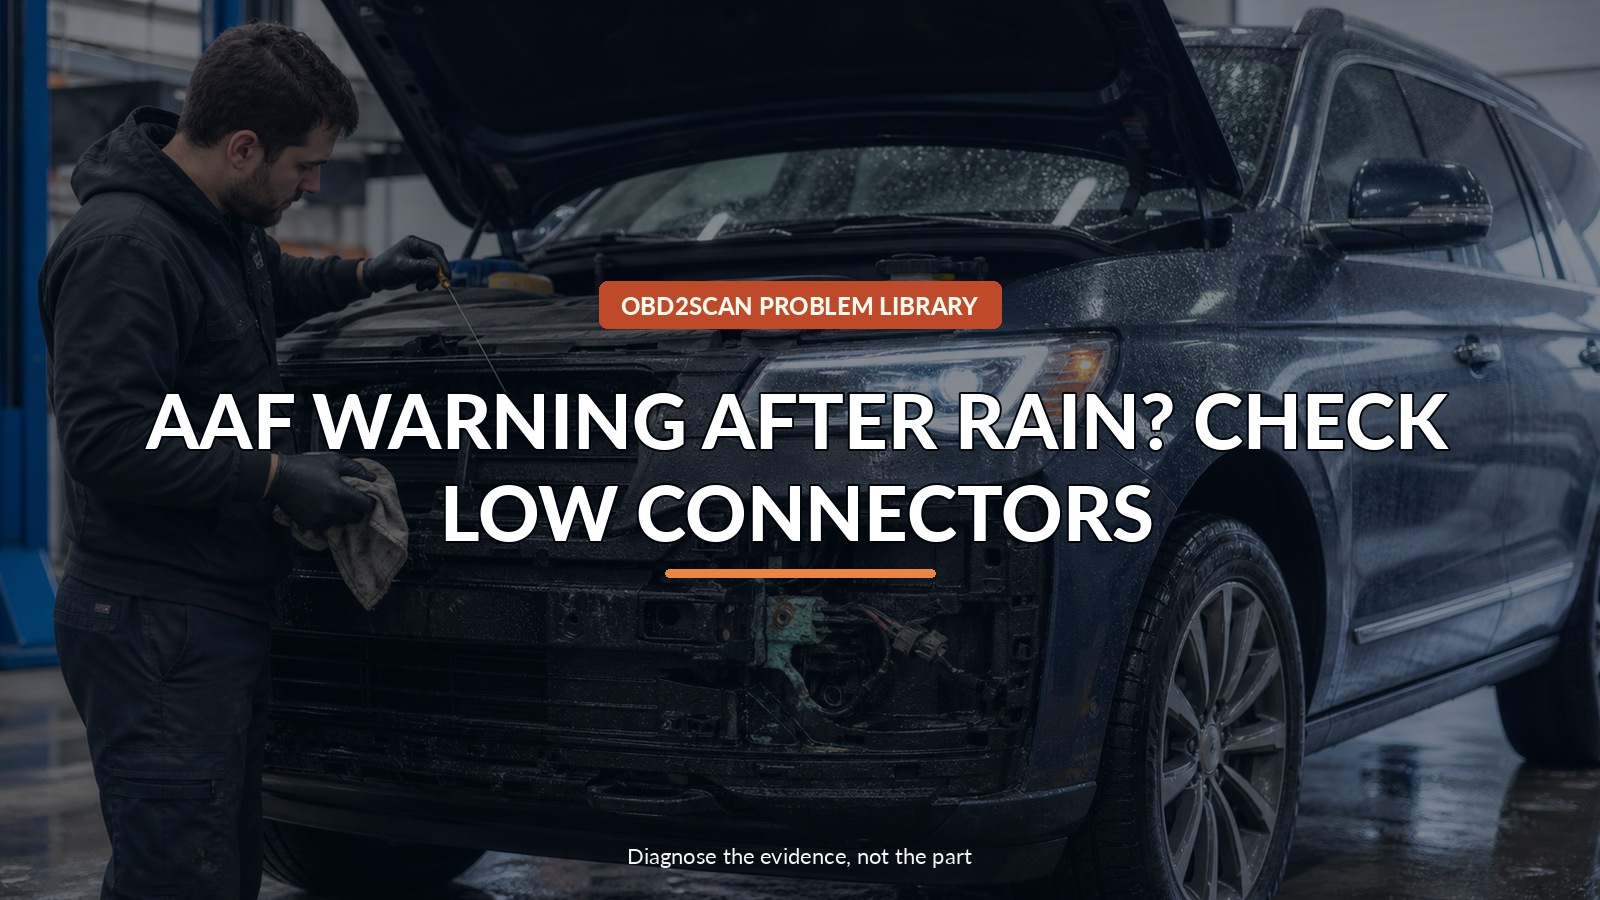
Aaf Warning After Rain? Check Low Connectors
If a low-oil warning appears, park level, shut down and check the oil by the owner’s procedure before assuming it is only electrical. Photograph the exact combination of AAF, MIL and oil messages and save all codes. Hyundai’s campaign traces the matched pattern to water ingress and corrosion at the lower front-bumper wiring, actuator and sensor connectors. The dealer inspection branches by left/right connector condition and replaces only the affected harness, actuator or sensors specified by the procedure.
Once the wet or dry connector branch is recorded, a circuit tester with meter and waveform functions can help check an identified actuator supply, ground or feedback line under the Hyundai diagram. An AUTOOL DM301 can support that later evidence step. DM301 can support voltage, resistance and waveform checks on an identified, safely accessible AAF low-voltage circuit after the wet-state photographs and Hyundai pinout are preserved; it cannot confirm engine oil quantity, make a corroded terminal reliable, command the actuators with GDS, choose campaign parts or prove a sealed connector will survive a water test.
Several warnings can make this look like several failures. Hyundai’s campaign instead asks the technician to begin at one low, weather-exposed connector path—while still treating a real oil-level problem as something that must be ruled out first.
Quick answer: Verify the real oil level, preserve the full warning/code cluster and let T9R’s left/right wet-connector map control AAF harness, actuator and sensor work.
In this guide
- Check the actual oil level before blaming electronics
- Photograph the warning cluster and weather history
- Save U028B00, U100800 and companion codes
- Confirm campaign T9R by VIN
- Map the lower bumper connector path
- Inspect left and right sides without erasing evidence
- Measure only after the visual branch
- Clear, command and water-check after repair
Check the actual oil level before blaming electronics
A low-engine-oil message deserves a physical check before any electrical theory. Park on level ground, shut the engine off and follow the owner’s manual wait and measurement procedure. If oil is below the safe range, pressure warning is red, the engine is noisy or a leak is visible, do not drive. Arrange service. If the actual level is normal, photograph that result and the dashboard message. The campaign can link an oil message with AAF wiring, but it does not make every low-oil indication false or authorize continued operation with uncertain lubrication.
Photograph the warning cluster and weather history
Photograph the Active Air Flap System warning, MIL and any oil message together. Note whether the event followed heavy rain, standing water, snow, a car wash, front bumper work or a minor impact. Record outside temperature and whether the warnings clear after drying or restart. Do not pressure-wash the grille to reproduce it. A timeline helps connect a front-bumper moisture path to intermittent operation, while damage or an unrelated oil condition may need a separate branch. Include grille movement or unusual fan sound only if observed safely while stationary.
Save U028B00, U100800 and companion codes
Save the complete GDS scan before clearing. Hyundai lists codes including U028B00 and U100800 but states the set is not limited to those codes. Record status, module, timestamp and companion faults. A communication code can be a result of connector power, ground, signal or network interruption; it does not prove the actuator has failed. Compare left and right AAF data only where the factory procedure directs it. If other modules report low voltage, address battery state as a separate cause before interpreting a large cluster of secondary codes.
Confirm campaign T9R by VIN
The current bulletin covers certain 2026 Palisade and Palisade Hybrid vehicles and is tied to Limited Coverage Campaign T9R. Have the dealer check the VIN in WebDCS and current service information. The gasoline and hybrid branches can use different parts or access details, so model name alone is insufficient. Confirm warranty start date and mileage. A public recall search may not show a limited coverage campaign. If the VIN is not included, use the symptom and wet-connector evidence to guide normal diagnosis without representing it as campaign work.
| Finding | Direction |
|---|---|
| Actual oil low or engine noisy | Stop and address lubrication first |
| T9R eligible + water/corrosion at lower connector | Follow the side-specific campaign replacement branch |
| Connectors dry but AAF codes remain | Continue GDS circuit, sensor and actuator diagnosis |
| Warnings return after repair | Recheck sealing, routing and full code set |
Map the lower bumper connector path
The physical path starts behind the front bumper at the lower AAF wiring connectors, actuators and position sensors. Review the removal procedure before disturbing the grille or bumper. Photograph each connector in place, then inspect for droplets, mineral tracking, green or white corrosion, damaged seals, bent or receded pins and harness chafing. Trace water from its highest entry point. Do not clean everything before the left-versus-right map is complete. The bulletin’s flow depends on which connector and side passes or fails.
Inspect left and right sides without erasing evidence
Inspect both actuator connectors and both sensor connectors as the procedure requires. If one side shows water or corrosion, follow the exact branch for the harness, actuator and sensor parts associated with that side. Do not assume a dry-looking right connector excuses its specified inspection or that one green pin means the bumper assembly must be replaced wholesale. Preserve failed parts and required digital photographs. When reinstalling, restore seals, clips, grille engagement and harness routing so vibration and splash cannot reopen the path.
Measure only after the visual branch
Only after visual evidence is saved should loaded circuit checks answer remaining questions. Use the Hyundai pinout and command the flap through GDS while monitoring supply, ground and feedback. Back-probe without piercing seals. A continuity beep with the component disconnected may miss resistance that appears under actuator current; a forced power feed can damage the driver or move the flap unexpectedly. Compare command, current and physical movement. If the connector and circuit pass, follow the sensor or actuator branch rather than continuing to disturb sound terminals.
Clear, command and water-check after repair
Clear DTCs at the specified point, command left and right flaps through their full range and confirm feedback agrees with movement. Inspect grille fit after bumper installation and repeat the approved water check if the procedure includes it. Rescan after an ignition cycle. Finally, verify the oil message stays off and the actual level remains correct. Give the owner a concise explanation connecting the warnings to the repaired wet connector without claiming that lubrication itself failed. A dry connector, complete flap sweep and clean scan are the useful endpoint.
The dashboard may show AAF, MIL and oil messages at once, but the person driving still needs one safe order: verify real oil level, preserve the warning and rain history, confirm T9R by VIN, then map the lower connectors before measuring or replacing anything. A meter helps after the wet-state evidence is secure. The repair earns confidence when both flaps complete their commanded sweep, the connectors stay dry and the actual oil level—not just the message—is normal.



Comments 0
Questions, fixes, and real-world diagnostic notes from readers.
Be the first to share a diagnostic result or ask a follow-up question.