
2015 Jeep Grand Cherokee Kept P1297 and P026C After EGR Work: A Cam-Sensor O-Ring Was Leaking

Egr Parts Replaced, Codes Still Return?
Quick answer: Carbon in the EGR assembly was visible, but it was not the whole diagnosis because both codes returned. The decisive finding was a torn cam-sensor O-ring that could disturb the vacuum system; replacing the seal survived the confirming drive. This article follows one documented vehicle. It explains the evidence chain, not a universal failure rate or a direction to replace the same part on every similar car. Stop whenever the test would involve overheated brakes, high current, moving parts, refrigerant handling or an uncontrolled road condition.
When a diesel vacuum path cannot be checked visually, a low-pressure smoke machine rated for the chosen test route can help expose an external sealing point; the FXTUL All-Vehicle Smoke-Machine Collection is a relevant collection to compare for that task. Smoke cannot prove EGR flow, injection quantity, turbo control or an internal vacuum-pump fault, and test pressure must follow the vehicle procedure.
New EGR hardware did not keep P1297 and P026C away. The failed parts replacement forced the diagnostic boundary outward, from the named components to every seal sharing their vacuum environment.
Quick answer: Carbon in the EGR assembly was visible, but it was not the whole diagnosis because both codes returned. The decisive finding was a torn cam-sensor O-ring that could disturb the vacuum system; replacing the seal survived the confirming drive.
In this guide
Preserve both returning codes together
The two stored codes described EGR response and lower-than-expected injection quantity, yet the driver reported no obvious performance change. Save the freeze-frame and operating conditions before clearing them. A code pair without a complaint can still reveal a shared air or vacuum problem, but it does not identify a part by itself. Preserve the original condition before changing it. The first observation is the control sample against which every later test must be compared.
Audit what the EGR replacement proved
The EGR valve and cooler were visibly carbon-filled and were replaced. Their condition justified service, but both codes returned quickly on the road test. That return is a strong diagnostic reset: the repaired parts may have been dirty, while the cause of the monitored failure remained elsewhere. Use service information for the exact engine, build date and options. A correct method on the wrong terminal can create a precise but useless result.
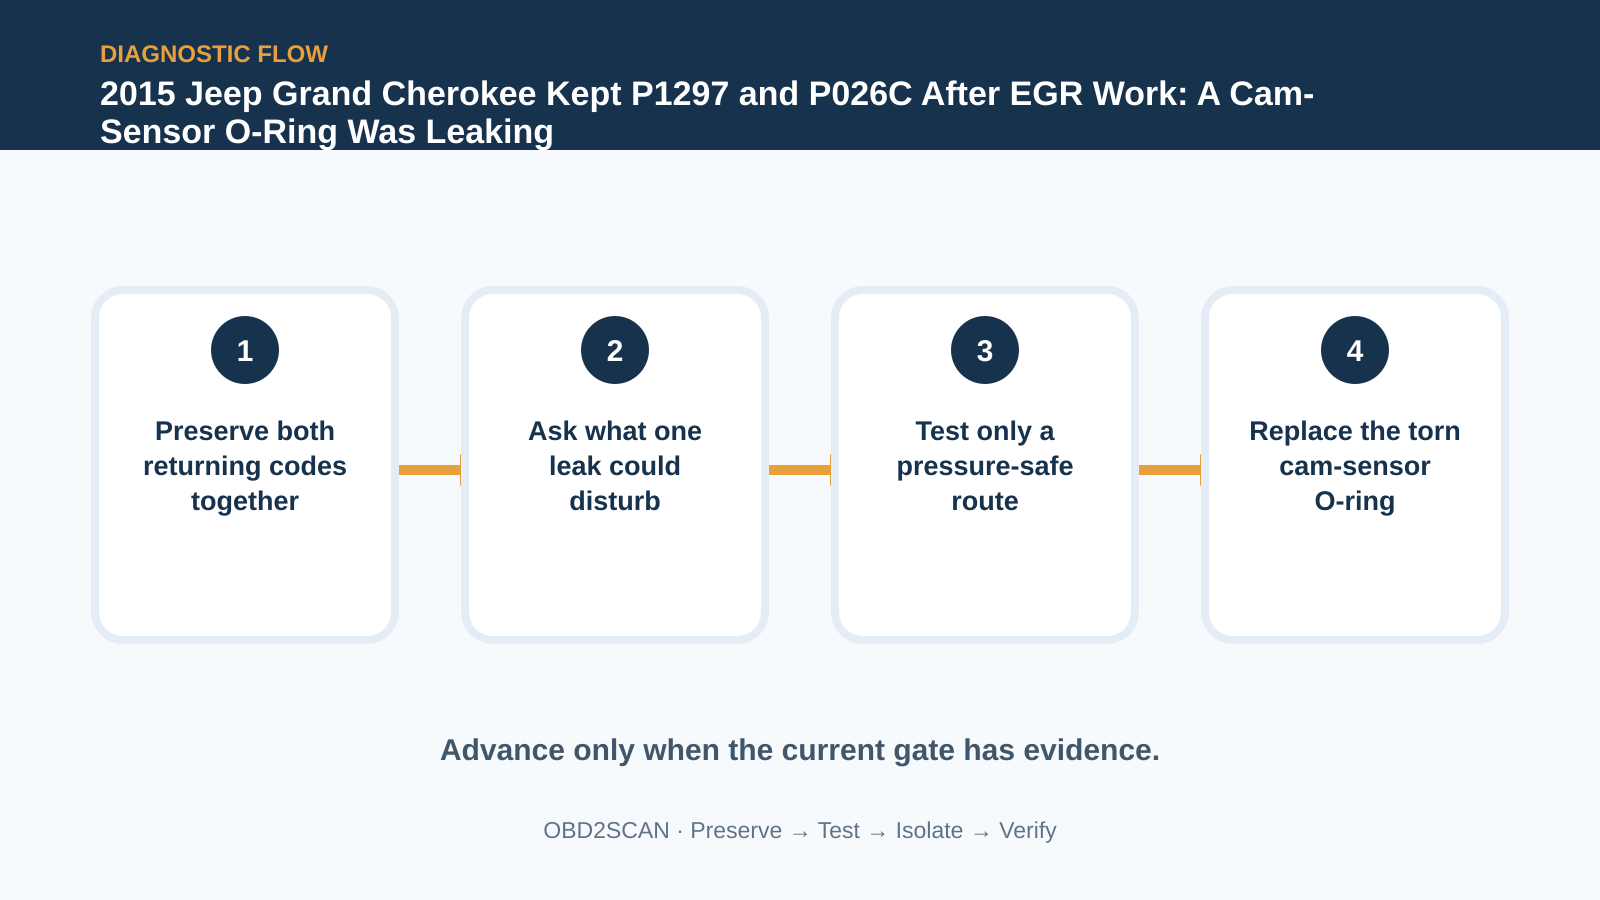
Ask what one leak could disturb
List the systems that depend on the diesel vacuum source and trace the actual hose and seal layout for this engine. Do not import a gasoline vacuum diagram or assume every actuator shares one route. Inspect recent work, brittle elbows, oil-softened hose and sensor seals before adding pressure. Treat prior work as evidence, not blame. A repair that made no change can narrow the case when its installation and test conditions are verified.
Map the diesel vacuum consumers
If smoke is used, isolate a route that the service information permits and regulate it well below any component limit. Look for smoke at interfaces rather than filling an assembled diesel system indiscriminately. Some leaks appear only with vacuum direction, heat or engine movement and may require a different test. At this stage, separate what was observed from what is inferred. The observation should remain true even if the current theory is later rejected.
| Observation | What it supports | What it does not prove |
|---|---|---|
| P1297 and P026C return | One shared condition may remain | Both named systems need parts |
| EGR parts were carbon-filled | They required attention | They caused the returning codes |
| Cam-sensor O-ring is torn | External sealing fault is visible | Every diesel vacuum path is cleared |
| Seal replacement passes long drive | The O-ring was causal here | The failure rate is established |
Test only a pressure-safe route
The decisive visual finding was a damaged O-ring at the camshaft-position sensor. Its small size is exactly why the earlier EGR work could dominate attention. Inspect the bore and sensor body as well as the ring; a cut replacement will repeat the fault even if the correct part is installed. This is the decision point in the documented case. Its value comes from changing one bounded condition while leaving the rest of the system intact.
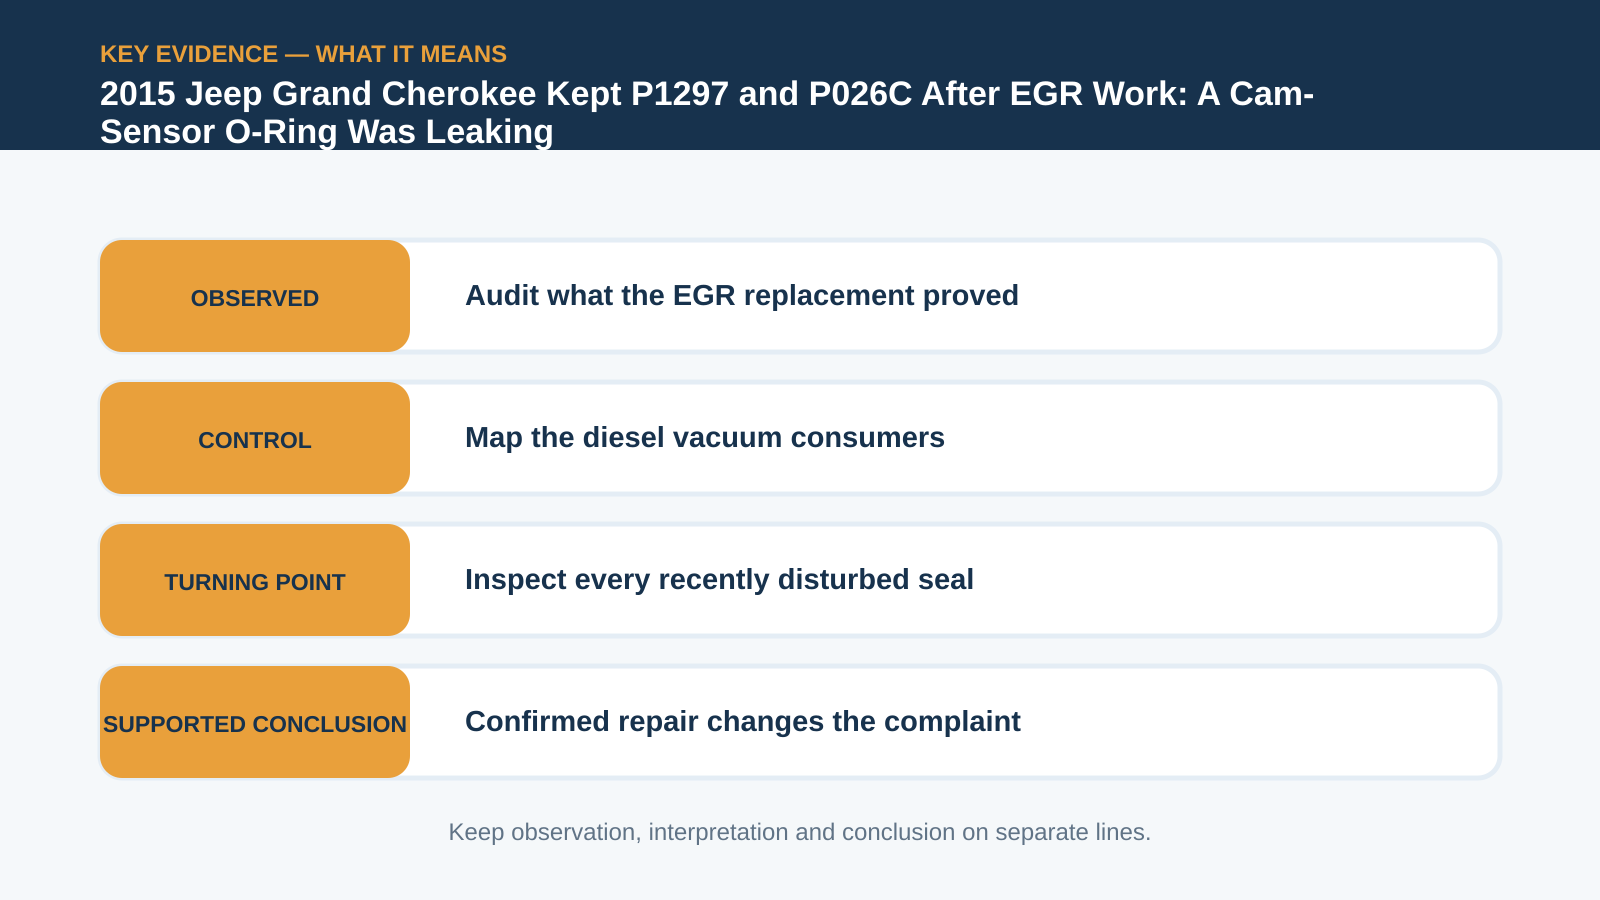
Inspect every recently disturbed seal
Lubricate and seat the new seal by the specified method, route nearby wiring correctly and torque the sensor fastener to specification. Do not use an oversized O-ring or excessive sealant to compensate for a damaged bore. Reassemble the vacuum path and clear only the codes supported by the completed work. A confirmed component still needs a repair that restores sealing, support, torque, routing or terminal fit—the physical conditions that keep the fault from returning.
Replace the torn cam-sensor O-ring
A long road test is more useful than a quick idle because the original monitoring logic needed operating conditions to judge EGR response and injection quantity. Watch pending as well as stored faults and confirm the driver has normal response under the load where the codes previously matured. Reassemble protective covers and retainers before declaring success. A diagnostic shortcut must not become the next failure mechanism.
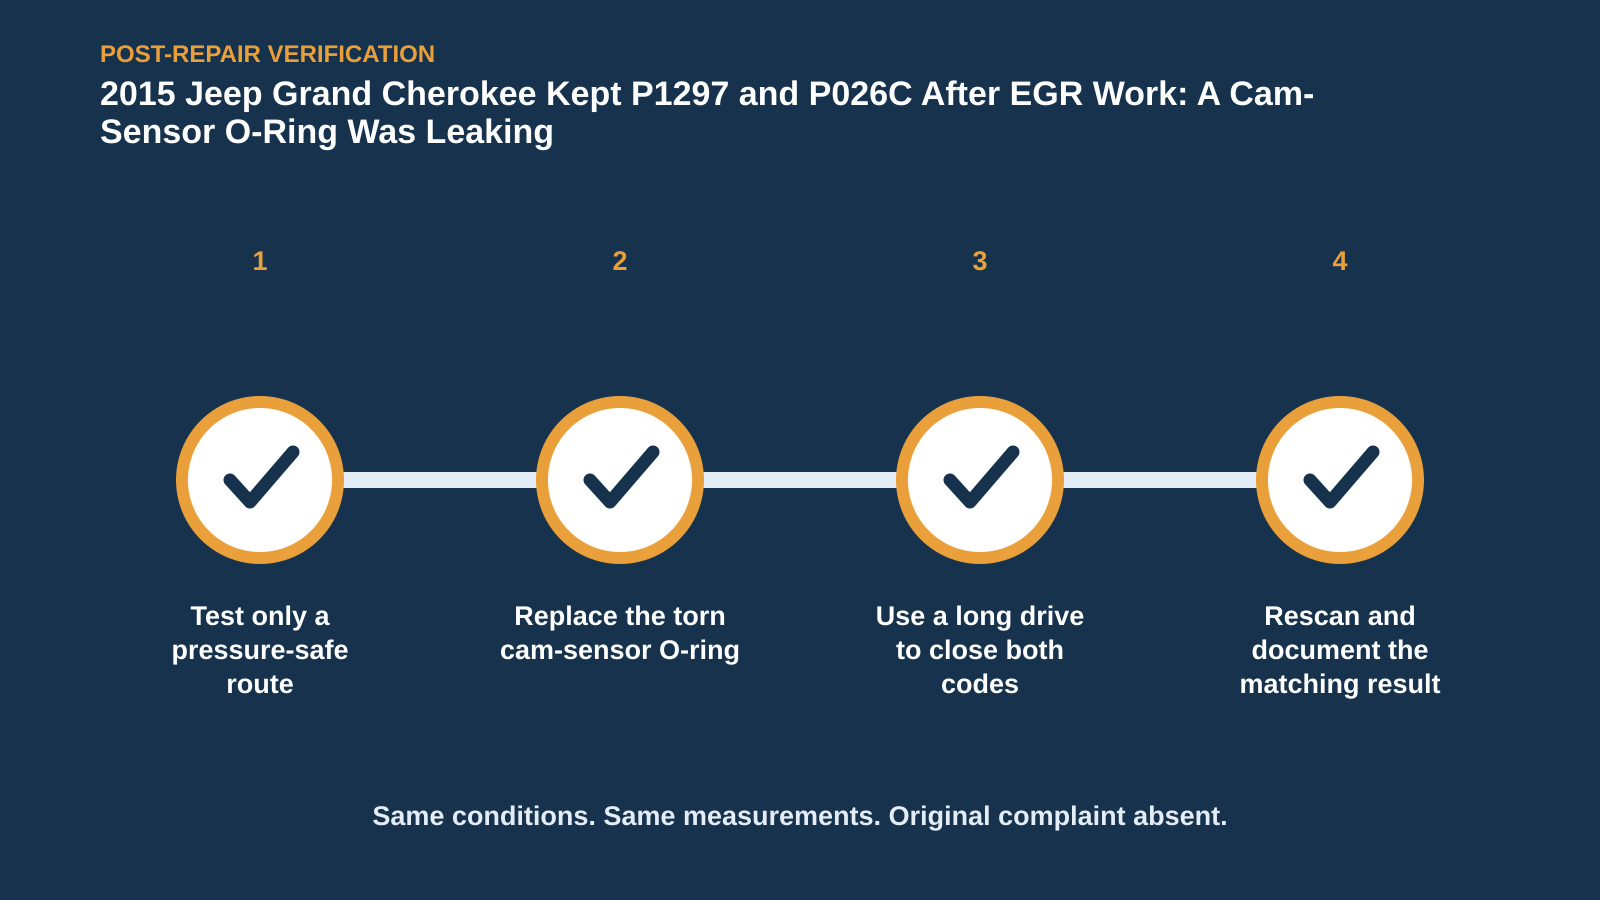
Use a long drive to close both codes
This one Grand Cherokee does not establish a common failure rate. It demonstrates how a failed expensive repair should change the process: widen the system boundary, search for one small shared leak, and require both original codes to remain absent before closing the invoice. Use the customer’s original complaint as the final specification. A cleared code, quiet bay or one good key cycle is not equivalent to reproducing and passing that condition.
If you are bringing a similar symptom to a shop, arrive with the useful conditions rather than a requested part: whether the vehicle was cold or hot, the exact speed or switch position, which warning lamps appeared, what changed after a restart, and a chronological list of earlier repairs. A short video can preserve an intermittent sound or lamp pattern, but record it only while parked or with a passenger handling the camera. Ask the technician to retain the pre-repair scan and measurements, explain the test that separated the failed path from the alternatives, and show how the original complaint was repeated afterward.
For the owner or service adviser, a useful repair explanation has three parts: what was observed, why the decisive test narrowed the fault, and which original condition passed after the repair. It should also say what the test did not prove. That boundary prevents a memorable case from becoming an automatic parts recommendation.
Carbon in the EGR assembly was visible, but it was not the whole diagnosis because both codes returned. The decisive finding was a torn cam-sensor O-ring that could disturb the vacuum system; replacing the seal survived the confirming drive. The reusable lesson is narrower and more valuable: Use the expensive parts already replaced as disconfirming evidence, then widen from component codes to the shared vacuum environment.








Comments 0
Questions, fixes, and real-world diagnostic notes from readers.
Be the first to share a diagnostic result or ask a follow-up question.