
2004 Ford Explorer Ran Rough Below 2,000 RPM: A Cracked Purge-Hose Elbow Drove Both Banks Lean

Both Banks Lean Only At Low Rpm?
<strong>Quick answer:</strong> The two lean codes did not condemn the MAF. A split purge-line fitting admitted unmetered air where its effect was strongest at low airflow; repairing the leak restored idle and normalized the confirming fuel-trim check. This article follows one documented vehicle. It explains the evidence chain, not a universal failure rate or a direction to replace the same part on every similar car. Stop whenever the test would involve overheated brakes, high current, moving parts, refrigerant handling or an uncontrolled road condition.
If visual inspection cannot expose the leak, a low-pressure smoke machine appropriate for intake work can make the escape path visible; MRCARTOOL T80 Automotive Smoke Leak Tester is one practical example when connected at the correct test point. It cannot prove every lean cause, replace fuel-pressure and exhaust-leak checks, or justify pressurizing the intake above the vehicle procedure’s limit.
P0171 and P0174 made a replacement mass-airflow sensor sound plausible, but the Explorer still ran badly below 2,000 rpm. Both-bank fuel trims and a small purge-hose fitting told a more coherent story.
Quick answer: The two lean codes did not condemn the MAF. A split purge-line fitting admitted unmetered air where its effect was strongest at low airflow; repairing the leak restored idle and normalized the confirming fuel-trim check.

In this guide
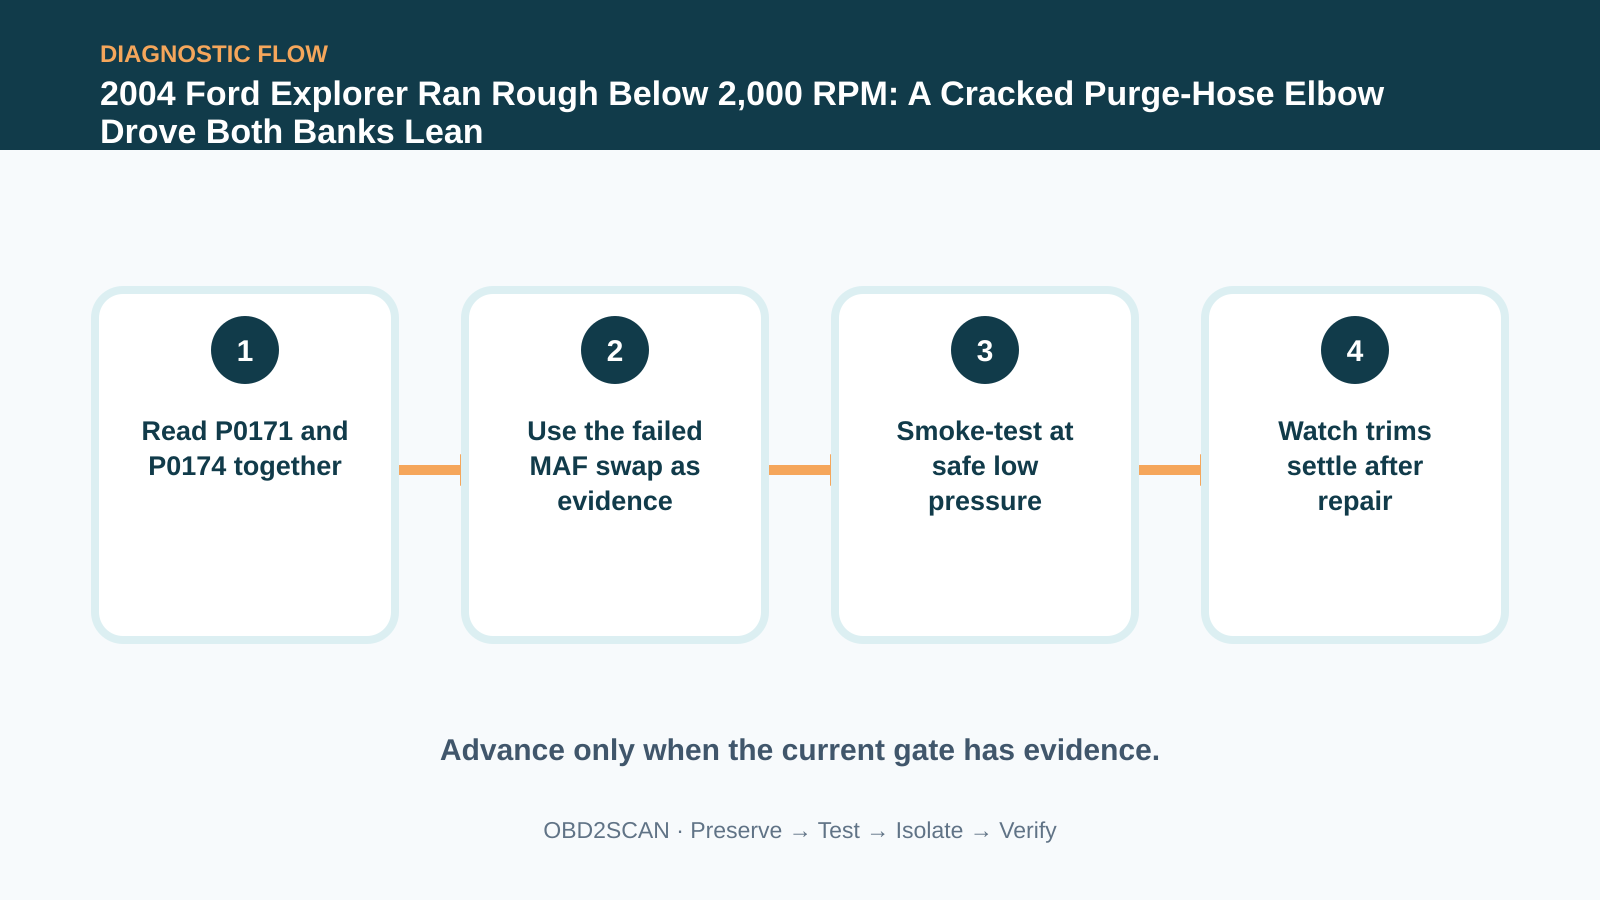
Read P0171 and P0174 together
P0171 and P0174 together show both banks were correcting lean. Save freeze-frame load, rpm and temperature before clearing. Two banks can share unmetered air, fuel delivery or biased metering, so the pair changes priority but does not prove a vacuum leak. Preserve the original condition before changing it. The first observation is the control sample against which every later test must be compared.
Compare idle with 2,000 RPM
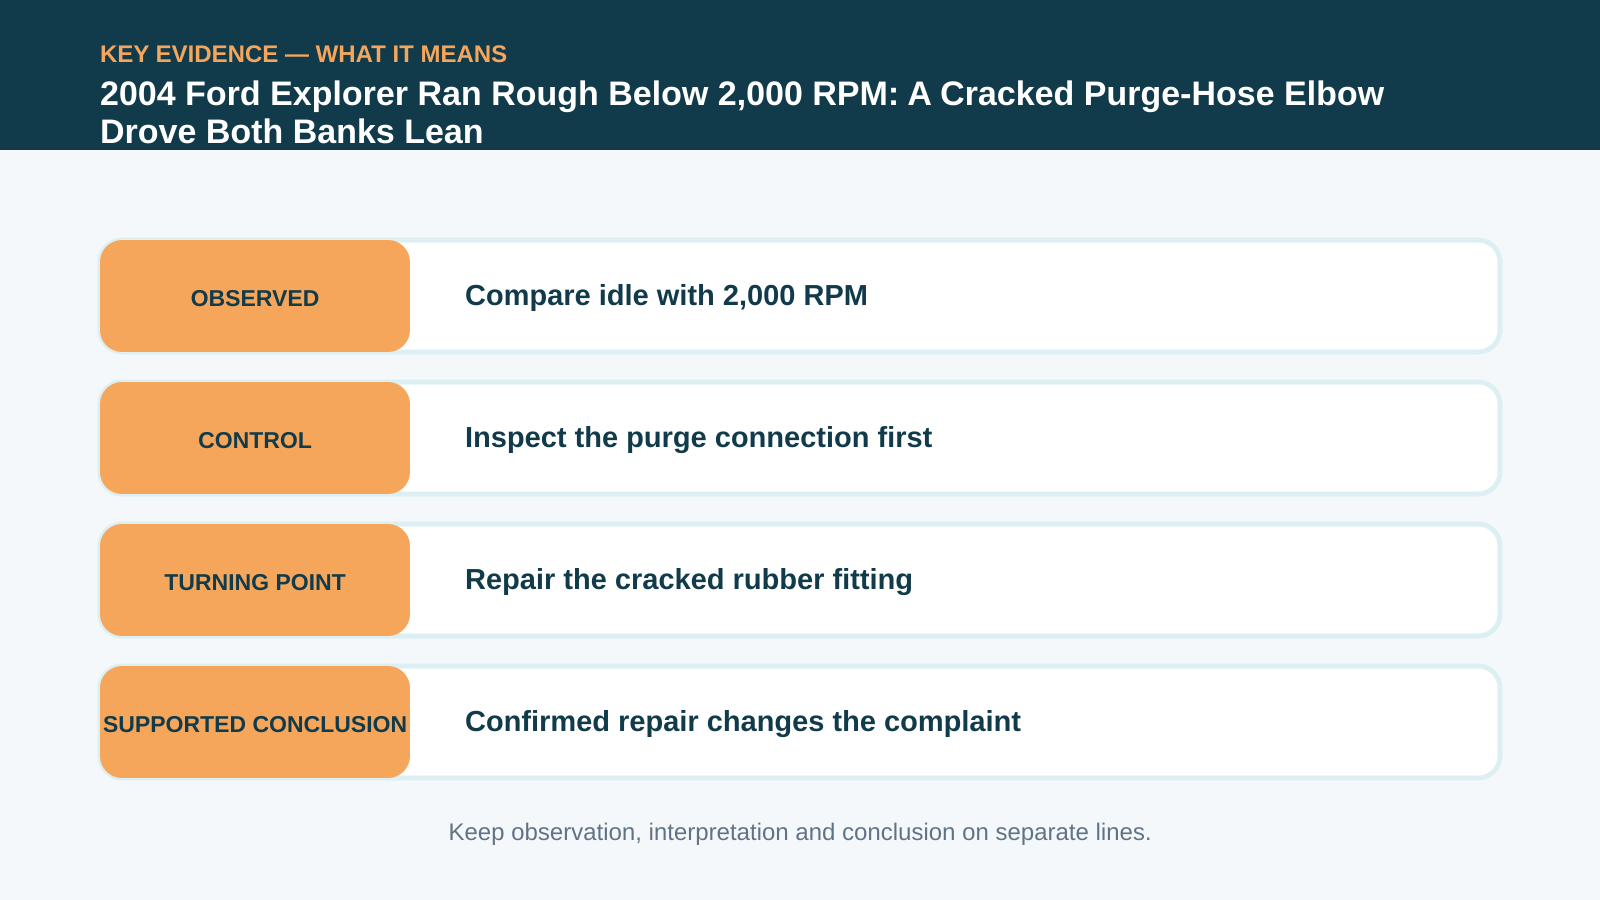
Compare fuel trims at hot idle and a steady 2,000 rpm in a safe bay. A vacuum leak often has a larger percentage effect when total airflow is low, so trims that improve with rpm support that route. Record short- and long-term values and oxygen-sensor behavior instead of relying on one snapshot. Use service information for the exact engine, build date and options. A correct method on the wrong terminal can create a precise but useless result.
Use the failed MAF swap as evidence
The owner had already replaced the MAF without improvement. Confirm that the replacement and intake duct are installed correctly, then treat the no-change result as evidence against the original guess. Do not move automatically to a second sensor simply because both codes mention mixture. Treat prior work as evidence, not blame. A repair that made no change can narrow the case when its installation and test conditions are verified.
Inspect the purge connection first
Inspect the purge hose between valve and manifold, PCV connections, intake boots and manifold vacuum points. Flex rubber only when cool enough and look underneath molded elbows. The cracked purge fitting in the case could admit air after the MAF and affect both banks at low rpm. At this stage, separate what was observed from what is inferred. The observation should remain true even if the current theory is later rejected.
| Observation | What it supports | What it does not prove |
|---|---|---|
| P0171 and P0174 | A common lean path is plausible | MAF is failed |
| Worse below 2,000 rpm | Low-airflow leak rises in priority | Fuel pressure is good |
| Cracked purge fitting found | Unmetered-air path is visible | Purge valve works correctly |
| Repair smooths idle and trims | Fitting was causal here | Every two-bank lean code is vacuum |
Smoke-test at safe low pressure
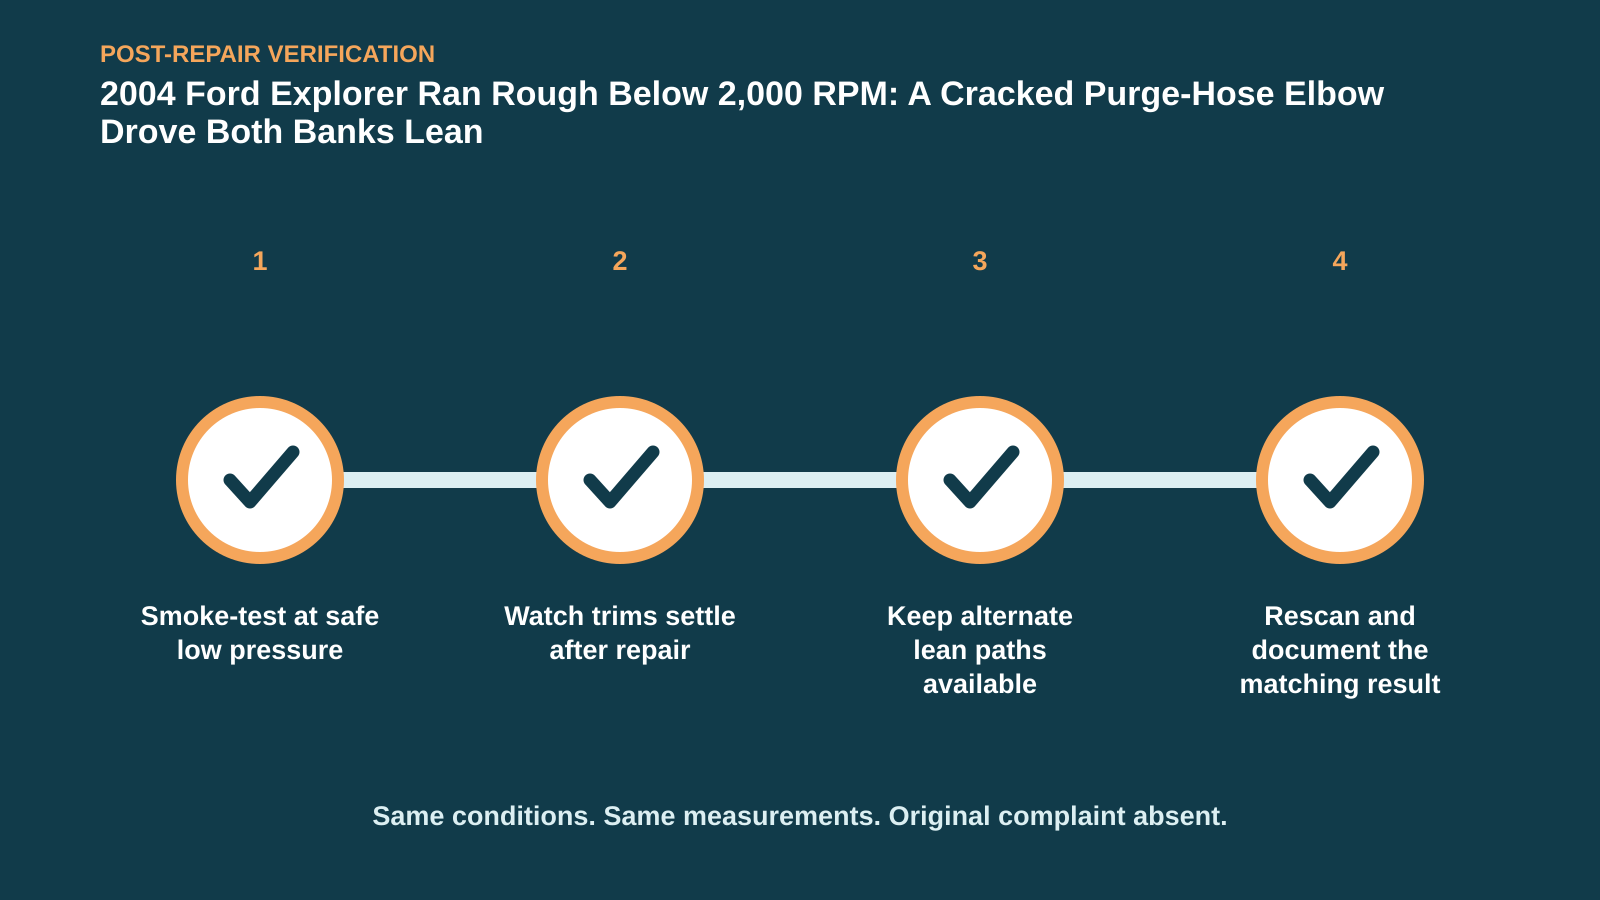
If the split is not visible, isolate the intake and introduce regulated smoke at the approved low pressure. Protect sensors and close paths as specified; some systems must not be filled through arbitrary ports. Smoke emerging at the purge fitting localizes an opening but still requires inspection of the rubber and mating nipples. This is the decision point in the documented case. Its value comes from changing one bounded condition while leaving the rest of the system intact.
Repair the cracked rubber fitting
Replace the damaged fitting with material and routing suitable for vacuum, heat and fuel vapor. Check the purge valve for sealing separately so a new elbow is not asked to mask a commanded or mechanically stuck valve. Restore clips that keep the hose from rubbing or bending. A confirmed component still needs a repair that restores sealing, support, torque, routing or terminal fit—the physical conditions that keep the fault from returning.
Watch trims settle after repair
After repair, allow fuel trims to update and compare the same idle and raised-rpm cells. In the documented drive, trims remained under +5% and smooth idle returned. Use that value only as the case result; follow Ford’s criteria and the current operating condition on another vehicle. Reassemble protective covers and retainers before declaring success. A diagnostic shortcut must not become the next failure mechanism.
Keep alternate lean paths available
If trims remain high, reopen fuel pressure/volume, exhaust leaks ahead of sensors, PCV flow, injector delivery and measurement bias. The lesson is not ‘smoke every lean code.’ It is to use load and bank pattern to choose the next test that can distinguish common air from common fuel. Use the customer’s original complaint as the final specification. A cleared code, quiet bay or one good key cycle is not equivalent to reproducing and passing that condition.
If you are bringing a similar symptom to a shop, arrive with the useful conditions rather than a requested part: whether the vehicle was cold or hot, the exact speed or switch position, which warning lamps appeared, what changed after a restart, and a chronological list of earlier repairs. A short video can preserve an intermittent sound or lamp pattern, but record it only while parked or with a passenger handling the camera. Ask the technician to retain the pre-repair scan and measurements, explain the test that separated the failed path from the alternatives, and show how the original complaint was repeated afterward.
For the owner or service adviser, a useful repair explanation has three parts: what was observed, why the decisive test narrowed the fault, and which original condition passed after the repair. It should also say what the test did not prove. That boundary prevents a memorable case from becoming an automatic parts recommendation.
The two lean codes did not condemn the MAF. A split purge-line fitting admitted unmetered air where its effect was strongest at low airflow; repairing the leak restored idle and normalized the confirming fuel-trim check. The reusable lesson is narrower and more valuable: Use a two-axis fuel-trim map—idle versus raised rpm, Bank 1 versus Bank 2—to explain why one common vacuum leak outranks another sensor.









Comments 0
Questions, fixes, and real-world diagnostic notes from readers.
Be the first to share a diagnostic result or ask a follow-up question.