
How to Use the MRCARTOOL 200 mL Fluid Syringe

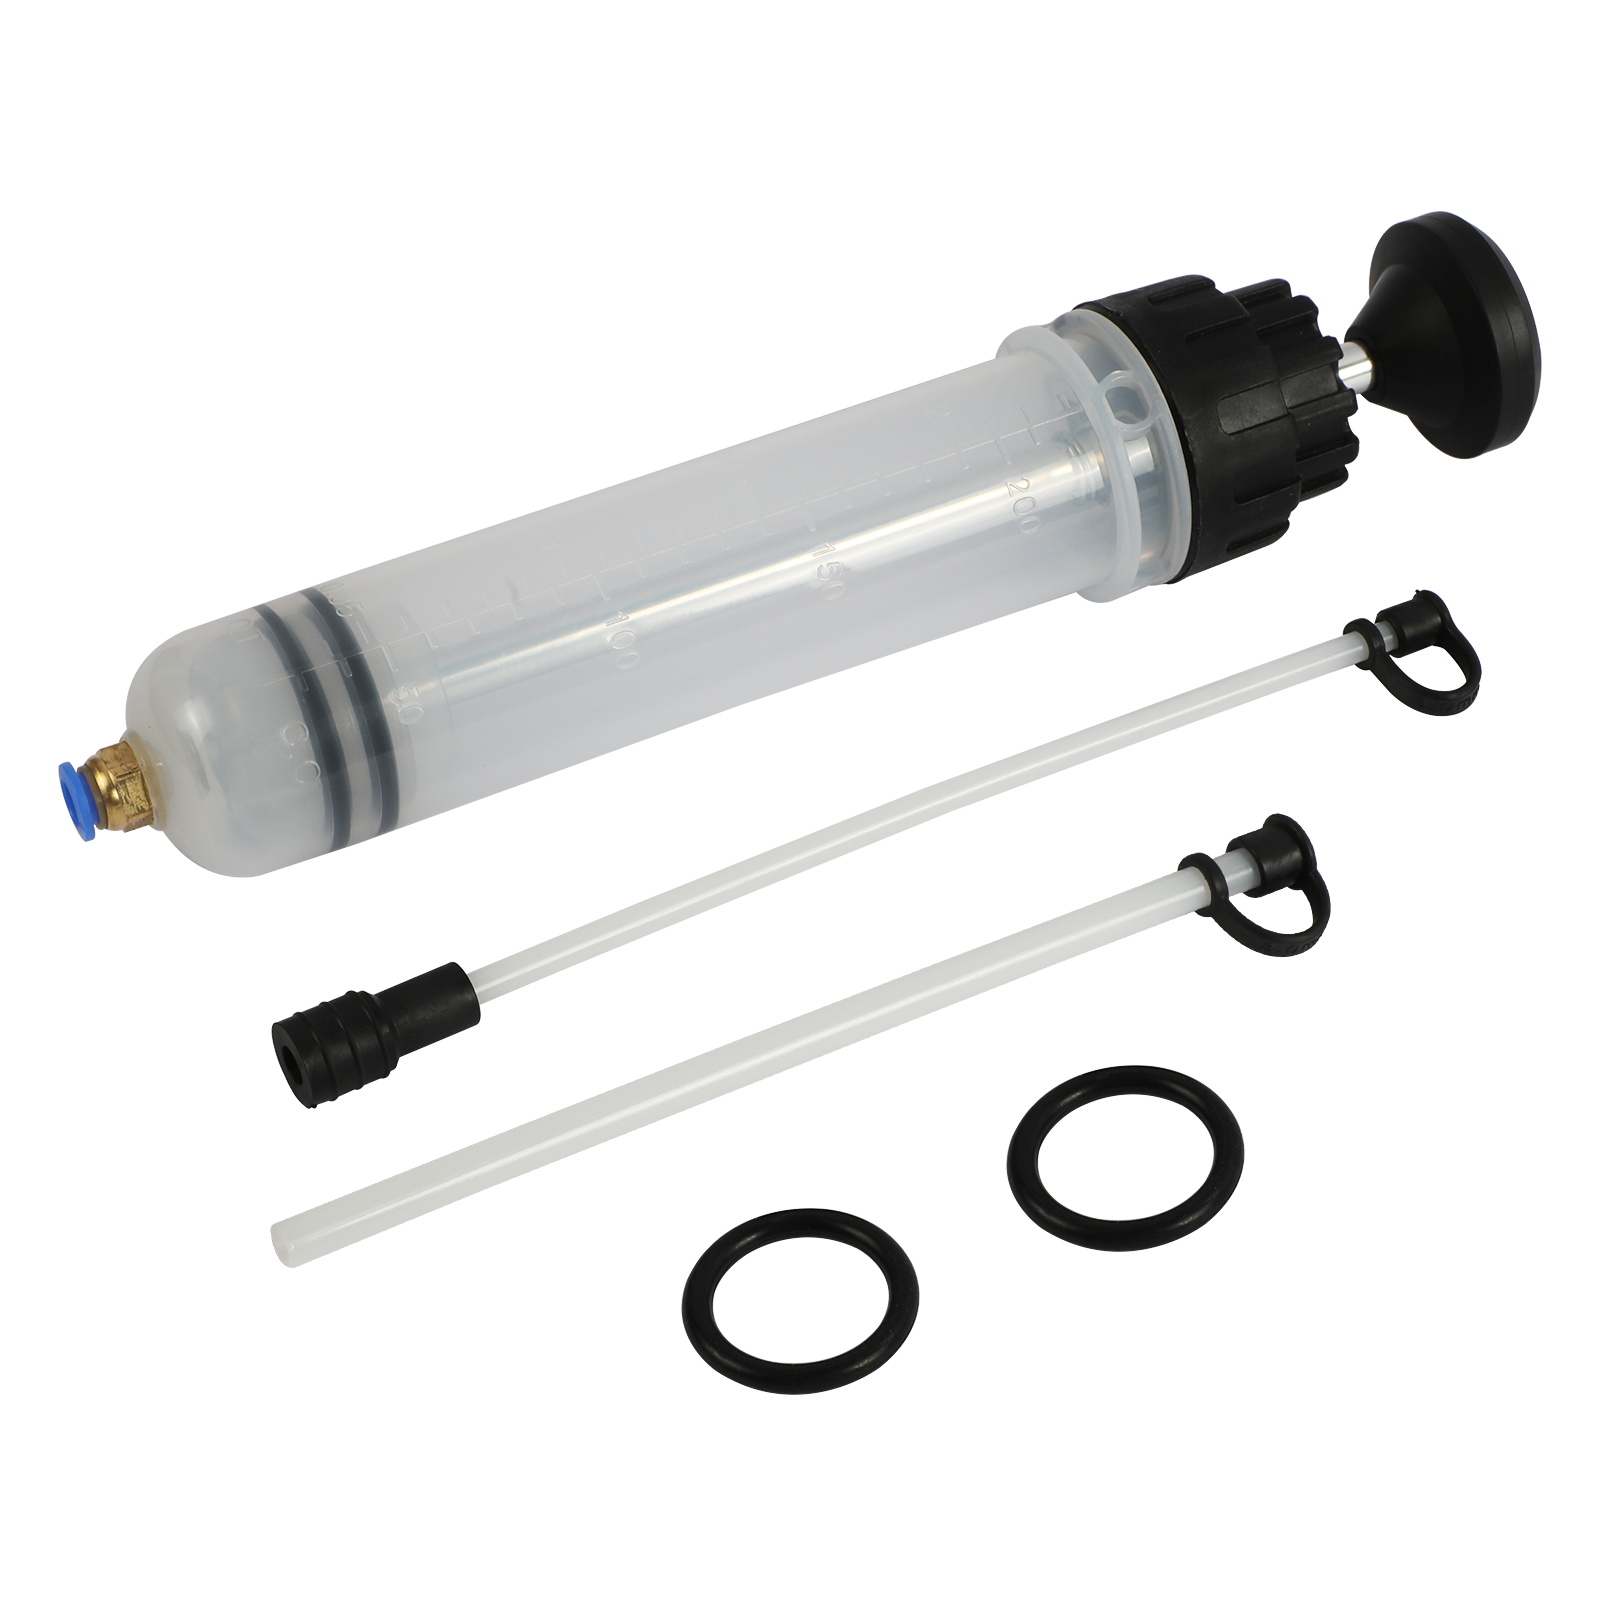
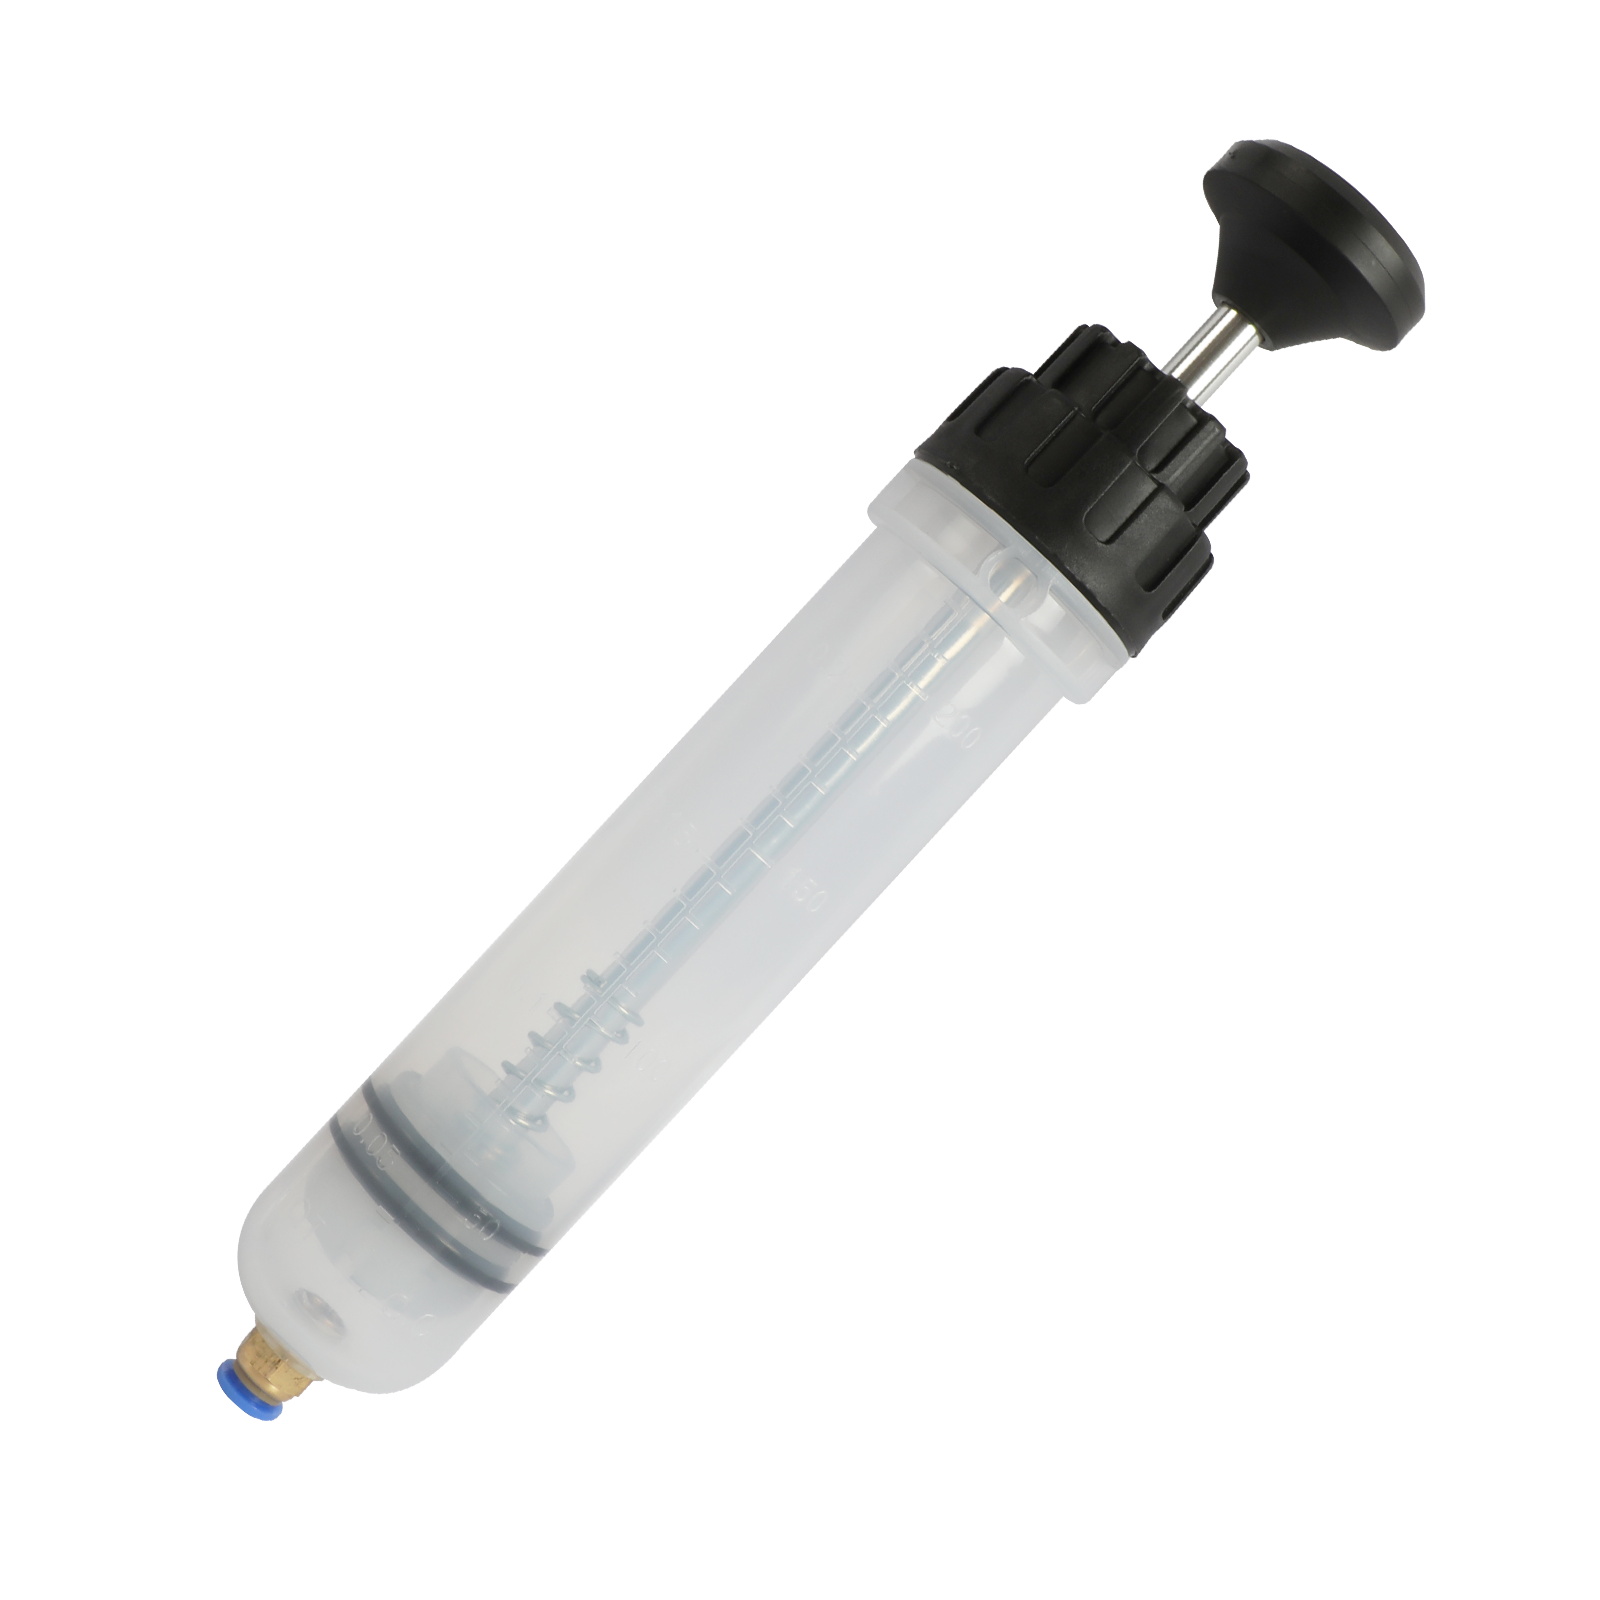
The MRCARTOOL 200 mL manual fluid syringe is a compact hand tool for removing or replenishing automotive lubricants, engine oil, transmission fluid and brake fluid through a service opening. Its value is control: the transparent body lets you watch the transfer, the locking hose connection resists accidental separation and two hose options extend reach into confined reservoirs or housings.
Quick answer: Confirm the vehicle procedure, exact fluid specification and safe service temperature first. Dedicate the syringe and hoses to one fluid family. With the plunger partially inserted and the locking hose fully seated, route the hose to the service point without forcing it. Pull slowly to extract, or fill the syringe from a clean source and push slowly to dispense. Keep the hose end submerged during extraction, stop before the plunger reaches a hard limit, count 200 mL strokes only as an estimate and verify the final vehicle level by the manufacturer’s method. Cap, label and store the tool after compatible cleaning.
In this guide
Choose the job, fluid and service point
The exact product page identifies a 200 mL manual extractor and lists lubricants, engine oil, transmission fluid and brake fluid among its intended fluids. That list does not override the vehicle procedure or prove universal chemical compatibility. Confirm that extraction or top-up through the selected opening is allowed, that the fluid is at a safe handling temperature and that the syringe materials remain suitable for the exact product being moved.
Do not use the syringe for gasoline, diesel fuel, strong solvent, refrigerant, pressurized fluid or any chemical not explicitly approved for the tool. Never open a hot cooling system or a pressurized transmission port. If the fluid safety data, tool material compatibility or required cleaning method is unknown, use purpose-rated equipment rather than treating an ‘other fluids’ marketing phrase as blanket approval.
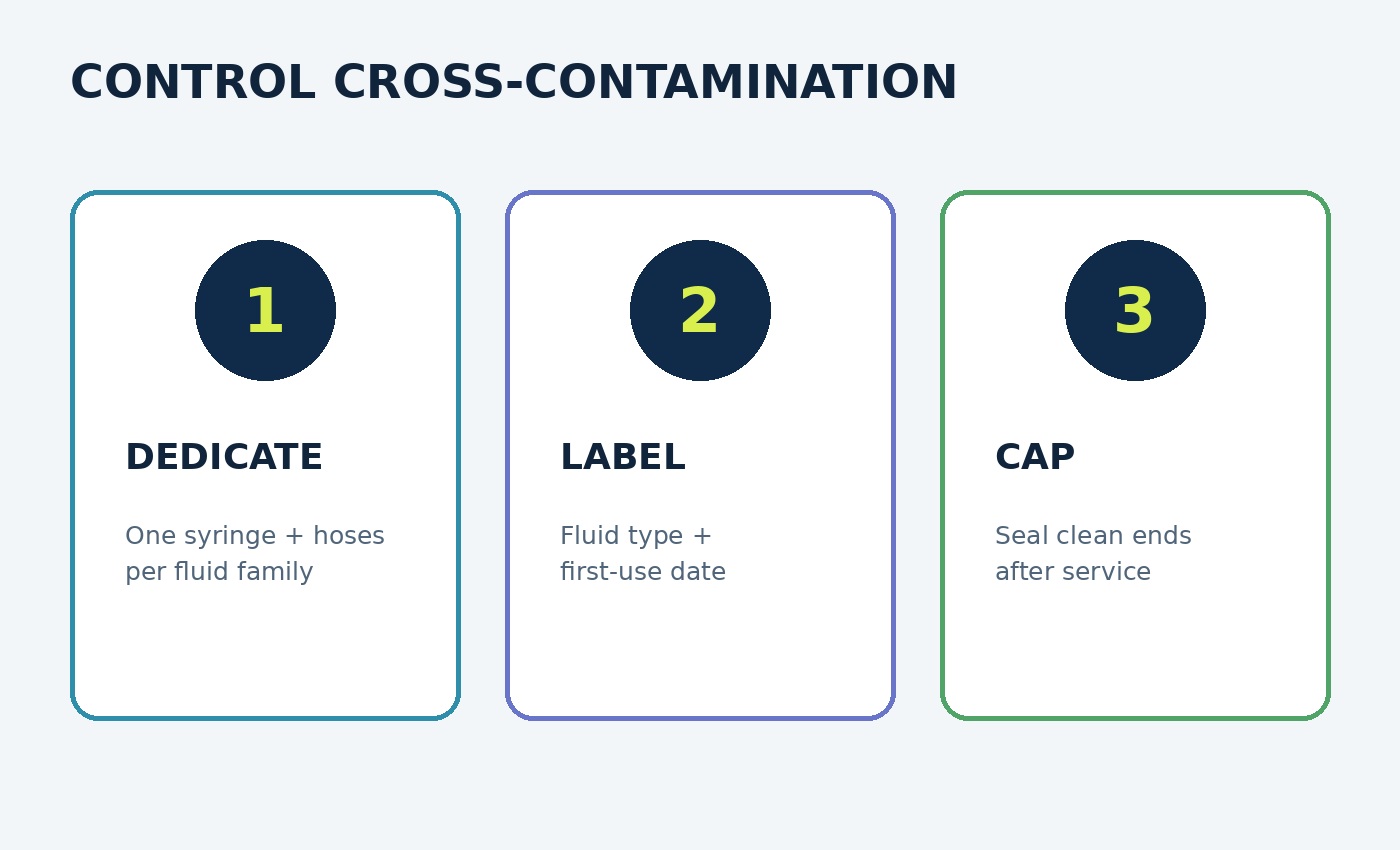
Never mix fluid families in one unverified syringe. Small residue from brake fluid, gear oil, engine oil or transmission fluid can contaminate another system. The safest workshop practice is one clearly labeled syringe-and-hose set per fluid family. A rinse that looks clean does not prove chemical compatibility or zero carryover.
1. Read the vehicle level-setting procedure
Determine whether level is checked cold, warm, idling, engine-off, on a level lift or at a specified fill-port overflow. Identify the correct opening and any plug torque, seal or replacement requirement. A syringe can move liquid, but it cannot decide the target level. For transmissions and final drives especially, temperature and vehicle attitude can change the accepted level.
2. Estimate the quantity before opening the system
The 200 mL nominal capacity makes small corrections manageable. Estimate how much must be removed or added, prepare a compatible waste container and keep extra capacity for an unexpected overfill. Do not plan to fill the barrel to the absolute end of travel; leaving headroom improves control and reduces the chance of pulling the plunger seal into a hard stop.
Prepare the syringe and hose
3. Inspect the body, plunger and seals
Work over a protected surface with gloves and eye protection appropriate to the fluid. Check the clear body for cracks, clouding or distortion; inspect the plunger rod, handle, cap threads and dual sealing rings for swelling, cuts or flattening. Move the plunger through a short dry stroke only if the tool instructions and seal condition allow it. Binding, scraping or a loose plunger is a stop condition.
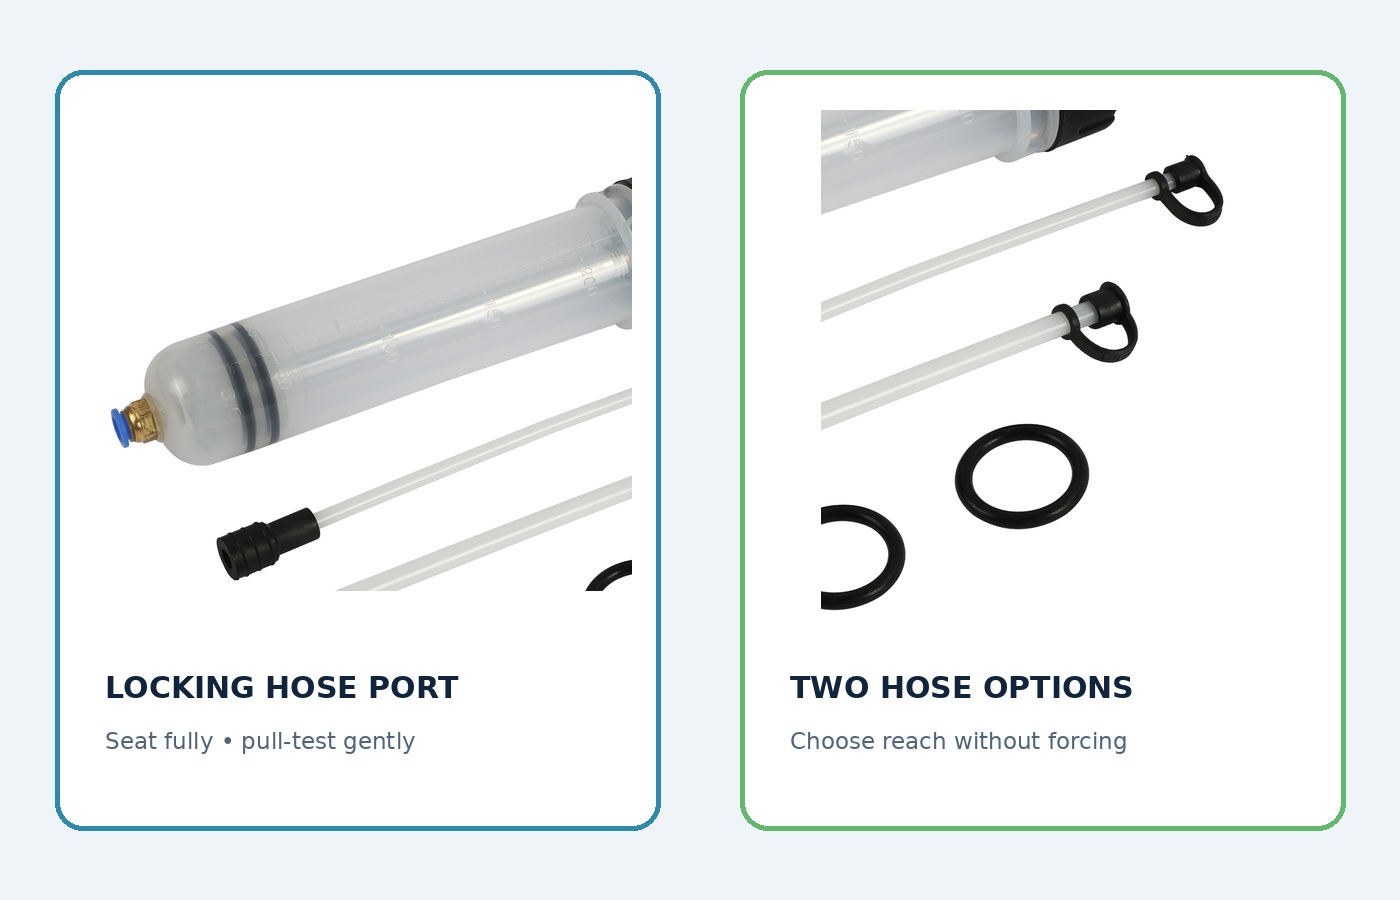
4. Select and lock the hose
Choose the hose that reaches the service point without kinking or bottoming against internal parts. The product page describes a lockable connection: insert the hose into the pump fitting completely so the latch stabilizes it. Apply a gentle pull test before fluid contact. Do not use tape, wire or an improvised clamp to rescue a damaged lock, because a separated hose can spill fluid inside the engine bay or housing.
5. Establish clean and dirty zones
Keep new fluid, clean caps and the discharge container separated from used fluid and contaminated tools. Label the syringe for its assigned fluid family before first use. If the same tool is used for extraction and refill in one job, do not return extracted fluid to a clean supply container. Use a separate clean transfer container and follow fluid-reuse rules for the component.
Extract old or excess fluid
6. Position the hose without forcing it
Open the authorized service point using the vehicle procedure. Feed the hose gently until its end reaches the liquid. Do not push against a pickup screen, internal valve, sensor, baffle or rotating part. If insertion depth matters, mark a safe maximum on the hose from service information. Support the syringe so the connector is not carrying the tool’s weight.
7. Pull the plunger slowly
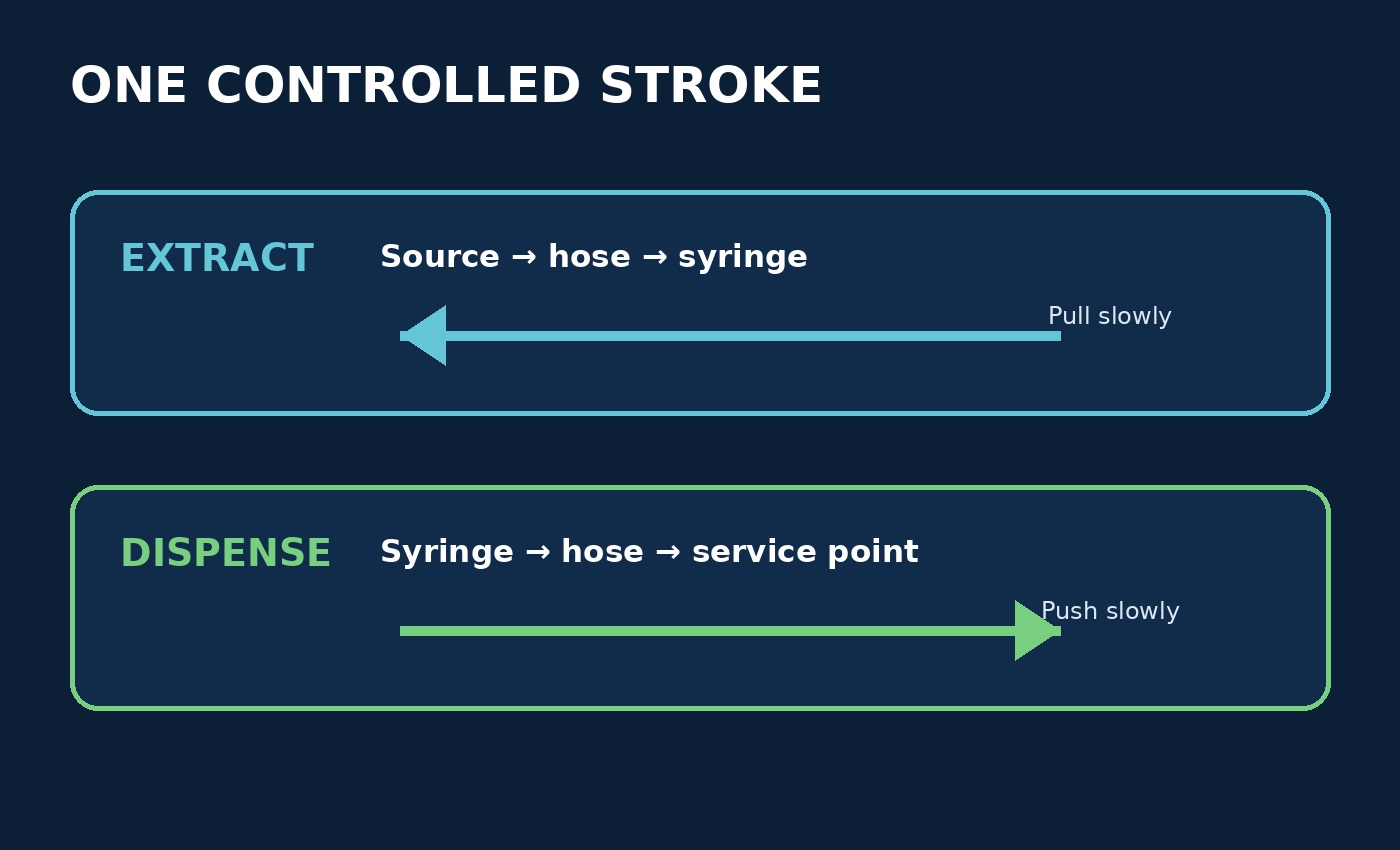
Hold the syringe body securely and pull in a smooth, straight motion. Slow movement helps the seals stay aligned and reduces aeration. Keep the hose end below the liquid surface; bubbles or a sudden loss of resistance can mean the hose has emerged, the fitting leaks or the source is empty. Stop before the plunger reaches a hard mechanical limit.
If fluid is too viscous to move at the approved service temperature, do not use excessive force or heat the syringe. Confirm the specified temperature range and use a larger purpose-rated extractor if necessary. Excessive side load can damage the plunger, while uncontrolled warming can change fluid behavior and create burn or material-compatibility hazards.
8. Move each measured draw to a waste container
Withdraw the hose from the service point while controlling drips, wipe only with compatible lint-free material and direct the hose into a labeled waste container. Push the plunger slowly. Record the approximate amount removed, but expect some liquid to remain in the hose and fitting. Repeat with the same controlled stroke until the required amount is removed; never leave a loaded syringe unattended.
Refill or transfer clean fluid
9. Load only the exact specified fluid
Verify the container label, specification, batch condition and cleanliness before loading. Draw from a small clean vessel rather than putting a used hose into the original supply. Pull slowly and keep the hose submerged to reduce air. Expel trapped air back into the clean transfer vessel only if the fluid procedure permits; never spray fluid from the hose.
10. Dispense slowly into the correct opening
Secure the hose in the authorized fill point, keep it clear of moving parts and press the plunger in a straight controlled motion. Stop if pressure rises unexpectedly; the hose may be kinked, the port may be blocked or the component may already be full. Do not use body weight or extensions on the handle. A manual syringe is for controlled transfer, not pressure flushing.
Control quantity and final level
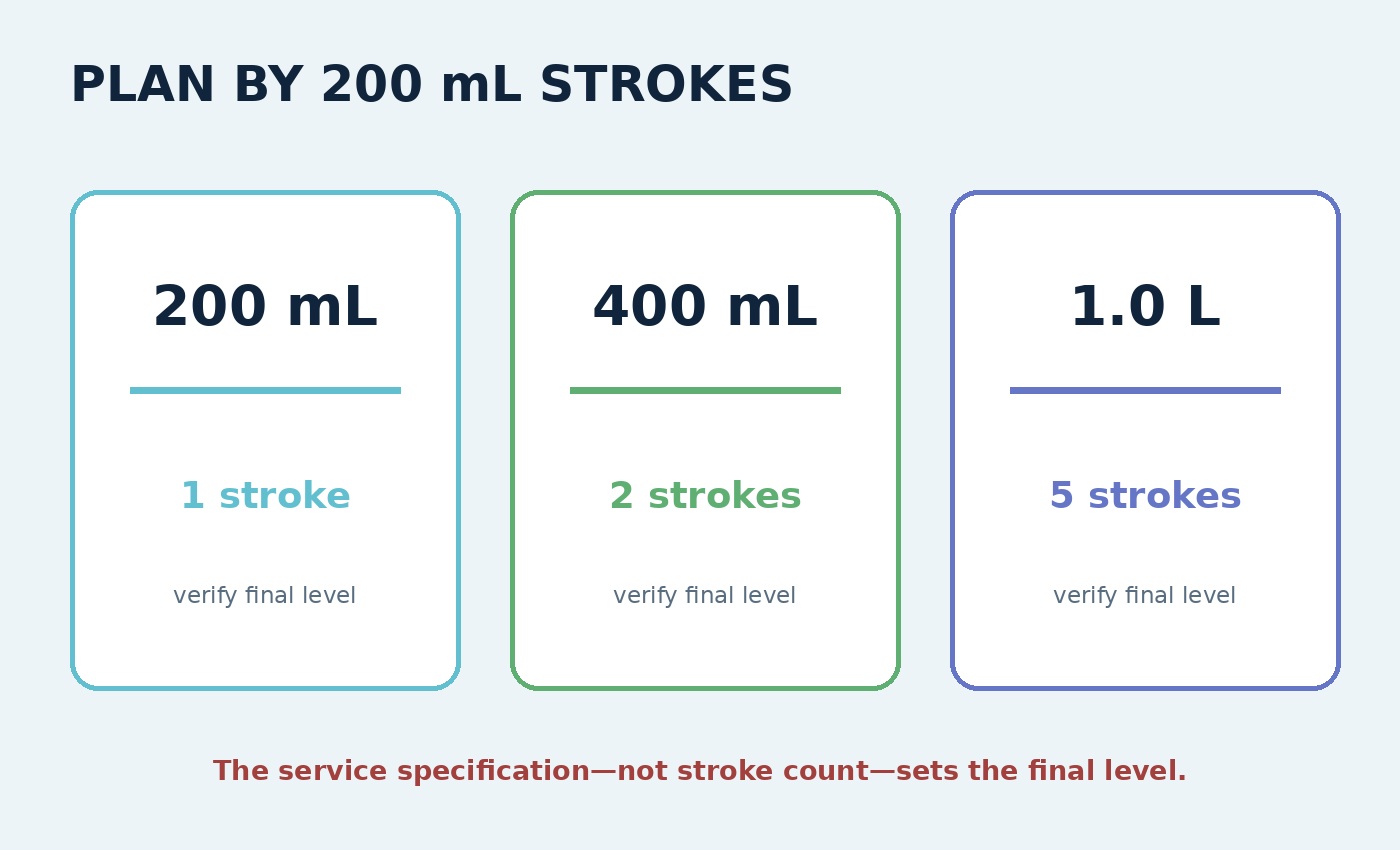
One full nominal stroke represents up to about 200 mL, so two strokes approximate 400 mL and five approximate 1.0 L. Those are planning numbers, not metrology. Fluid retained in the hose, incomplete filling, trapped air and reading angle change delivered volume. Use the barrel scale at eye level and record each stroke, but set the final system level only by the vehicle procedure.
11. Pause and verify instead of overshooting
As the target approaches, use partial strokes. Allow the fluid to settle, cycle the component only when the vehicle procedure instructs and recheck at the required temperature and operating state. Correct an overfill by extracting a small measured amount into waste—not by loosening an unrelated plug or letting fluid spill.
Clean, label and store
12. Isolate used fluid and close the vehicle
Remove the hose under drip control and install the correct service plug, cap, seal or fastener to specification. Wipe spills promptly with a material-compatible method and inspect nearby belts, paint, tires and electrical connectors. Dispose of used fluid according to local rules. Never mix waste streams merely because the same syringe could physically move them.
13. Clean only by an approved method
The retained product page does not publish a cleaning solvent or seal-material chart. Use only a cleaning method confirmed compatible with both the last fluid and the syringe materials. If no reliable method is available, drain, wipe externally and retain the tool exclusively for that same fluid family. Replace swollen seals, a cloudy barrel, a damaged lock or a hose that stays soft, hard or discolored.
14. Cap and store as a complete fluid-specific kit
Allow compatible cleaning residue to drain safely, then cap the port and both hose ends. Label the tool with fluid family and inspection date. Store the plunger relaxed rather than under sustained force, protect the transparent body from sunlight and impacts, and keep the kit away from clean tools assigned to other systems.
Troubleshooting
| Symptom | Check first |
|---|---|
| Plunger will not draw | Hose end below fluid, no kink, fitting fully locked, seals installed and source not too viscous at approved temperature |
| Air bubbles continue | Loose hose connection, hose above liquid, cracked tube or damaged plunger seals |
| Fluid leaks around plunger | Stop; inspect dual seals, barrel damage and chemical swelling |
| Hose disconnects | Stop and contain spill; replace damaged lock or hose rather than improvising a retainer |
| High force is required | Blocked or kinked path, wrong temperature, excessive viscosity or unsuitable service point |
| Transferred amount seems wrong | Read scale at eye level; account for hose retention, air and partial strokes; verify final vehicle level |
| Fluid identity is uncertain | Do not add it to the vehicle; isolate and identify or dispose of it correctly |
Final 200 mL syringe checklist
- Vehicle procedure permits extraction or refill at the selected point
- Exact fluid specification and safe service temperature confirmed
- Syringe-and-hose set dedicated and labeled for one fluid family
- Barrel, plunger, lock, hoses and dual seals inspected
- Correct hose fully locked and gently pull-tested
- Clean supply and used-fluid zones kept separate
- Hose inserted without contacting sensitive internal parts
- Plunger moved slowly without side load or hard-stop force
- Each stroke recorded and final level verified independently
- No fuel, strong solvent, refrigerant or unapproved chemical used
- Service cap or plug installed to specification
- Waste fluid isolated and disposed of correctly
- Compatible cleaning method confirmed or tool retained as dedicated
- Ports capped and plunger stored relaxed
A small fluid syringe is useful because it encourages measured corrections. Select the right fluid and opening first, protect the system from cross-contamination, lock the hose, move the plunger slowly and treat each 200 mL stroke as an estimate. Finish by verifying the level through the vehicle procedure, then keep the syringe and hoses labeled as one dedicated kit.










Comments 0
Questions, fixes, and real-world diagnostic notes from readers.
Be the first to share a diagnostic result or ask a follow-up question.