
BMW 525 Coolant Loss: A Cracked Radiator End Tank Was Visible After Removal

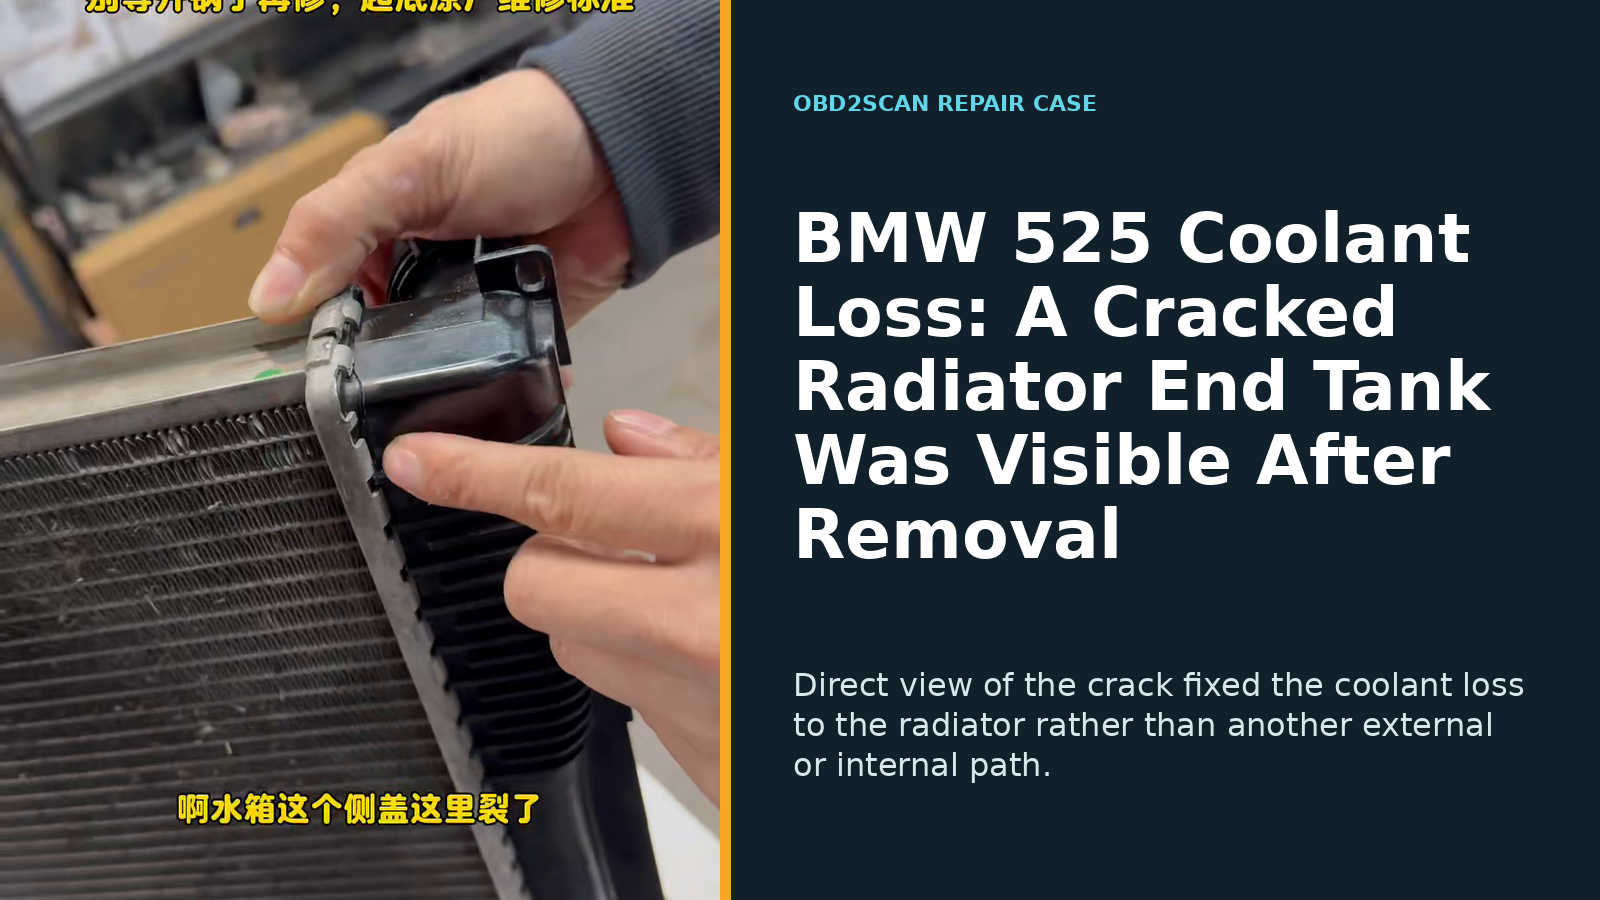
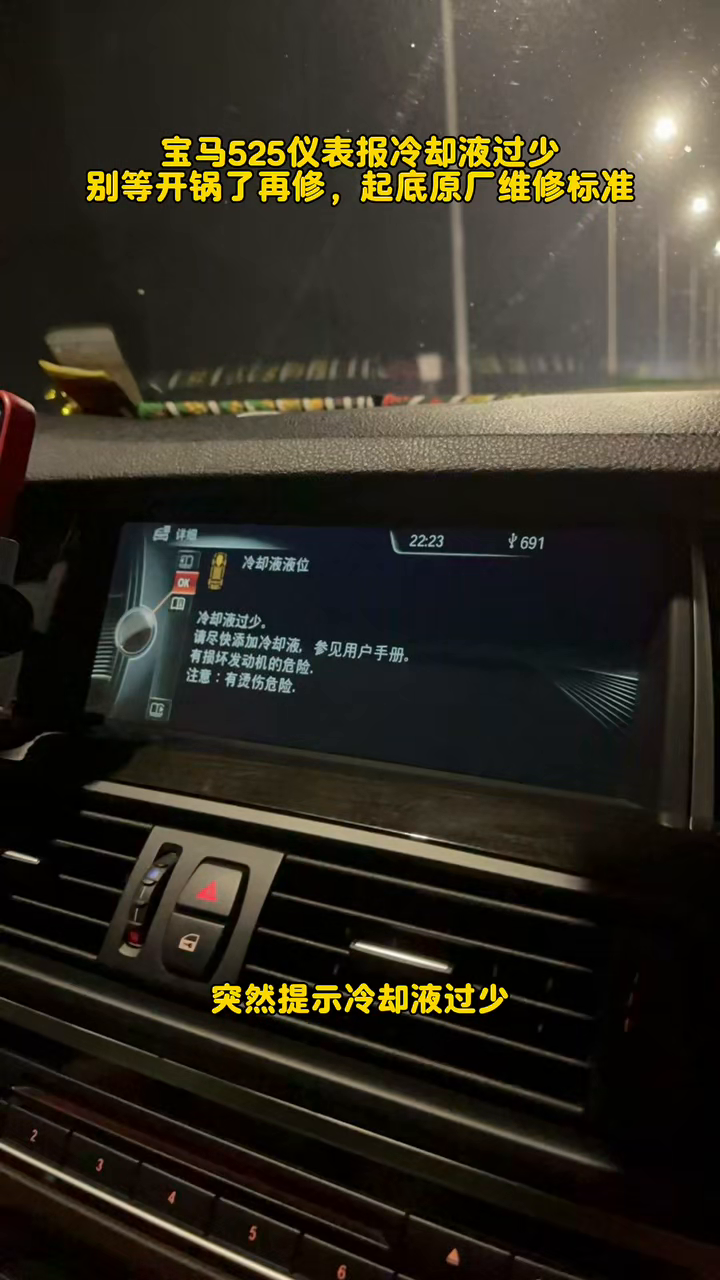
A BMW 525 arrived with a low-coolant warning and ongoing coolant loss; its year, engine/chassis and mileage were not reported. Inspection confirmed a crack at the radiator’s plastic end-tank seam, converting a broad cooling-system complaint into a specific radiator failure. The workshop replaced the radiator and disturbed seals, vacuum-filled the coolant circuit, recorded a stable 15-minute pressure hold, then reported normal temperature and fan behavior, no overflow and a cleared warning after road verification.
Case at a glance
| Item | This BMW 525 |
|---|---|
| Vehicle | BMW 525 |
| Year / engine / chassis | Not reported |
| Mileage | Not reported |
| Complaint | Low-coolant warning and coolant loss |
| Confirming evidence | Visible crack at plastic radiator end-tank seam |
| Repair | Radiator replaced; disturbed seals/connections renewed |
| Restoration | Cooling circuit vacuum-filled and replenished |
| Verification | Pressure stable for 15 minutes; road check with normal temperature/fan, no overflow and warning cleared |
The warning named a system, not a failed part
A low-coolant warning establishes a level problem; it does not identify where coolant left the circuit. Before the radiator decision, hoses, connections, reservoir/cap, pump or housing leaks remained possible, along with paths not visible outside the engine. The repair became radiator-specific only when the seam itself supplied a physical escape point.
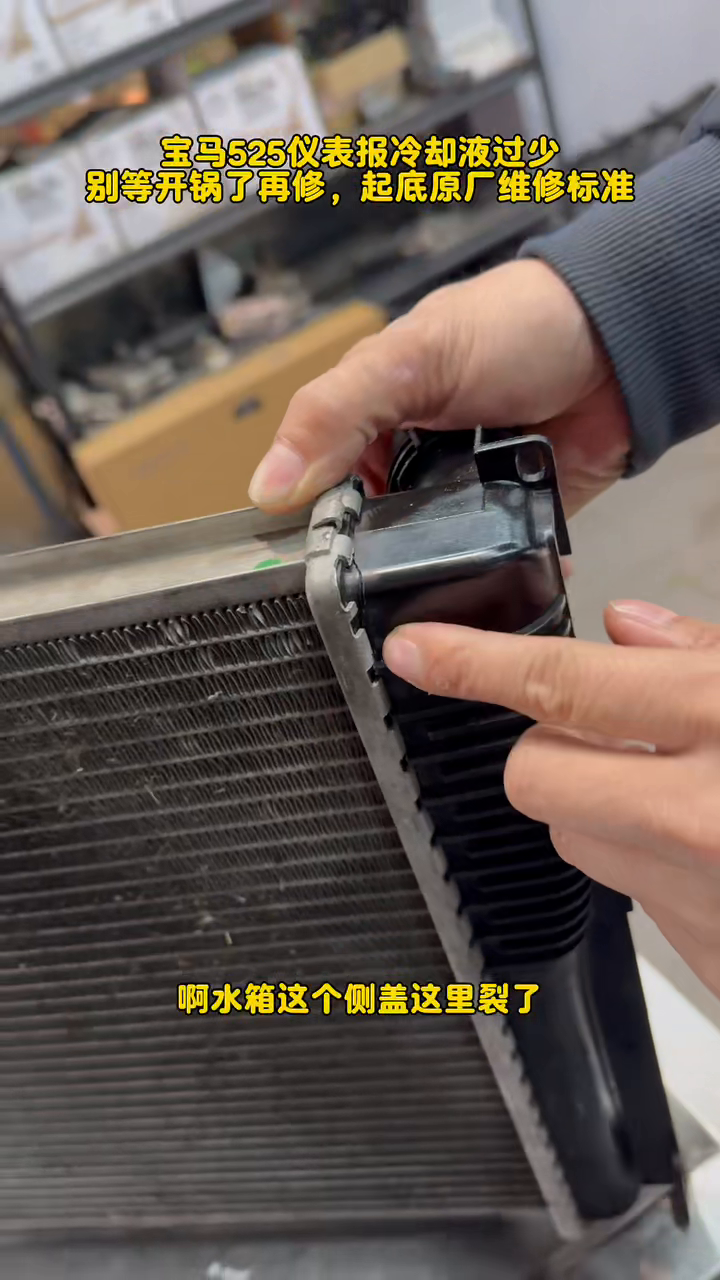
Removal exposed the exact failure boundary
With the radiator out, the plastic end tank and core seam could be inspected directly. The source identifies that seam as cracked; no cap-rating or pressure number is needed to understand why a top-up would not be a repair.
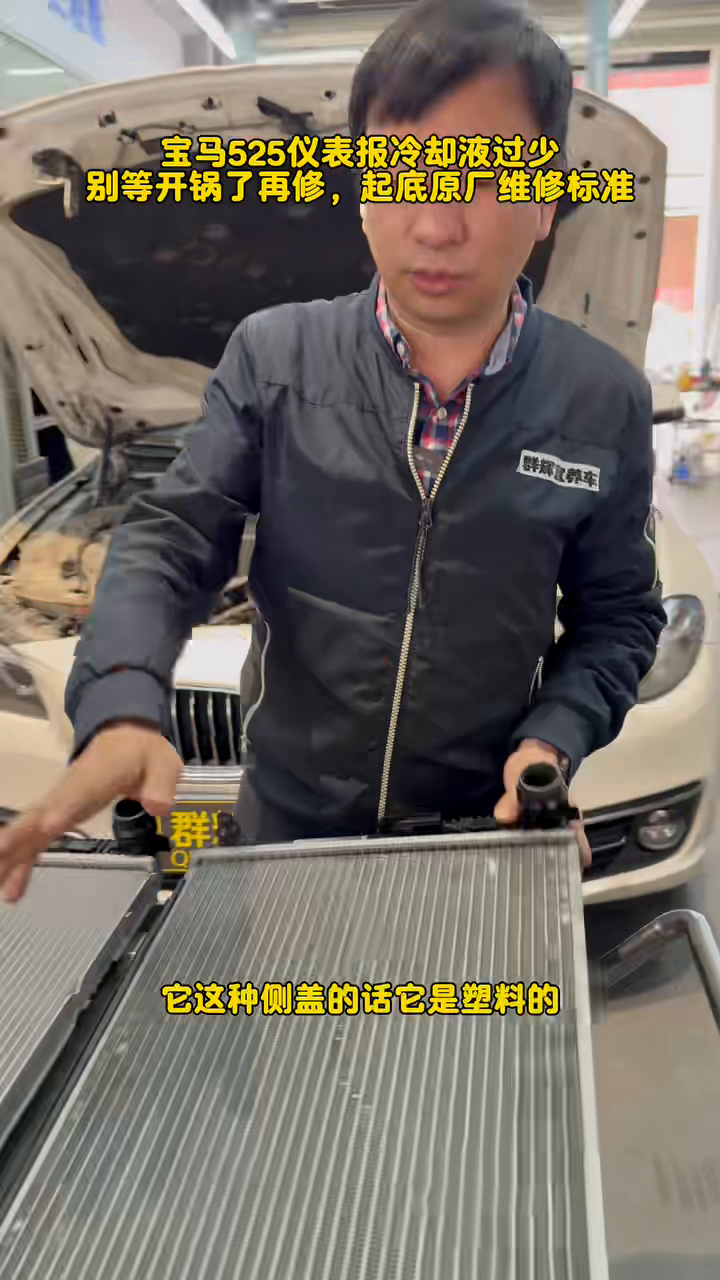
The suspicion/confirmation distinction is short but important: coolant loss made an external leak plausible; seeing the crack fixed its location to the radiator. That evidence supported replacement rather than repeated replenishment.
The radiator and opened connections were renewed together
The replacement radiator was matched to the removed unit, and seals at disturbed connections were renewed during installation. The source does not report part number, hose-connection torque, coolant formula or capacity, so each remains an exact-vehicle lookup.
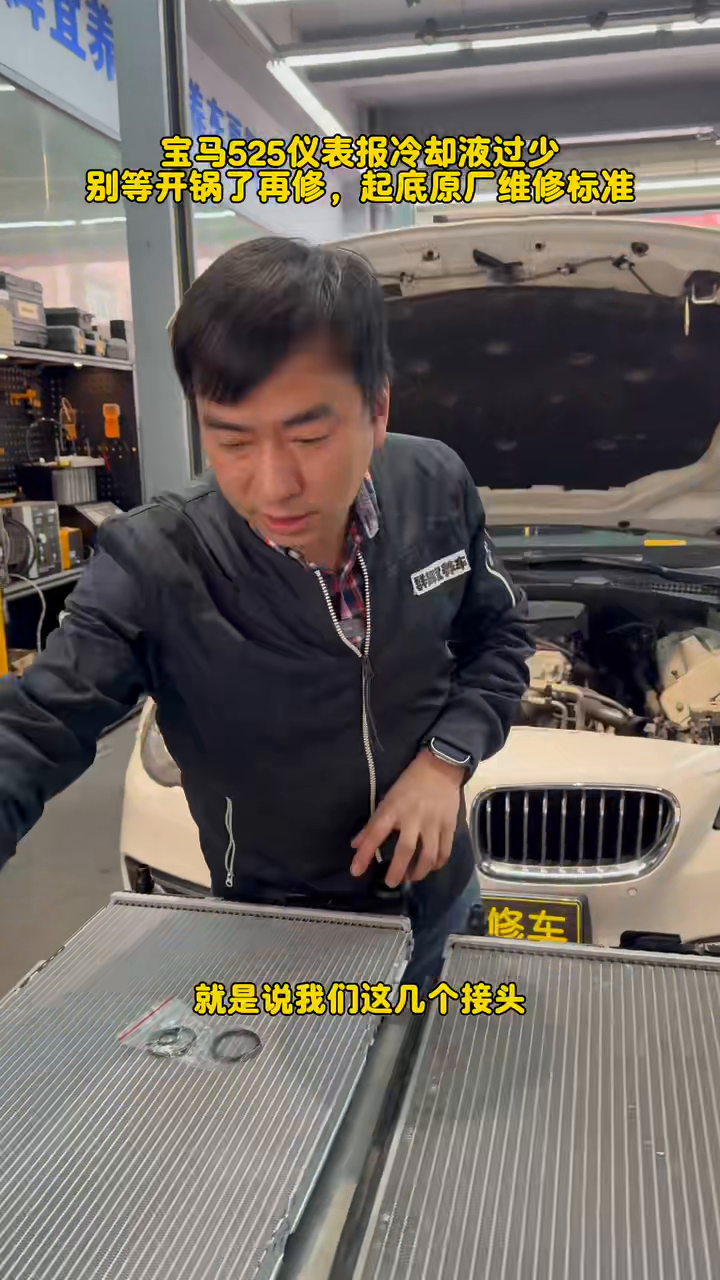
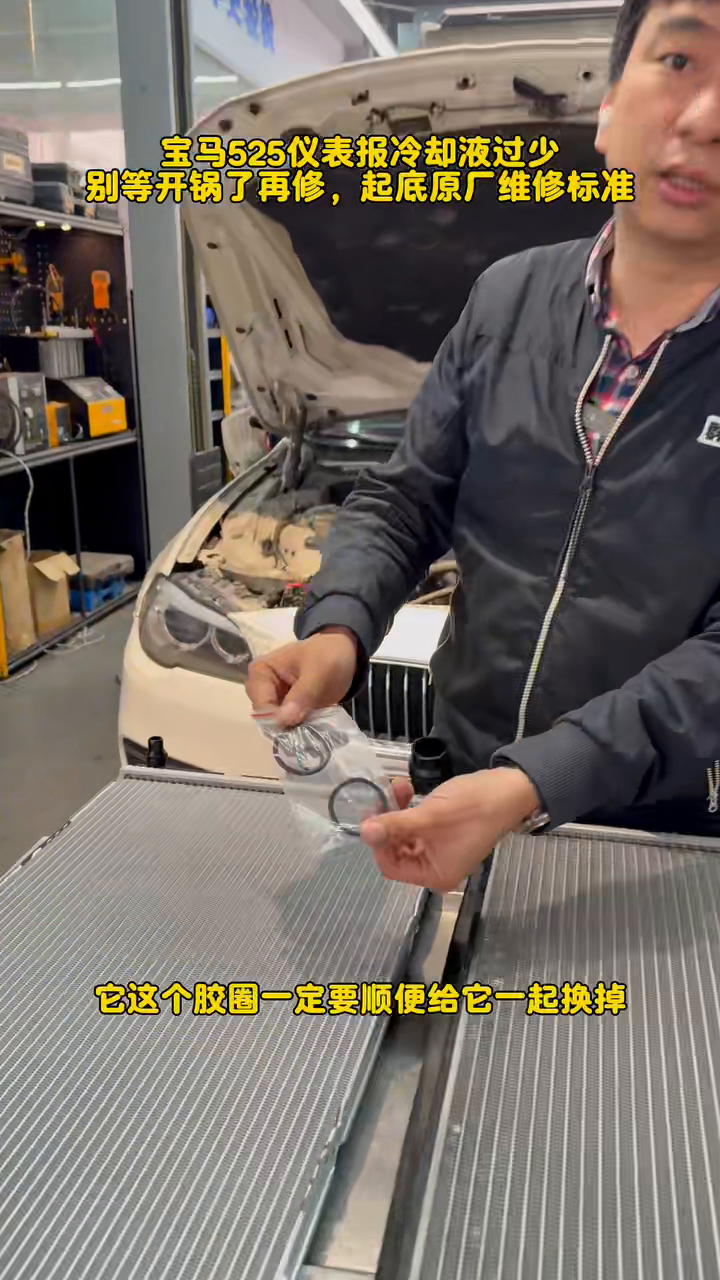
Vacuum fill removed air before pressure was judged
After installation, the circuit was vacuum-filled and replenished with the appropriate coolant. A tool such as the AUTOOL SC301 coolant vacuum filler and pressure tester fits the two tasks documented here: drawing a vacuum for filling and applying a controlled pressure check. It cannot identify this physical crack, and the correct test pressure must come from exact vehicle data.
The source reports a stable pressure result for 15 minutes but does not safely establish a reusable pressure value or cap rating. Holding stable after the new radiator and seals were installed is the relevant case result.
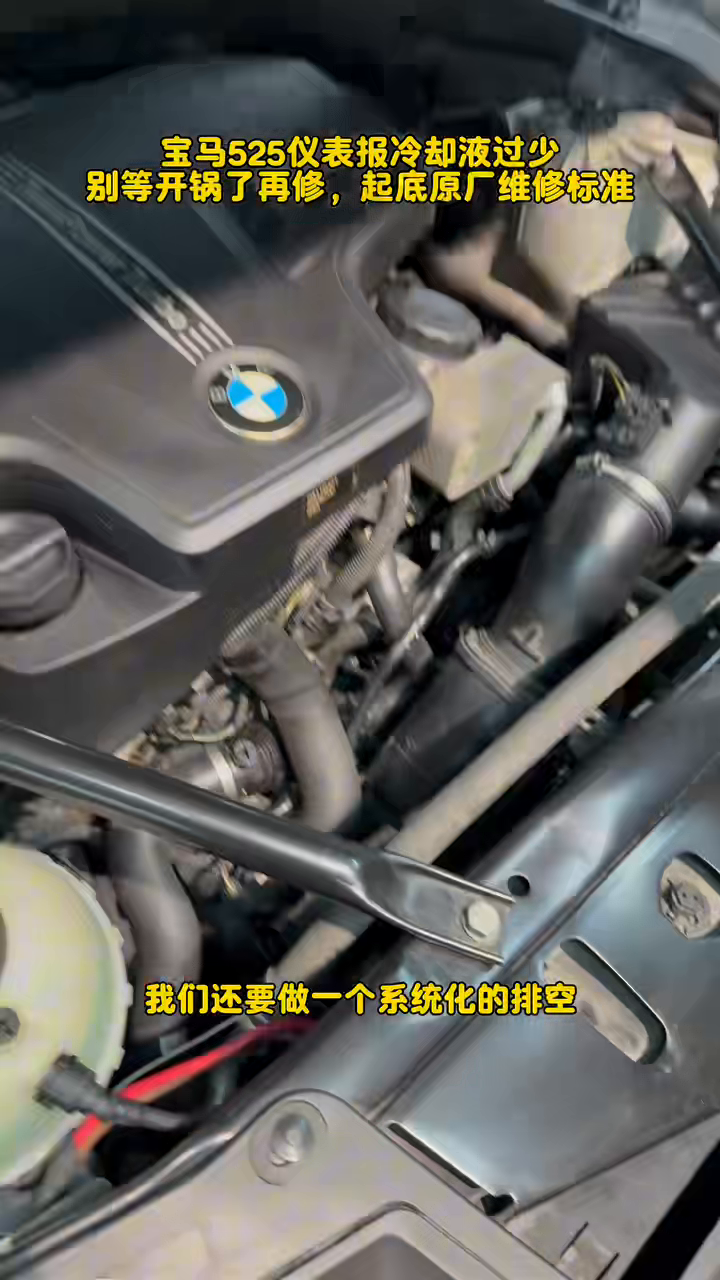
Pressure, temperature and fan behavior closed the complaint
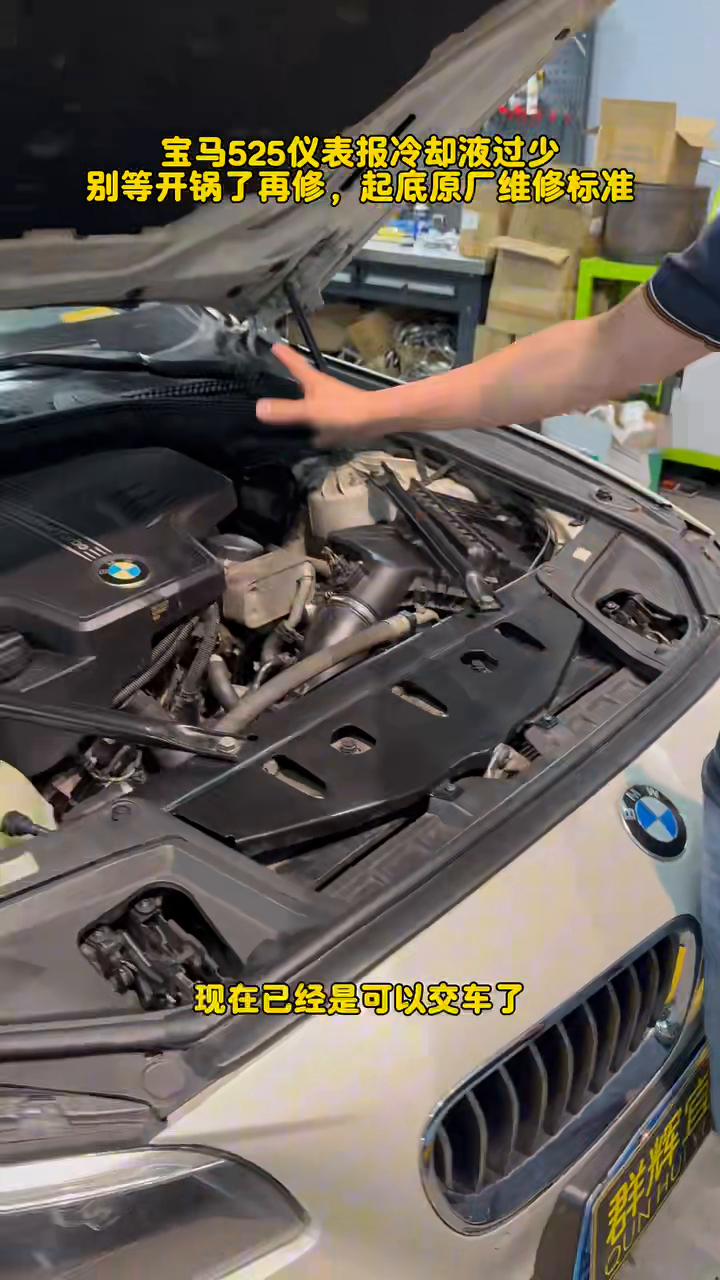
The 15-minute stable pressure hold checked the repaired circuit before road use. The source then reports road verification with normal temperature and fan operation, no overflow, and the low-coolant warning cleared. That returns to both the physical loss and the driver-visible symptom, although the road distance and any later cold recheck are not reported.
For another BMW with coolant loss, record the cold level and residue path, inspect joints and plastic seams, and pressure-test to exact vehicle data before selecting a component. Do not copy this radiator replacement when the crack is absent or evidence instead follows a hose, reservoir, pump, housing, cap-control or internal-engine path.


Comments 0
Questions, fixes, and real-world diagnostic notes from readers.
Be the first to share a diagnostic result or ask a follow-up question.