
2018 Dodge ProMaster Still Clunked After a New Strut: The Old Upper Mount Stayed in the Stack

New Strut, Same Clunk? Check The Whole Stack
<strong>Quick answer:</strong> The replacement strut did not renew every load path in the assembly. The retained upper mount was the noise source; replacing it and repeating the bump route confirmed the repair. This article follows one documented vehicle. It explains the evidence chain, not a universal failure rate or a direction to replace the same part on every similar car. Stop whenever the test would involve overheated brakes, high current, moving parts, refrigerant handling or an uncontrolled road condition.
Where the tower and fasteners are difficult to view directly, an articulating inspection camera such as AUTOOL SVB208 HD Articulating Borescope can help document an accessible mount, seating or witness-mark question before disassembly. A camera cannot load the suspension, reveal internal bearing play through pixels alone, confirm torque, or replace hands-on inspection with the van safely supported.
A left-front clunk remained after a strut, sway-bar link and brake work. The noise did not ask for another broad suspension shopping list; it asked which loaded joint had been reused during the first repair.
Quick answer: The replacement strut did not renew every load path in the assembly. The retained upper mount was the noise source; replacing it and repeating the bump route confirmed the repair.
In this guide
Reproduce one specific clunk
Reproduce the clunk on one safe route and record bump shape, speed, steering angle, braking and load. A noise described only as ‘left front’ can travel through the body. Avoid rough public-road testing with unsecured microphones or a technician leaning near moving suspension. Preserve the original condition before changing it. The first observation is the control sample against which every later test must be compared.
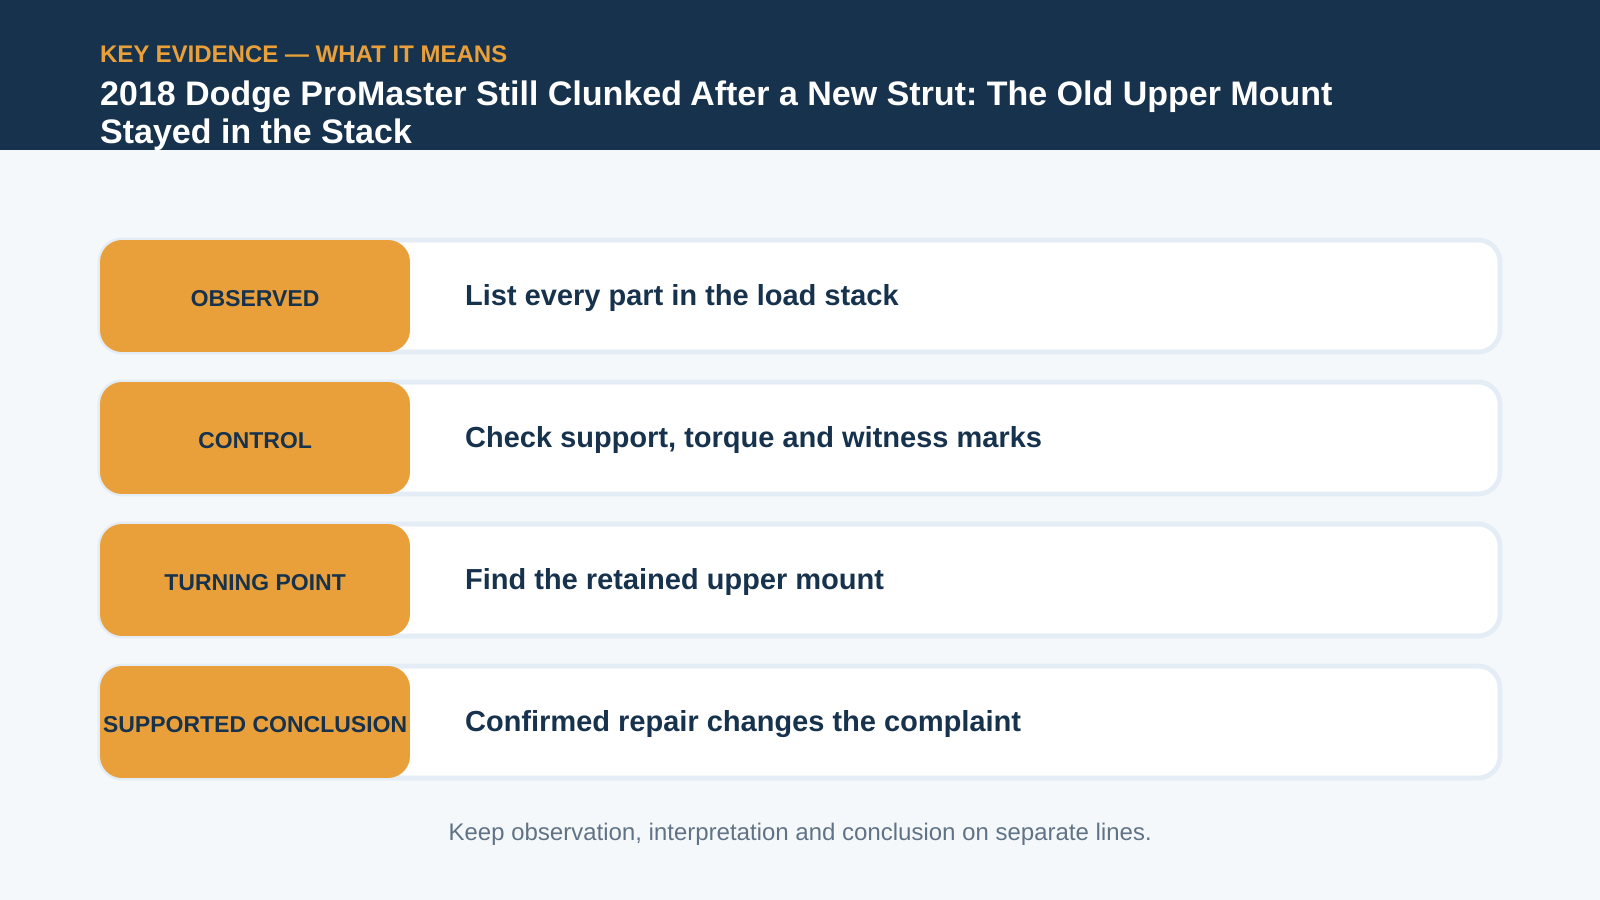
List every part in the load stack
Draw the load stack from tire to body: hub, knuckle, strut, spring, bearing/mount and tower, plus sway link and control-arm paths. Mark each item as new, reused, disturbed or untouched. The upper mount remained old even though the strut beneath it was new. Use service information for the exact engine, build date and options. A correct method on the wrong terminal can create a precise but useless result.
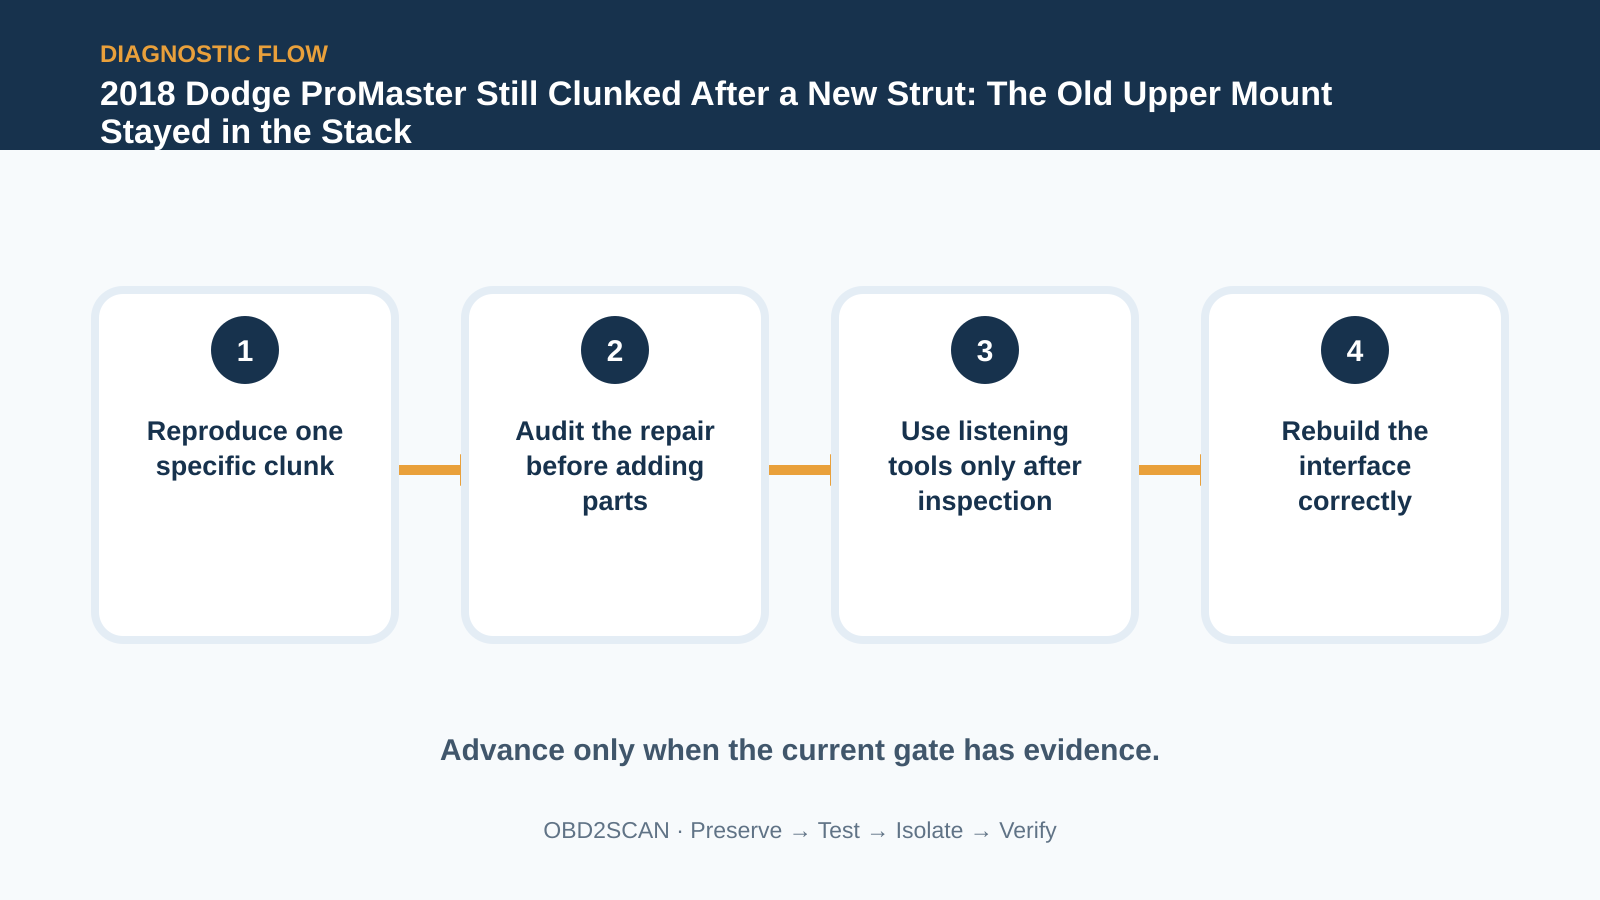
Audit the repair before adding parts
Inspect the recent repair before adding parts. Check spring seating, mount orientation, protective hardware and fastener torque by the exact procedure. Also inspect crossmember bolts, bushings, collision evidence and anything capable of contacting the body under travel. Treat prior work as evidence, not blame. A repair that made no change can narrow the case when its installation and test conditions are verified.
Check support, torque and witness marks
Witness marks, shiny contact points, displaced rubber and changing gaps can identify movement. Use a camera only to extend vision into an inaccessible area; then confirm any suspected looseness with hands-on methods while the van is supported at the required suspension position. At this stage, separate what was observed from what is inferred. The observation should remain true even if the current theory is later rejected.
| Observation | What it supports | What it does not prove |
|---|---|---|
| Clunk remains after new strut | The repair stack needs auditing | New strut is defective |
| Noise occurs over bumps | Suspension travel is relevant | Upper mount is proved |
| Old upper mount remains | A reused load interface is suspect | Torque and seating are correct |
| New mount passes same route | Mount was causal here | Every strut job requires the same parts |
Use listening tools only after inspection
If visual and mechanical inspection are inconclusive, chassis ears can compare locations on a controlled drive. Secure every sensor and cable away from tires, brakes and steering. The loudest channel narrows a region; it does not automatically name the component touching it. This is the decision point in the documented case. Its value comes from changing one bounded condition while leaving the rest of the system intact.
Find the retained upper mount
The upper strut mount had not been replaced and was causing the bump clunk. This was not proof that mounts must always accompany struts, but it showed why every interface in an assembly deserves explicit inspection when a new component does not change the complaint. A confirmed component still needs a repair that restores sealing, support, torque, routing or terminal fit—the physical conditions that keep the fault from returning.
Rebuild the interface correctly
Install the correct mount, seat the spring and bearings properly, and torque hardware at the specified conditions. Inspect the tower and the previously replaced strut for damage caused by the failed interface. Reusing distorted or loose hardware can preserve the sound. Reassemble protective covers and retainers before declaring success. A diagnostic shortcut must not become the next failure mechanism.
Repeat the same bump route
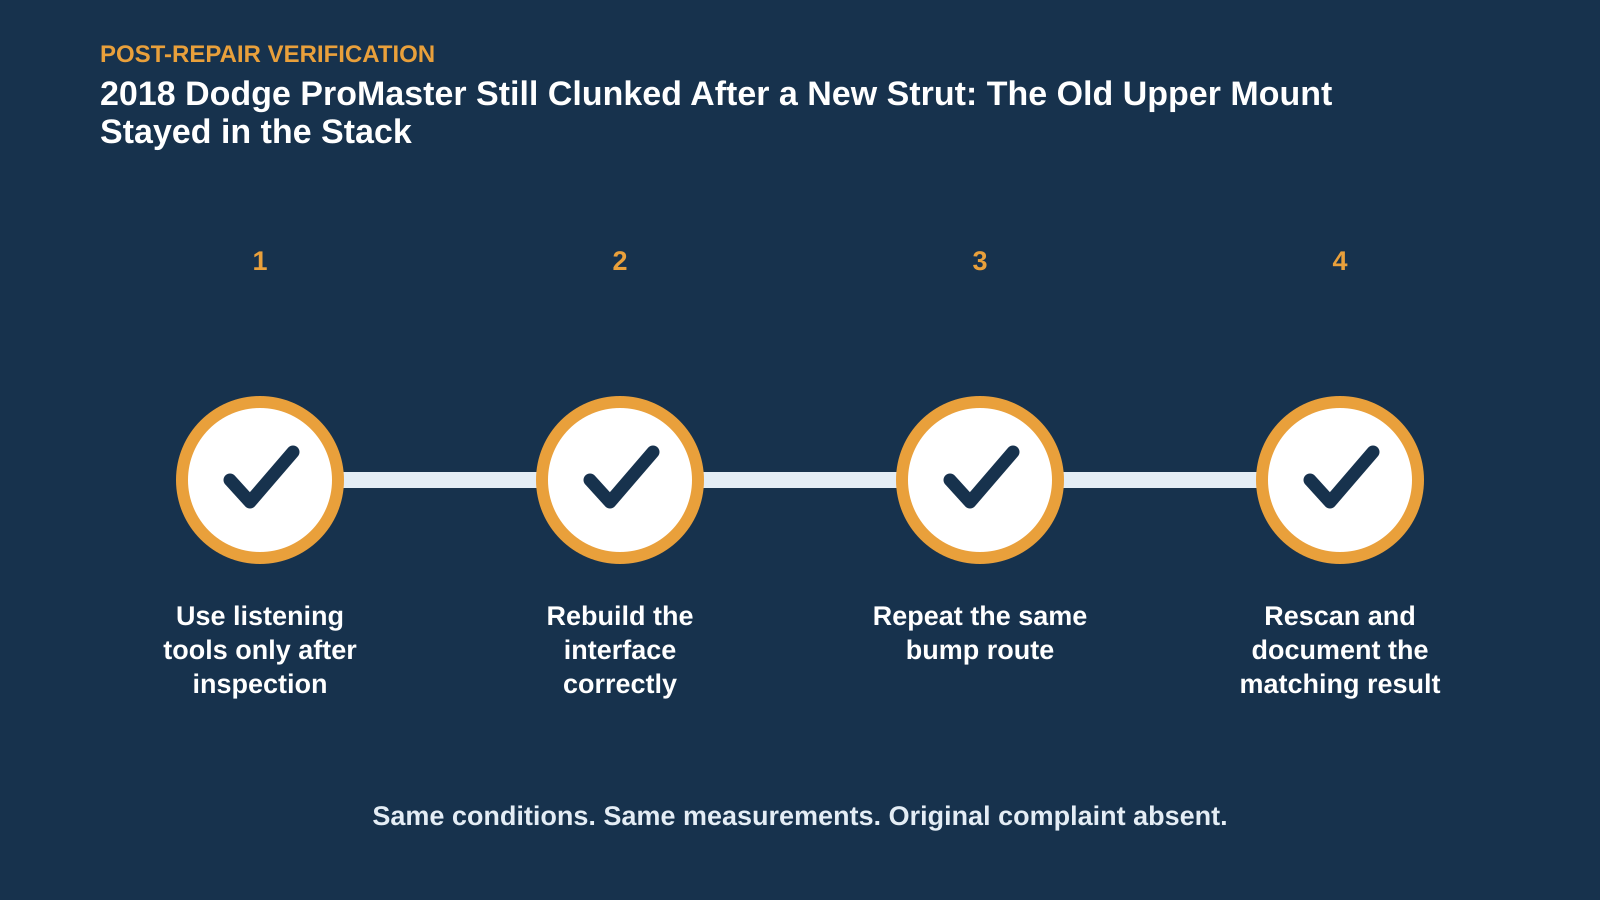
Repeat the identical bump route at the same speed, then recheck fasteners and steering return. Verify no new spring wind-up, pull or top-mount noise. The repair passes because the old trigger is quiet and the assembly remains correctly located—not because the vehicle is quiet on smooth pavement. Use the customer’s original complaint as the final specification. A cleared code, quiet bay or one good key cycle is not equivalent to reproducing and passing that condition.
If you are bringing a similar symptom to a shop, arrive with the useful conditions rather than a requested part: whether the vehicle was cold or hot, the exact speed or switch position, which warning lamps appeared, what changed after a restart, and a chronological list of earlier repairs. A short video can preserve an intermittent sound or lamp pattern, but record it only while parked or with a passenger handling the camera. Ask the technician to retain the pre-repair scan and measurements, explain the test that separated the failed path from the alternatives, and show how the original complaint was repeated afterward.
For the owner or service adviser, a useful repair explanation has three parts: what was observed, why the decisive test narrowed the fault, and which original condition passed after the repair. It should also say what the test did not prove. That boundary prevents a memorable case from becoming an automatic parts recommendation.
The replacement strut did not renew every load path in the assembly. The retained upper mount was the noise source; replacing it and repeating the bump route confirmed the repair. The reusable lesson is narrower and more valuable: Tell the story as an inventory of old and new parts in one stack; the missing interface is more useful than a generic list of clunk causes.








Comments 0
Questions, fixes, and real-world diagnostic notes from readers.
Be the first to share a diagnostic result or ask a follow-up question.