
2017 Kawasaki Ninja 1000 ABS/KIBS Light After Tire Work? Start With the Wheel Change

Abs Light After Tire Work?
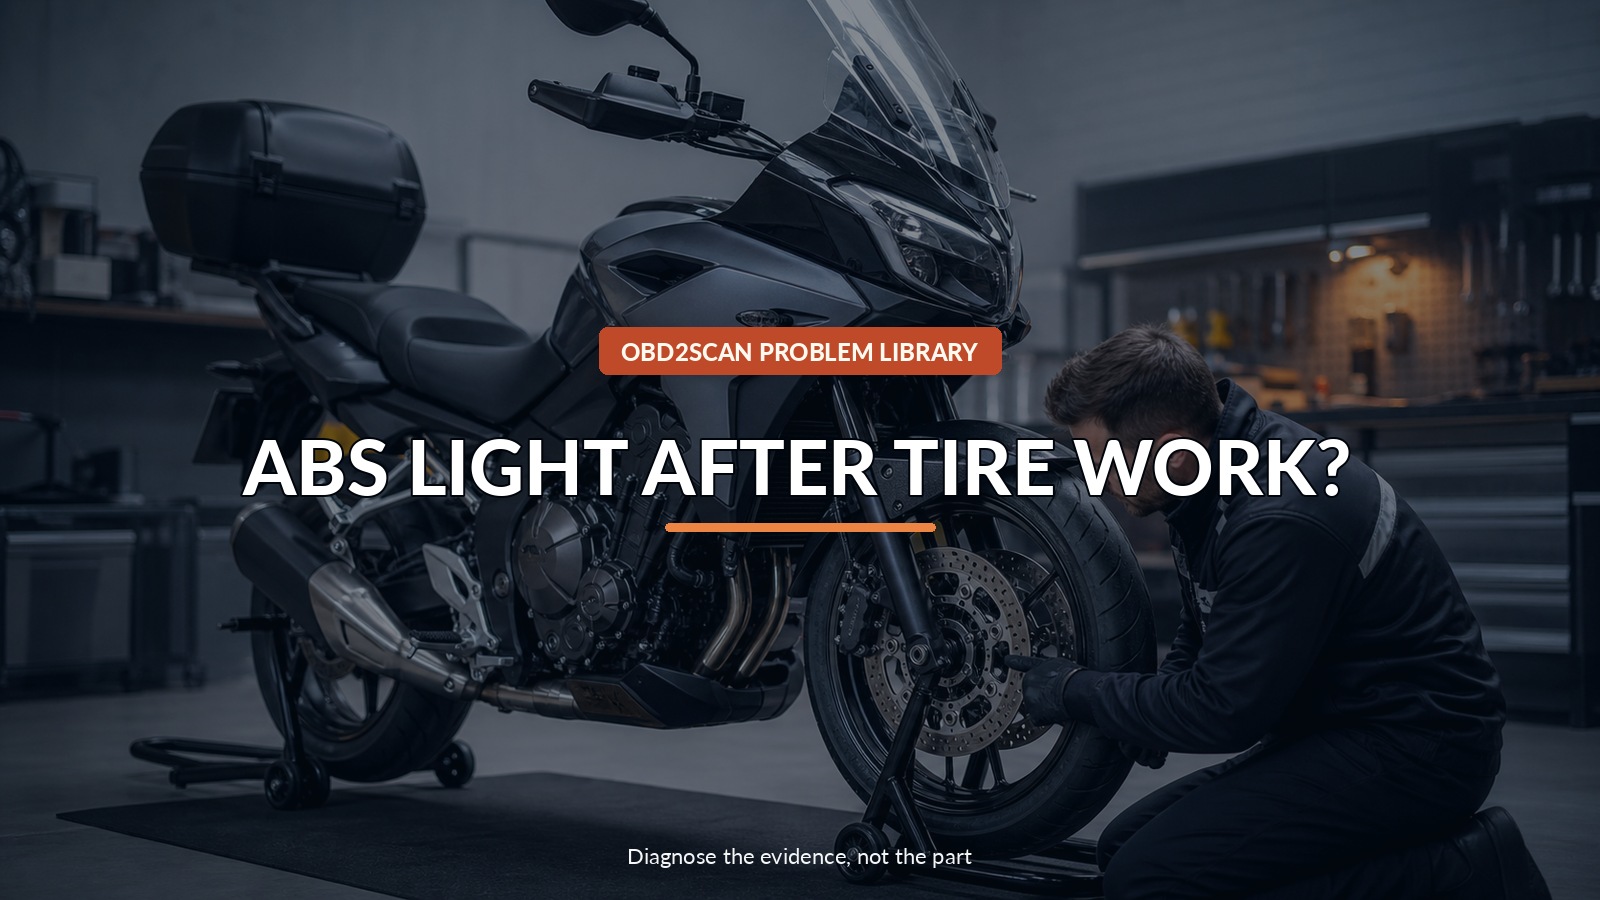
If the ABS or KIBS light remains on after tire, wheel, brake, or sensor-area work on a 2017 Kawasaki Ninja 1000, start with what changed. Kawasaki’s service manual explicitly notes that incorrect tire pressure, a non-recommended tire, or a deformed wheel can illuminate the indicators. A wheel-speed sensor is only one item in the scene.
Once the motorcycle is statically safe, a motorcycle scan tool may preserve supported ABS/KIBS codes and wheel-speed data. The FXTUL M4 Asia motorcycle diagnostic tool lists Kawasaki access as a supported brand route. It cannot prove sensor air gap or tire correctness, make unsafe brakes rideable, or guarantee 2017 Ninja 1000 KIBS functions without confirming the exact motorcycle, cable, software, and coverage.
Keep the road test last. First prove base braking, tire fitment, wheel installation, sensor ring, wiring, battery condition, and saved fault story while the motorcycle is securely supported. Stop and do not ride if base braking, wheel installation, tire fitment, or sensor-area routing is uncertain.
Quick answer: Prove base brakes are safe, reconstruct wheel work, match tires and pressures, inspect the tone ring and sensor path, then read codes before any ride.
In this guide
- Decide whether the motorcycle may move
- Reconstruct everything changed at the wheel
- Match tires and cold pressures to the manual
- Inspect ring, gap, routing, and connectors
- Read KIBS codes without clearing the story
- Compare wheel-speed evidence only when safely supported
- Keep battery and IMU branches available
- Verify statically before a controlled ride
Decide whether the motorcycle may move
Check front and rear brake lever/pedal feel, fluid level and leaks, caliper mounting, axle and pinch-bolt installation, wheel rotation, tire seating, steering clearance, and any binding. If braking is soft, a wheel is loose, the tire rubs, a line is twisted, or hardware is uncertain, do not ride. Transport the motorcycle to a qualified technician.
ABS/KIBS assists braking but does not replace the base hydraulic system. A warning light may mean anti-lock or integrated functions are unavailable even if ordinary brakes still operate. Follow the owner’s manual warning guidance.
Reconstruct everything changed at the wheel
Make a change log from the last known normal ride. Record tire brand/model/size, wheel removed, direction of installation, balancing work, rotor/caliper movement, axle spacers, sensor removal, wiring clips, battery disconnection, and any aftermarket wheel or gearing change.
Photograph both wheel sides before further disassembly. Compare spacer placement, ring orientation, fasteners, harness routing, and tire arrows with the current Kawasaki manual. A problem that began immediately after work gives disturbed areas priority without proving technician error.
Match tires and cold pressures to the manual
Read both sidewalls and compare size, construction, load/speed rating, and model recommendation with the motorcycle’s exact market specification. Measure cold pressure with a reliable gauge before heating the tires. Check for bead seating, out-of-round condition, bulges, damage, and wheel deformation.
Front and rear rolling circumference feed wheel-speed plausibility. A non-recommended combination can produce a ratio the system judges abnormal even when both sensors function. Do not lower or raise pressure to turn off a light; set the manual value for the load and correct the underlying fitment.
Inspect ring, gap, routing, and connectors
Rotate each wheel by hand on proper stands. Inspect the tone ring for bent teeth, contamination, incorrect orientation, looseness, or contact marks. Measure sensor clearance only by Kawasaki’s method and specification; visual “looks close” is not enough.
Follow the wire from sensor to connector. Look for stretching at full steering lock or suspension travel, pinch points under clips, chafing, bent pins, water, and a connector that appears latched but is not fully seated. Never pry on the sensor ring or use a magnetic tool as an improvised gap gauge.
| Change found | Evidence to collect before parts |
|---|---|
| Different tire model/size | Sidewall photos, cold pressures, circumference/specification comparison |
| Wheel removed | Spacer, axle, ring orientation, torque and rotation checks |
| Sensor disturbed | Gap, mounting face, connector, routing, resistance only if specified |
| Battery disconnected/weak | Resting and cranking voltage, related low-voltage codes |
Read KIBS codes without clearing the story
Connect only with the ignition state and adapter specified for the diagnostic system. Save current and history codes, descriptions, occurrence data, battery voltage, and available wheel-speed values before clearing. Do not assume a generic code description contains the motorcycle-specific test.
Exact tool coverage matters. Confirm model year, region, ECU, ABS/KIBS system, cable, and software version with the tool’s coverage information. If access is unsupported or uncertain, use Kawasaki KDS or another documented professional route.
Compare wheel-speed evidence only when safely supported
If the service manual permits a static wheel-speed observation, support the motorcycle correctly and keep clothing, hands, leads, and stands clear. Compare front and rear data while turning wheels at a controlled low speed. One fixed zero, implausible jump, or dropout can direct the ring/sensor/circuit branch.
Do not run the motorcycle in gear on a casual paddock stand or defeat safety interlocks. Some faults only validate above road speed; that fact does not override the static safety gate.
Keep battery and IMU branches available
A weak 12-volt battery, poor ground, network fault, or interrupted calibration can coexist with recent wheel work. Test low-voltage condition and save all-system faults. If KIBS uses inertial data on the exact configuration, follow Kawasaki’s mounting and calibration procedures; do not attempt to “zero” an IMU from generic advice.
When tires, pressures, wheels, rings, gaps, and wiring pass, the code-specific service tree—not the recent service story—decides whether a sensor, control unit, or another input needs testing.
Verify statically before a controlled ride
Recheck hydraulic feel, leaks, axle/fastener installation, free wheel rotation, pressures, tire specification, ring clearance, connectors, battery voltage, and stored codes. Only then should a trained rider perform the manual’s controlled confirmation in a safe area and at the required speed.
Afterward, rescan without erasing new evidence. Verification means normal base brakes, correct hardware and tires, plausible wheel-speed behavior, warning-lamp operation that matches Kawasaki’s self-test, and no returning fault—not simply a light cleared in the workshop.
Make the repair record wheel-specific
The handoff should identify front or rear wheel, installed tire and size, cold pressure, spacer positions, axle and caliper work, ring condition, measured gap, connector state, battery voltage, and every saved KIBS code. Ask the technician to state exact diagnostic-tool coverage and the static checks completed before riding. This compact change log prevents a generic sensor replacement from hiding an incorrect tire, distorted ring, or routing problem introduced during the same service.







Comments 0
Questions, fixes, and real-world diagnostic notes from readers.
Be the first to share a diagnostic result or ask a follow-up question.