
2004 Jaguar XJ Cold-Start Valve-Cover Noise: The Drive Belt Was Throwing Its Voice

Valve-Cover Noise? Listen To The Belt Drive
The first clue in this case was not a fault code. It was a clock: a noise that occupied the first ten minutes of the morning, then disappeared before an ordinary inspection could begin.
When this diagnostic path reaches a measurement question, the useful machine type is one that answers only that question. For that supporting role, the FXTUL Sonic Belt Tension Tester is one practical option. A sonic belt-tension tester can help compare an accessible stationary belt span with the applicable specification. It cannot identify a bad idler, test a moving belt, or replace Jaguar routing and tension procedures.
<strong>Quick answer:</strong> The apparent top-end noise was accessory-drive vibration transmitted into the engine. Belt, tensioner and idler service removed the cold-start sound. This article follows one documented vehicle. It explains the evidence chain, not a universal failure rate or a direction to replace the same part on every similar car. Stop whenever the test would involve overheated brakes, high current, moving parts, refrigerant handling or an uncontrolled road condition.
Quick answer: The apparent top-end noise was accessory-drive vibration transmitted into the engine. Belt, tensioner and idler service removed the cold-start sound.
In this guide
Treat the first ten minutes as evidence
The useful first test condition was not simply “engine running.” The sound appeared on the first start of the morning, stayed for roughly ten minutes and then faded. Record ambient temperature, start time and fade-out time before warming the car, because a later restart may remove the only condition that makes the fault visible. Preserve the original condition before changing it. The first observation is the control sample against which every later test must be compared.
Separate the loudest point from the source
Listening at both valve covers made valve-train trouble plausible, but sound travels through brackets, castings and mounts. Compare the covers, timing case, alternator, idlers and tensioner from safe positions. The loudest surface is a listening point; it is not automatically the component creating the vibration. Use service information for the exact engine, build date and options. A correct method on the wrong terminal can create a precise but useless result.
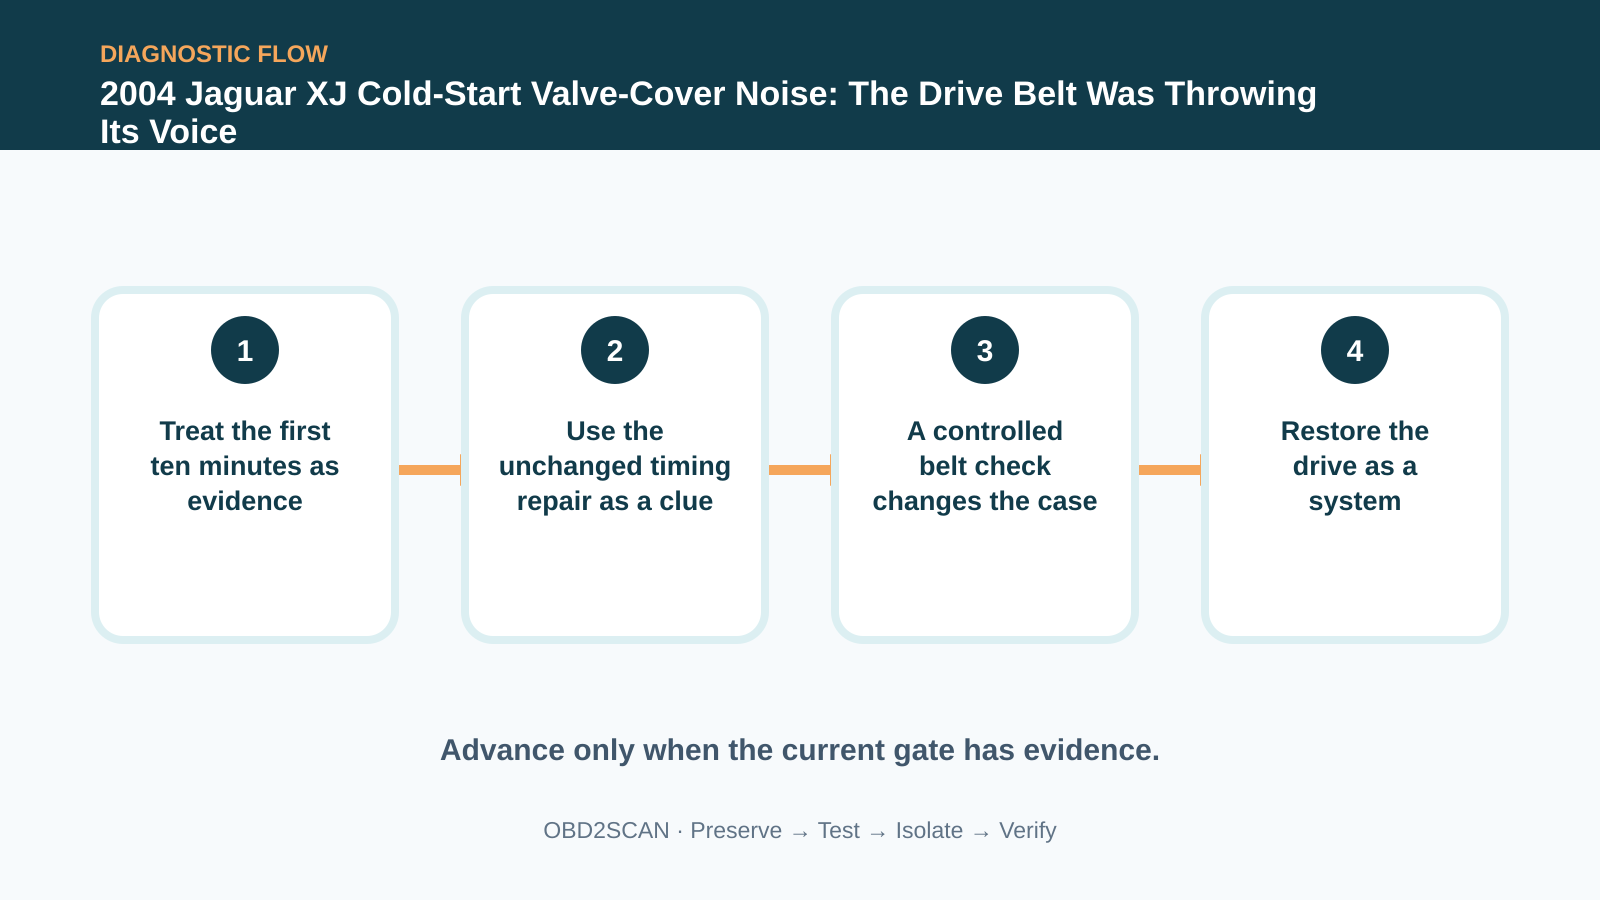
Use the unchanged timing repair as a clue
The timing-chain tensioners had already been replaced and the symptom was unchanged. That history should lower confidence in the original theory rather than trigger another timing repair. Confirm oil level and warning status, preserve the cold-start recording, and reopen the search to systems that change during warm-up. Treat prior work as evidence, not blame. A repair that made no change can narrow the case when its installation and test conditions are verified.
Do not dismiss the quieter belt chirp
A quieter chirp from the accessory drive was easy to dismiss beside the apparent top-end clatter. Yet its timing matched the complaint. Belt dust, glazing, misalignment, bearing roughness and tensioner movement deserve inspection because a small belt event can excite a much louder resonance elsewhere. At this stage, separate what was observed from what is inferred. The observation should remain true even if the current theory is later rejected.
| Observation | What it supports | What it does not prove |
|---|---|---|
| Noise loud at valve covers | Top end is a listening point | Valve train is the source |
| Chain work changed nothing | Original theory loses weight | Timing is certified |
| Belt unload changes noise | Accessory drive is causal | One pulley is identified |
| New drive parts pass cold test | Drive fault is resolved | All engine noise is harmless |
A controlled belt check changes the case
In the documented case, the belt was slipped briefly for a controlled check and the tensioner banged as the belt unloaded. Such a test belongs to a trained technician following the vehicle procedure; never work around a moving belt. The sudden change connected the accessory drive to the noise far more strongly than listening alone. This is the decision point in the documented case. Its value comes from changing one bounded condition while leaving the rest of the system intact.
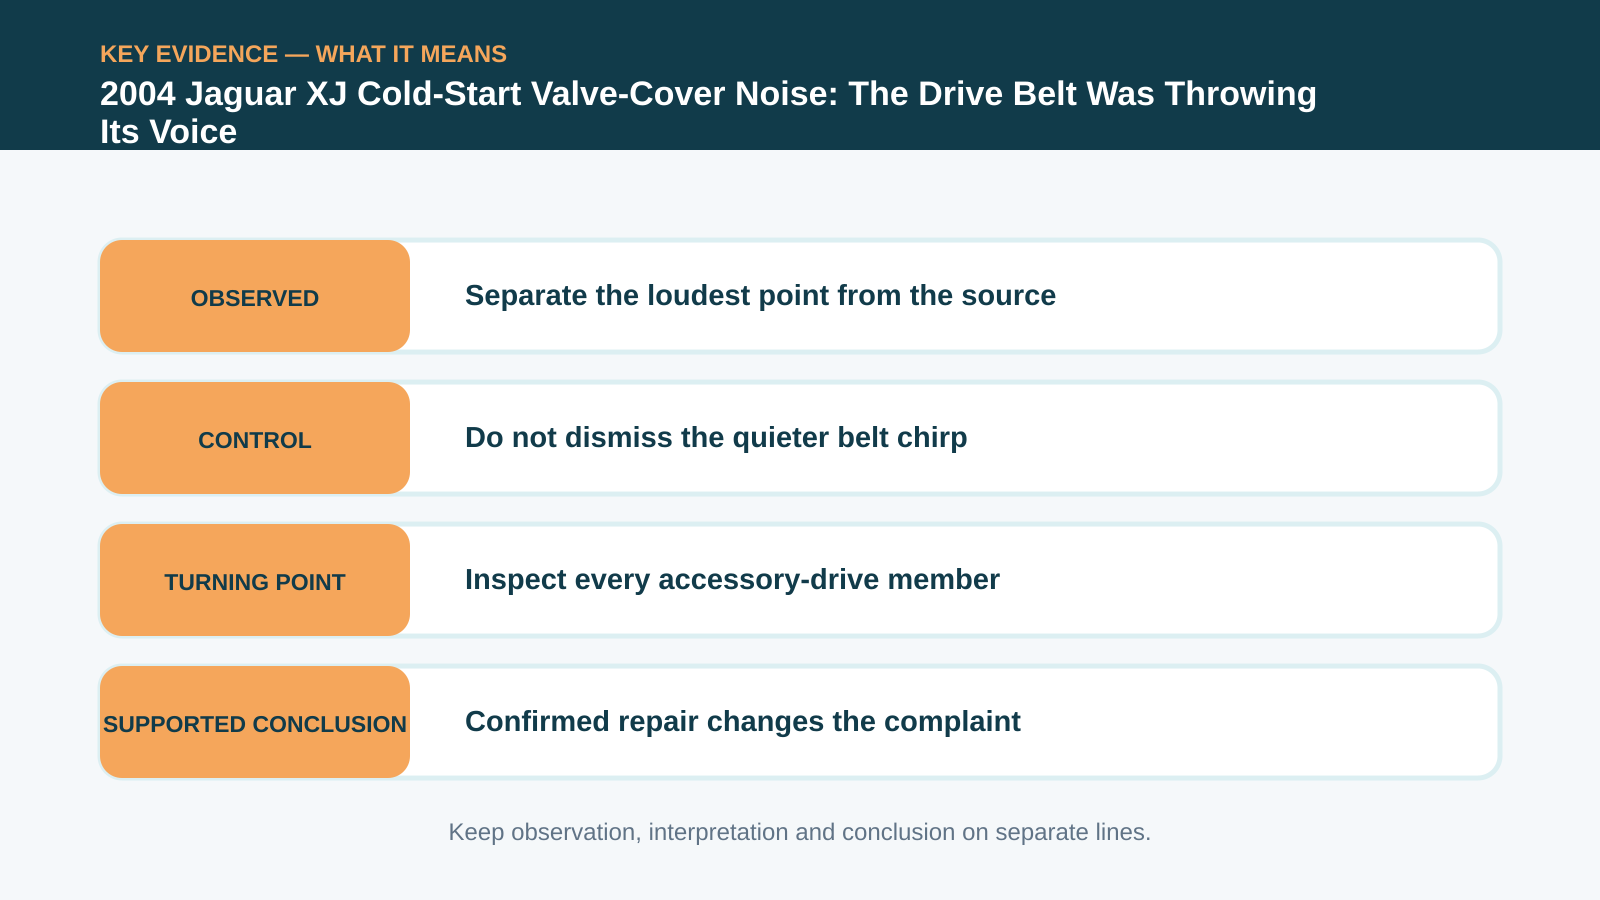
Inspect every accessory-drive member
With the engine off and starting disabled, turn accessible pulleys by the approved method and inspect the belt path. Check the tensioner pivot, travel and damping as well as idler bearings and pulley alignment. Replacing only a worn belt while a weak tensioner remains can preserve the mechanism. A confirmed component still needs a repair that restores sealing, support, torque, routing or terminal fit—the physical conditions that keep the fault from returning.
Restore the drive as a system
The confirmed repair replaced the belt, tensioner and idler together. Correct routing, seating and fastener torque matter. If a tension value is specified for the exact drive, measure the stationary span; do not use a universal number or place a sensor near rotating parts. Reassemble protective covers and retainers before declaring success. A diagnostic shortcut must not become the next failure mechanism.
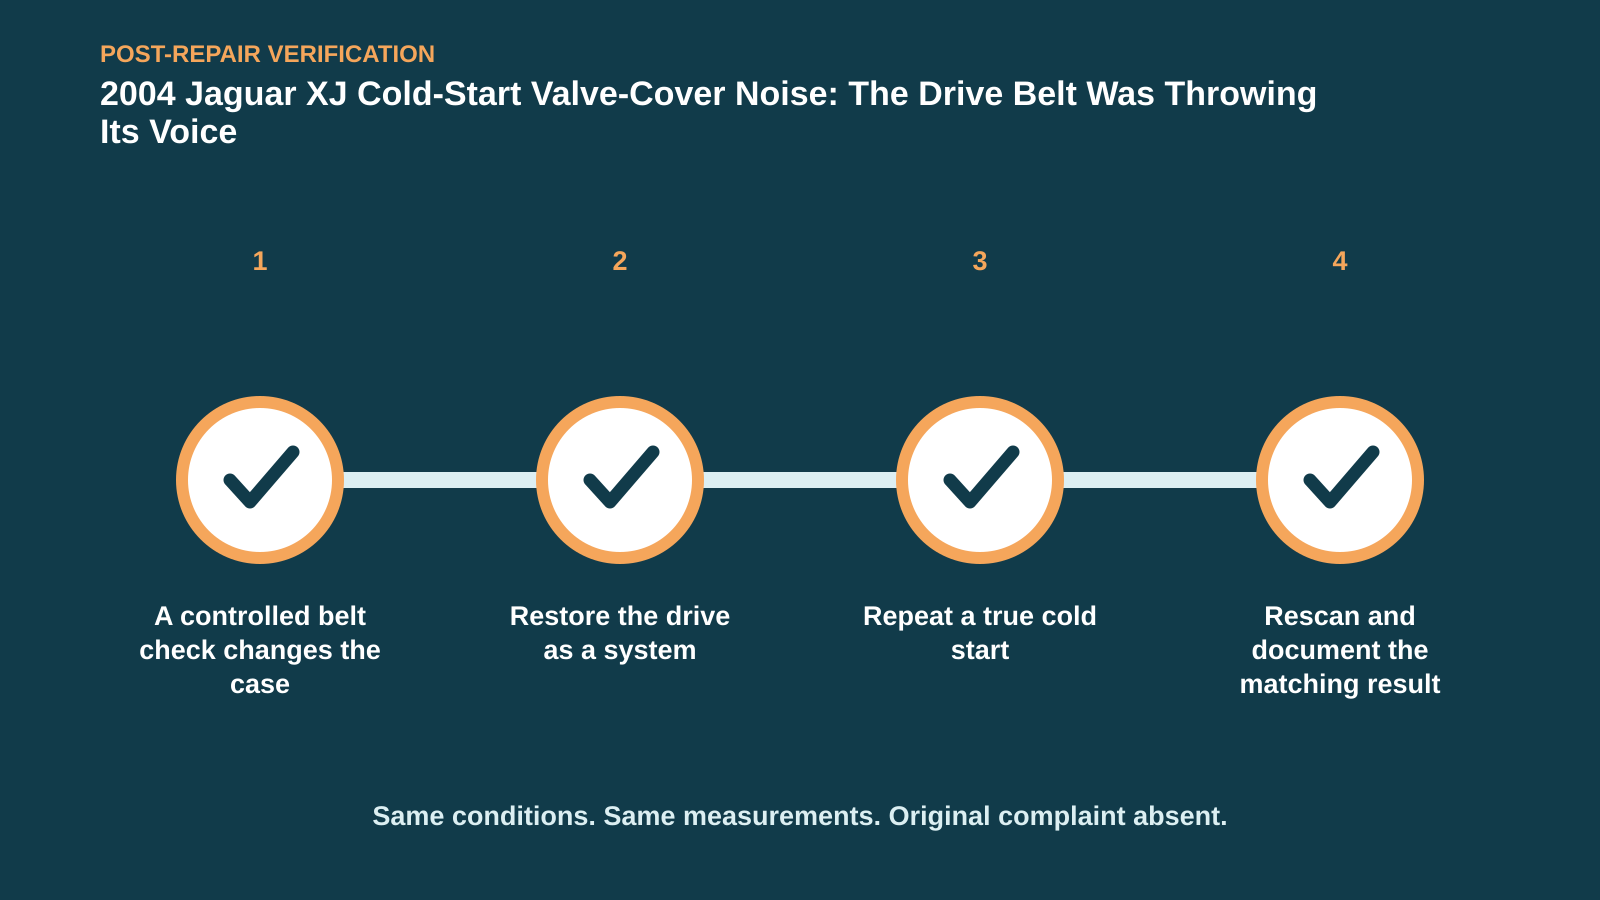
Repeat a true cold start
Leave the vehicle cold long enough to recreate the original morning condition. Repeat the timed start, listen at the same points, watch the drive safely and inspect tracking after shutdown. The absence of noise through the full former ten-minute window made the repair credible, not one quiet warm restart. Use the customer’s original complaint as the final specification. A cleared code, quiet bay or one good key cycle is not equivalent to reproducing and passing that condition.
If you are bringing a similar symptom to a shop, arrive with the useful conditions rather than a requested part: whether the vehicle was cold or hot, the exact speed or switch position, which warning lamps appeared, what changed after a restart, and a chronological list of earlier repairs. A short video can preserve an intermittent sound or lamp pattern, but record it only while parked or with a passenger handling the camera. Ask the technician to retain the pre-repair scan and measurements, explain the test that separated the failed path from the alternatives, and show how the original complaint was repeated afterward.
For the owner or service adviser, a useful repair explanation has three parts: what was observed, why the decisive test narrowed the fault, and which original condition passed after the repair. It should also say what the test did not prove. That boundary prevents a memorable case from becoming an automatic parts recommendation.
The apparent top-end noise was accessory-drive vibration transmitted into the engine. Belt, tensioner and idler service removed the cold-start sound. The reusable lesson is narrower and more valuable: Build the story around sound transfer: the loudest listening point did not identify the source.









Comments 0
Questions, fixes, and real-world diagnostic notes from readers.
Be the first to share a diagnostic result or ask a follow-up question.