
How to Use the MRCARTOOL Manual Brake Fluid Bleeder Pump

The MRCARTOOL manual brake fluid bleeder pump uses a hand-pumped pressure vessel, gauge, relief hardware, reservoir adapters and a separate catch bottle to support one-person pressure bleeding. It does not decide which brake fluid, adapter, pressure, service-point order or electronic procedure is correct for the vehicle. Confirm those five items first, fill the clean supply vessel with new fluid, seal the correct reservoir adapter, raise pressure gradually, then bleed only one prescribed point at a time while watching both the gauge and the fluid supply.
Quick answer: Use only new brake fluid of the exact vehicle specification. Keep the hand pump depressurized and all parts dry while selecting a reservoir adapter that seals without forcing. Fill the clean supply vessel, connect its hose to the adapter, pump slowly only to the pressure allowed by the vehicle procedure, and check every joint. At the first prescribed service point, fit a snug clear hose into the catch bottle, open the bleeder the specified amount, watch for clean bubble-free fluid, then close it before moving on. Never let the supply run low. Finish by relieving pressure to a stable zero before removing the reservoir adapter, setting the final level and performing the required pedal, leak, warning and controlled-stop checks.
In this guide
Understand the tool and its limits
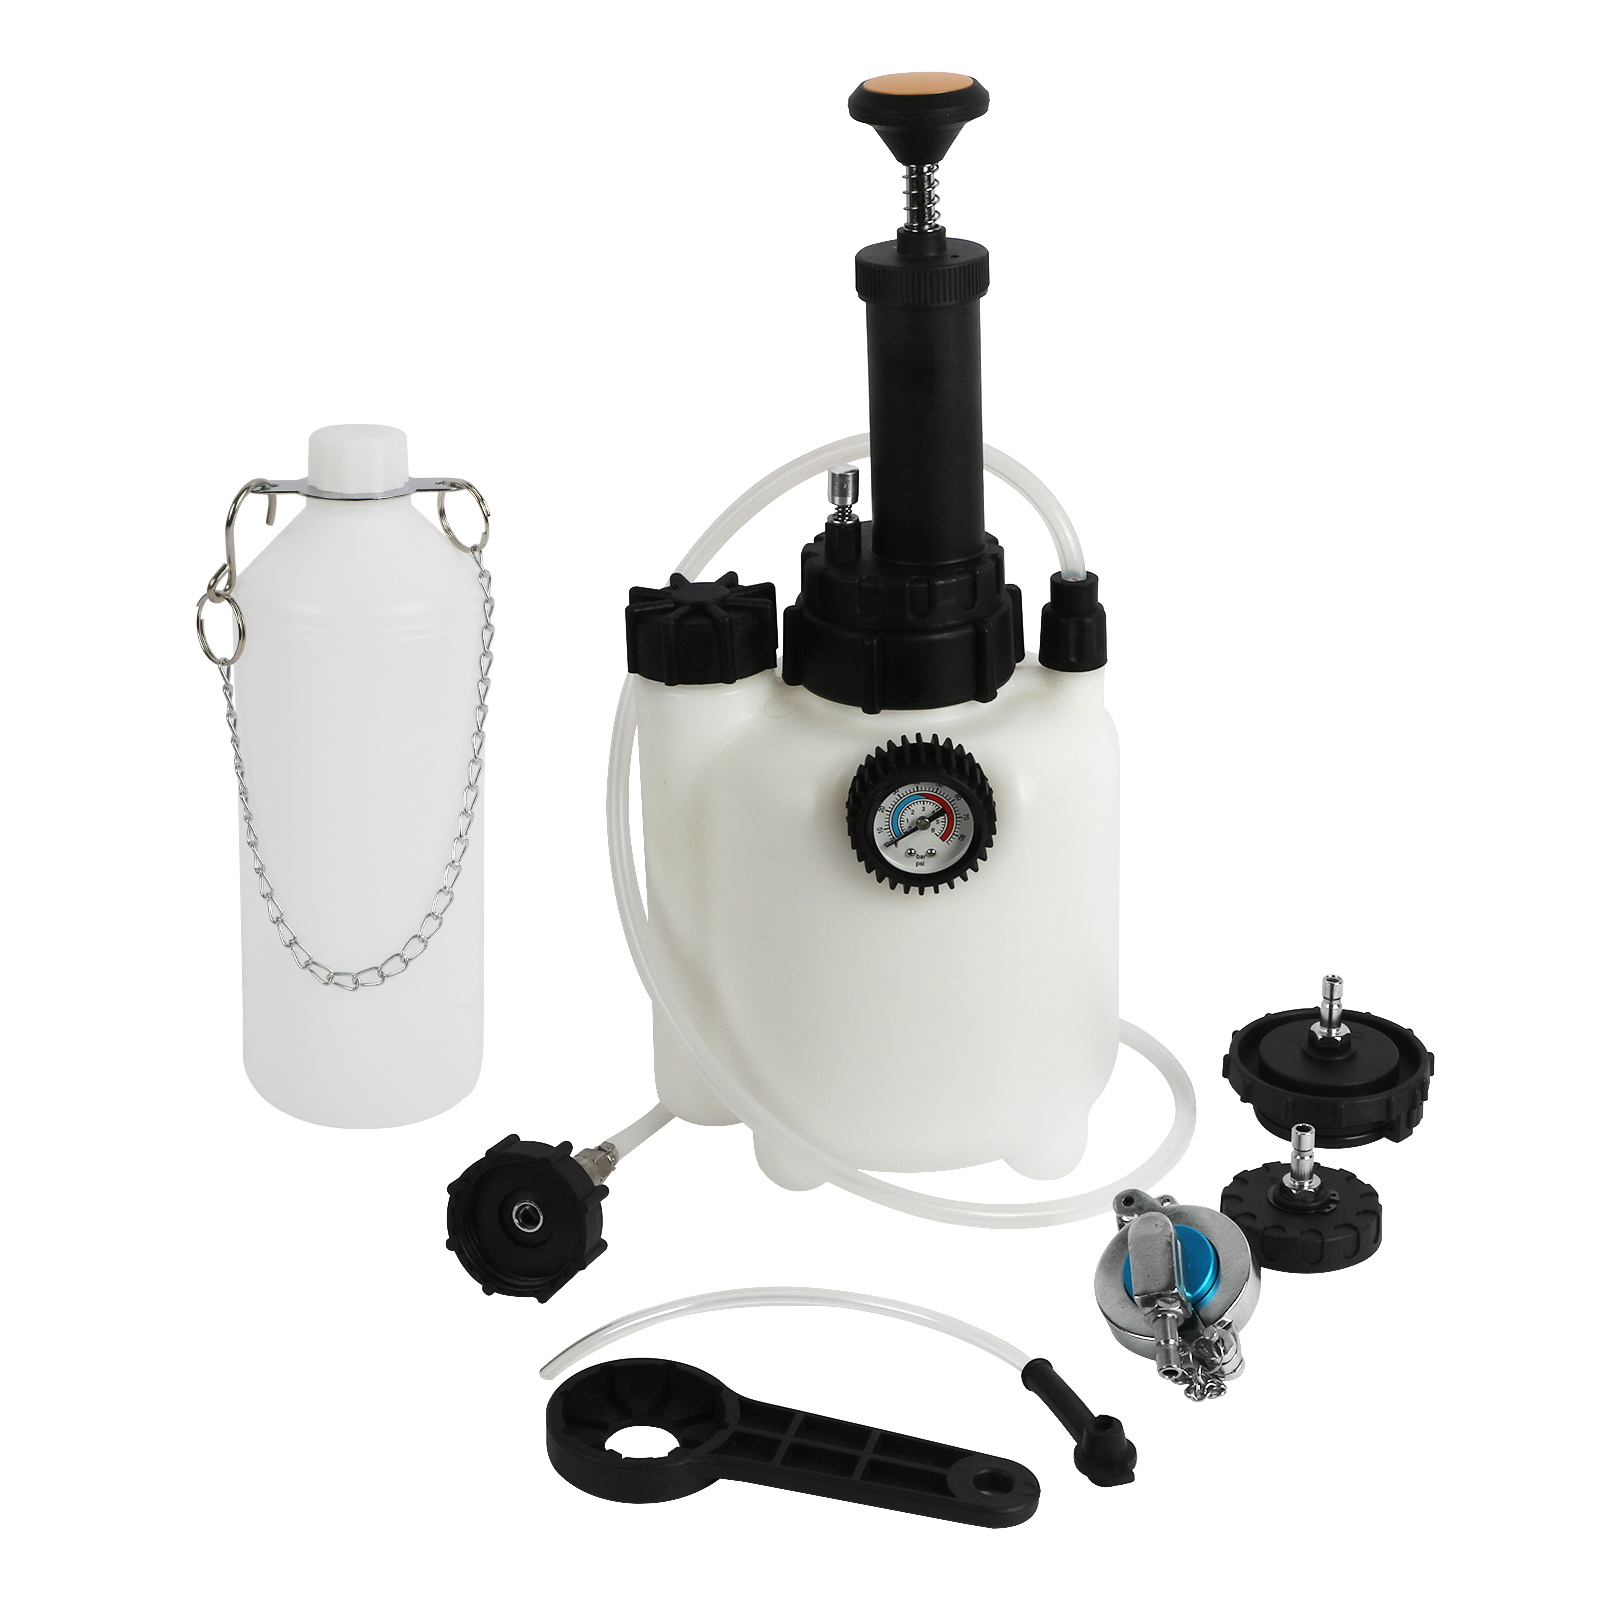
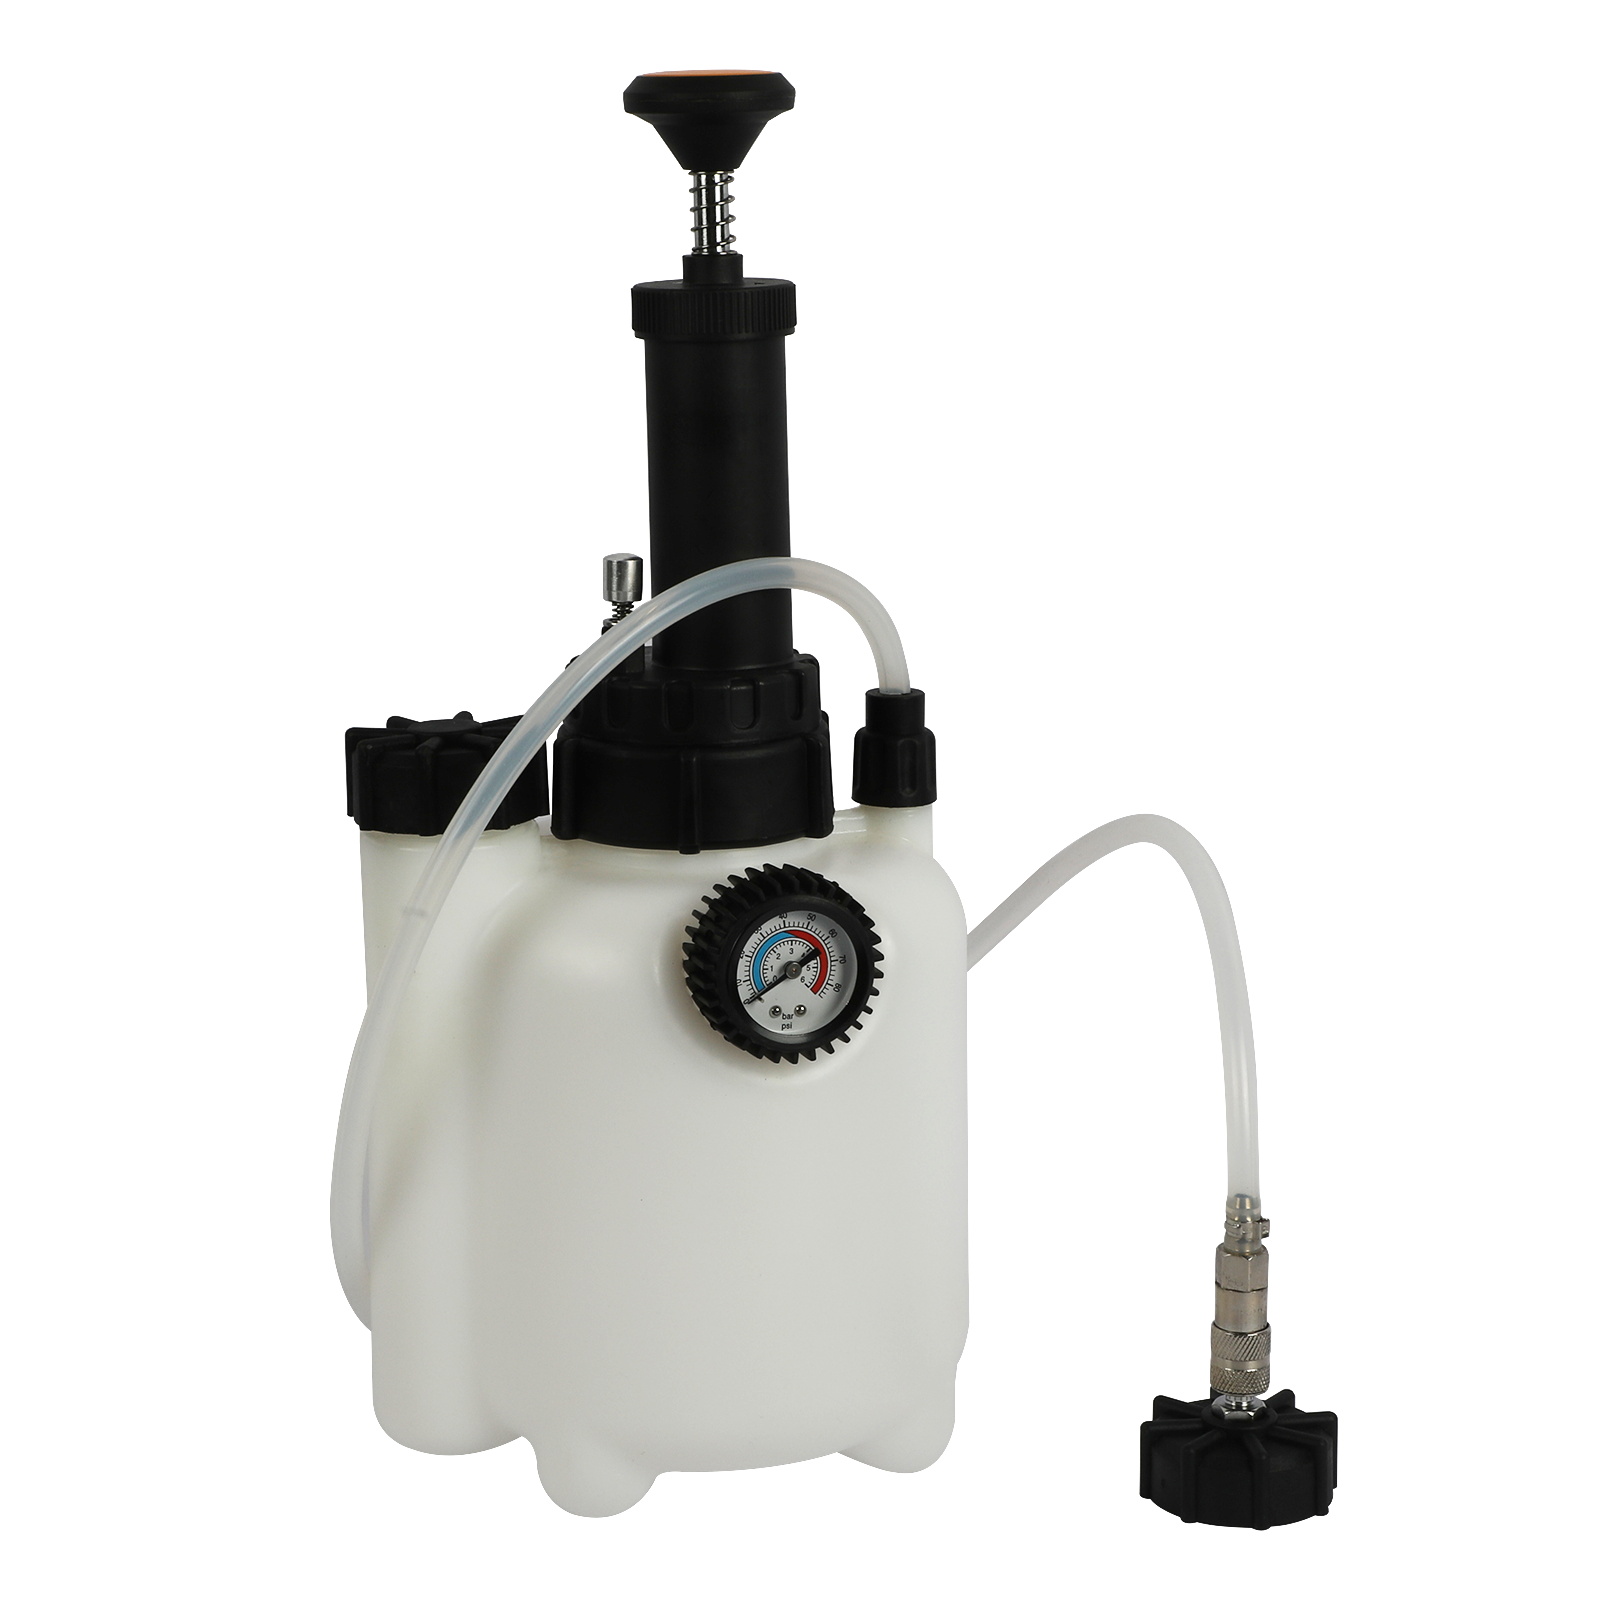
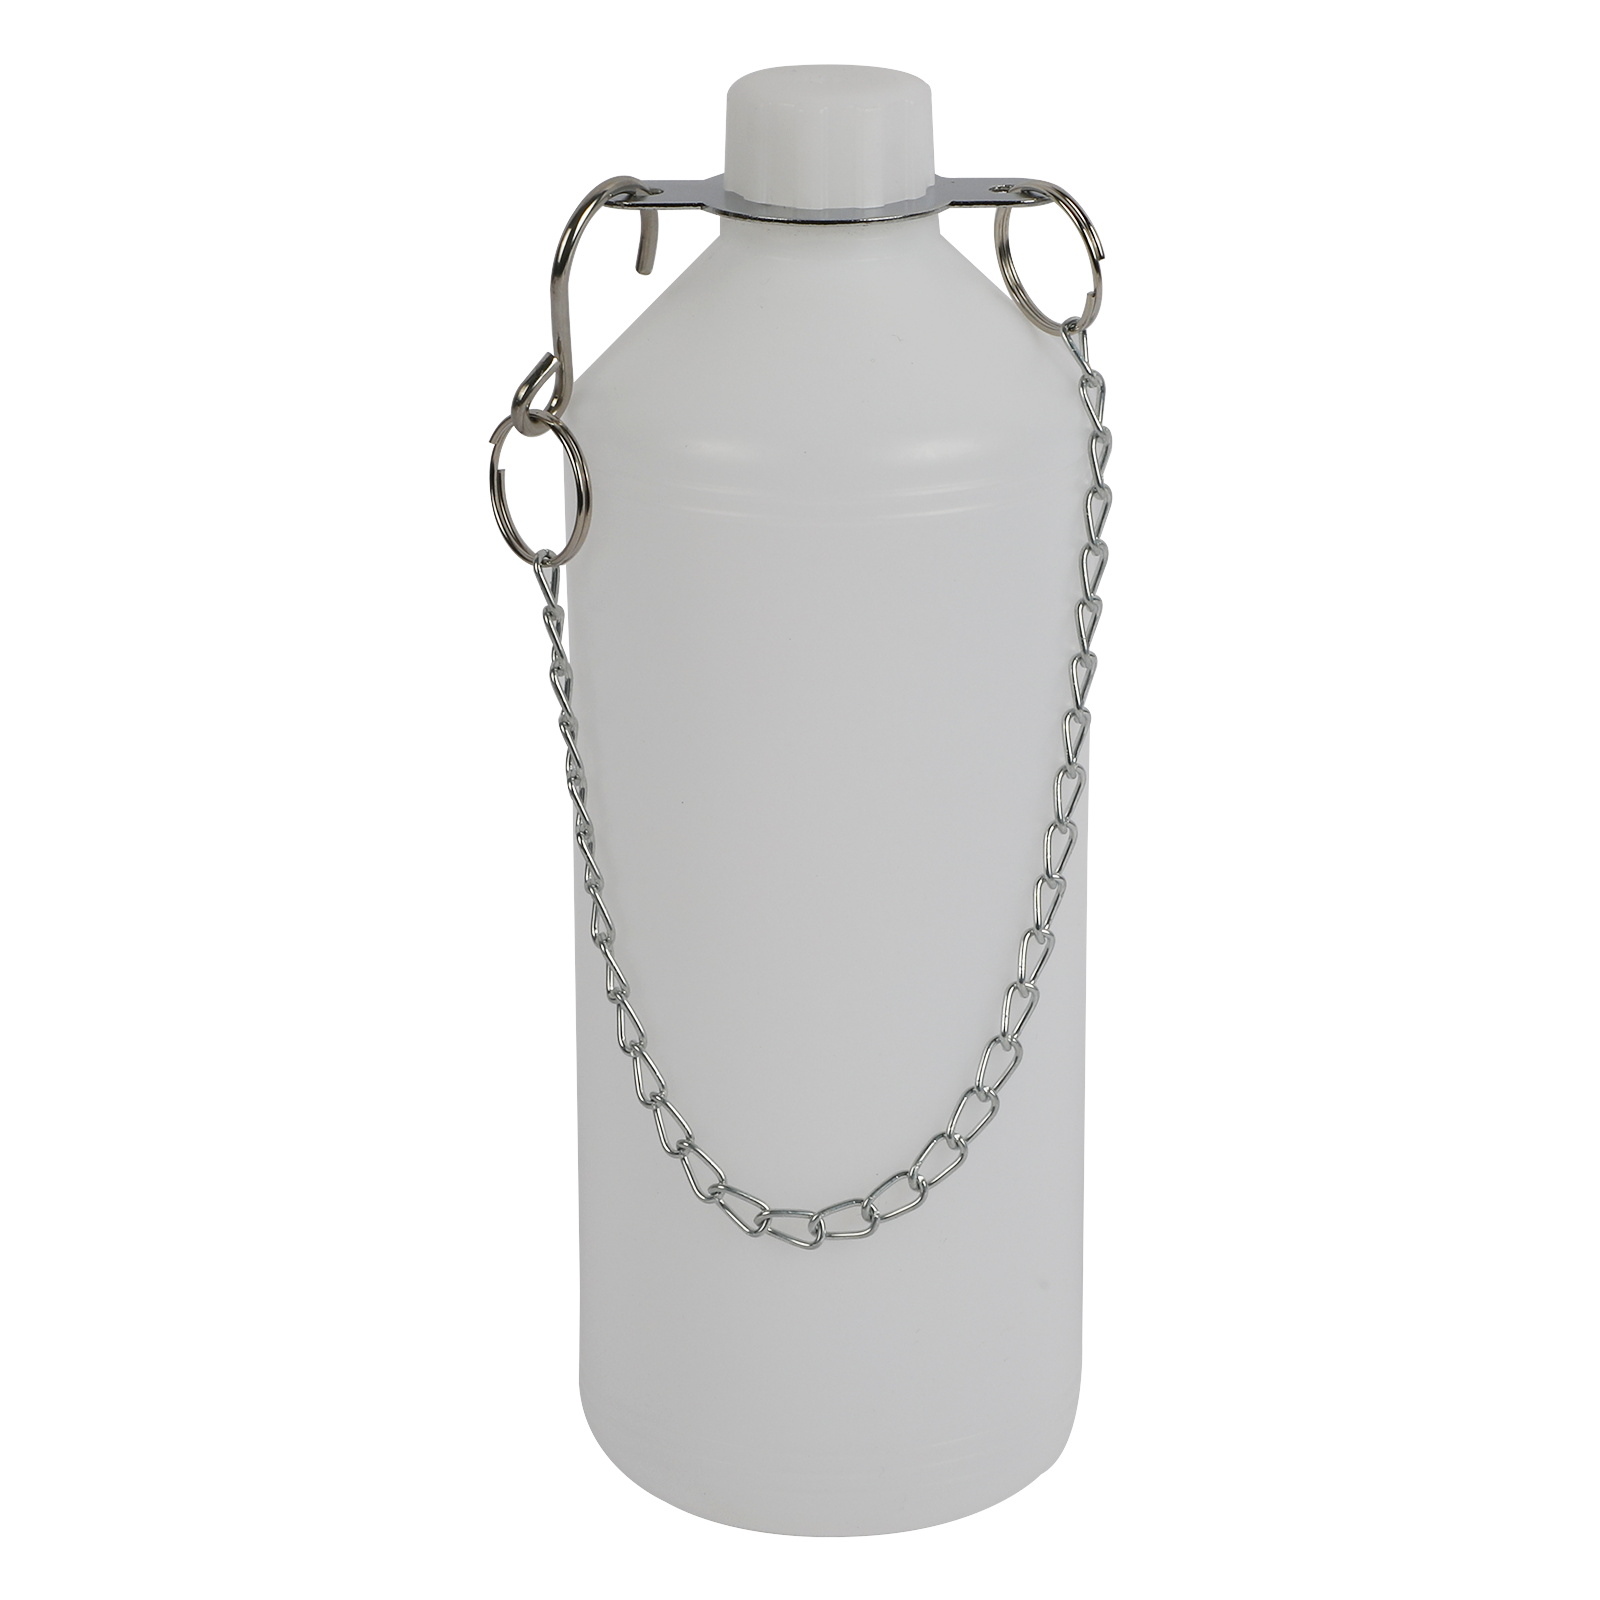
The illustrated kit has two distinct fluid containers. The larger hand-pumped vessel is the clean supply side: its plunger creates pressure and its gauge lets the operator observe that pressure. The smaller chained bottle is the dirty-fluid collection side used at a wheel or other bleed point. Keep the supply-side parts, funnels and adapters completely separate from the catch bottle, used hose and bleeder tools. Cross-contamination defeats the purpose of the exchange.
This is a pressure bleeder, not an automatic diagnostic machine. Pressure can move new fluid through an eligible hydraulic circuit while the operator works at each bleeder, but it cannot repair a leak, identify the fluid, choose the correct wheel order, activate ABS valves, bench-bleed a master cylinder or prove that all air has left a dry system. Those decisions come from current vehicle service information.
Brake hydraulics are safety-critical. Wear splash goggles and fluid-resistant gloves, protect paint and electrical parts, support the vehicle correctly, and keep compatible spill-control materials ready. If the specified fluid, safe pressure, reservoir adapter, bleed sequence or final acceptance test is unknown, stop before opening the system. A vehicle with an abnormal pedal, leak, warning indicator or uncertain result must not be driven.
Do not guess pressure from the gauge
The gauge shows vessel pressure; it does not mark a universal safe setting for every reservoir. Plastic reservoirs, caps, seals and adapter shapes vary. Obtain the permitted pressure from the exact vehicle procedure and any instructions supplied with the kit. Raise pressure slowly and stay below the lowest applicable limit. Never use a familiar value from another vehicle, and never connect shop air to the pictured hand-pump vessel unless exact supplied instructions explicitly identify an approved air connection and limit.
Prepare fluid, adapters and vehicle
Read the reservoir cap, current service information and fluid container label. Use enough new, unopened brake fluid of the exact specification for priming and the complete vehicle sequence, with a visible reserve. Do not select fluid by color, and do not mix DOT families, mineral hydraulic fluid or silicone fluid unless the vehicle explicitly permits that exact fluid. Never pour captured fluid back into the supply vessel or vehicle.
- Identify whether the job is a routine fluid exchange, bleeding after a component replacement or recovery of a dry circuit; these are not interchangeable procedures.
- Resolve active leaks, an unexplained low reservoir, damaged hoses or lines, an abnormal pedal and brake warnings before beginning a routine exchange.
- Confirm whether an ABS scan-tool routine, electric parking-brake state, ignition state, pedal operation or special sequence is required.
- Clean the master-cylinder area before removing its cap so dirt cannot enter the hydraulic system.
- Inspect the vessel, plunger, gauge, relief hardware, hose, seals, adapters, catch bottle and chain; do not use cracked, swollen, wet or contaminated parts.
- Place the vehicle on a stable surface and support it as required for safe access to the prescribed bleed points.
Choose and dry-fit the reservoir adapter
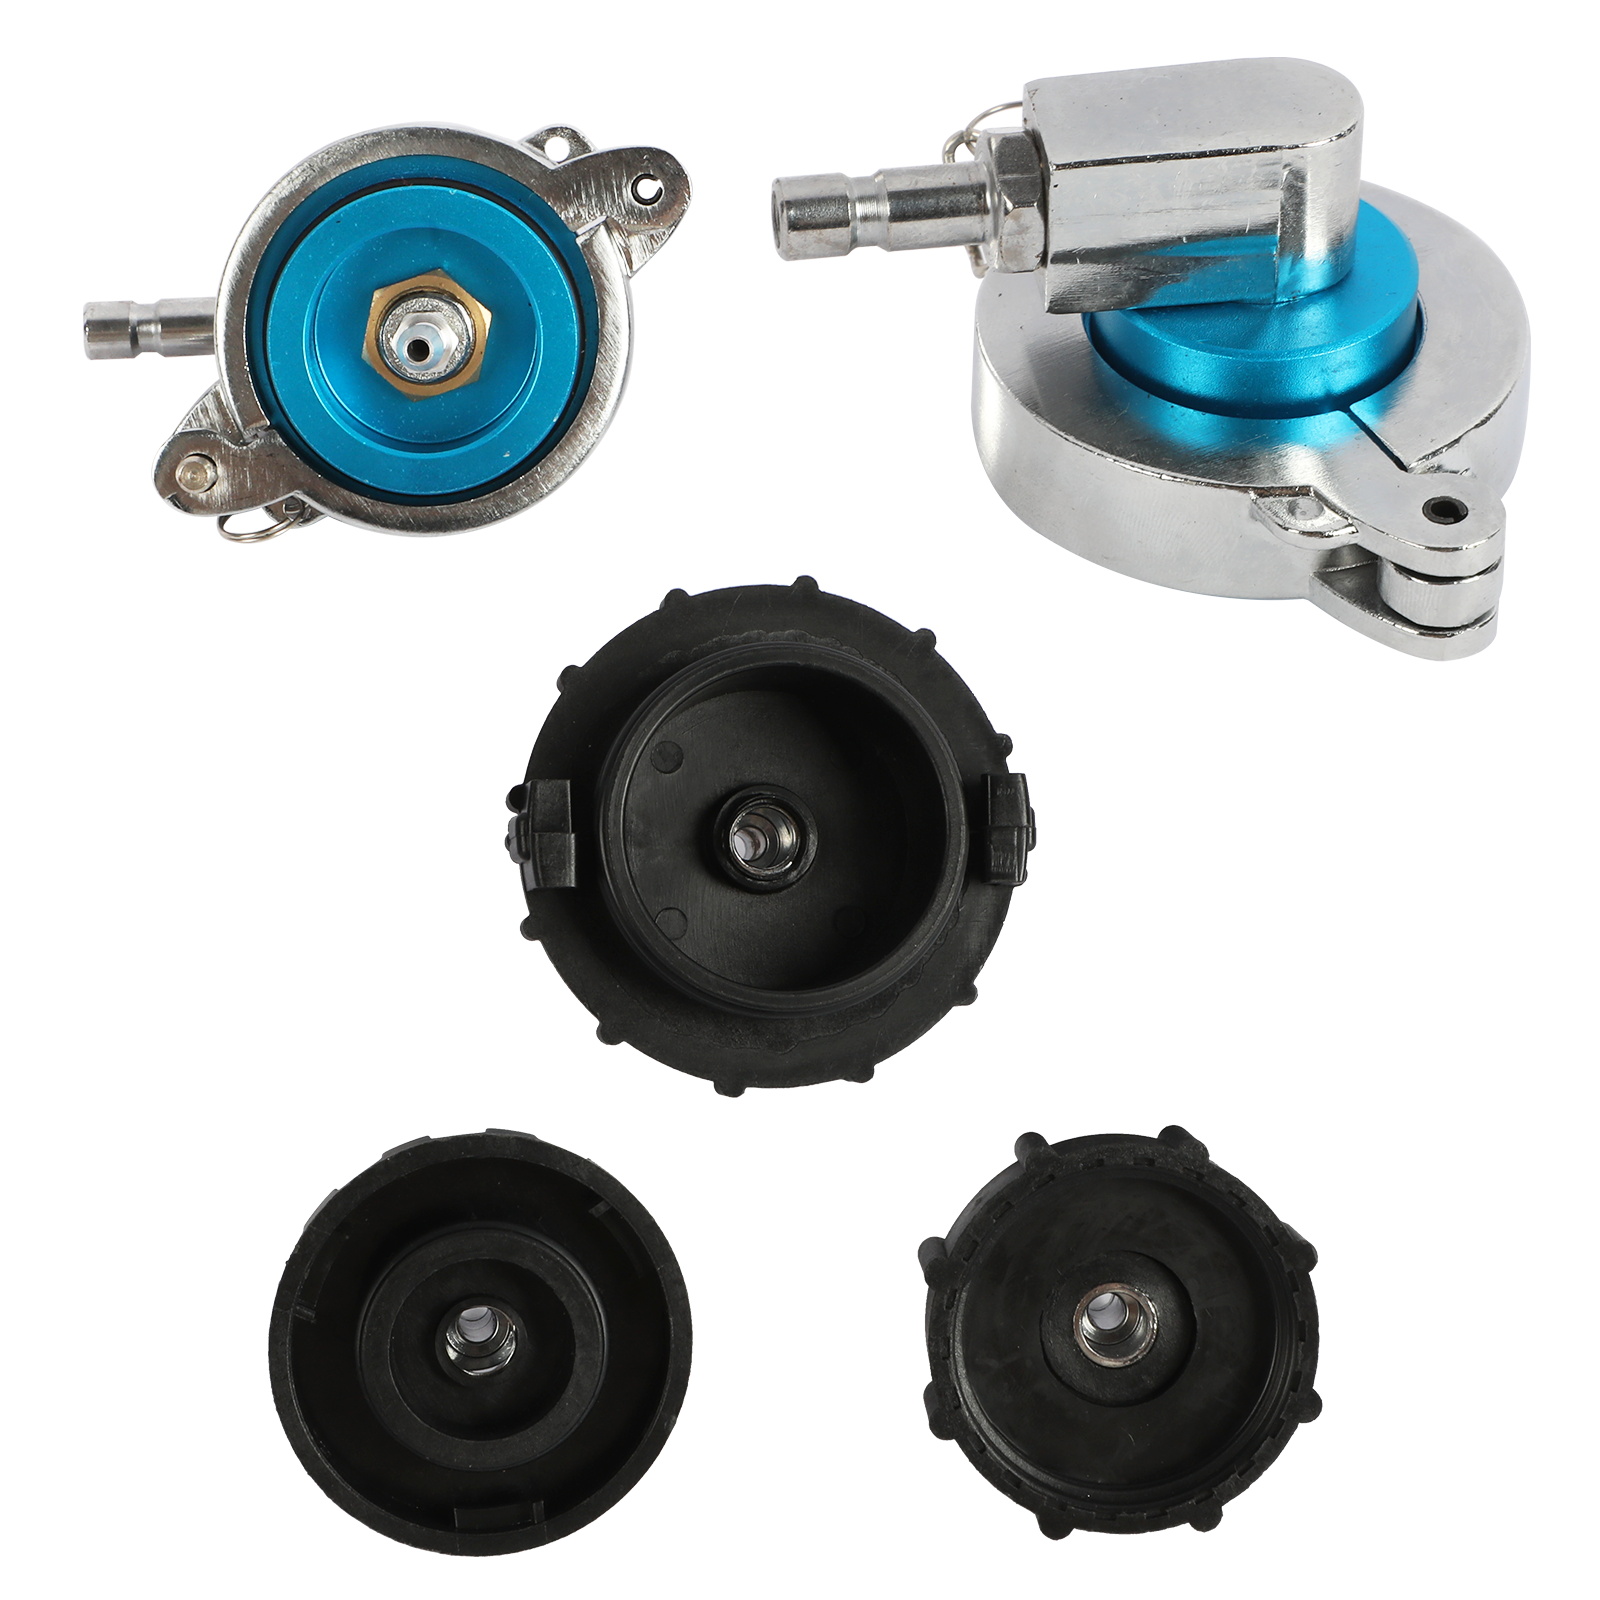
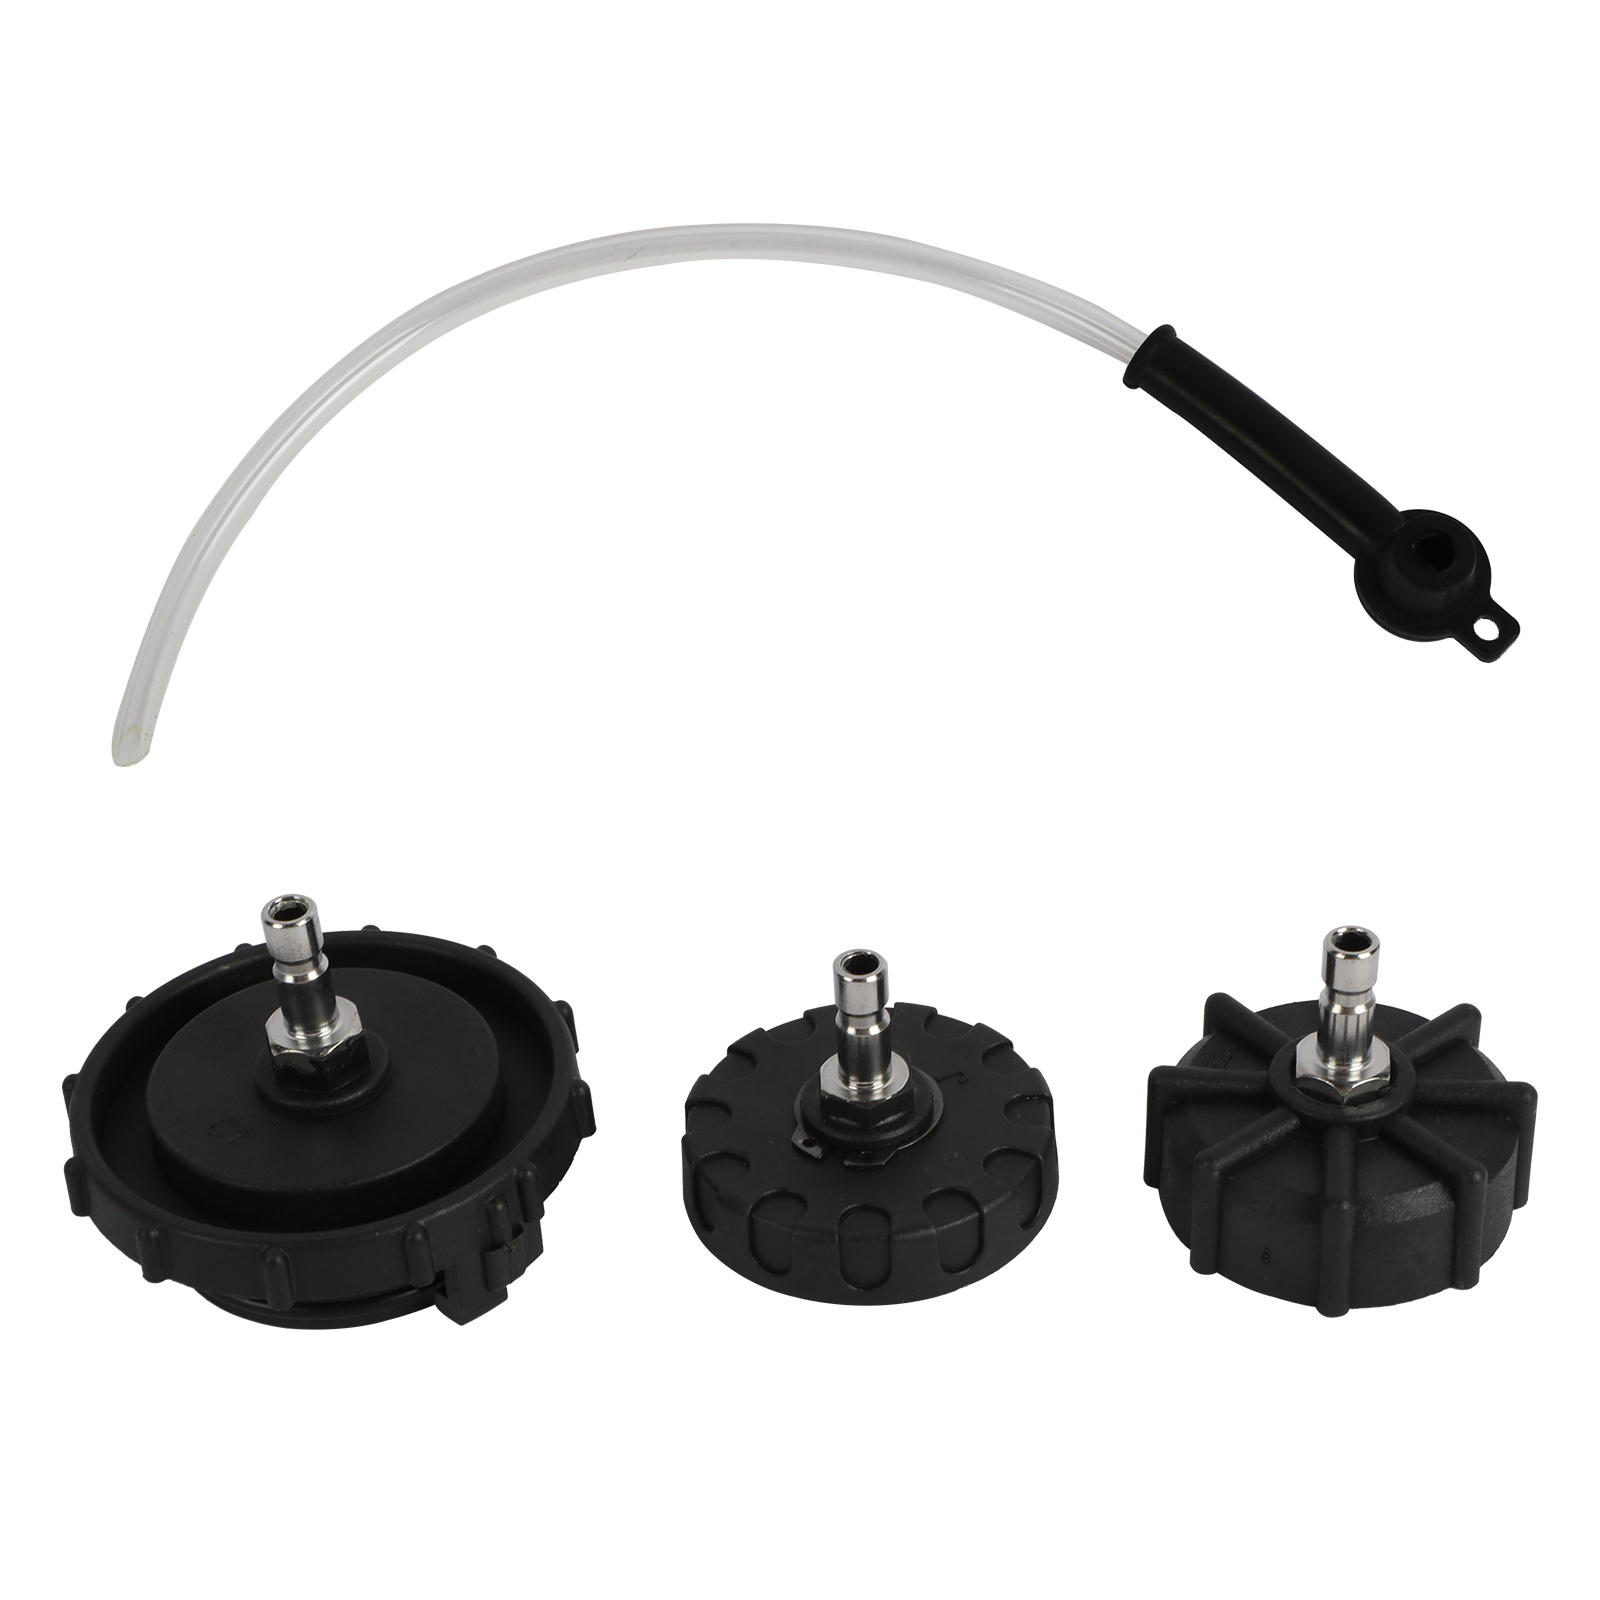
Compare the supplied adapters with the vehicle reservoir neck and cap geometry. Choose one that seats squarely on the intended sealing surface and can be retained without distorting the reservoir. Dry-fit it with no pressure and apply a light controlled pull to confirm retention. Do not force a near match, stack improvised seals or rely on the chain to correct a poor seal. If no adapter fits positively, use the correct adapter rather than modifying the vehicle or kit.
Fill and prime the clean side
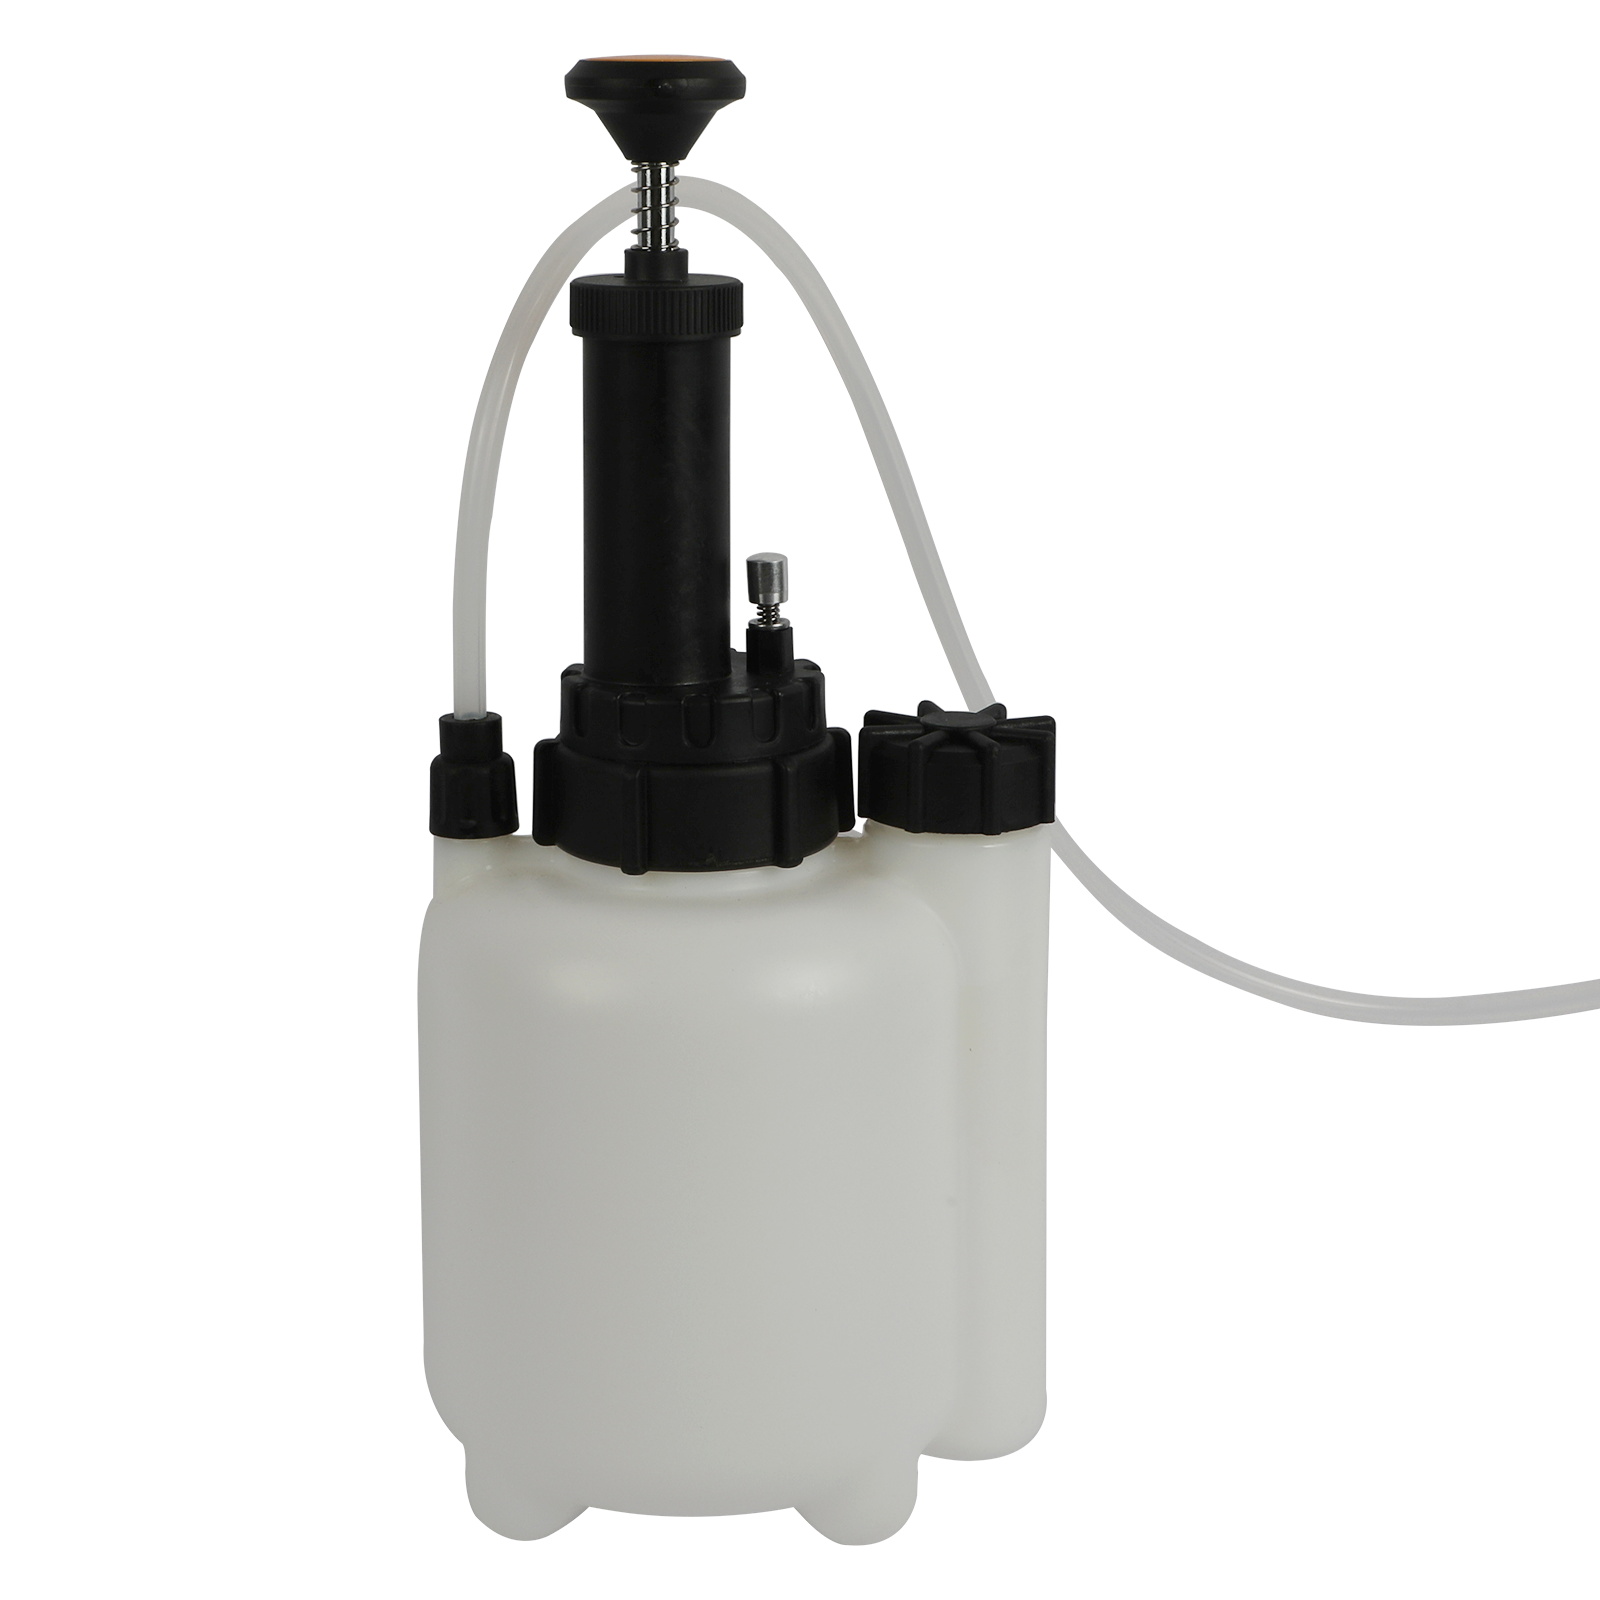
Depressurize the vessel fully and confirm the gauge is at zero. Clean the filler area, open the vessel and add the required amount of new fluid without exceeding the usable level for the tool. Close the vessel securely. Route the clean delivery hose into a compatible waste container, pump only enough pressure to move fluid, and briefly open the delivery path until an air-free stream appears. Stop flow, relieve pressure and reconnect the primed hose without letting it drain or touch a contaminated surface. Treat priming discharge as used fluid.
Priming matters because pressure applied behind an air-filled supply hose can inject that air toward the master cylinder. Keep the vessel upright and visible throughout the job. The product page uses inconsistent capacity wording, so do not use a marketing volume as the fill line or the required job quantity; follow the physical vessel marks and supplied instructions, while reserving enough headspace for safe hand-pump operation.
Connect and pressurize
1. Seal the vehicle reservoir
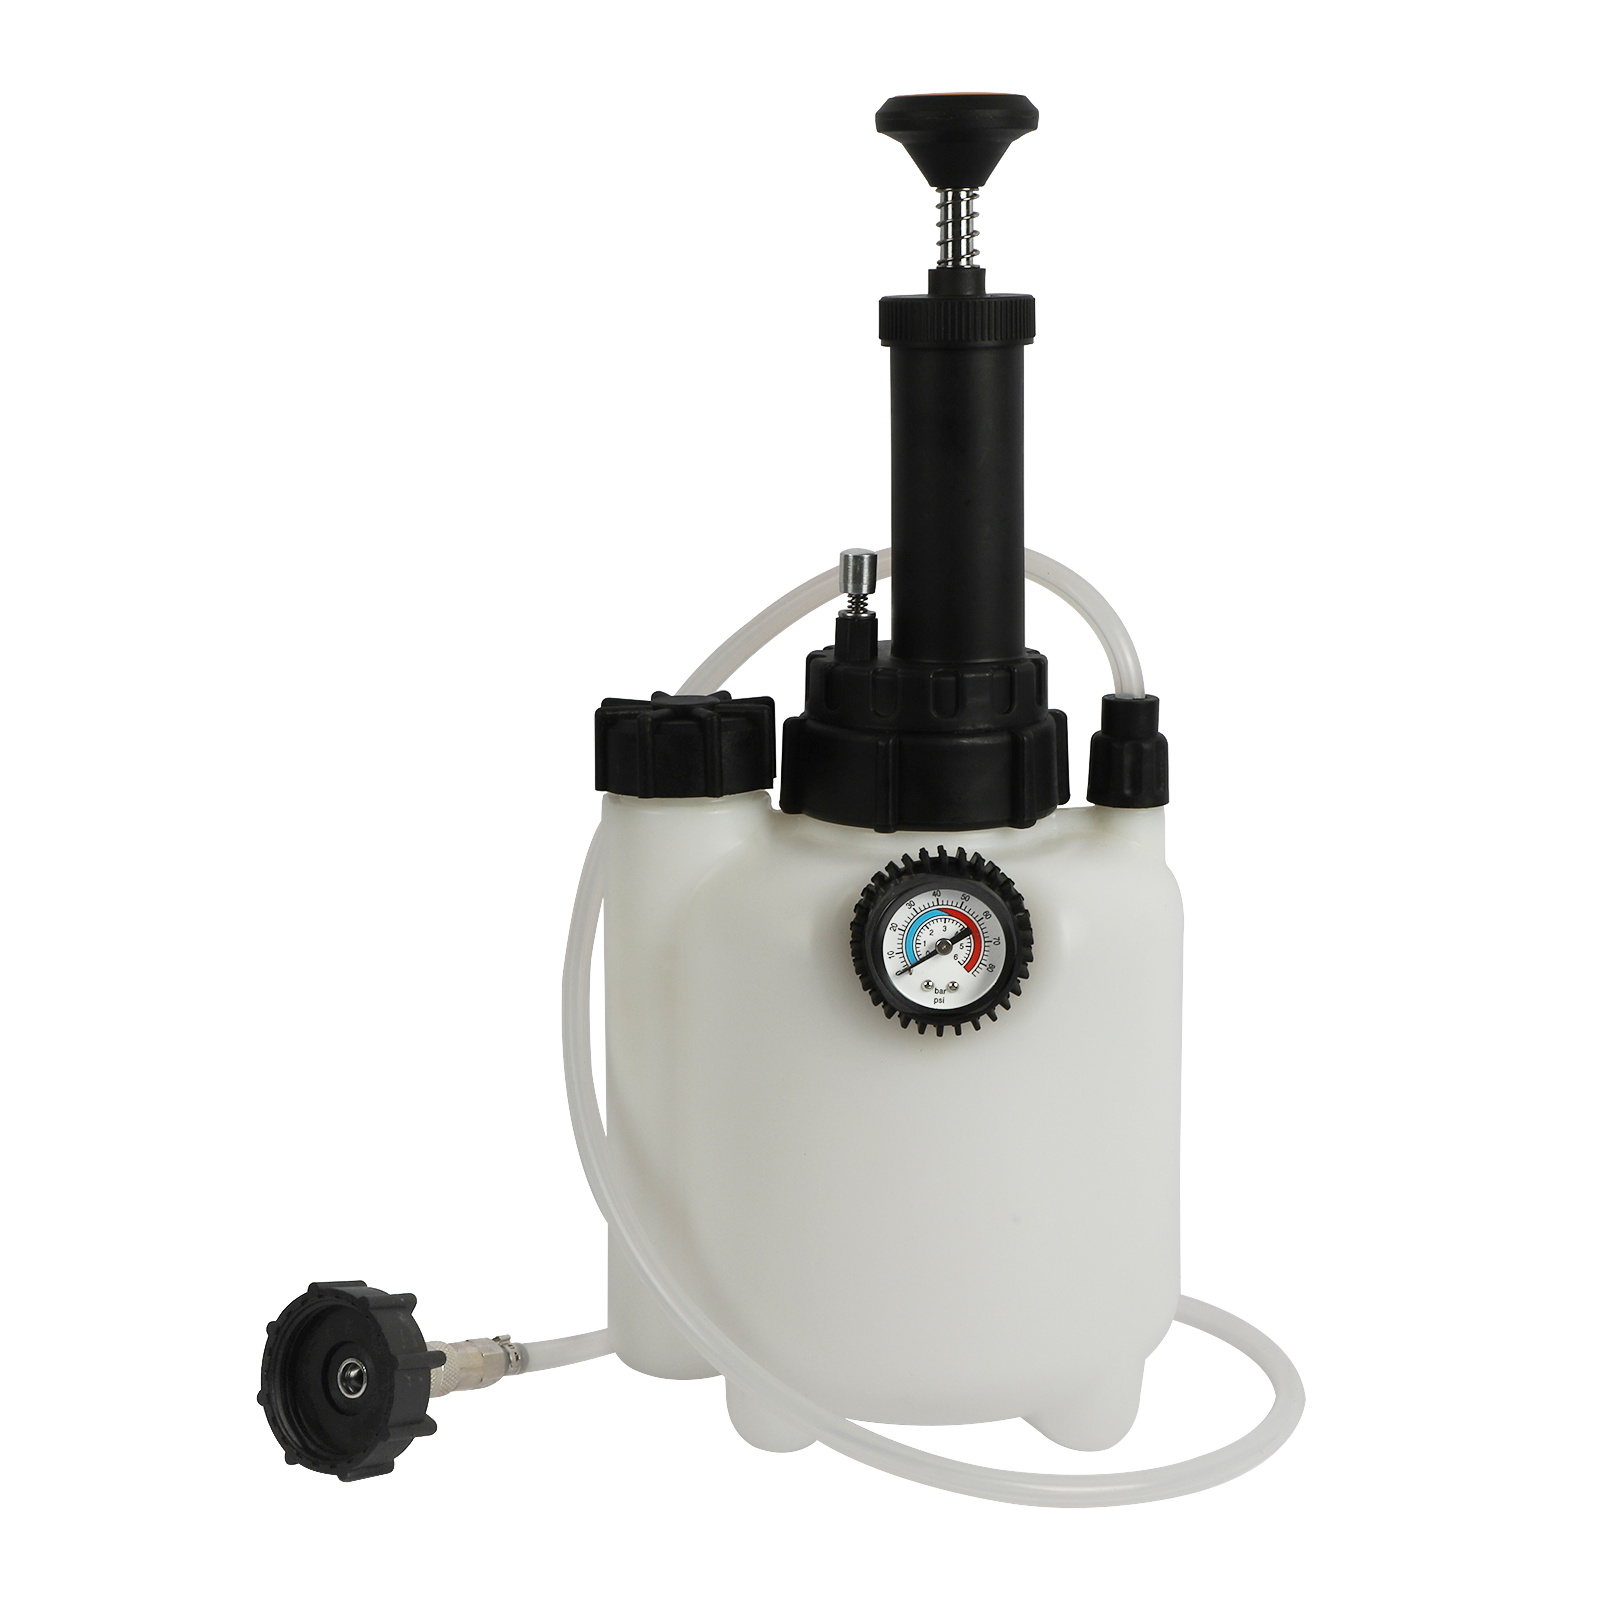
Set the vehicle reservoir to the starting level required by the service procedure. Install the dry-fitted adapter on a clean sealing surface, attach the primed supply hose and secure the hose so it cannot pull sideways on the reservoir. Keep the bleeder vessel upright on a stable surface. Do not hang its full weight from a plastic reservoir or place it where a hose can be caught by a wheel, suspension part or lift.
2. Perform a low-pressure leak check
With every wheel bleeder still closed, operate the hand pump slowly. Pause at a low pressure and inspect the vessel lid, hose ends, adapter, reservoir neck and surrounding paint. The gauge should stabilize without fluid appearing at a joint. A falling gauge is a reason to stop and locate the loss; do not compensate by continuous pumping. Relieve pressure before touching or tightening any connection.
3. Raise only to the specified working pressure
Continue with short pump strokes while watching the gauge. Stop at the vehicle-approved pressure or a lower tool limit, whichever governs. Excess pressure can dislodge an adapter, damage a reservoir or spray brake fluid. Stay beside the system. As fluid leaves at a bleeder the gauge may change, so restore pressure only in small controlled increments and never by pumping blindly.
Bleed each prescribed point
4. Prepare the catch bottle
Put a snug transparent hose on the first specified bleeder nipple and route the other end into the separate used-fluid bottle. Secure the bottle upright with its chain where it cannot tip, contact a hot brake or be pulled into moving parts. Use the correct bleeder wrench and clean around the nipple before opening it. Keep the hose end submerged if the vehicle procedure requires that arrangement.
5. Open, observe and close one point
Open the bleeder only the amount specified—usually enough for controlled flow without drawing air past the threads. Watch fluid color, bubbles and flow while also watching the clean-supply level and pressure gauge. The endpoint is whatever the vehicle procedure defines: an exchanged volume, clean fluid, absence of air under a prescribed method or completion of an electronic routine. Close the bleeder to its specified torque before removing the hose. Wipe and inspect the area immediately.
6. Repeat in the vehicle’s order
Move the catch hose and bottle to the next prescribed service point. Never assume the farthest wheel is always first; split-diagonal systems, ABS layouts and repair-specific routines differ. Maintain a visible new-fluid reserve so air cannot enter the supply path. If the supply becomes uncertain, stop with the current bleeder closed, depressurize and correct the setup rather than opening the vessel under pressure.
7. Handle ABS or dry-system procedures exactly
If a circuit ran dry or an ABS hydraulic unit, master cylinder, line, hose or caliper was replaced, pressure flow alone may not complete the job. Follow any required bench-bleed, scan-tool pump and valve activation, pedal sequence or second bleed cycle. Do not invent an ignition or actuator sequence. If a specified diagnostic function is unavailable, keep the vehicle out of service until the procedure can be completed.
Depressurize, disconnect and verify
8. Close the hydraulic path before relieving pressure
Confirm every bleeder is closed, then stop pumping. Use the tool’s controlled relief path while watching the gauge. Wait until it remains at zero; trapped hose pressure may persist after an initial release. Never loosen the vessel lid, hose or reservoir adapter to vent pressure. Shield the connection with an absorbent barrier, disconnect the supply hose only at stable zero, and remove the reservoir adapter without spilling fluid.
9. Restore the vehicle
Set the reservoir level exactly as the vehicle procedure requires, reinstall the correct clean cap and diaphragm, and clean any spill with a method compatible with the vehicle finish. Inspect the reservoir, adapter area, every serviced bleeder and disturbed hydraulic component for seepage. Apply the required bleeder caps. Dispose of used and priming fluid through the applicable hazardous-waste route.
10. Pass the final brake checks
With the vehicle safely stationary, perform the manufacturer’s pedal feel, pedal hold, warning-lamp and leak checks. Complete any electronic initialization or code check required by the repair. Reinstall wheels and torque fasteners if removed. Only after every static criterion passes should a qualified operator perform the prescribed low-speed controlled brake test in a safe area. A sinking, soft or inconsistent pedal, fluid loss, warning or unequal braking is a no-drive result.
Troubleshooting
| Symptom | Check first |
|---|---|
| Pressure will not build | Vessel lid, relief path, pump seal, hose ends, adapter seal and an open bleeder |
| Gauge falls before a bleeder opens | Stop and inspect every pressure-side joint; never pump continuously to mask a leak |
| No flow at one wheel | Vehicle sequence, adapter pressure, closed or blocked bleeder, collapsed hose and hydraulic restriction |
| Bubbles continue | Loose catch hose, air entering at threads, low clean supply, dry component and required ABS routine |
| Adapter shifts or seeps | Relieve to zero, clean the seat and replace the adapter with the exact fit |
| Supply ran low | Close the bleeder, depressurize and follow the vehicle’s air-recovery procedure before continuing |
| Pedal remains soft | Keep vehicle stationary; check leaks, fluid level, air, component installation and complete prescribed diagnostics |
Frequently asked questions
Can I use a universal pressure and wheel order?
No. The reservoir’s safe pressure and service-point sequence are vehicle-specific. Obtain both from current service information and use the lower applicable equipment limit.
Can I use old or captured brake fluid?
No. Use new, unopened fluid of the exact specification. Captured and priming fluid may contain moisture, particles, mixed chemistry or dissolved air and belongs in a compatible labelled waste container.
Does the tool replace an ABS scan routine?
No. It supplies controlled pressure. If service information calls for ABS pump or valve activation, a pedal sequence or a second bleed cycle, that procedure still has to be completed.
Can I remove the adapter when the gauge first reaches zero?
Wait for stable zero after controlled relief and confirm no residual pressure remains in the hose. Removing a live connection can spray fluid and damage paint or injure the operator.
Final checklist
- Exact vehicle fluid, pressure, adapter, bleed order and electronic procedure confirmed
- Clean supply parts isolated from the catch bottle and used-fluid tools
- Correct adapter dry-fitted squarely at zero pressure
- Supply hose primed off the vehicle with no visible air
- Low-pressure connection check passed before working pressure
- One prescribed service point opened and closed at a time
- Clean-fluid reserve and gauge watched continuously
- All bleeders closed before controlled pressure relief
- Gauge stable at zero before any pressure-side connection was removed
- Final level, cap, leaks, pedal, warnings and controlled stop all passed
A reliable one-person bleed is mostly about boundaries: correct fluid, exact adapter, controlled pressure, vehicle-specific order and a stable-zero disconnect. Keep the large vessel clean, keep used fluid in the separate bottle, never let the supply run low and stop immediately when a seal or pedal result is uncertain. The hand pump can provide steady flow; only the completed vehicle procedure and final brake checks can return the vehicle to service.










Comments 0
Questions, fixes, and real-world diagnostic notes from readers.
Be the first to share a diagnostic result or ask a follow-up question.