
P0455 Large EVAP Leak? Check the Seal, Then Prove the Leak Path

P0455 means the EVAP monitor detected a gross leak or could not create/hold the expected pressure or vacuum. A loose filler cap can cause it, but the code does not prove the cap is bad. If you smell strong fuel, see liquid fuel, or the vehicle develops hard starting or stalling after refueling, stop and address the hazard; otherwise save code status, freeze-frame, fuel level, refueling history, and related EVAP codes before inspecting the filler seal.
What to do first
- Move away from ignition sources and stop driving if liquid fuel or a strong persistent fuel odor is present.
- Save all EVAP codes, freeze-frame, fuel level, ambient temperature, and refueling timing before clearing.
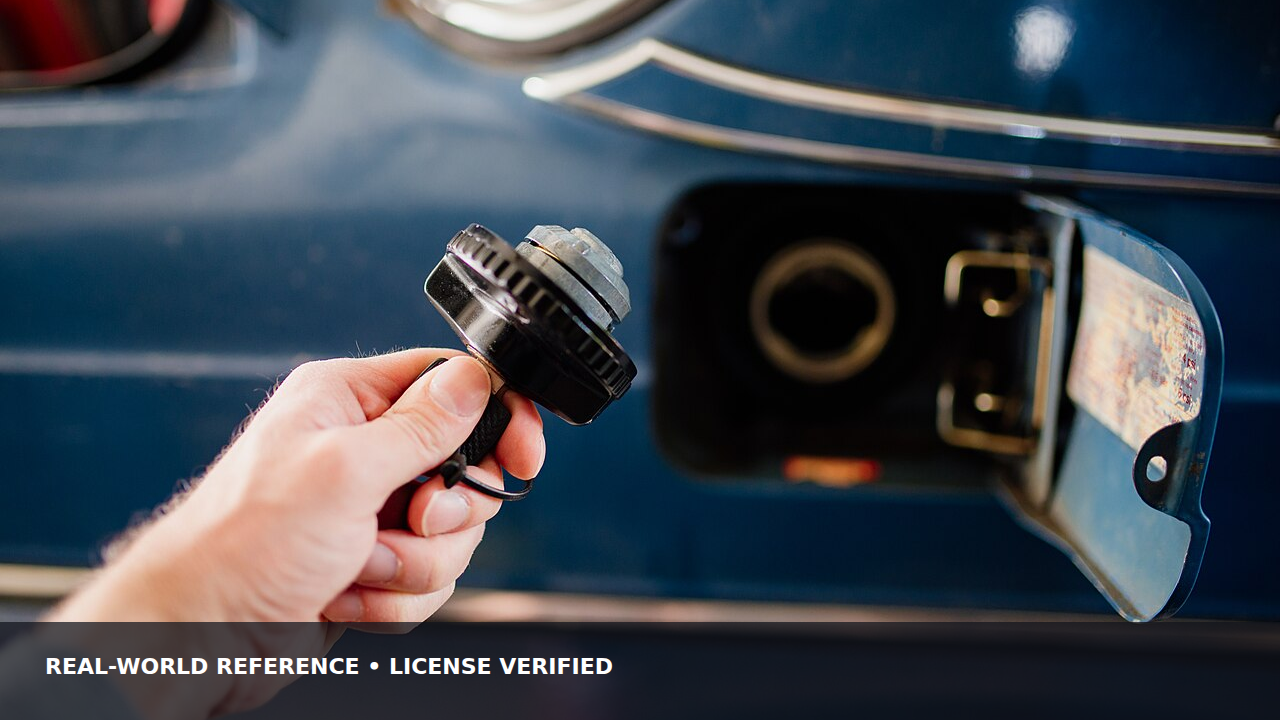
- With the engine off, inspect the cap or capless filler seal for absence, damage, contamination, or obvious mis-seating.
- Do not force smoke, compressed air, or shop vacuum into the fuel system; a professional low-pressure test follows the service procedure.
In this guide
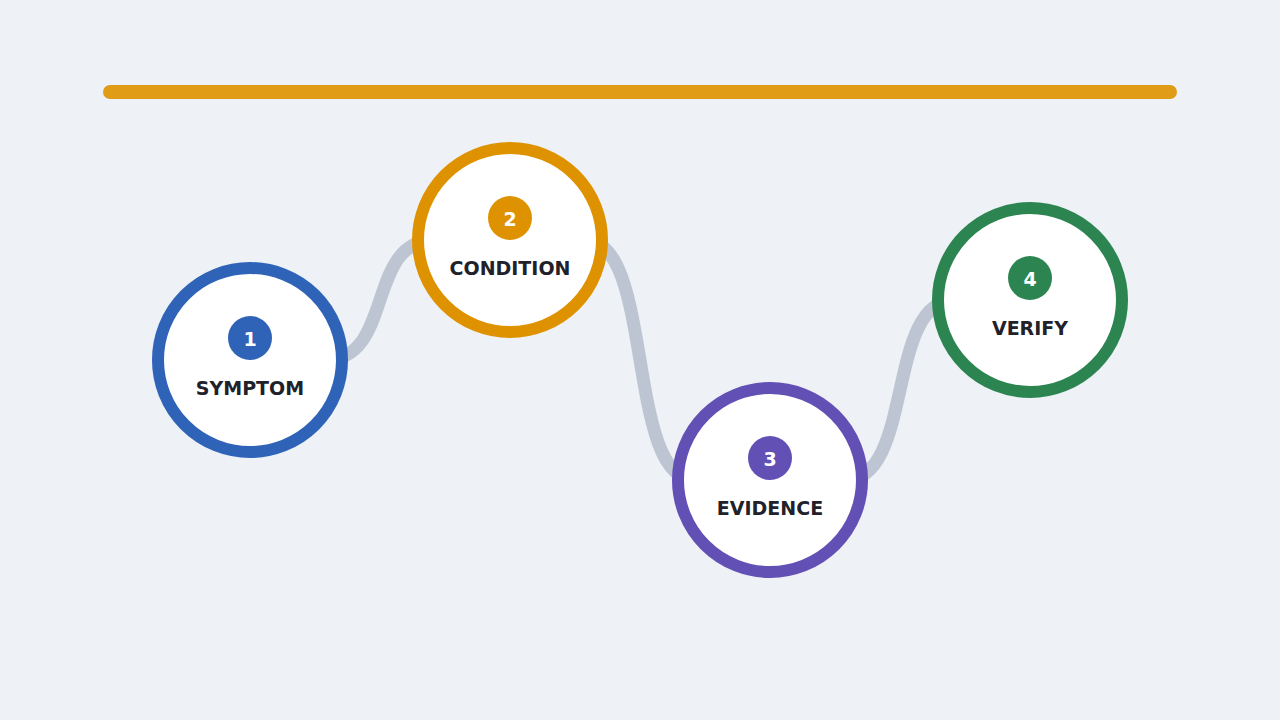
1. What the symptom means—and does not prove
The EVAP system stores fuel vapor and allows the controller to check system integrity under limited enabling conditions. P0455 describes the monitor outcome. It can result from an open filler, a disconnected or split line, a purge valve that leaks when commanded closed, a vent valve problem, canister/tank damage, or an intermittent sealing condition.
It does not independently prove
- that the filler cap must be replaced;
- that a capless filler has no serviceable seal;
- that the purge valve is the leak;
- that the leak is safe because no liquid is visible;
- that one cleared trip verifies repair;
- that a smoke-test result from another model uses the correct pressure;
2. Save the evidence and make only low-risk checks
- all EVAP DTCs and status;
- freeze-frame fuel level and temperature;
- last refueling and whether the cap clicked/seated;
- recent tank, pump, canister, line, collision, or body work;
- fuel odor, hard-start-after-fill, and stall history;
Preserve this record before resets, repeated starts, part swaps, or fluid additions change the condition. Related background: OBD-II evidence workflow.
3. Use the pattern to choose the next test
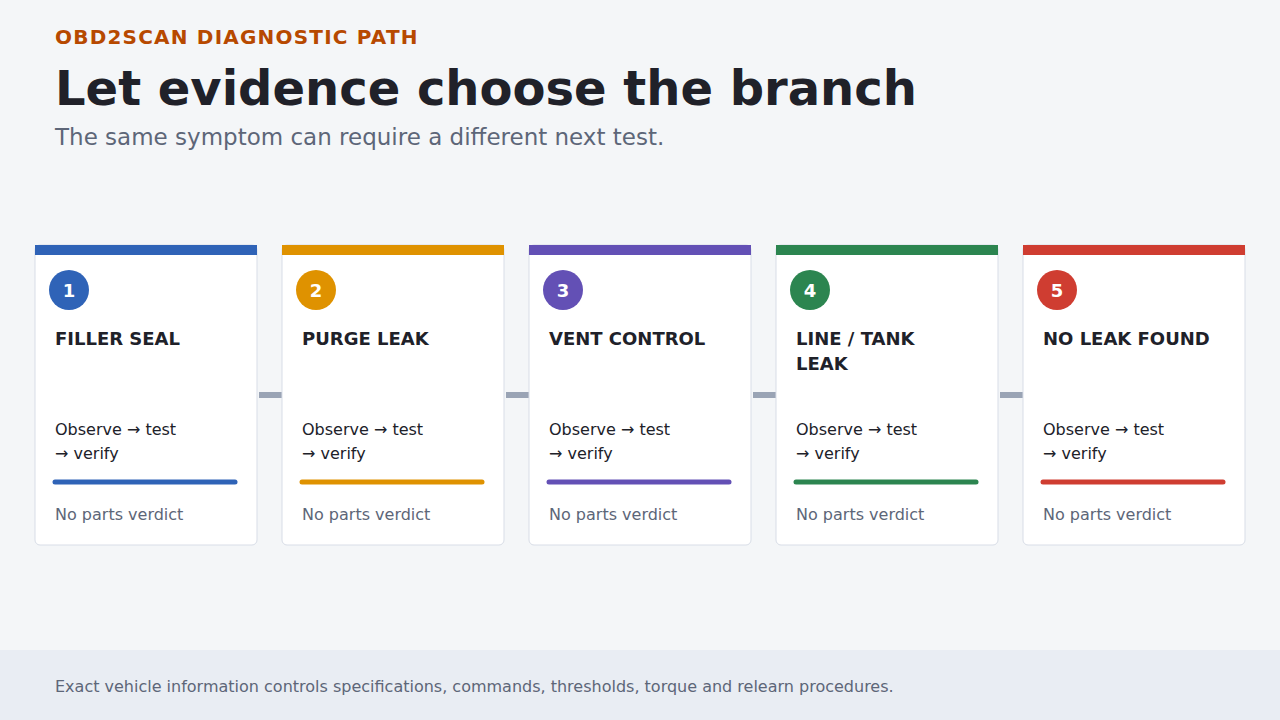
1. The filler closure was loose or visibly mis-seated
What the pattern changes: This can explain a gross-leak result, but a sealing surface, tether, cap, or capless flap may also be damaged.
Next proof: Clean only as allowed, seat it exactly as the owner's manual specifies, preserve the original code record, and verify through the monitor rather than buying a cap preemptively.
2. Purge flow exists when the valve should seal
What the pattern changes: A leaking purge path can prevent the system from holding the commanded test condition and may also cause hard starting after refueling.
Next proof: Test commanded sealing and flow using exact service information; electrical command and mechanical sealing are separate questions.
3. The vent side does not close or is restricted
What the pattern changes: A stuck-open vent can mimic a large opening; a restriction can produce different pressure behavior and refueling complaints.
Next proof: Inspect routing and contamination, then command/test the valve and pressure sensor with approved equipment.
4. Smoke or pressure evidence appears at a line, canister, filler, or tank
What the pattern changes: The first visible vapor location is useful only when test pressure, valve state, and service ports are correct. Once the purge and vent valves are commanded into the correct state, the FXTUL EVAP smoke leak detector can help reveal the actual EVAP leak path instead of turning P0455 into an automatic canister or fuel-cap replacement.
Next proof: Repair the proven leak and inspect for impact, rubbing, corrosion, or previous work that would make recurrence likely.
5. No leak is present during the test
What the pattern changes: An intermittent loose cap, temperature-dependent seal, stuck valve, fuel-level constraint, or sensor/calibration issue remains possible.
Next proof: Record test conditions and do not replace EVAP parts merely because the monitor failed earlier.
Safety boundary
Exact service information controls specifications and invasive procedures. Fuel/refrigerant systems, hot or rotating parts, brake hydraulics, lifted vehicles, high-current circuits, pressure testing, forced commands, and road reproduction belong with trained personnel and the correct equipment.
4. Give the shop a reproducible handoff
- all EVAP codes and freeze-frame;
- fuel level and last-refuel timing;
- cap/capless inspection;
- purge and vent command/seal results;
- smoke-test pressure, valve state, and leak location;
Ask for the failed test and the before/after result—not only the name of the installed part. A model-specific bulletin is useful only after VIN, engine, software, code set, and symptom applicability match.
5. Verify the repair under the original condition
Use the manufacturer leak test when available and confirm a no-leak result under its enabling conditions. Then allow the EVAP monitor to complete with no current or pending code returning. Because fuel level and temperature can prevent the monitor from running, a lamp that stays off for one short trip is not verification.
Official and primary technical references
- Nissan NTB13-097I — Nissan / NHTSA
- Hyundai bulletin 18-FL-002 — Hyundai / NHTSA
- Ford owner's-manual message guidance — Ford Motor Company
The useful outcome
You should finish with the original condition precisely recorded, the unsafe possibilities controlled, one failed path proven, and a repeat test showing the symptom or warning is genuinely resolved.




Comments 0
Questions, fixes, and real-world diagnostic notes from readers.
Be the first to share a diagnostic result or ask a follow-up question.