
Tire Pressure and Tread Check: A Precise 10-Minute Routine

The number molded on a tire sidewall is not the vehicle’s recommended inflation pressure. Start with the driver’s-door placard or owner’s manual, measure when the tires are cold, and record inner, center, and outer tread depth—not just the easiest groove to reach.
What to do first
- Use the vehicle placard or owner’s manual for cold pressure; do not substitute the tire sidewall maximum.
- Check all road tires and the spare at least monthly and before a long trip; NHTSA defines cold as not driven for at least three hours.
- Do not keep using a tire with a bulge, exposed cord, deep cut, active air loss, or tread at the wear bars; arrange professional evaluation or replacement.
In this guide
1. Prepare the correct pressure record
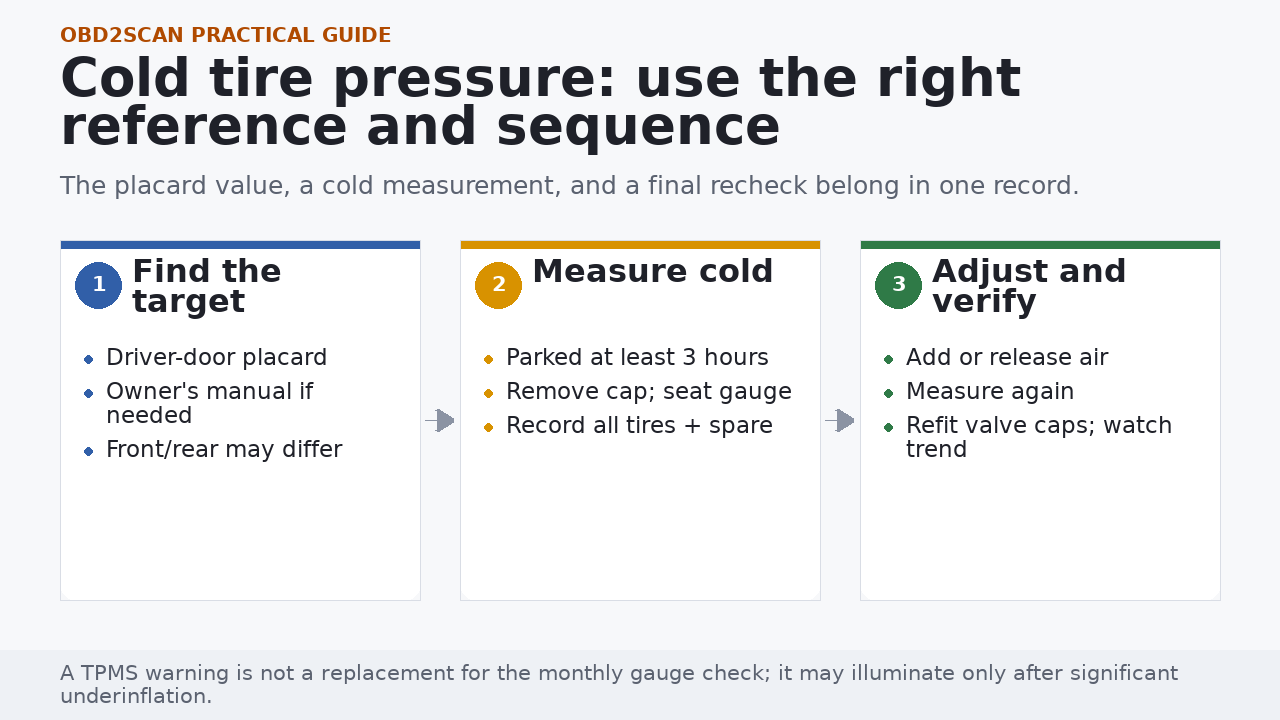
Photograph the Tire and Loading Information label so the front, rear, spare, tire size, and load context stay with the record. If the fitted tire size differs from the label, stop guessing and confirm an approved specification with the vehicle or tire manufacturer.
- Use a gauge that seals cleanly on the valve and reads in the same unit as the placard.
- Measure before driving when possible. If a visibly low warm tire must be inflated for safety, set it conservatively and recheck cold later.
- A single low tire suggests a leak until a trend proves otherwise; repeated topping-up is not a repair.
2. Measure pressure and tread at each corner
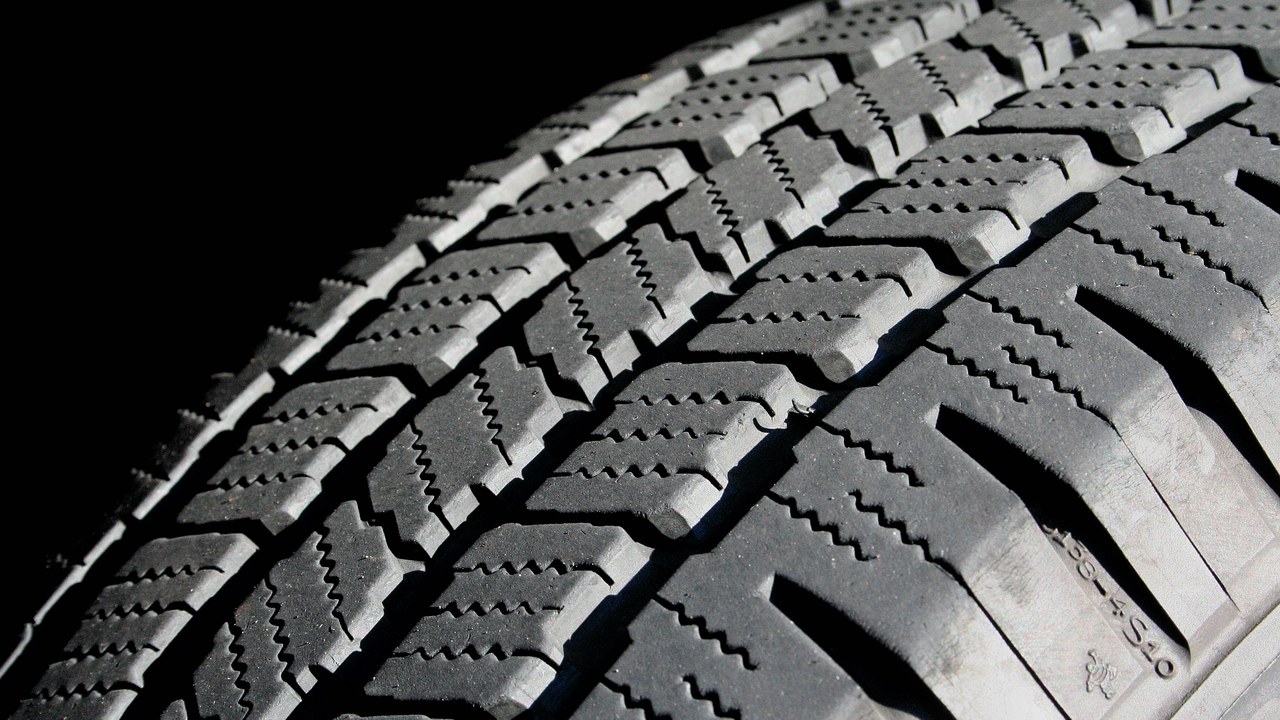
Work around the vehicle in one direction so no tire is skipped. Record pressure before adjustment. Then measure tread in the inner, center, and outer main grooves at more than one position around the circumference. Use the lowest credible measurement for the safety decision.
| Corner | Cold target | Before / after | Tread inner / center / outer | Damage |
|---|---|---|---|---|
| LF | Placard | __ / __ | __ / __ / __ | None / note |
| RF | Placard | __ / __ | __ / __ / __ | None / note |
| LR | Placard | __ / __ | __ / __ / __ | None / note |
| RR | Placard | __ / __ | __ / __ / __ | None / note |
3. Inspect damage and interpret wear conservatively
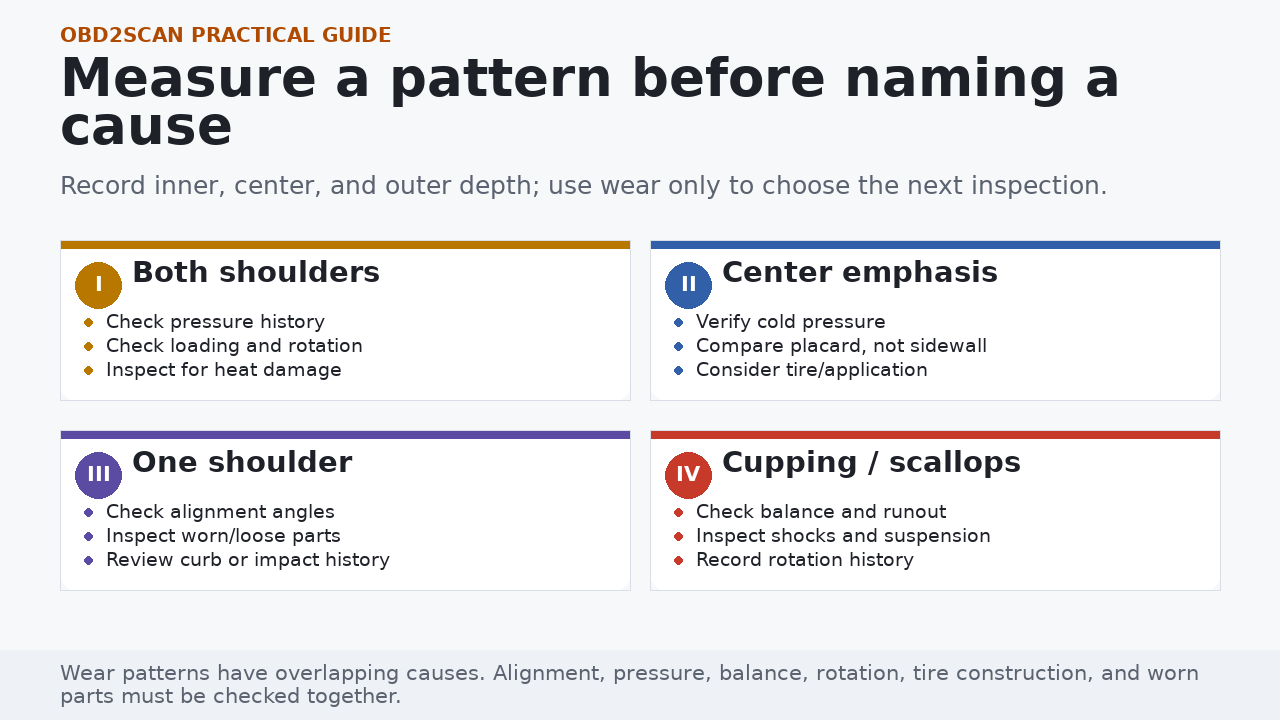
NHTSA says tires should be replaced at 2/32 inch and when tread is level with the built-in wear indicators. Legal requirements and wet-weather performance can justify earlier action, so the minimum is not a performance target.
Do not drive on structural warning signs
A bulge, exposed cord, separated tread, deep sidewall cut, or rapid pressure loss can precede failure. Install a serviceable spare as directed or arrange roadside service; do not probe or deflate a damaged tire beside traffic.
4. Turn the four-tire pattern into action
- One tire repeatedly loses pressure: inspect for puncture, valve, bead, wheel, or structural damage.
- Matching wear on an axle: review pressure/loading and alignment, then inspect suspension before alignment if there is looseness or damage.
- Steering-wheel vibration at speed: inspect tire condition, runout, wheel seating, and balance; alignment alone does not correct every vibration.
- After a pothole or curb impact: inspect wheel/tire damage and steering/suspension before requesting an alignment number.
Keep the record
Save the date, odometer, cold targets, before/after pressures, tread measurements, and any photo. A trend across months is more useful than a memory that a tire “looked low.”
Official references
Use these sources for the principles in this guide, then use the owner’s manual and current service information for your exact vehicle.
- NHTSA TireWise: Tire Safety Ratings and Awareness (nhtsa.gov)
- NHTSA: Summer Driving and Road Trip Tips (nhtsa.gov)
The useful outcome
You now have a corner-by-corner record that can reveal a leak or repeatable wear trend. The next decision should be based on the lowest tread measurement, visible damage, and the pattern across all four tires—not on one photo or one pressure reading.







Comments 0
Questions, fixes, and real-world diagnostic notes from readers.
Be the first to share a diagnostic result or ask a follow-up question.