
2018–2020 Dodge Durango Coolant Leak? Trace the Rear Heater Tube Route

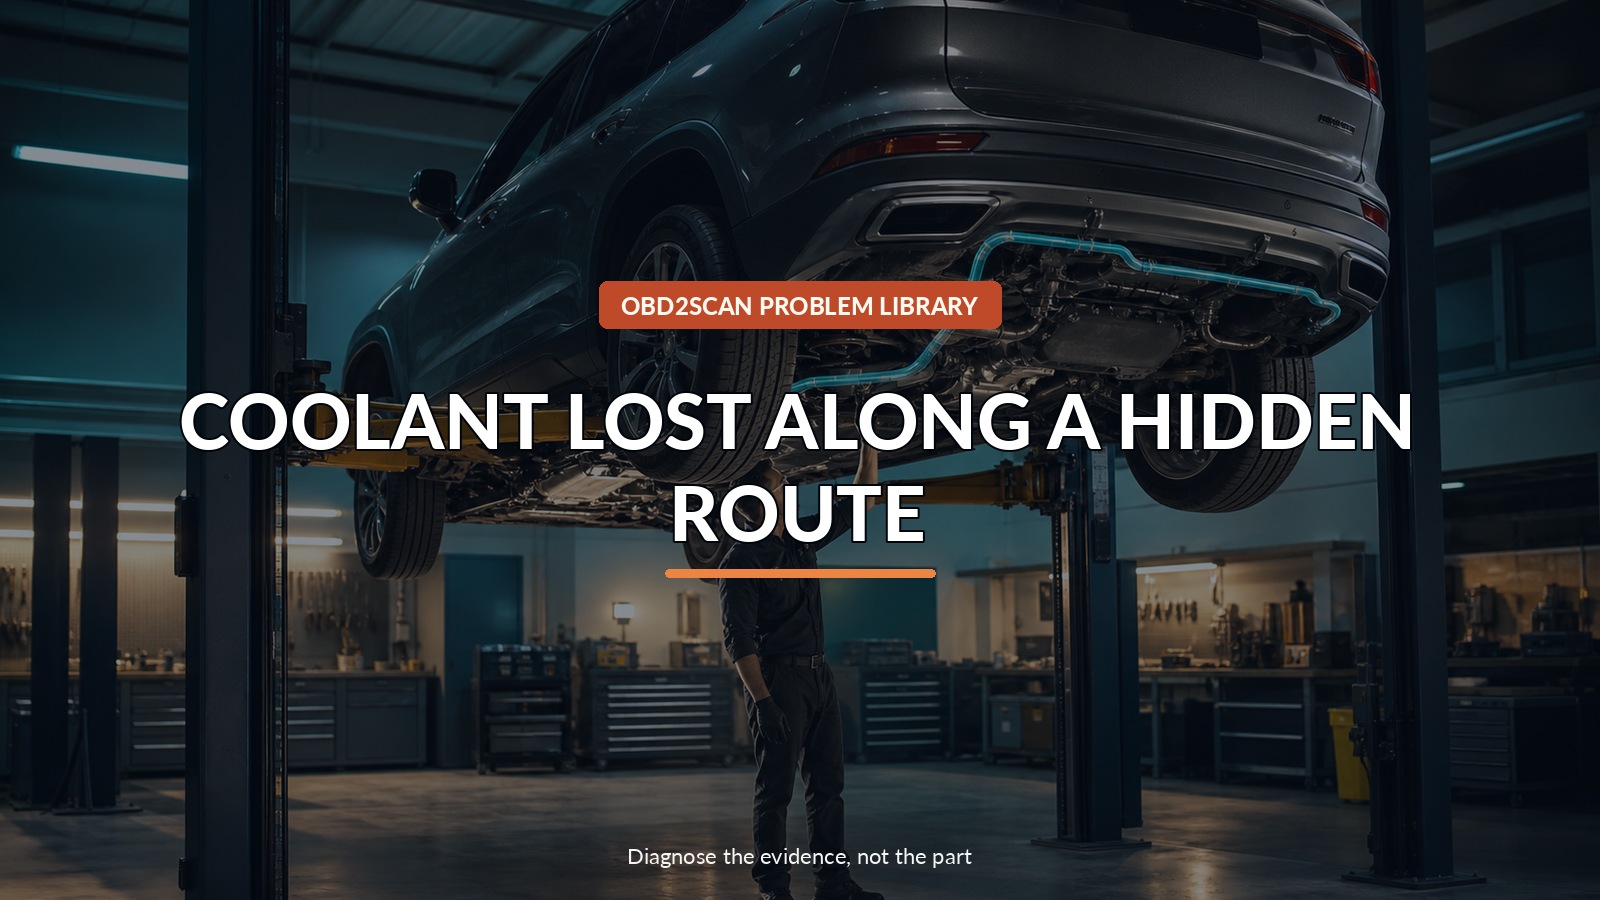
Coolant Lost Along A Hidden Route
A Durango can leave a puddle near the front of the vehicle even when the leaking component continues toward the rear heater. Coolant follows shields, crossmembers, airflow, and gravity; the lowest wet point is a collection point, not necessarily the source. If the gauge rises or a temperature warning appears, stop, shut down safely, and do not remove the cap while hot.
Once the system is cold and the vehicle is supported by professional lifting equipment, a slim inspection camera can document sections of the auxiliary tube route that a direct sight line misses. The MRCARTOOL N220 digital inspection camera is one option for that visual record. It cannot pressurize the cooling system, see through shielding, prove a stain is active coolant, replace a hoist, or make hot-coolant work safe.
FCA TSB 23-023-20 gives this investigation a route: pressure-test the cooled system, raise and support the vehicle correctly, then inspect the rear-heater auxiliary coolant tubes where they pass near the engine and bulkhead. Follow the path upstream instead of chasing drips downstream.
Quick answer: Stop for overheating, preserve the cold-level timeline, pressure-test within specification, and trace the rear-heater tube from the highest wet point instead of the puddle.
In this guide
- Treat overheating as the stop signal
- Confirm that the rear-heater route exists
- Preserve the level and refill timeline
- Pressurize a cold system within its limit
- Follow the tube rather than the drip
- Use a camera to document blind corners
- Exit the tube theory when the map stays dry
- Verify cold level and pressure after heat cycles
Treat overheating as the stop signal
Steam, a hot smell, loss of cabin heat, rising temperature, or a low-coolant message can accompany this complaint. Pull over safely, turn the engine off, and arrange recovery if temperature is high or coolant is visibly escaping. Adding cold water to an overheated engine or opening a pressurized cap can cause burns and engine damage.
When fully cold, photograph the reservoir level without opening anything. Record mileage, outside temperature, trip length, heater use, previous top-ups, coolant color, and exactly where wetness appeared. If pets or children could reach a spill, contain it promptly; ethylene-glycol coolant is toxic.
Confirm that the rear-heater route exists
The bulletin addresses 2018–2020 Dodge Durango vehicles, but configuration and production details still matter. Confirm the VIN, powertrain, rear HVAC equipment, previous cooling repairs, hose routing, coolant specification, and the latest Stellantis service procedure.
Being inside the model-year range opens one inspection path; it does not prove the auxiliary tube leaks. A water-pump leak, radiator seam, hose connection, reservoir, thermostat housing, heater core, head gasket, or spilled coolant can produce a similar level loss. Recall coverage is also a separate VIN question, not an inference from the TSB.
Preserve the level and refill timeline
Create a cold-only level ledger. Mark the reservoir photograph, do not mark the tank itself unless the owner information permits it, and measure any added premixed coolant. Compare at the same parking angle and similar cold temperature.
| Event | Engine state | Reservoir level | Added amount | Ground/odor evidence |
|---|---|---|---|---|
| First discovery | Fully cold or hot—record which | Photo | None before photo | Exact location |
| After approved fill | Fully cold | Photo | Measured | Clean ground card |
| After pressure test | Fully cold | Photo | Record | Source location |
| After repair heat cycle | Fully cold next day | Photo | Ideally none | Dry verification |
A level that changes while the engine is hot is difficult to compare because coolant expands. A repeated cold loss is much stronger evidence.
Pressurize a cold system within its limit
A trained technician should verify the cap, adapter, and system pressure limit from current service information. Pump gradually on a cold engine, stabilize, and record starting pressure, time, pressure loss, and any visible source. More pressure is not a better test; it can create a leak or damage a component.
If pressure falls with no external evidence, confirm the tester and adapter do not leak. Then inspect oil condition, exhaust evidence, passenger-compartment dampness, and cylinders only as the service path requires. Never use compressed shop air in place of the approved cooling-system tester.
Follow the tube rather than the drip
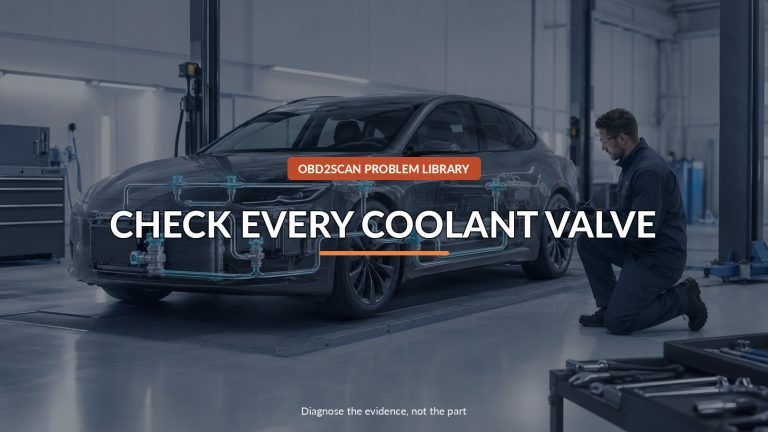
Start at the highest accessible dry point on the auxiliary rear-heater tube route near the engine and bulkhead. Move in short sections, noting joints, retainers, abrasion points, shields, and where the tube crosses structural parts. Fresh wetness, a forming bead, or fluorescent evidence under an approved dye procedure matters more than an old white or colored stain.
Trace both directions from a wet area. If the underside is wet below but dry above, the source may be local. If a shield edge is wet before the tube below it, continue upward. Road splash is usually broad and dirty; fresh coolant often has a defined path, but appearance alone is not chemical proof.
Use a camera to document blind corners
With the engine cool, ignition controlled, vehicle securely supported, and the probe kept away from fans, belts, exhaust, and sharp edges, record a slow continuous pass. Include a recognizable landmark before each blind section so the shop can locate it later.
Do not push the probe through a tight gap where it could snag, damage insulation, or contact a hot surface. Avoid wide-angle distortion as evidence of a crack. A useful clip shows the dry approach, the suspected point, and the wet departure. A single close-up of shiny residue lacks direction.
Exit the tube theory when the map stays dry
If the system holds specified test pressure and the complete accessible tube path remains dry, stop forcing the bulletin to fit. Clean prior residue as approved, repeat the observation, and expand to the water pump, radiator, cap, primary hoses, front and rear heater cores, reservoir, and internal-loss paths.
If the tube is wet but the bead begins at a higher hose or housing, repair the upstream source. Replacing the visually nearest tube without locating the first wet point invites a comeback.
Verify cold level and pressure after heat cycles
After repair, restore all shields and retainers, fill and bleed with the correct coolant and vacuum/bleed procedure, check cabin heat, and monitor engine temperature. Recheck the repaired route under the approved pressure test, then perform enough controlled heat cycles to open the relevant coolant paths.
Let the vehicle cool completely on level ground and compare the reservoir with the original ledger. The release gate is stable cold level, dry mapped route, correct heater performance, no temperature warning, and no pressure loss attributable to the repair—not merely a clean floor after one short idle.






Comments 0
Questions, fixes, and real-world diagnostic notes from readers.
Be the first to share a diagnostic result or ask a follow-up question.