
How to Choose and Maintain AUTOOL Carbon Cleaning Accessories

Carbon-cleaning accessories are not interchangeable simply because they belong to the AUTOOL HTS range. Walnut-shell systems depend on the correct media size, recovery path and intake-port adapter. Dry-ice machines use a different feed system and nozzle family. Start with the exact machine model and the task that the missing or worn part must perform, then verify the delivered part before bringing it to the vehicle.
Quick answer: Use 0.6–1.2 mm walnut-shell media only with the currently listed HTS518, HTS558, HTS559 and HTS678 machines, and prepare the amount required by the exact machine procedure. Choose an HTS558 adapter by engine code and physical port shape—not the brand label alone. Treat HTS558 components and HTS705/HTS708/HTS709 dry-ice parts as separately sold replacements that require model and part confirmation before installation.
In this guide
First identify which cleaning system you have
Walnut blasting and dry-ice blasting can both remove deposits, but their accessories do different work. A walnut-blasting setup sends shell media through a blast path while a recovery hose controls loose media around the intake port. The adapter helps seal and position that combined task. A dry-ice blaster meters solid carbon-dioxide pellets through its gun and nozzle. Do not put walnut media into a dry-ice machine, do not connect a dry-ice nozzle to a walnut machine, and do not use a shape that merely appears close enough.
Before ordering anything, photograph the machine data plate, full hose/gun assembly, both connector faces and the damaged or missing part. Record the model, hardware generation, original order number and quantity required. If a part broke during use, inspect the cause—an obstruction, wrong pressure, forced fit or damaged thread can destroy the replacement in the same way.
Match the four current AUTOOL accessory references
| Current reference | What it is for | Match before use |
|---|---|---|
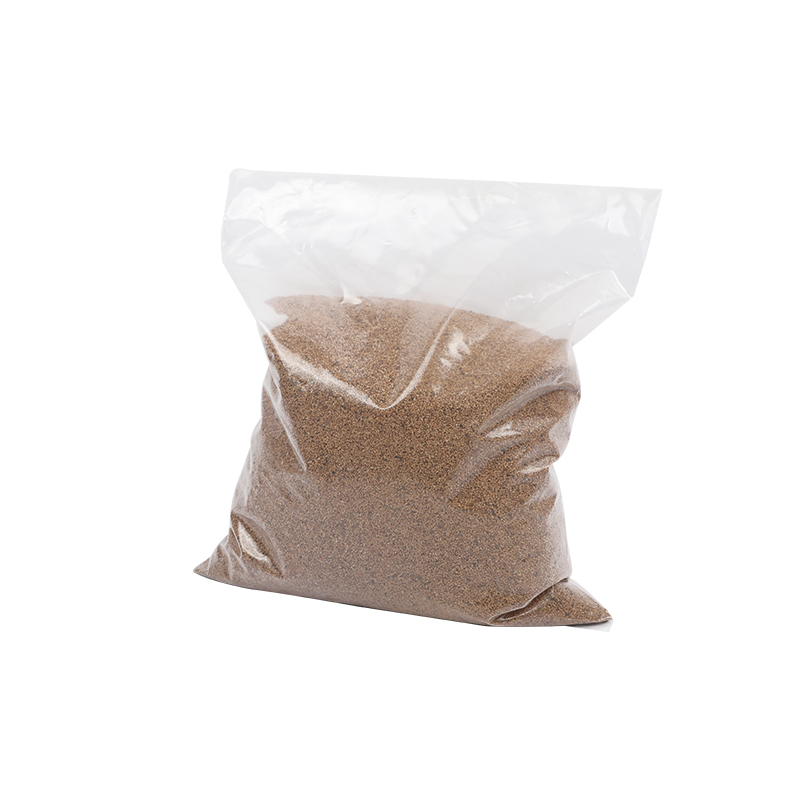
| AUTOOL 1 kg walnut-shell blasting media | Consumable media for currently listed HTS518, HTS558, HTS559 and HTS678 machines. | 0.6–1.2 mm media, exact machine and required starting quantity. |
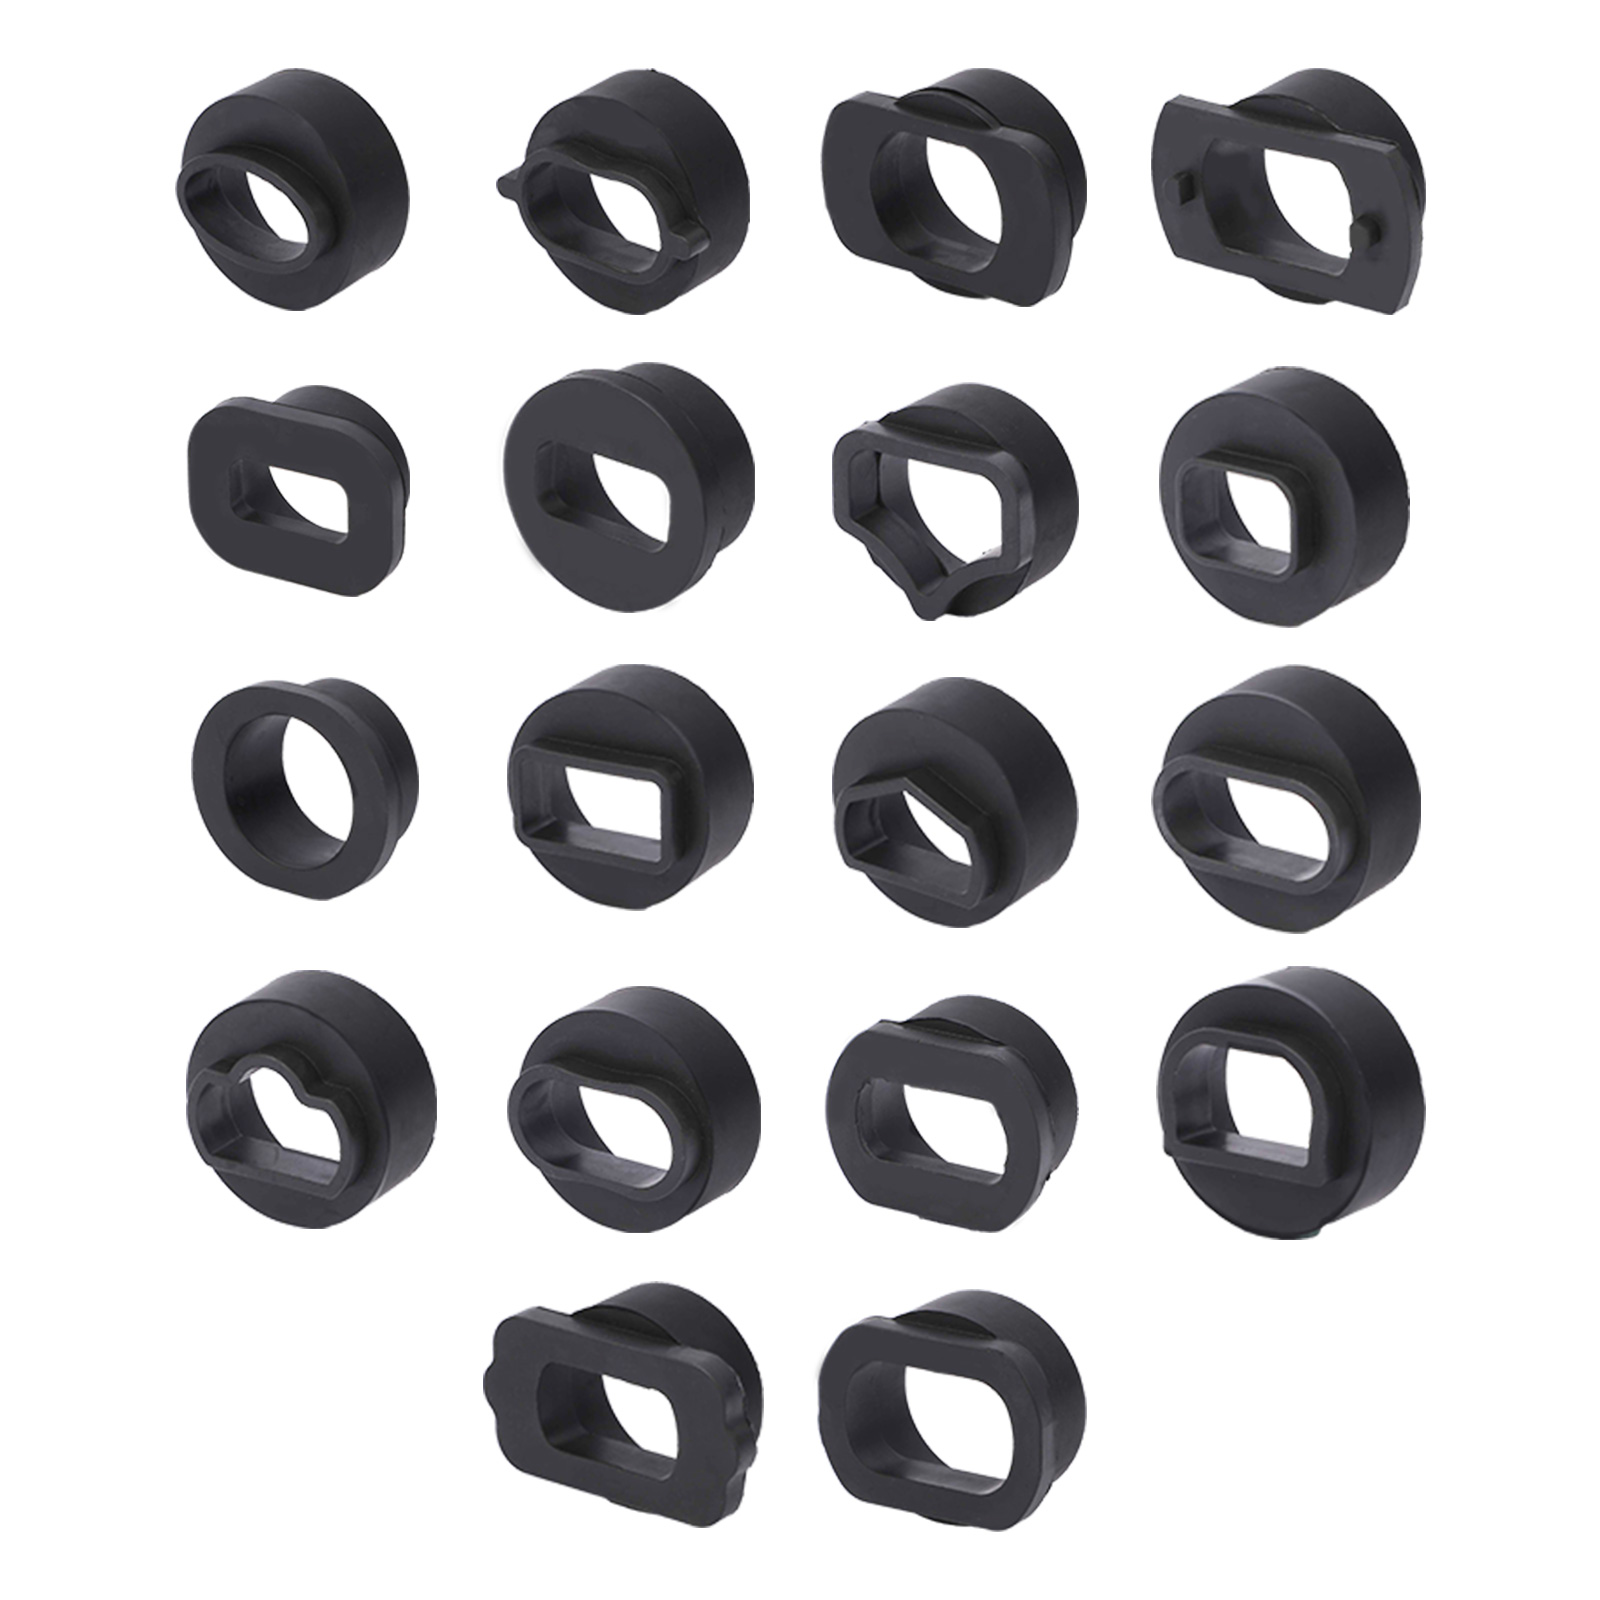
| AUTOOL 18-piece HTS558 adapter and bend set | Shapes used to match supported intake openings in an HTS558 workflow. | Engine code, opening shape, hose fit and complete seal without force. |
| AUTOOL HTS558 replacement components | Separately sold replacement parts for the HTS558 setup. | Exact requested part, machine revision, connector and quantity. |
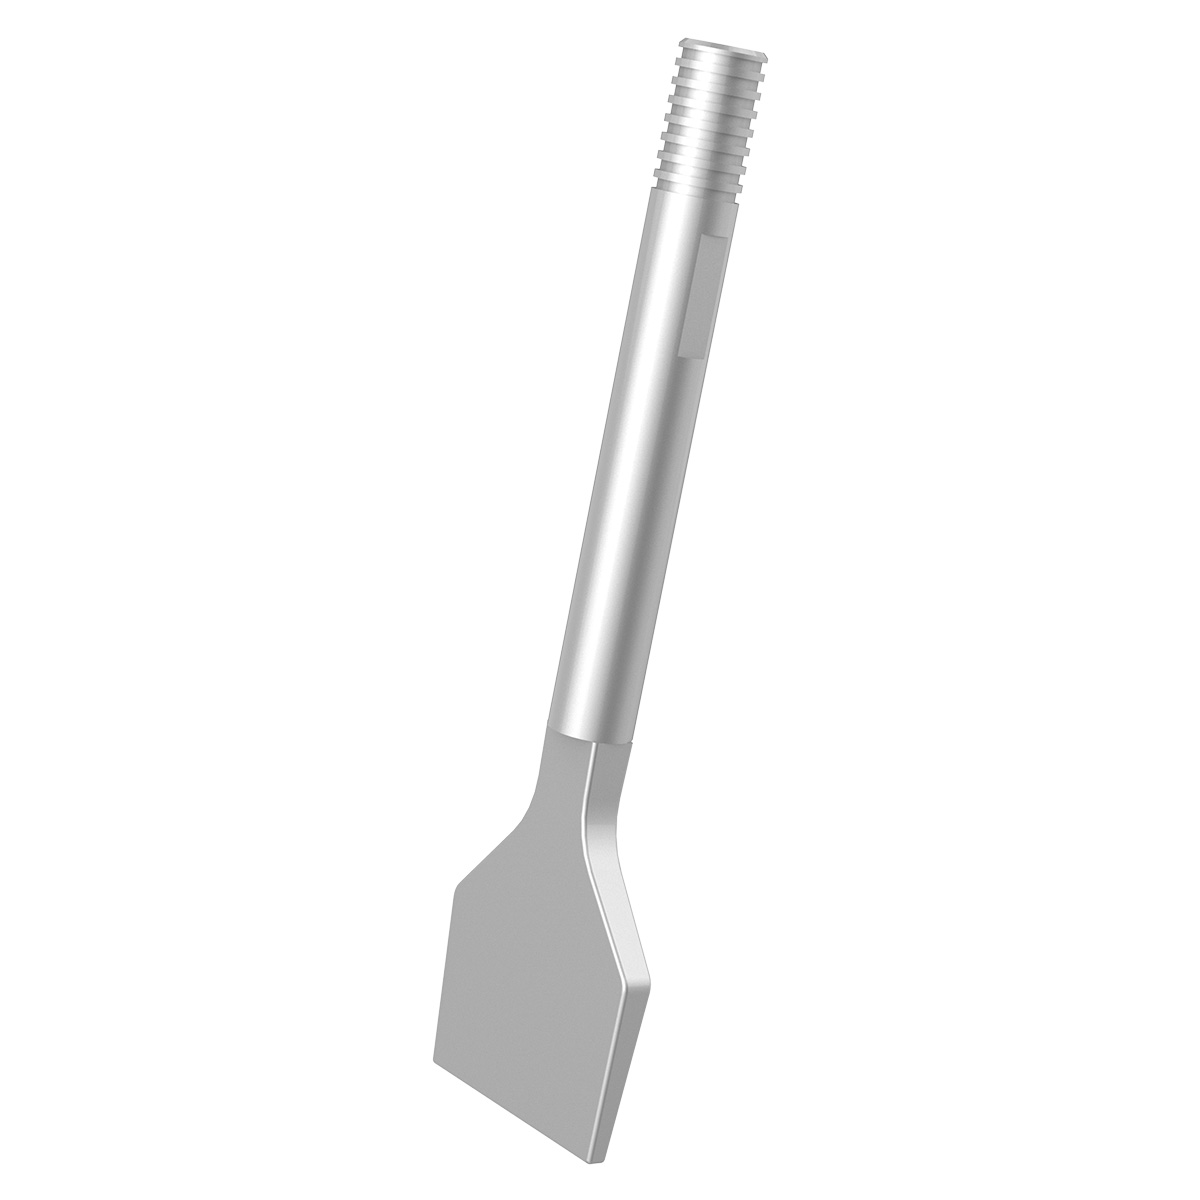
| AUTOOL HTS705/HTS708/HTS709 dry-ice flat nozzle | Separately sold nozzle/part reference for named dry-ice machines. | Exact machine model, gun connection, nozzle geometry and task. |
Accessory pages do not replace the machine instructions. Before service, compare the delivered machine and current AUTOOL manual download center entry. Use the limits on the actual nameplate and manual when they differ from a storefront summary or an older video.
How to prepare walnut media and HTS558 adapters
Step 1: Verify the machine and media specification
Confirm that the machine is an HTS518, HTS558, HTS559 or HTS678 currently listed for this walnut media. The current media page identifies 0.6–1.2 mm shell particles, a 1 kg package and at least 2–4 kg to start a compatible device. Treat that amount as a purchase-planning reference; the exact machine instructions decide how much to load for the job. Reject damp, contaminated, chemically treated or incorrectly sized media.
Check: Machine identity, media size and available clean quantity all agree.
Step 2: Prepare the engine before selecting an adapter
Let the engine cool, isolate energy sources as required and remove only the intake components specified by service information. Rotate the engine so the intake valves for the port being cleaned are fully closed, then verify that position with the approved method. Protect every neighboring port, sensor and opening. Never blast an open port or rely on the adapter to keep media out of a cylinder.
Check: The target valves are verified closed and every non-target opening is protected.
Step 3: Choose the adapter by engine and physical shape
Use vehicle year, engine code and the actual port profile together. The 18-piece page shows labels including BMW B38/B48/B58, N54/N55 and N26/N49; Volkswagen/Audi EA211 and other groups; Porsche, Benz, Volvo, GM, Toyota, Honda, Nissan and Trumpchi references. Those labels narrow the search but do not prove fitment. Compare flange contour, bend direction, throat size and recovery-hose path before selecting.
Check: The adapter matches the exact port without rocking, stretching or blocking the tool path.
Step 4: Inspect the complete recovery and blast path
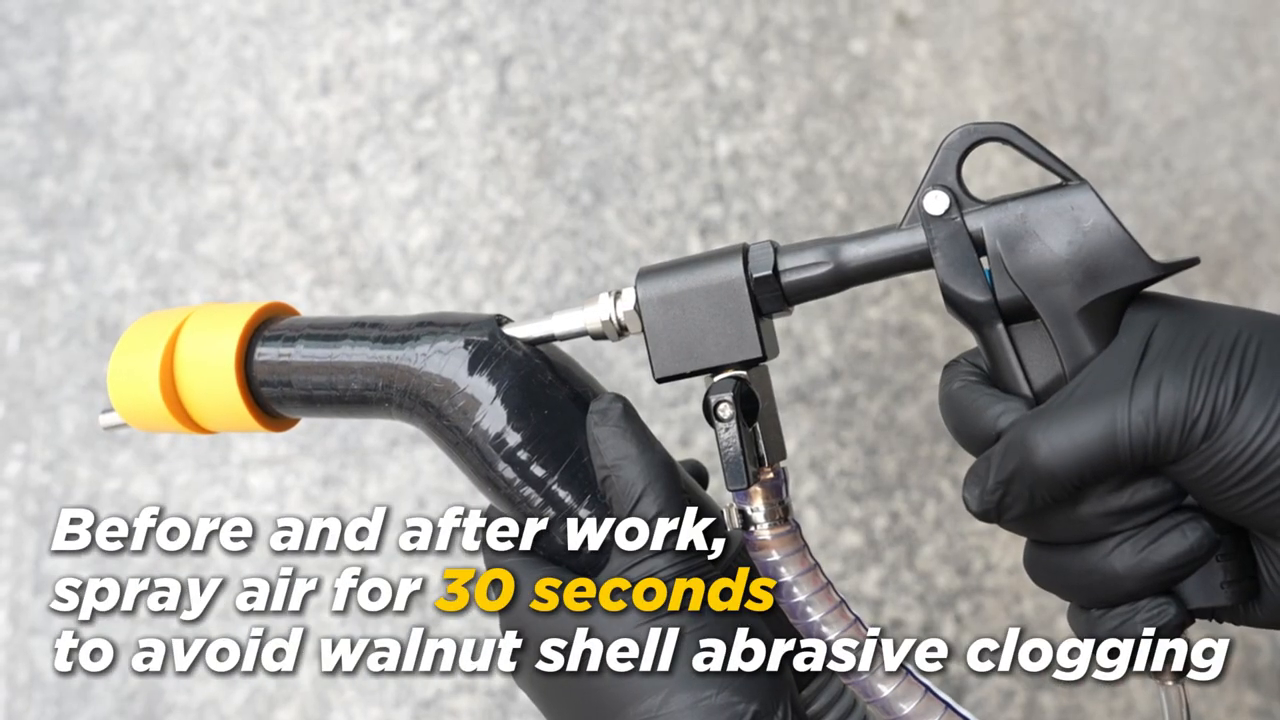
Check the adapter, bends, recovery hose, blast wand, seals, clamps and machine connections for cracks, wear, obstructions or looseness. The official procedure shows installing the recovery hose first and selecting an adapter for the cleaning area. Dry-fit the system with no pressure and make sure the blast wand can move without opening a leak path.
Check: All pieces seat by hand and the recovery path remains supported and unobstructed.
Step 5: Load media only after the machine is ready
Confirm the recovery filter, container and hoses are correctly installed before opening the media container. Load the clean quantity specified for the machine without mixing old debris into fresh media. Keep hands, clothing and loose objects away from suction and blast paths. Connect only the air supply and pressure range permitted by the delivered machine instructions.
Check: The correct clean media is loaded, lids and filters are secure, and the air supply is controlled.
Step 6: Seal the port and begin with a controlled pattern
Hold or secure the selected adapter squarely against the protected intake opening. Start recovery before introducing blast media if the exact machine sequence requires it. Move the wand through the available cleaning area without striking the valve, guide or port surface. Keep the adapter sealed; stop if media escapes, recovery weakens or the hose begins to collapse.
Check: Media remains contained and the blast/recovery paths remain stable through the pass.
Step 7: Clear residual media before moving to the next port
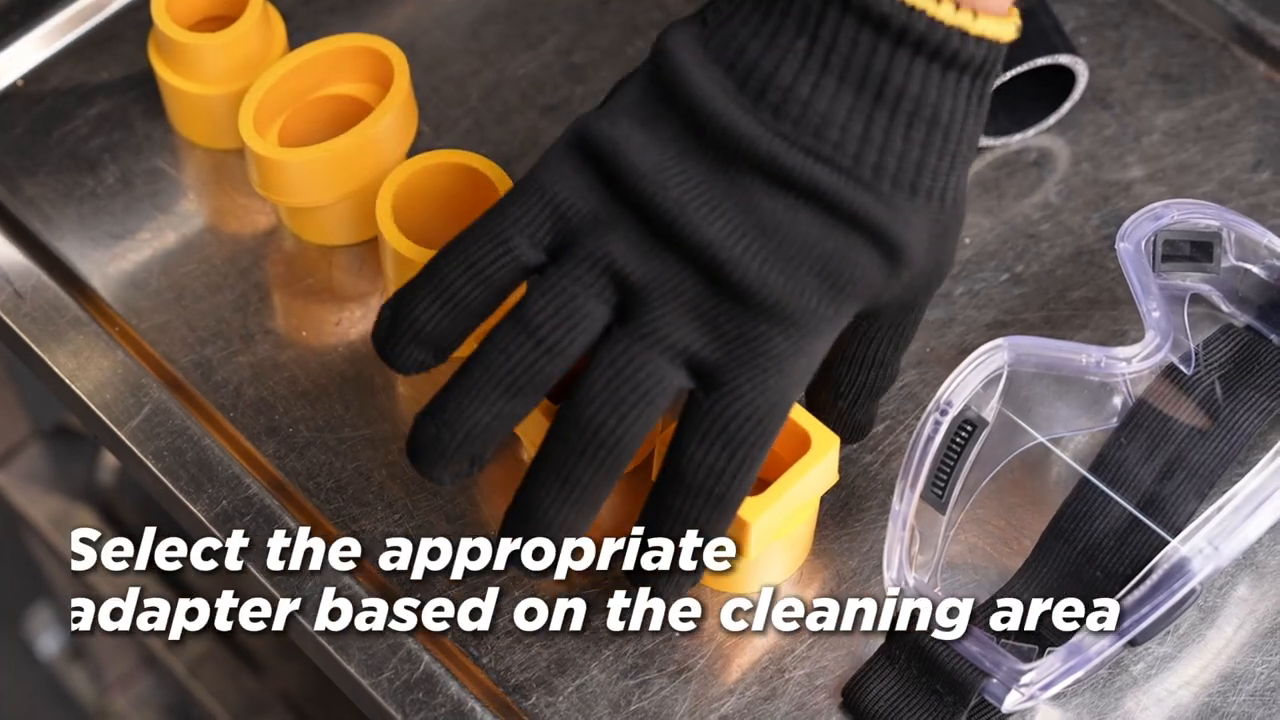
The official AUTOOL tutorial demonstrates blowing air through the gun for about 30 seconds before and after work to reduce shell-media clogging. Apply that demonstration only when it agrees with the current machine instructions. Vacuum and inspect the port, adapter and surrounding area before removing protection. Do not rotate the engine until loose media has been removed and the next port is controlled.
Check: The serviced port and adapter are visibly free of loose media before anything moves.
Step 8: Inspect the result without over-claiming it
Use adequate light or a suitable borescope to inspect the accessible valve and port surfaces. A cleaner visible surface does not prove restored compression, injector performance or elimination of every drivability fault. Reassemble with new seals and specified torque where required, clear tools from the engine bay and verify the repair through the vehicle procedure.
Check: No loose media remains, reassembly is correct and the original complaint is verified separately.
Stop: Stop immediately if the target intake valves cannot be confirmed closed, media reaches an unprotected opening, recovery airflow falls, a hose or adapter moves, the gun/nozzle blocks, or the machine pressure and delivered instructions do not agree. Recover loose material before rotating or starting the engine.
How to identify and replace an HTS558 component
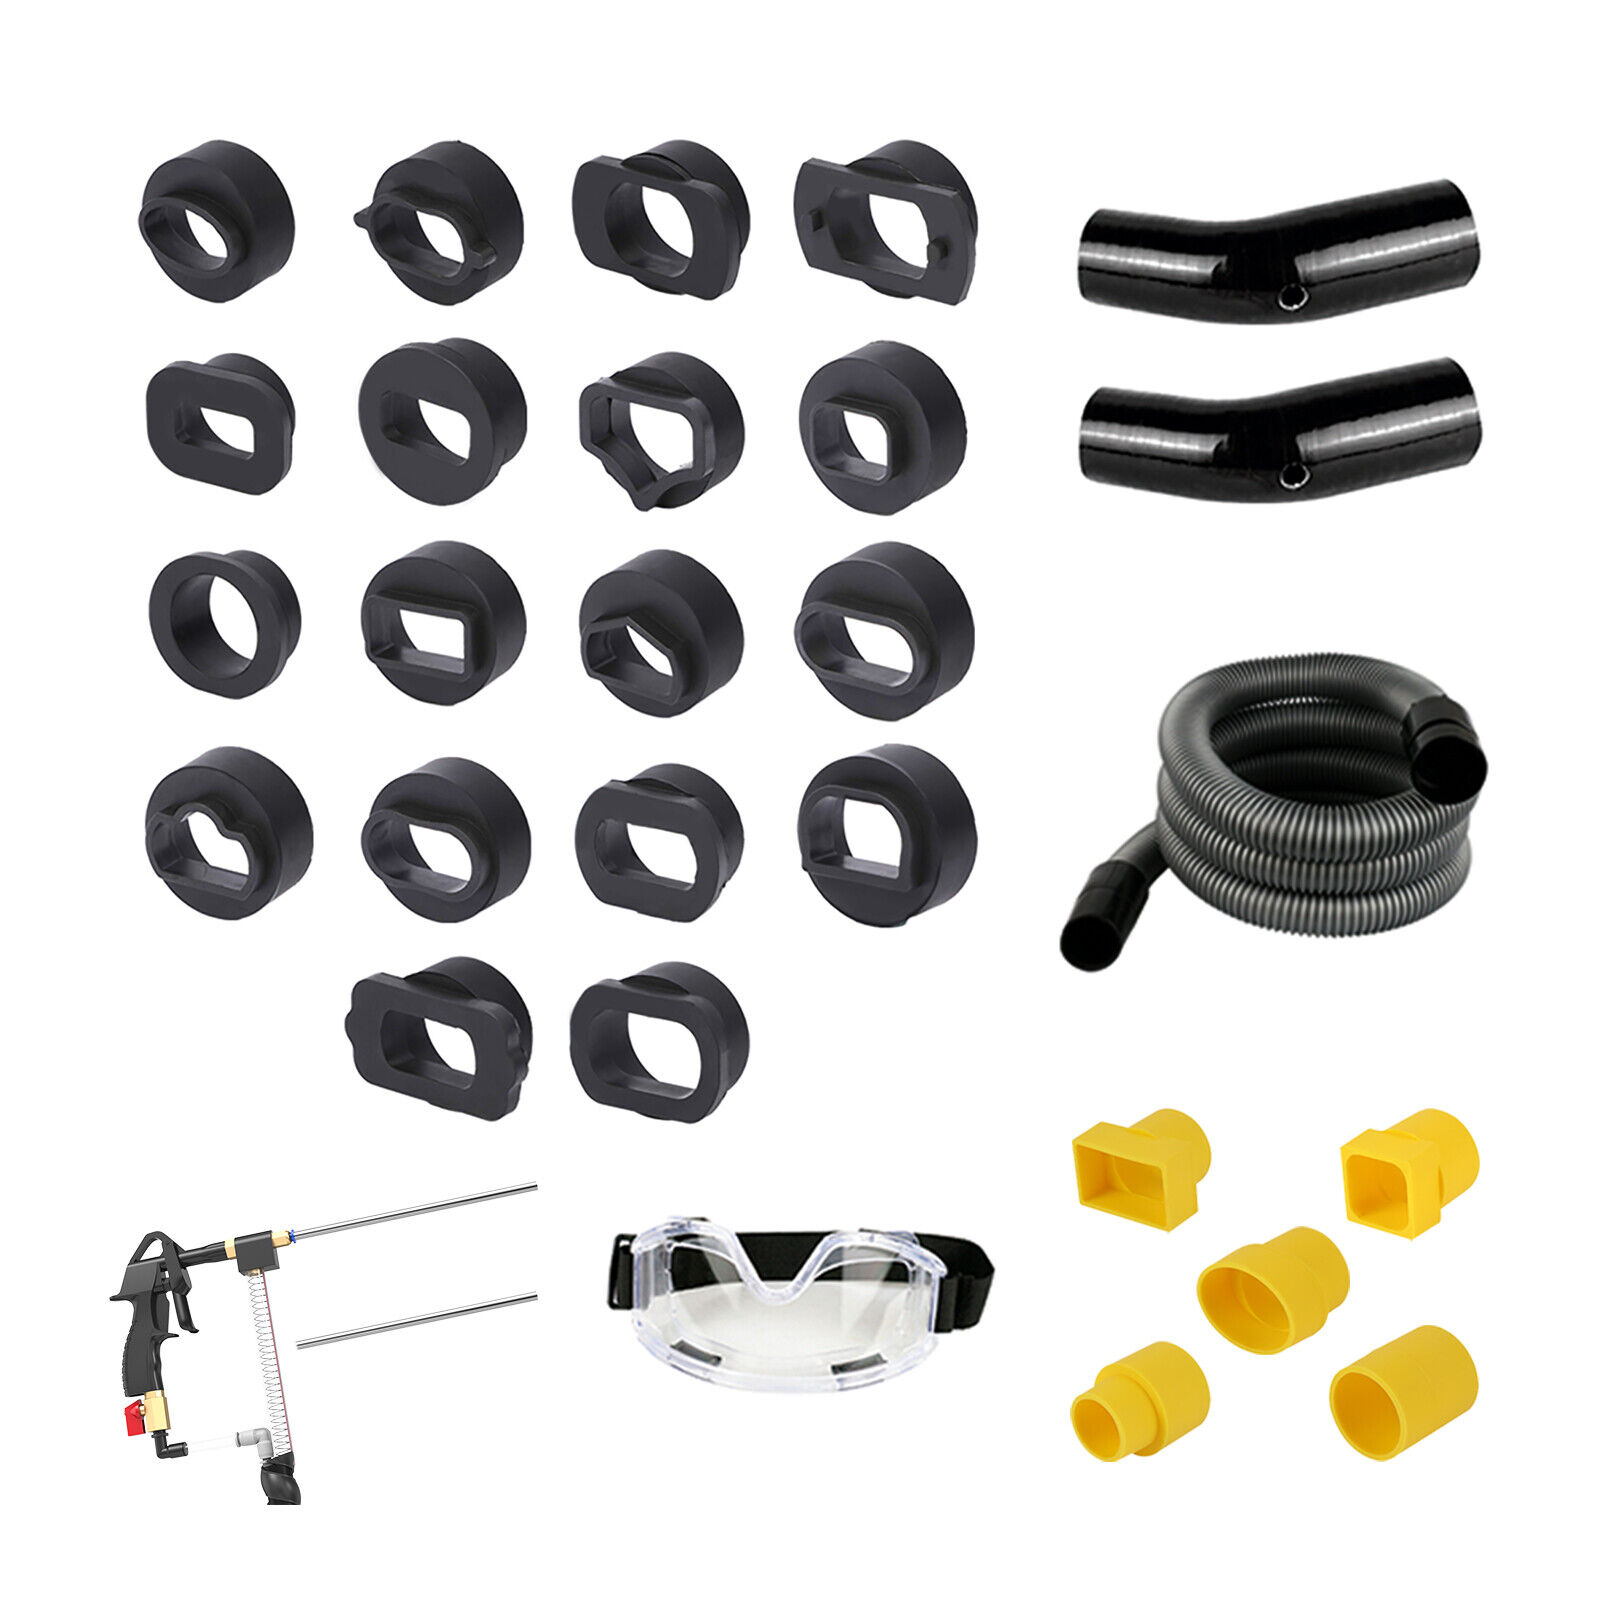
The current HTS558 component page says the parts are sold separately and that one selection does not automatically include a complete kit. A product image can show the family of adapters, bends, hoses and small parts, but it cannot identify which revision is installed on your machine. Use a physical comparison before removing the original.
- Power down the machine, isolate compressed air and release stored pressure before opening a connection.
- Photograph the old part installed, then photograph its connector, thread, seal, hose diameter, bend and any printed mark after removal.
- Compare the machine model and order history with the requested component; ask for confirmation when the page option does not name the exact part.
- Inspect the mating surface for damage or debris. Replacing the visible part will not correct a damaged socket, crossed thread or blocked hose.
- Install with the specified seal and hand-start every threaded or keyed joint. Do not use extra force to make an unmatched part fit.
- Perform a low-energy leak and function check before returning to normal blasting pressure. Stop for leakage, movement, abnormal noise or weak recovery.
How to match and install a dry-ice flat nozzle
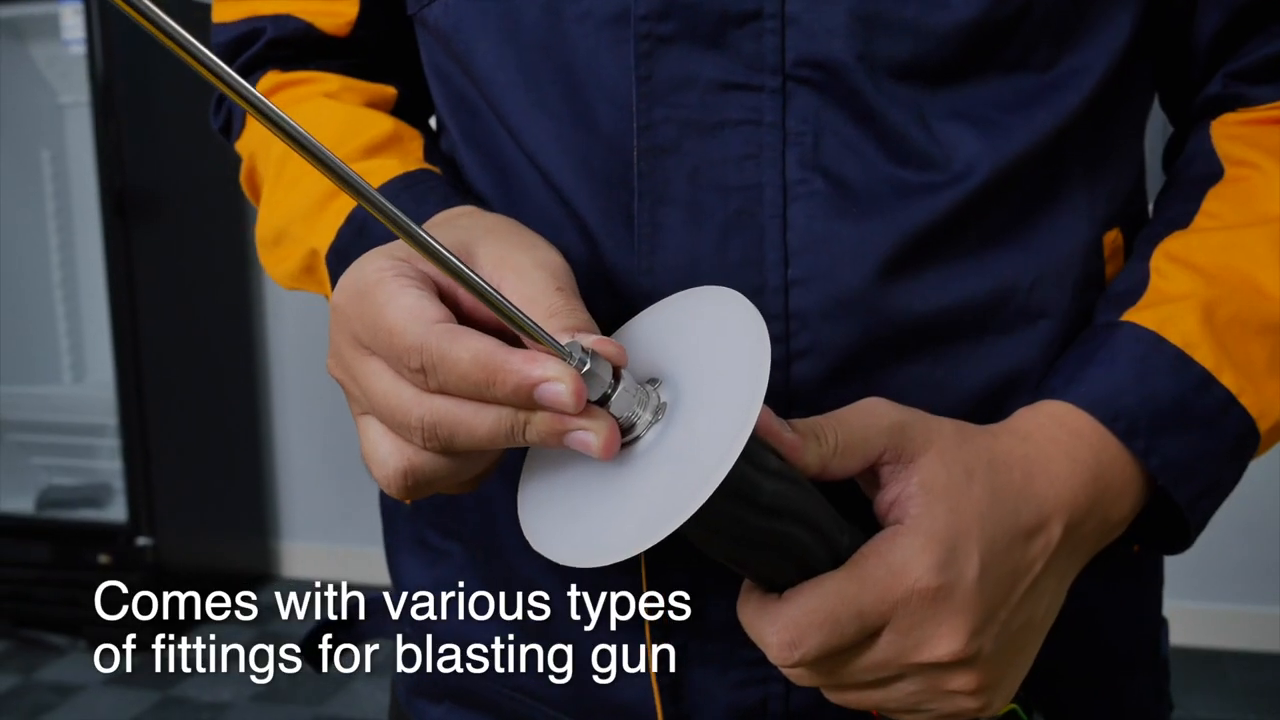
The current dry-ice accessory reference names HTS705, HTS708 and HTS709 and presents the part as a separately sold item. The official HTS705 video shows the gun connection and multiple fitting shapes, while the HTS708 video shows dry ice being loaded and used in several cleaning areas. These views establish the machine-family context; they do not prove that every gun revision accepts the same nozzle.
- Record the exact dry-ice machine model and gun revision, then compare the existing nozzle connection, thread/keying, seal and required spray profile.
- Shut the machine down, isolate air, release pressure and allow cold parts to reach a safe handling state before loosening the nozzle.
- Wear the PPE required for compressed-gas, high-velocity debris, noise and extreme-cold exposure. Maintain ventilation appropriate for carbon-dioxide use.
- Inspect the gun outlet and replacement nozzle for damage, ice, debris or a missing seal. Start the connection by hand and never cross-thread it.
- Aim into an approved contained test area and begin at the settings specified for the exact machine and surface. A flat nozzle changes the impact pattern; it does not make every coating, plastic, seal or electrical component safe to blast.
- Stop if the nozzle loosens, flow pulses, frost forms abnormally at a joint, the spray pattern is uneven or the machine reports a feed/pressure problem.
Clean, inventory and store accessories after the job
- Recover all loose walnut media from the vehicle, floor and machine path; do not return contaminated material to clean stock.
- Empty and service recovery filters and containers only with the machine isolated and according to the current instructions.
- Allow dry-ice parts to warm and dry in a ventilated area before sealed storage; never trap sublimating dry ice in a closed container.
- Inspect adapter edges, seals, hose ends and nozzle connections under good light. Quarantine anything cracked, swollen, heat-damaged or distorted.
- Store the 18 adapters in labeled positions and record the engine/port combinations actually confirmed in your workshop rather than rewriting the labels.
- Record part number, machine revision, installation date and reason for replacement so the next order can be matched without guesswork.
Frequently asked questions
Can I use the listed walnut media in any blasting machine?
No. The current listing names HTS518, HTS558, HTS559 and HTS678 and specifies 0.6–1.2 mm media. Confirm any other machine directly before use rather than treating particle size alone as compatibility.
Is one 1 kg pack enough to start?
The current page says at least 2–4 kg is needed to start a compatible device. The exact operating quantity still comes from the current machine instructions, and contaminated or damp media should not be counted as usable stock.
Does a brand label on an HTS558 adapter guarantee fit?
No. Different engines from the same brand can have different port shapes. Confirm the exact engine code and compare the physical opening, bend and recovery path without forcing the adapter.
Does the HTS558 component page include the full set?
Not automatically. The page says components are sold separately. Confirm whether you need one item or a complete set before ordering.
Can the dry-ice flat nozzle be used on any AUTOOL dry-ice machine?
The current reference names HTS705, HTS708 and HTS709, but gun revisions and connections still need confirmation. Do not extrapolate compatibility to an unlisted machine.
Can walnut blasting or dry ice prove the repair is complete?
A cleaner visible surface is only one check. Reassembly, leak checks, fault data, drivability verification and any required adaptations remain separate vehicle tasks.
Final accessory checklist
- Exact AUTOOL machine, hardware revision and accessory task are recorded
- Walnut media size, condition and quantity match the compatible machine
- Intake valves are confirmed closed and every neighboring opening is protected
- HTS558 adapter matches engine code and physical port shape without force
- Replacement components match connectors, seals, quantity and original part
- Dry-ice nozzle matches the named machine and gun revision before pressurization
- All media, hoses, filters, adapters and nozzles are inspected and stored after use
Good accessory control makes carbon cleaning predictable: identify the machine, match the part by function and geometry, control media and pressure, then verify the result independently. A small adapter or nozzle should reduce uncertainty—not introduce a new leak, blockage or compatibility problem.










Comments 0
Questions, fixes, and real-world diagnostic notes from readers.
Be the first to share a diagnostic result or ask a follow-up question.