The 10-Minute Engine Bay Inspection

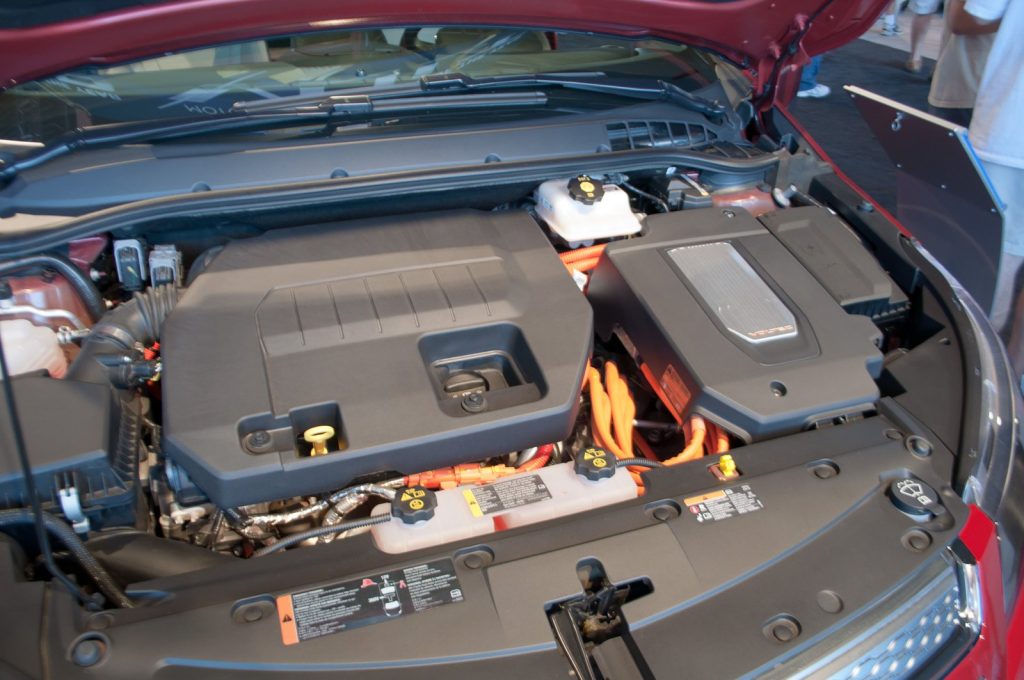
Do this inspection with the vehicle parked securely, the engine off, and enough light to see changes—not just failures.
Inspect by zones
Front edge
- Coolant stains or debris blocking airflow
- Loose upper covers and seals
- Hood latch condition
Engine center
- Oil cap and dipstick seated
- Hoses connected and not swollen
- Wiring away from hot or moving parts
Outer edges
- Battery mounting and terminal condition
- Fluid reservoirs and visible levels
- Rodent nesting or leaf buildup
Look, smell, compare
- Look under the vehicle first. Fresh spots help you trace the highest wet point later.
- Compare reservoir levels. Use the owner’s manual and temperature conditions specified for each fluid.
- Inspect accessible belt surfaces. Look for missing ribs, contamination, frayed edges, and tracking problems without placing hands near a running engine.
- Smell for change. Fuel, burnt insulation, or sweet coolant odor deserves investigation.
- Compare with a baseline photo. A monthly picture makes slow seepage, movement, and discoloration easier to notice.
Do
- Use the correct fluid specification
- Photograph anything unusual
- Repair damaged routing clips
- Record repeated level loss
Do not
- Open a hot cooling system
- Mix unknown fluids
- Touch belts or fans while running
- Ignore fuel or electrical odors
Repeat the check before a long trip and after service. A clean engine bay is useful, but diagnose and document leaks before washing away the evidence.
2 min read

Comments 0
Questions, fixes, and real-world diagnostic notes from readers.
Be the first to share a diagnostic result or ask a follow-up question.